
How to create Glowing Fashion Photo Manipulation
In this tutorial we’re going to learn how to create a glowing fashion photo manipulation using Photoshop techniques, starting from a basic model shot. Layered PSD file included. Let’s get started!
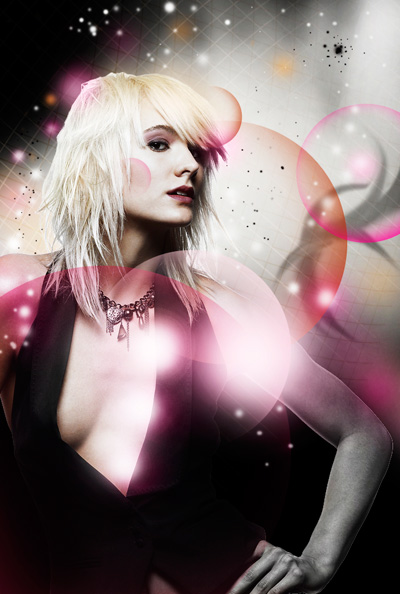
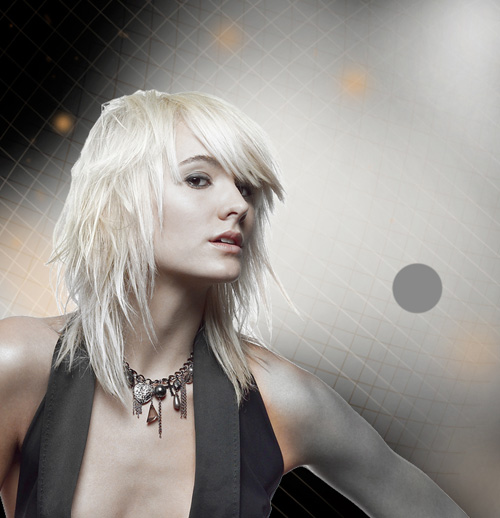
Final Image Preview
Create a new document (Ctrl+N) in Adobe Photoshop with the size 800px by 1024px (RGB color mode) at a resolution of 72 pixels/inch. Use the Paint Bucket Tool (G) to fill with black color the new background layer.

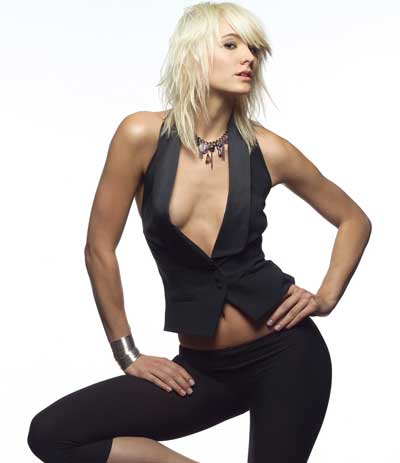
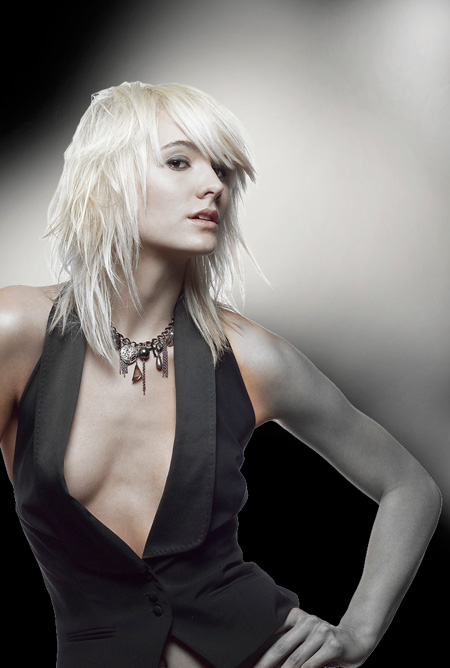
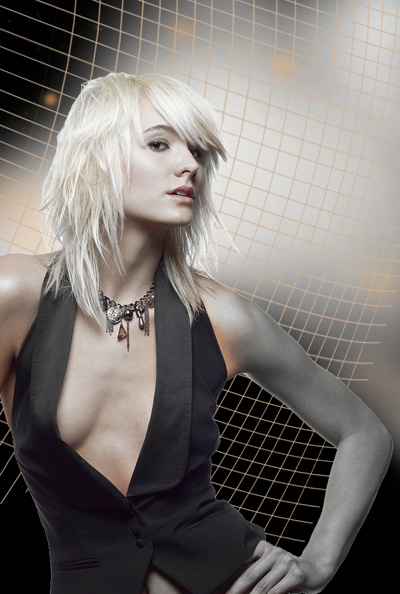
Find a stock photo with a model represented on it, I used this photo from deviantart. I would like to thank the author of this photo:
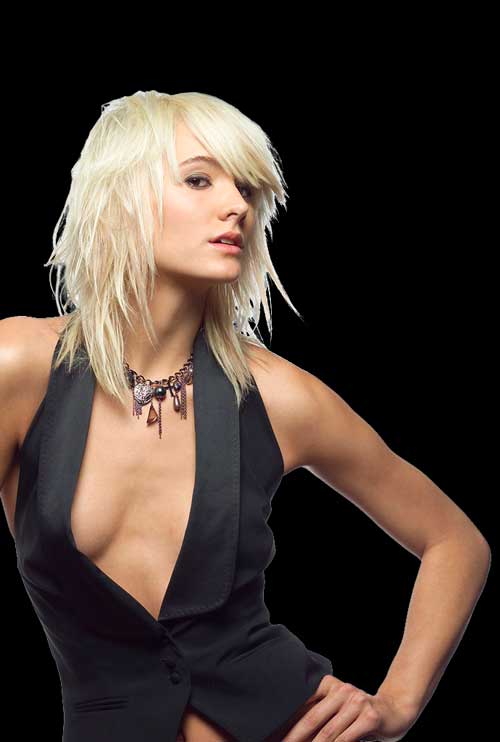
Remove the background using your favorite tools like Pen Tool (P), Magic Wand Tool (W), Magnetic Lasso (L) or even a simple Filter>Extract and insert it on a new layer in our main document.
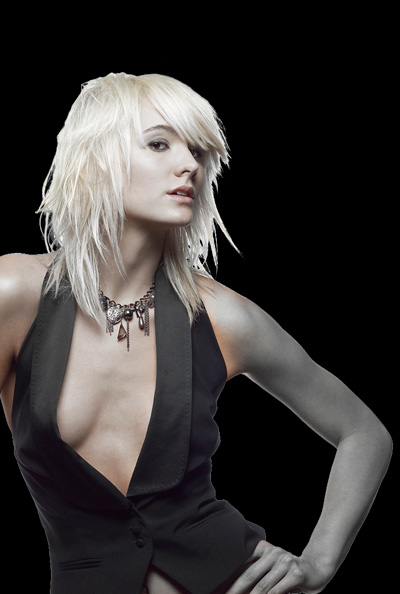
Next we’ll use the Sponge Tool (O) in Desaturate Mode to change the color saturation of the girl the same way demonstrated on the next picture.

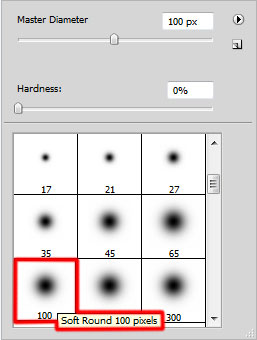
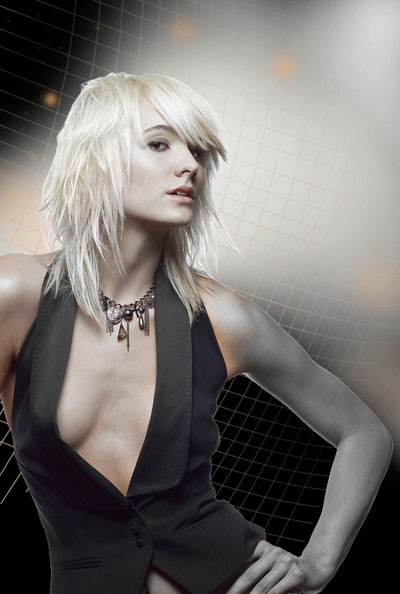
Create a new layer and select a Soft Round brush from Brush Tool (B) of white color

Paint the background behind the girl with Soft Round brush.
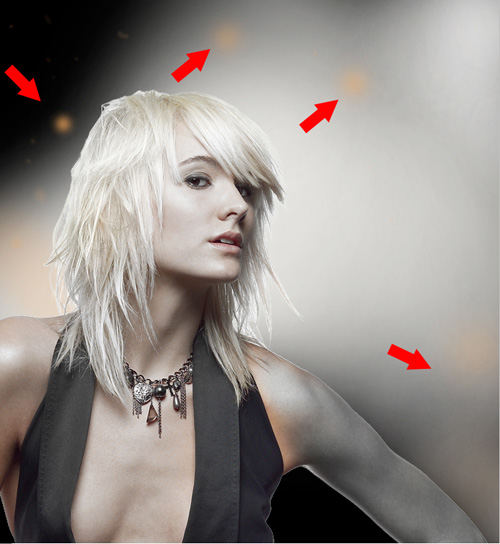
On the next new layer we’ll chose again the Soft Round brush, applied before and paint only the zones indicated below. The brush’s diameter should differ from time to time. Its color is #906F46. The layer will be situated under the girl’s one.
Now we’ll represent one more new layer and apply here the Hard Mechanical brush to draw several vertical lines.
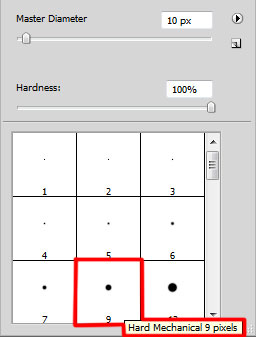
Have a brush selected click at the beginning of the line and then press SHIFT button while clicking on the line’s end. This way we have to make several lines. The brush’s color is #C2B098


This way we have to make horizontal and vertical lines to get a grid.

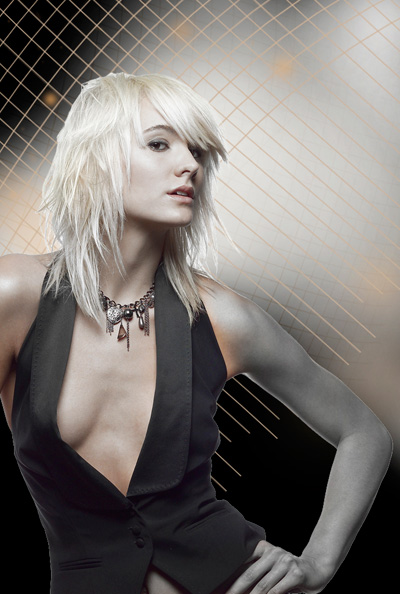
Next we need to warp this layer, select Free Transform command by pressing Ctrl+T, click the Switch Between Free Transform And Warp Modes button in the Options bar
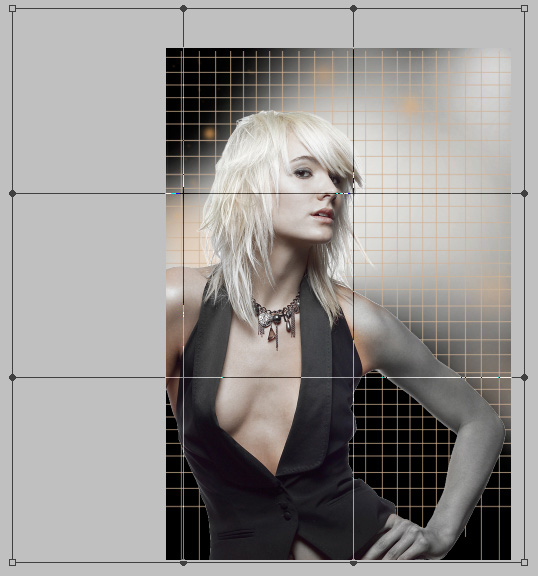
use the control points to distort the grid the same way as it is shown below:
Click on the same layer on the bottom part of the layers’ panel on Add layer mask icon and select the Soft Round brush of black color (Opacity 15%)
Paint in the mask to hide the grid’s zones situated near the girl’s arm and around her head.
Set Fill to 74% for this layer and change the Blending mode to Color Burn

Make a copy of the grid layer and use Free Transform (Ctrl+T) command to turn over the copy and place it as on the picture below. The copy’s layer should be placed under the girl’s layer.
Add layer mask for the copy’s layer, the same way we did before and choose the Soft Round brush of black color (Opacity 15%), paint in the mask to hide the grid’s zones situated near the girl’s arm and around her head.

Set the Fill to 36% for this layer and change the Blending mode to Screen

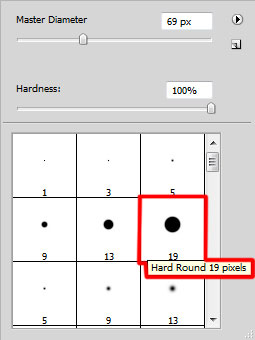
Create a new layer and choose for it the Hard Round brush to represent a spot of grey color which layer should be placed under the girl’s one.
Take after that the Smudge Tool (R) to smudge the spot the same way demonstrated next image:

Create a new layer again and use here the Soft Round brush of black color (Opacity 10%)

Page: 1 2
Comments