
Create a Dark and Surreal Geometric Space Poster using Photoshop
In this tutorial I will show you how to create an abstract space poster using geometrical shapes, masks and apply some filters in Photoshop. Layered PSD file included. Let’s get started!
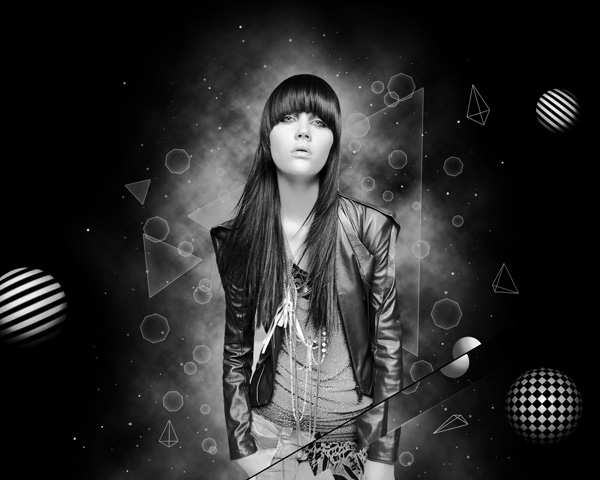
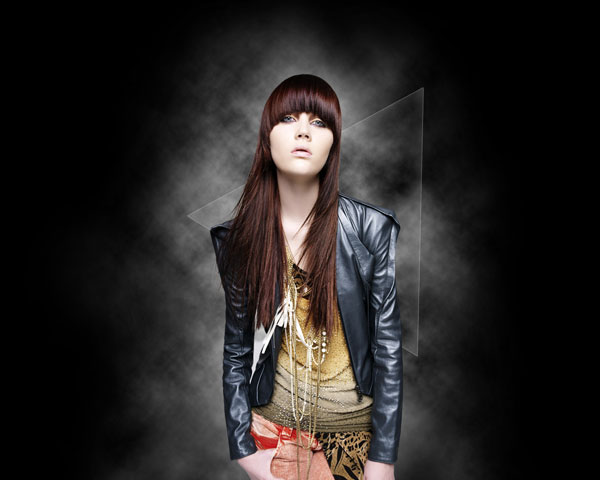
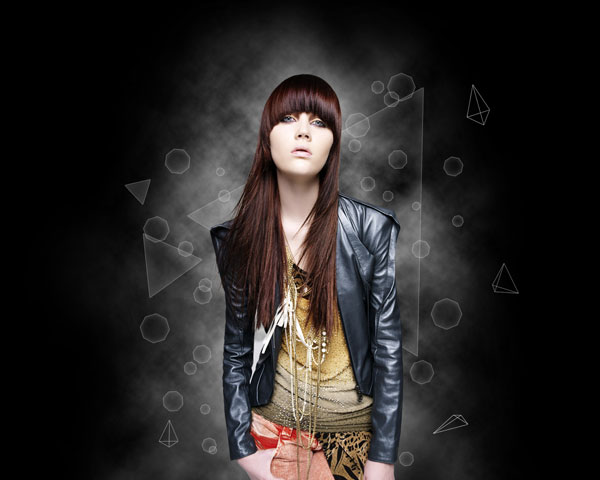
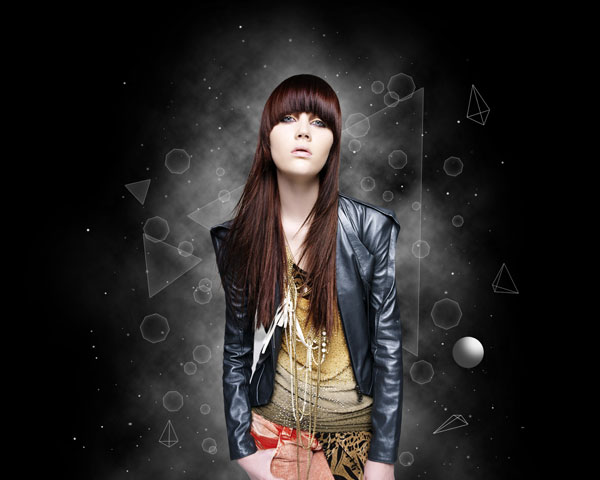
Final Image Preview
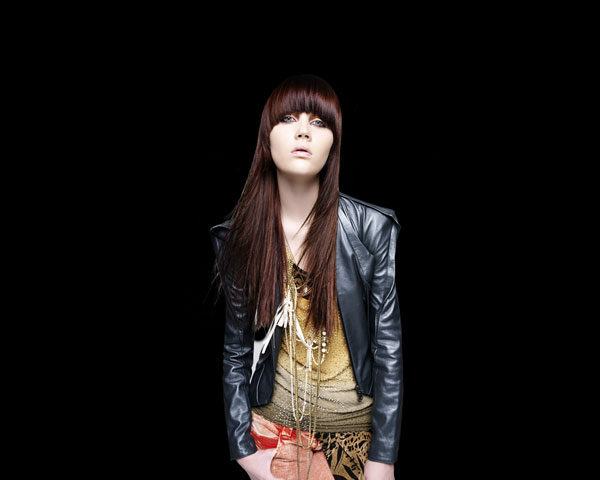
Create a new document (Ctrl+N) in Adobe Photoshop with the size 1280px by 1024px (RGB color mode) at a resolution of 72 pixels/inch. Use the Paint Bucket Tool (G) to fill with black color the new background layer.

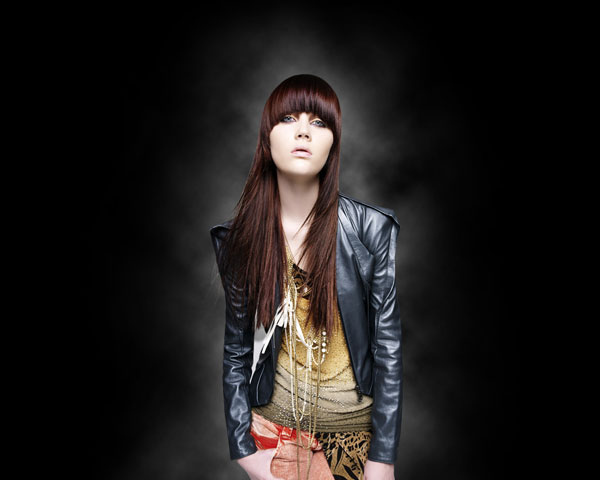
Find a stock photo with a model represented on it, I used this photo from deviantart. I would like to thank the author of this photo.
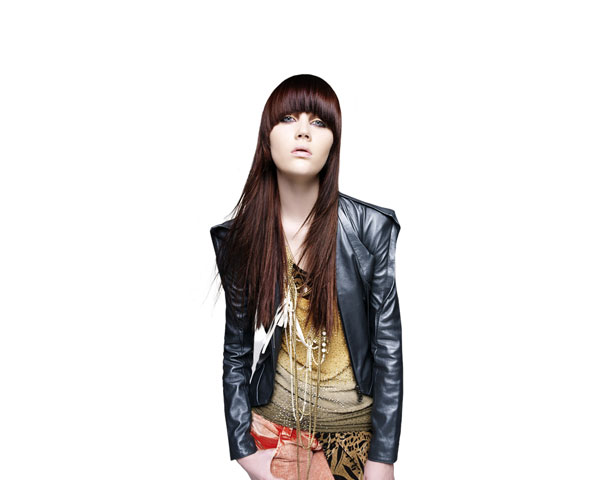
Remove the background using your favorite tools like Pen Tool (P), Magic Wand Tool (W), Magnetic Lasso (L) or even a simple Filter>Extract and insert it on a new layer in our main document. The Free Transform (Ctrl+T) command may be helpful in changing the girl’s sizes.
Press D to set the default foreground color in black, and the default background color in white. Create a new layer and go to Filter>Render>Clouds to generate a soft cloud pattern using random values of the foreground and the background colors. Place the layer under the girl’s one.
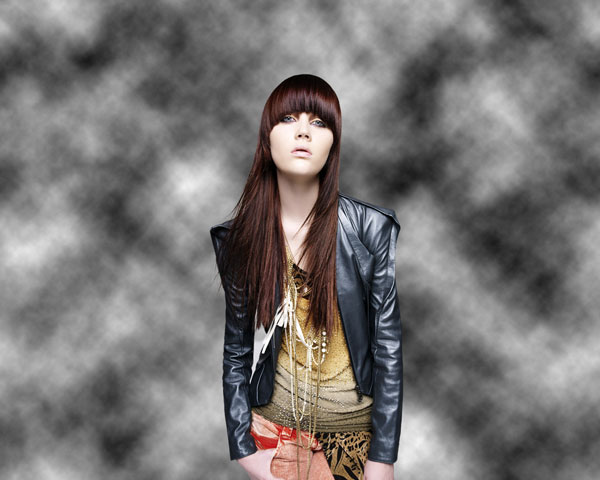
Click on the same layer on the bottom part of the Layers panel on Add layer mask icon. Next select the Soft Round brush of black color (set the Opacity to 30% in Options bar).

Use this brush to hide the clouds around the girl. Place the layer under the girl’s one.
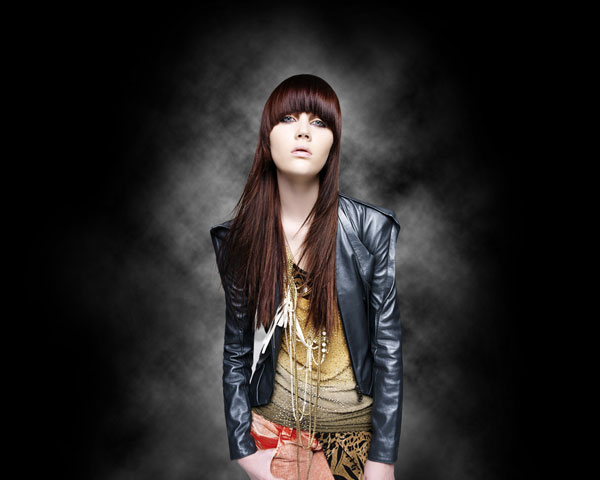
Next we have to copy the made layer and apply on it: Filter>Sharpen>Unsharp mask to increase the contrast along the edges.
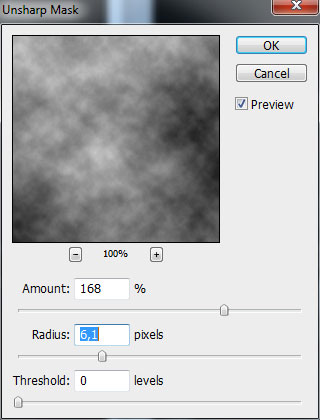
We’ve got the next result:
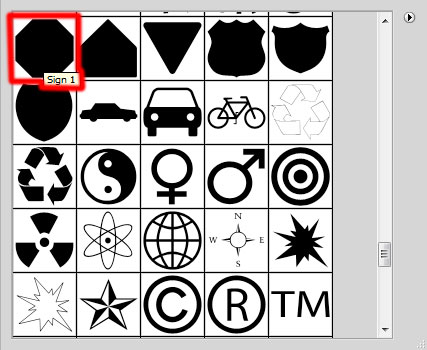
Select the Custom Shape Tool (U) in the Tools bar, in the Options bar click the Shape to open the selection menu. Find Triangle shape at the bottom of the menu, and then double-click a shape thumbnail to select it.
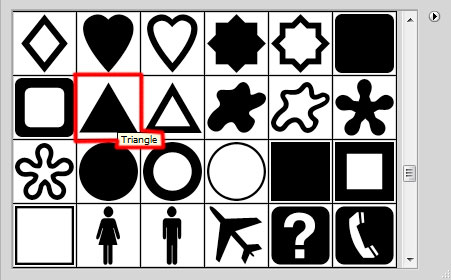
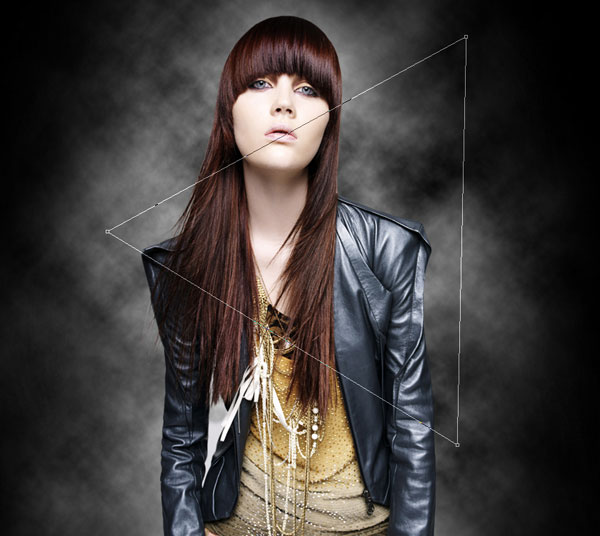
Click and drag to draw the shape. Sizes and placement may be changed if applying the Free Transform (Ctrl+T) command. Place this layer under the girl’s layer.
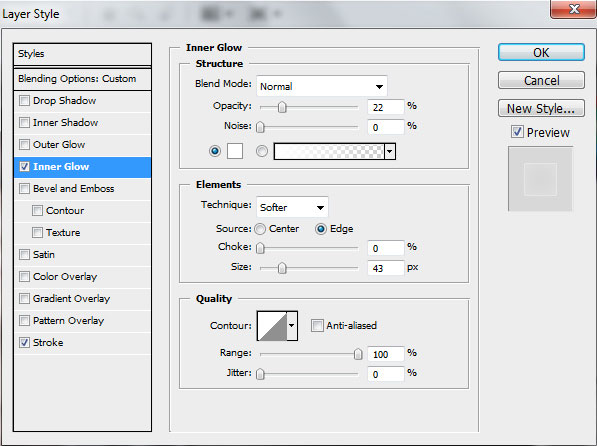
Set Fill to 0% for this layer and click on Add a layer style icon from bottom part of the Layers panel and select Inner Glow.
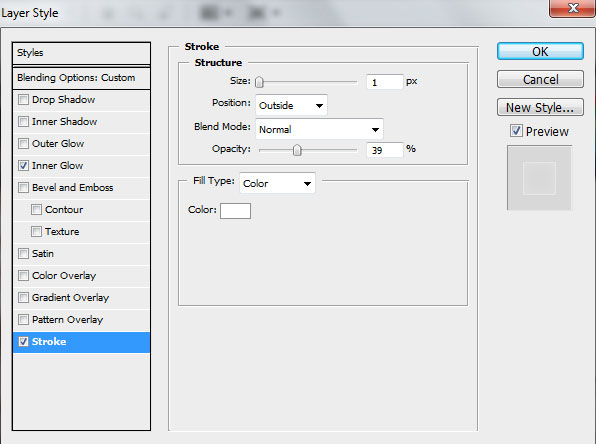
Add Stroke
We’ve got the next effect on the shape.
Using the Custom Shape Tool (U), we can add many shapes around the girl.

Their Layer Styles should be the same with the triangle’s ones. Change their sizes and placement with Free Transform (Ctrl+T) command. Place the layer also lower than the girl’s one.

Create a new layer and select on it the Hard Round brush.
Use this brush to draw a tetrahedron of white color, hold down SHIFT to draw a straight line between the two points. Place the layer under the girl’s one.
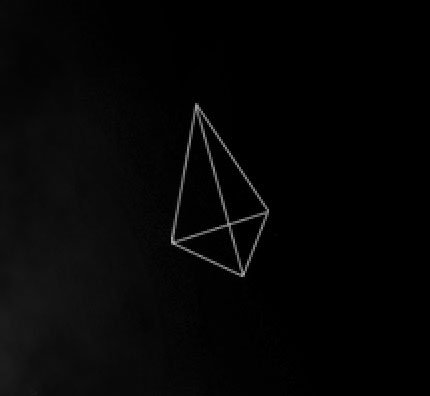
Draw another three tetrahedrons around the girl.
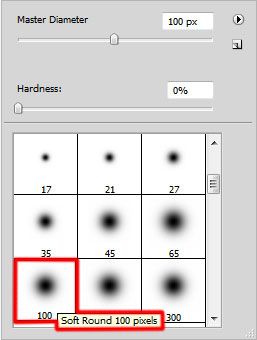
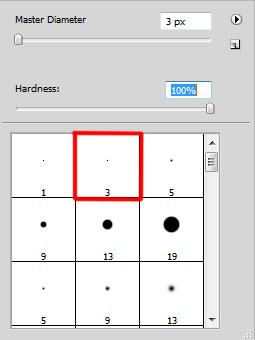
On the next new layer we’ll apply the Soft Round brush.
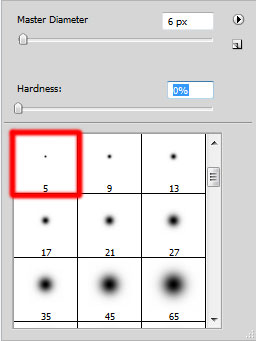
Use this brush to represent many dots with white color, changing its Master Diameter and the Opacity value. Place this layer under the girl’s one.

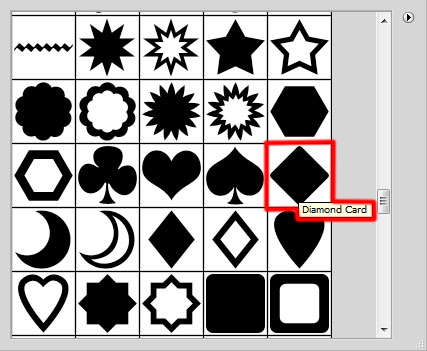
Next we have to create a new file (File>New) with the size 20px by 20px (RGB color mode) at a resolution of 72 pixels/inch. Select the Custom Shape Tool (U) in the Tools bar, in the Options bar click the Shape to open the selection menu. Find Diamond Card shape at the bottom of the menu, and then double-click a shape thumbnail to select it.
Click and drag to draw the shape of black color.
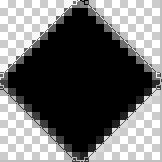
Choose Edit > Define Pattern. Enter a name for the pattern in the Pattern Name dialog box.
Get back to the girl’s document and use now the Ellipse Tool (U) to represent a ellipse of white color.
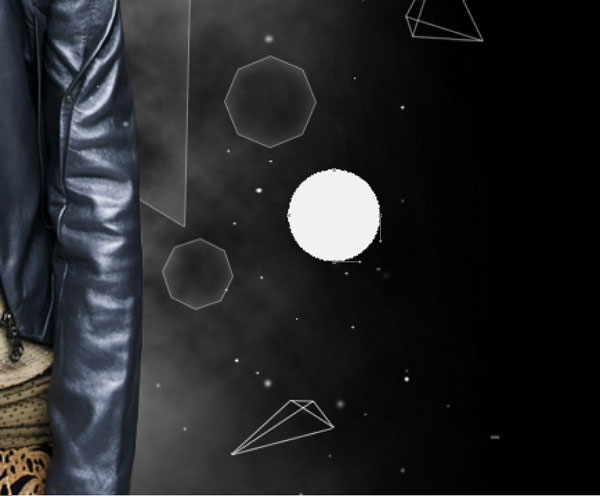
Click on Add a layer style icon from bottom part of the Layers panel and select Inner Shadow.
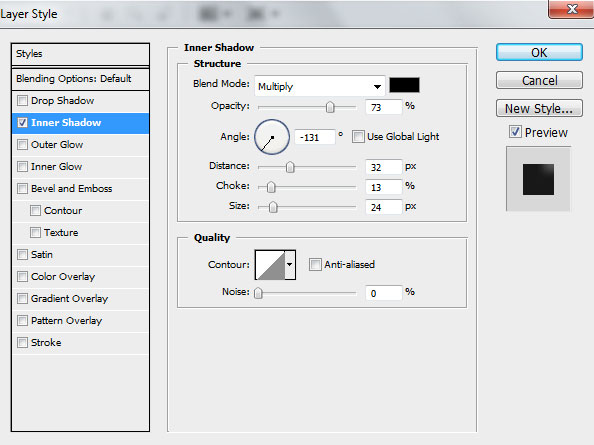
We’ve got the next result:
Page: 1 2
Comments