
Blending fashion image with Photoshop CS5 custom shapes
In this tutorial, you’ll learn how to transform fashion photography into abstract illustration by mixed some custom shapes and applying different Blending modes using Adobe Photoshop CS5. Layered PSD file included. Let’s get started!
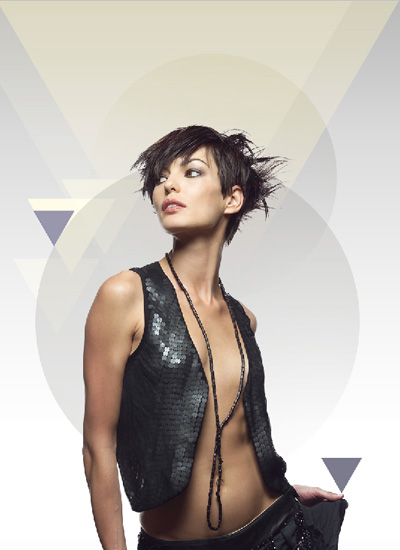
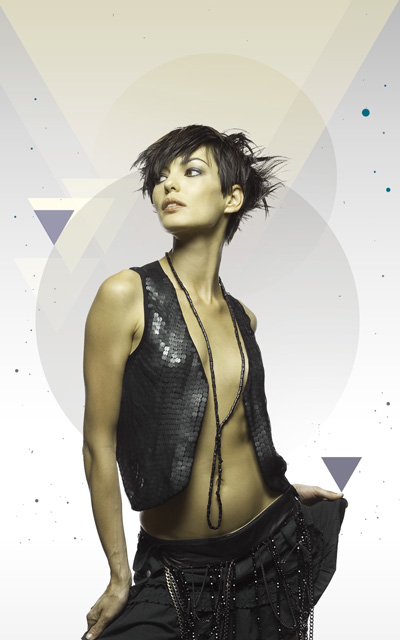
Final Image Preview
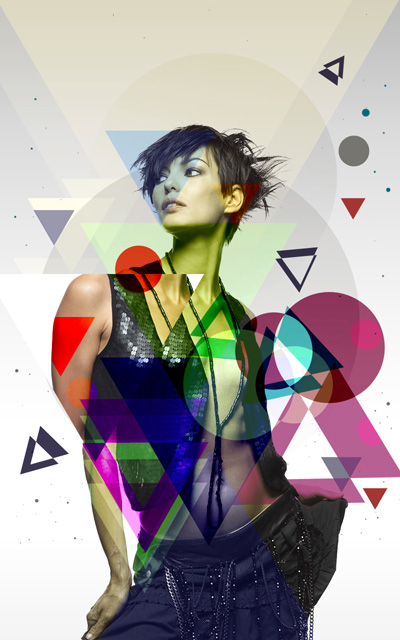
Inspired from XXIV artwork by Fregezechen.
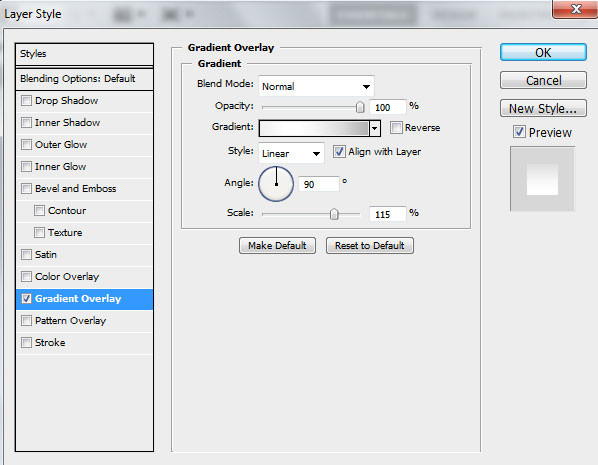
Create a new document (Ctrl+N) in Adobe Photoshop CS5 with the size 800px by 1280px (RGB color mode) at a resolution of 72 pixels/inch. Create a new layer and click on Add a layer style icon from bottom part of the Layers panel and select Gradient Overlay.
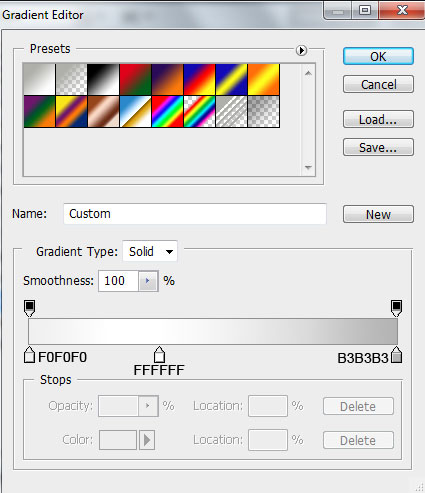
Click in the color bar to open the Gradient Editor and set the color stops as shown. Click OK to close the Gradient Editor dialog box.

We’ve got the next result.

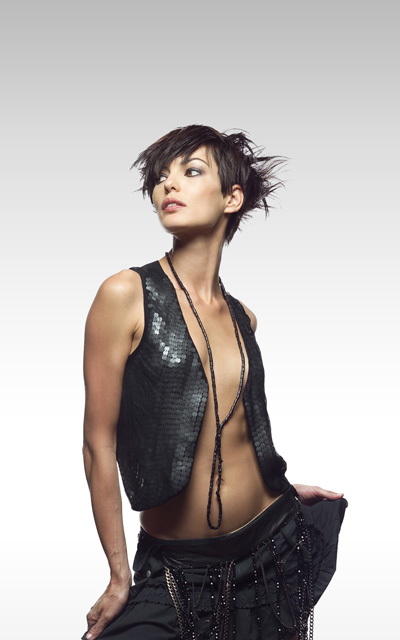
Find a stock photo with a model represented on it, I used this photo from deviantart. I would like to thank the author of this photo:
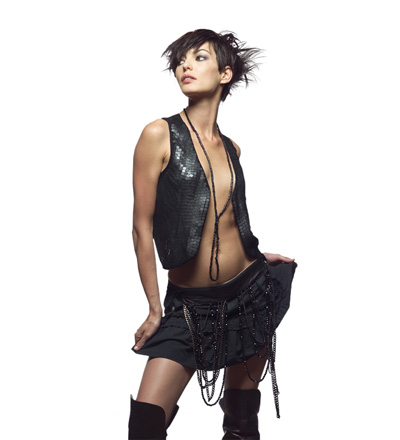
Remove the background using your favorite tools like Pen Tool (P), Magic Wand Tool (W), Magnetic Lasso (L) or even a simple Filter>Extract and insert it on a new layer in our main document. The girl’s sizes may be changed with Free Transform (Ctrl+T) command.
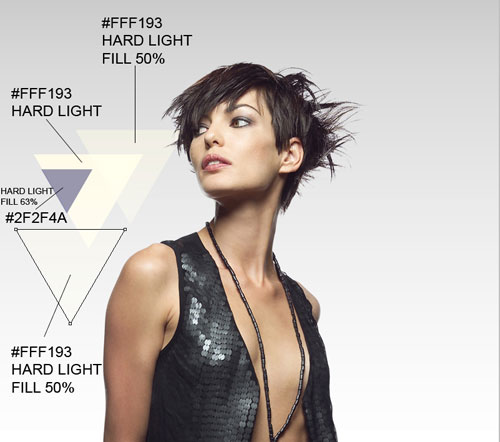
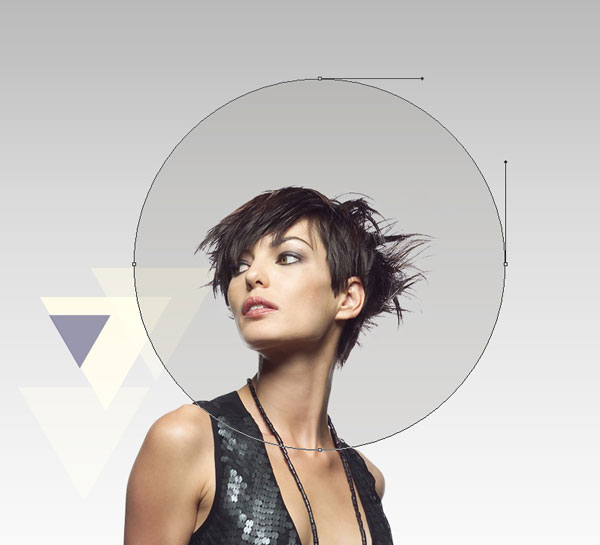
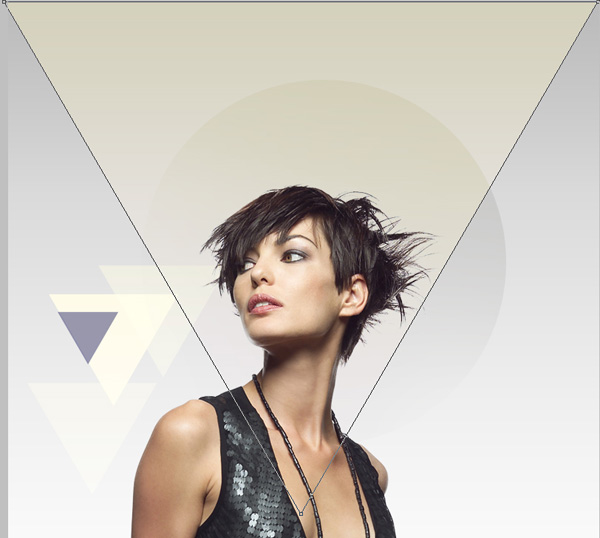
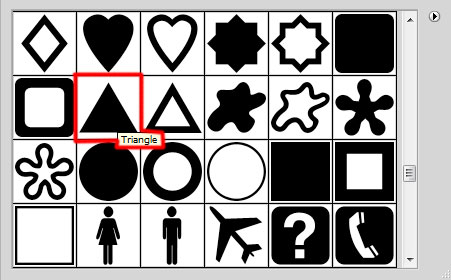
Select the Custom Shape Tool (U) in the Tools bar, in the Options bar click the Shape to open the selection menu. Find Triangle shape at the bottom of the menu, and then double-click a shape thumbnail to select it.

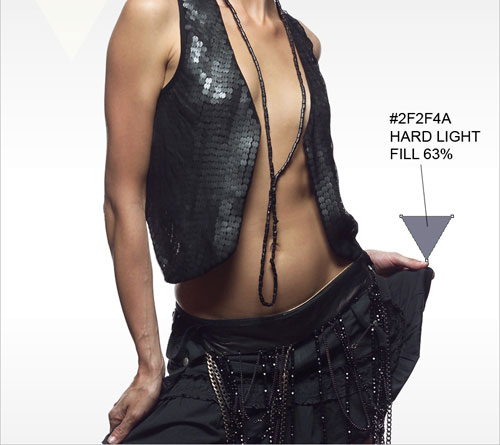
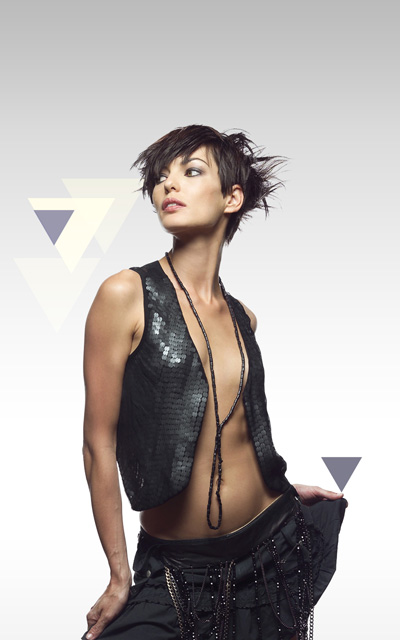
Click and drag to draw several triangles, which sizes and placements may be changed with Free Transform (Ctrl+T) command. Place the layers under the girl’s layer. The shape color, Fill value and Blending Mode for each layer are showing in the next picture.
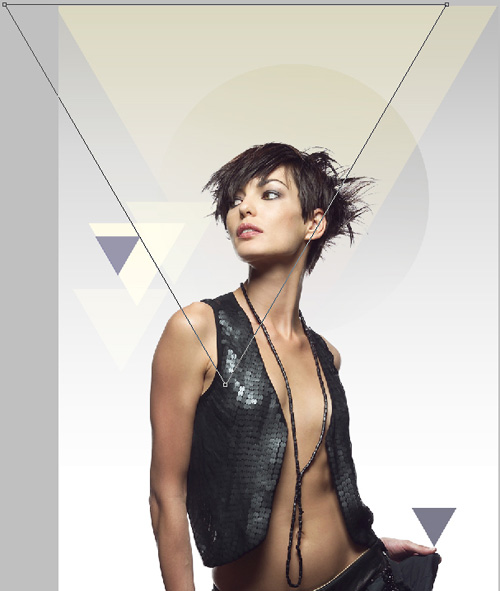
Draw another shape.
We’ve got the next result:
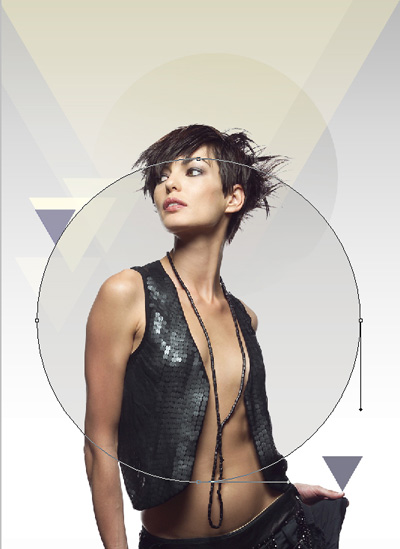
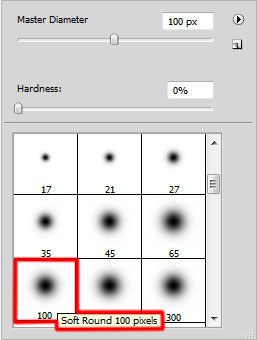
Next we have to select the Ellipse Tool (U) and draw a small ellipse of the color #C2C2C0 (Fill 18%). Place the layer under the girl’s one.
Click on the same layer on the bottom part of the Layers panel on Add layer mask icon and select the Soft Round brush of black color (set Opacity to 30% in the Options bar).

Use this brush to paint in the mask to hide the bottom part of the ellipse as shown.

Use again the Custom Shape Tool (U) to draw a triangle shape of the color #EEE7B0. Set Fill to 50% for this layer and change the Blending mode to Lighten. Place the layer under the girl’s one.
Make a copy of the last made layer and use the Free Transform (Ctrl+T) command to move it to the left. Set Fill to 20% for this layer and change the Blending mode to Overlay.
Make a copy of the earlier made ellipse and remove the mask of the copy. Select the Free Transform (Ctrl+T) command to enlarge the copy of the ellipse the same way demonstrated below:
Insert the mask on the ellipse’s copy (Add layer mask) and choose the Soft Round brush of black color (set Opacity to 20% in the Options bar).
Use this brush to paint in the mask to make darker the ellipse’s edges.
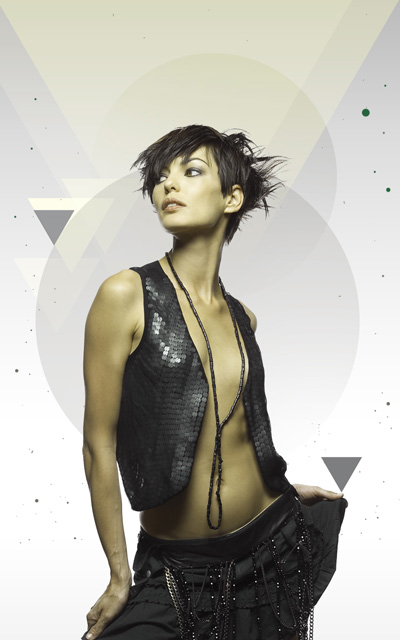
Create a new layer and use the Soft Round brush on it, changing its Master Diameter and Opacity value to represent many dots.
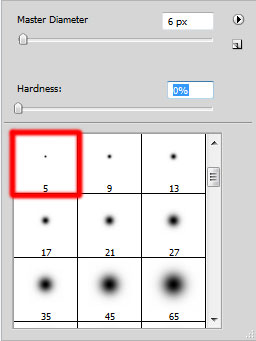
The brush’s colors are #006B7F and #746F69. Place this layer under the girl’s layer.

Let’s represent now a new layer above the girl’s one. Using the Paint Bucket Tool (G), try to fill the layer with #E0E3D2 color.

Set Fill to 50% for this layer and change the Blending mode to Hue.
Let’s create a clipping mask to make the content of the layer containing the #E0E3D2 color only visible within the content of the layer containing the girl. Hold down Alt (Windows) or Option (Mac OS) and click between layer with #E0E3D2 color and the layer with girl (on the Layers panel).
We’ve got the next result:
Select again the Custom Shape Tool (U) in the Tools bar, in the Options bar click the Shape to open the selection menu. Find Triangle shape at the bottom of the menu, and then double-click a shape thumbnail to select it.
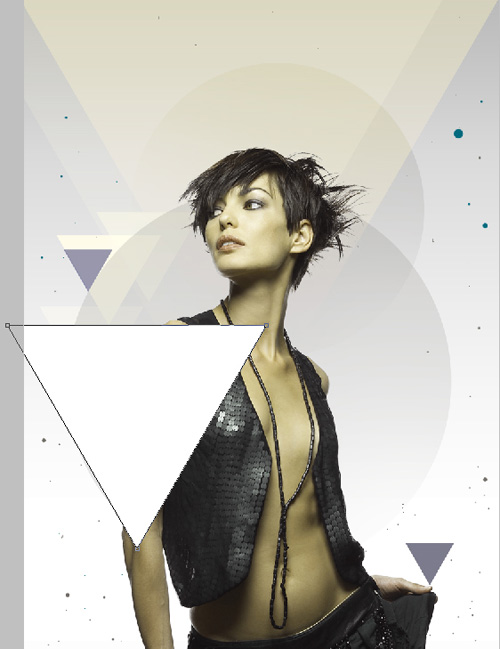
Click and drag to draw a triangle of white color.
Page: 1 2
Comments