
How to create Retro-style Photoshop illustration
Today we’ll create some textures for background using brushes, manipulate some stock photos to give them a retro-style look, and make some color variations. Layered PSD file included. Let’s get started!
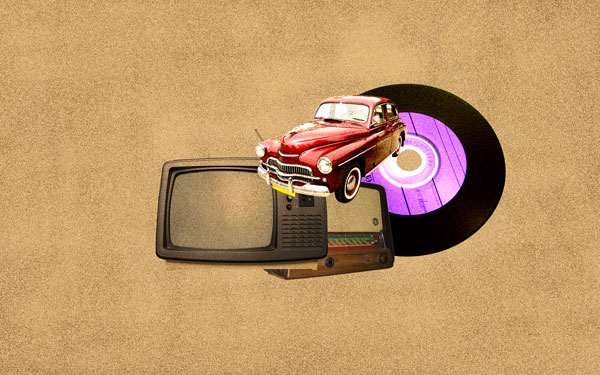
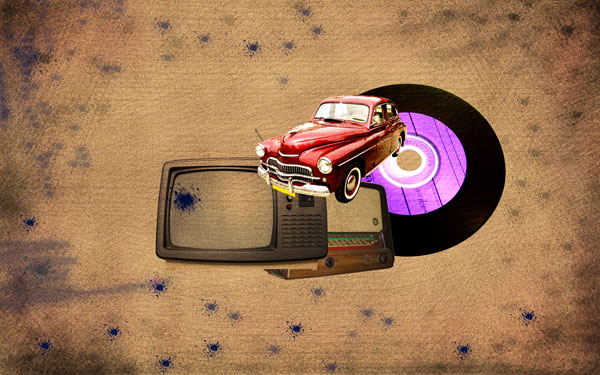
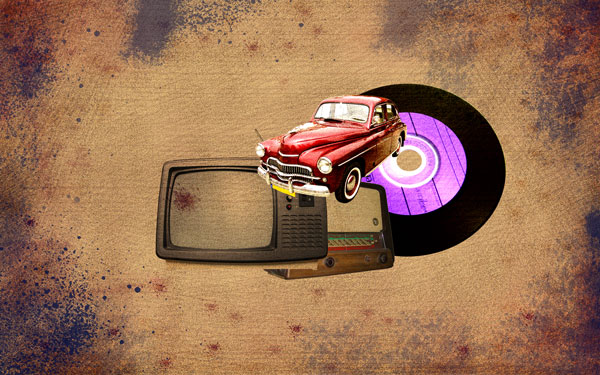
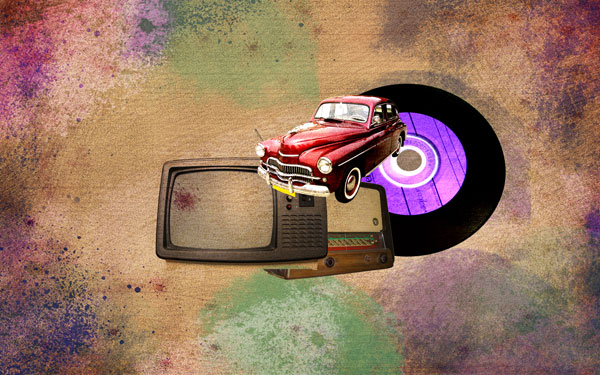
Final Image Preview

Create a new document (Ctrl+N) in Adobe Photoshop CS5 with the size 1920px by 1200px (RGB color mode) at a resolution of 72 pixels/inch. Use the Paint Bucket Tool (G) to fill with #F4CB8D color the new background layer.
Next we have to create a new layer Ctrl+Shift+N and fill it with the next demonstrated color.
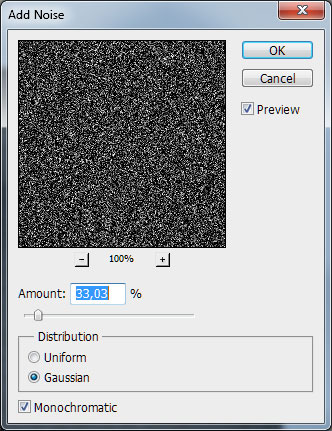
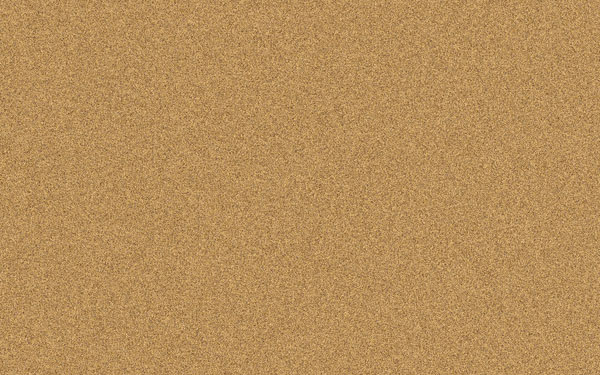
Add some noise using the next filter Filter>Noise>Add Noise:
Set the Blending mode to Difference for this layer.
Add layer mask on the same layer by clicking on the next icon from bottom part of the Layers panel:


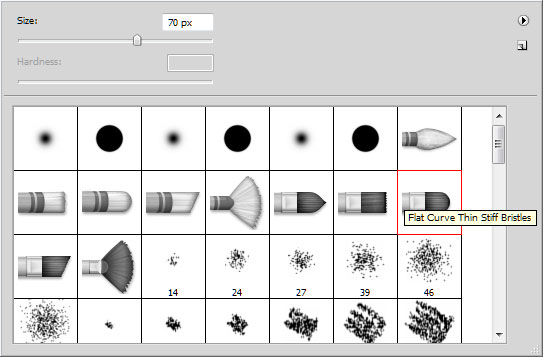
Select the next brush form Brush Tool (B) and set Opacity to 50% in Options bar.
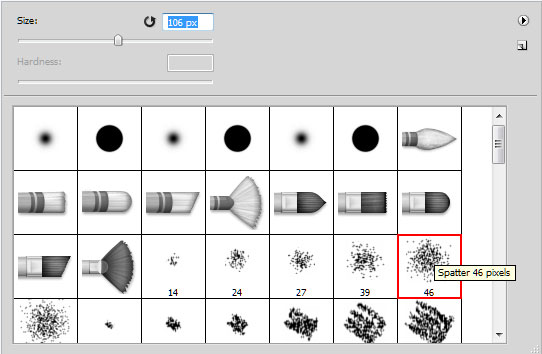
Use this brush to paint arbitrary in the mask:

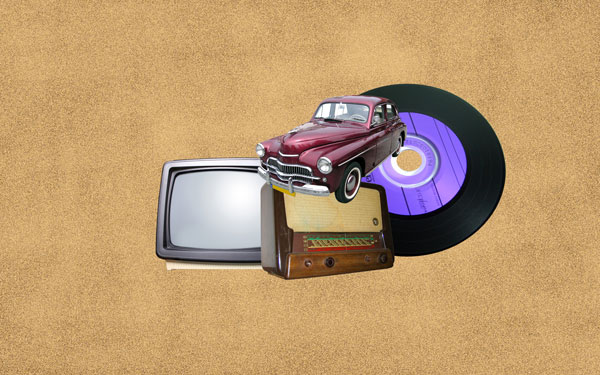
Find a stock photos with the Old car, Retro TV, Old Radio and Vinyl on it.
I used this photos: Old car, Retro TV, Old Radio and Vinyl from SXC.
I would like to thank the authors: Michal Zacharzewski, H Berends, Brano Hudak and Alfonso Diaz.
Remove the backgrounds using your favorite tools like Pen Tool (P), Magic Wand Tool (W), Magnetic Lasso (L) or even a simple Filter>Extract and insert them on a new layers in our main document the same way demonstrated next picture.
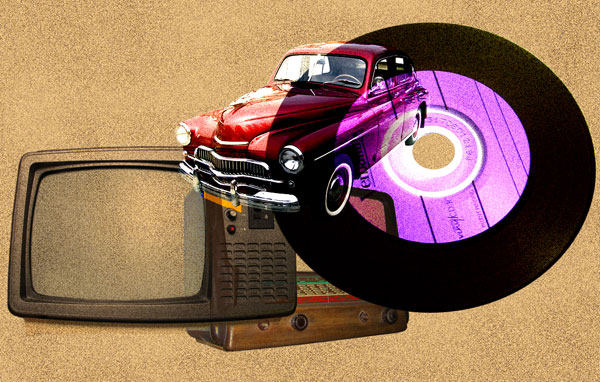
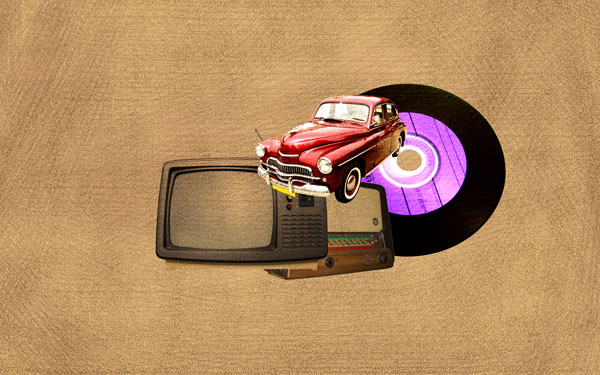
Use for each picture the next Blending modes: Old car – Linear light, the Retro TV – Multiply, the Old Radio – Darken, the Vinyl disk – Linear light.
As for the objects not to shine through each other, we have to remove those parts of the selected layers, situated under the objects. Select firstly the car’s layer. Click on car’s layer in Layers panel, holding Ctrl button. Then not removing the selection, pass on the vinyl’s layer situated under the car and press Delete button. This way we’ll remove the shining part. This way we have to process all layers.
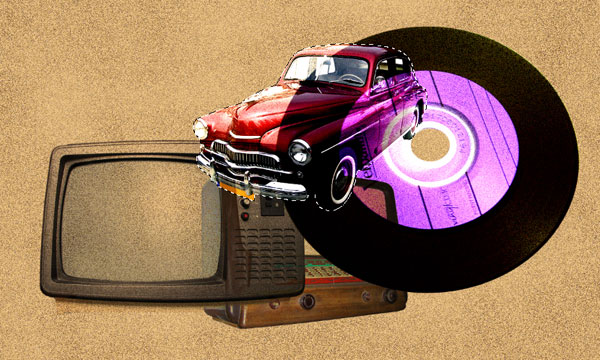
This is the result we must get:
Select now the next brush of black color and set Opacity to 10% in Options bar.
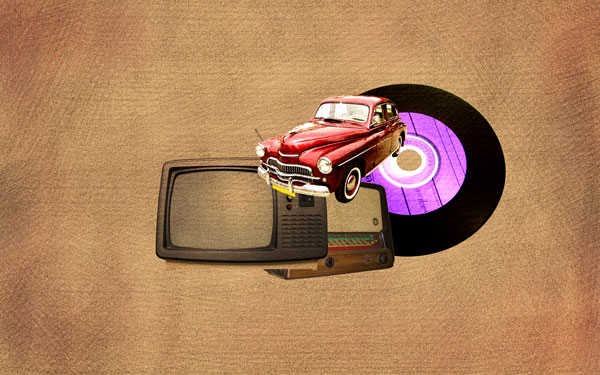
Create a new layer under the layers containing the retro objects and use this brush to represent a kind of the next shown texture:
Set Blending mode to Overlay for this layer.
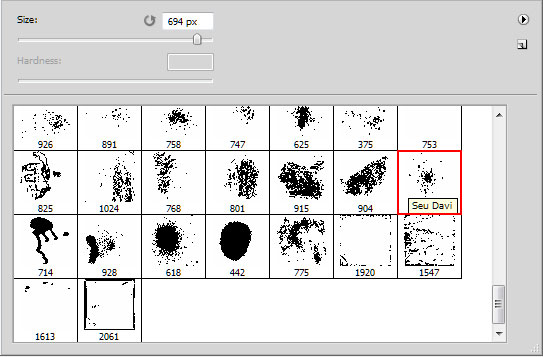
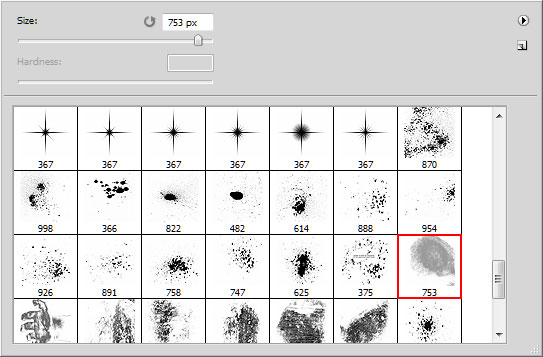
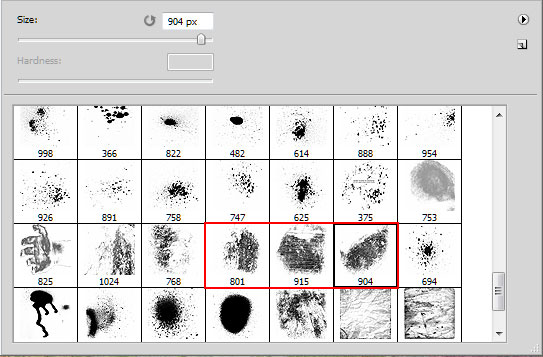
Next step we’ll download a set of brushes for in Adobe Photoshop, named: Seu_Davi .
Select the next brush from Seu_Davi set, the brush color is #000d40 and set Opacity to 40% in Options bar:
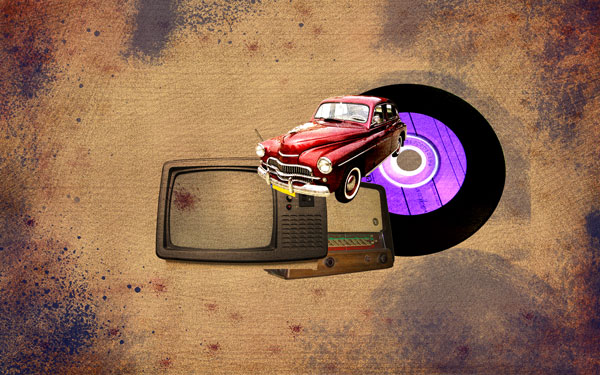
Use this brush to put several spots on a new layer:
Change the Blending mode to Overlay for this layer.
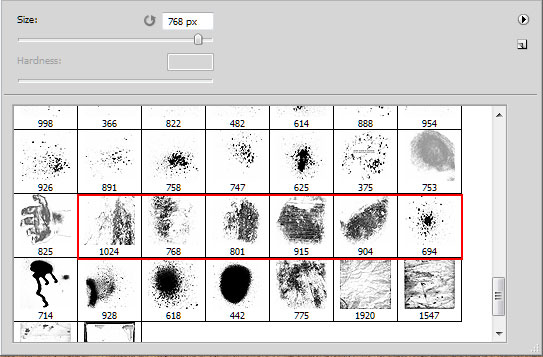
Next select other brushes, also from demonstrated below of the same color to represent the spots and attritions on a new layer:
It’s the result you should get:
Select the next brush from Seu_Davi set of the same color and represent the spots on a new layer. Opacity: 20%.
We’ve got the next result:
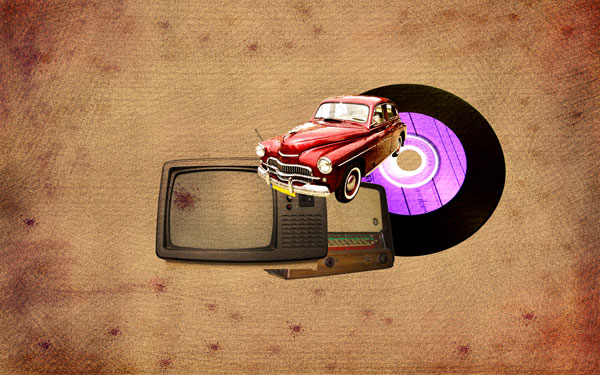
Create a new layer and change the brush’s color on #67844d to paint more spots. Opacity: 50%.
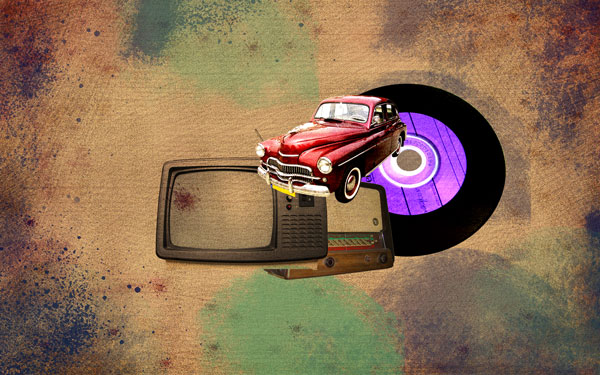
Use those three brushes demonstrated on the next example of the same color and Opacity.
Create new spots on a new layer and change for this layer the Blending mode to Divide.
Page: 1 2
Comments