
Create amazing cosmic-inspired scene in Adobe Photoshop CS5
In today’s tutorial we will demonstrate how to use fashion photography and various techniques to create a cosmic-inspired scene in Adobe Photoshop CS5. Layered PSD file included. Let’s get started!
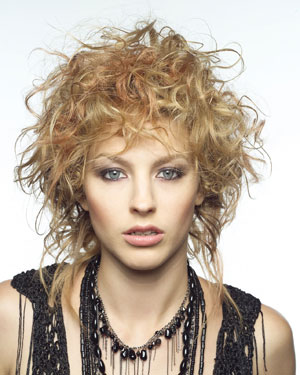
Final Image Preview

Create a new document (Ctrl+N) in Adobe Photoshop CS5 with the size 1280px by 1024px (RGB color mode) at a resolution of 72 pixels/inch. Use the Paint Bucket Tool (G) to fill with black color the new background layer.

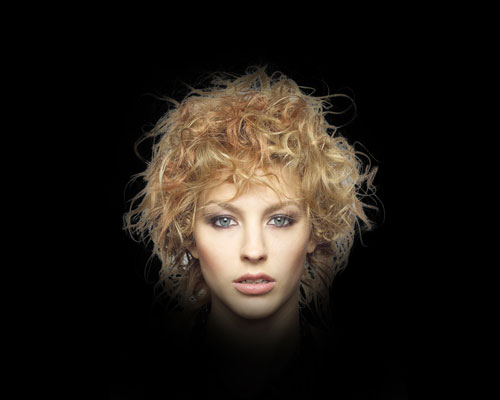
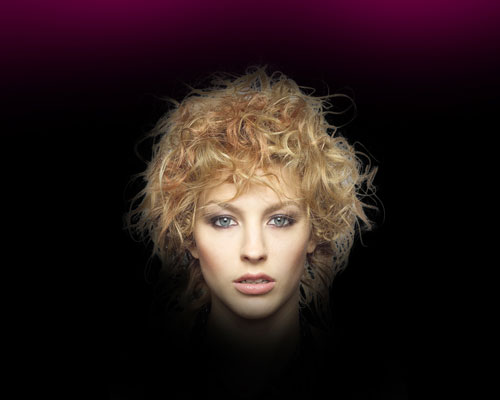
Find a stock photo with a model represented on it, I used this photo from deviantart. I would like to thank the author of this photo, or if you prefer, you can substitute similar image of your own.
Remove the background using your favorite tools like Pen Tool (P), Magic Wand Tool (W), Magnetic Lasso (L) or even a simple Filter>Extract and insert it on a new layer in our main document.
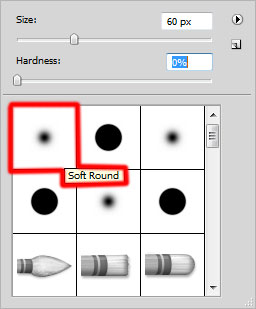
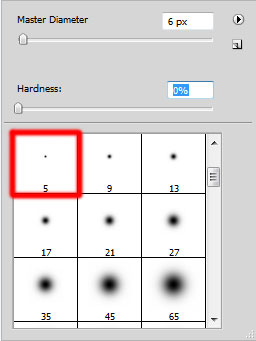
Make sure the girl’s layer is active and click on the bottom part of the Layers panel on Add layer mask icon. Select the Soft Round brush of black color (set Opacity to 30% in Options bar).


Use this brush to paint in the mask to hide the girl’s shoulders, her neck and the hair.
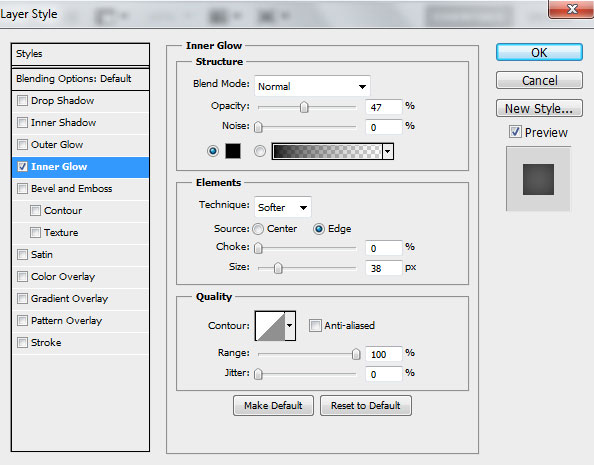
Click on Add a layer style icon from bottom part of the Layers panel and select Inner Glow style for the girl’s layer.
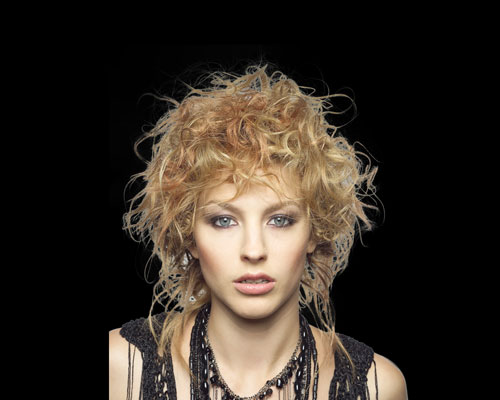
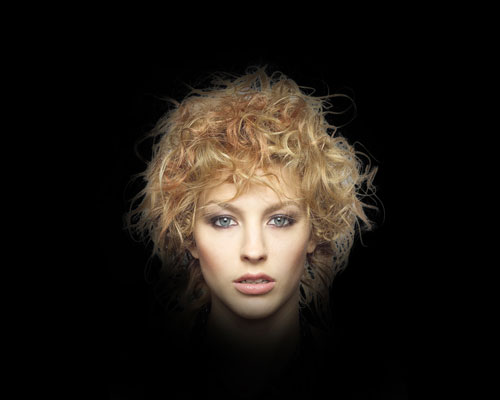
We’ve got the next result:
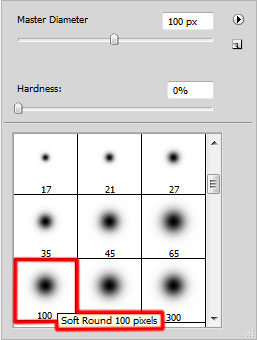
Create a new layer and select the Soft Round brush of black color from Brush Tool (B). Set Opacity value to 15% in Options bar.
Use this brush to paint the hair’s edges.
Let’s create a clipping mask to make the content of the brush’s layer only visible within the content of the girl’s layer. Hold down Alt (Windows) or Option (Mac OS) and click layers (on the Layers panel).

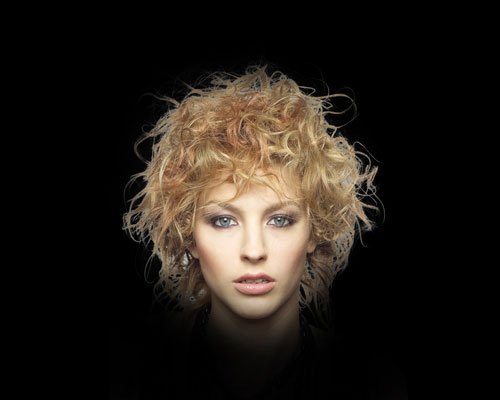
We’ve got the next result:

Create a new layer and select here the same Soft Round brush.
Use this brush to paint the canvas on the top as shown. The brush color is #FF0098 and this layer should be placed lower than the girl’s layer.
Insert the mask (Add layer mask) on this layer and apply the next filter Filter>Render>Clouds.

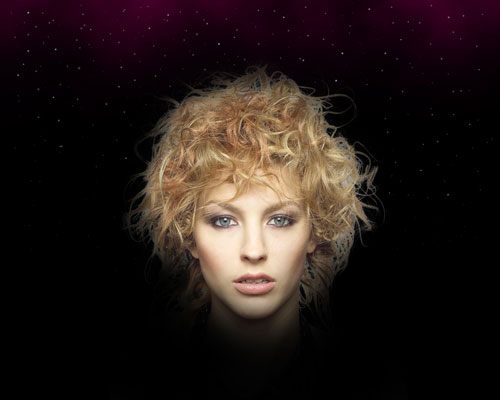
On the next new layer we have to represent the starry sky with the Soft Round brush of white color and different Opacity value.

Place this layer under the girl’s one.
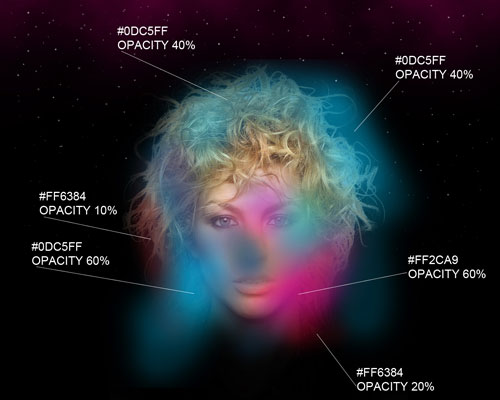
Create a new layer again and use on it the Soft Round brush.

Use this brush to paint this time the girl with the next shown colors.
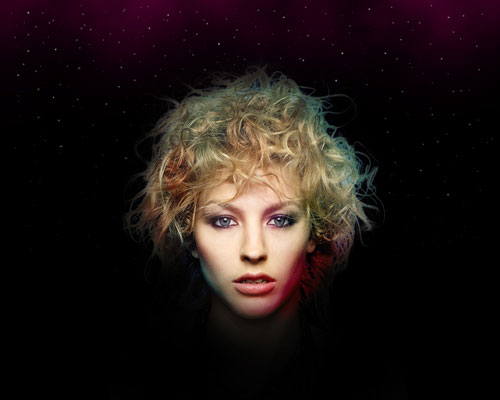
Set Fill to 47% for this layer and change the Blending mode to Color Burn.
On the next new layer we’ll use again the Soft Round brush mentioned above to continue painting the girl with the color #82C500 (Opacity 60%).
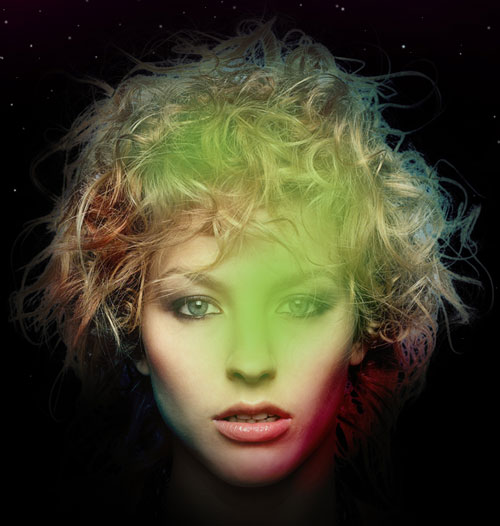
Set Fill to 60% for this layer and change the Blending mode to Hard Light.
Create a new layer and use again the Soft Round brush.

Use this brush to paint the girl with the next shown colors.
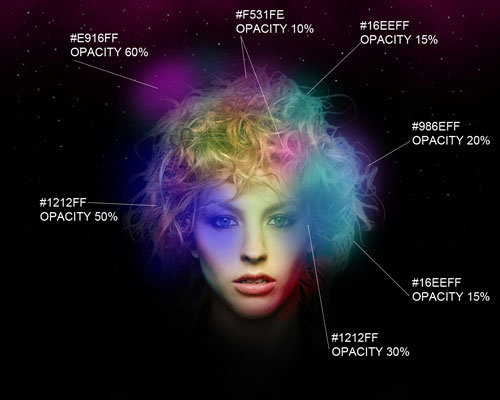
Set Fill to 70% for this layer and change the Blending mode to Vivid Light.
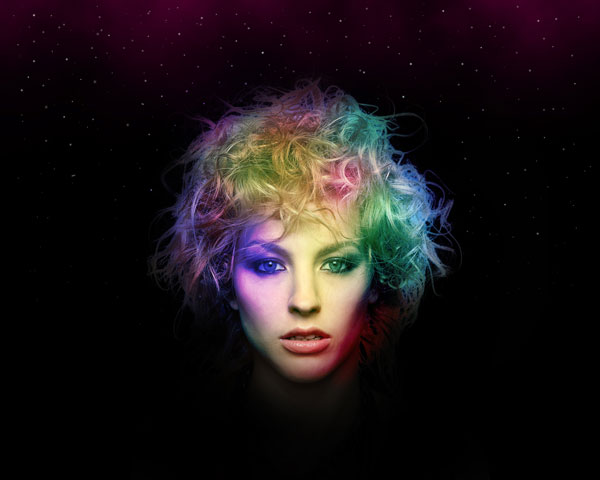
Create the next new layer, applying the Soft Round brush and white color here to represent more stars.
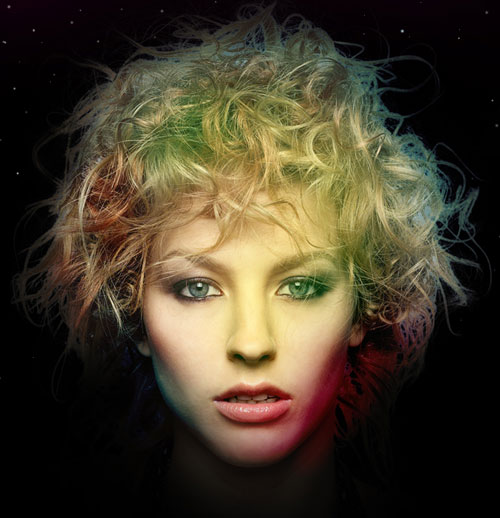
We’ve got the next result:

Page: 1 2
Comments