
Create Abstract Colorful Balls illustration in Photoshop CS5
In today’s drawing tutorial, you will learn how to create abstract colorful illustration using simple tools and techniques like Ellipse Tool, Brush Tool, Gradient Tool, Layer Style, etc. in Adobe Photoshop CS5. Layered PSD file included. Let’s get started!
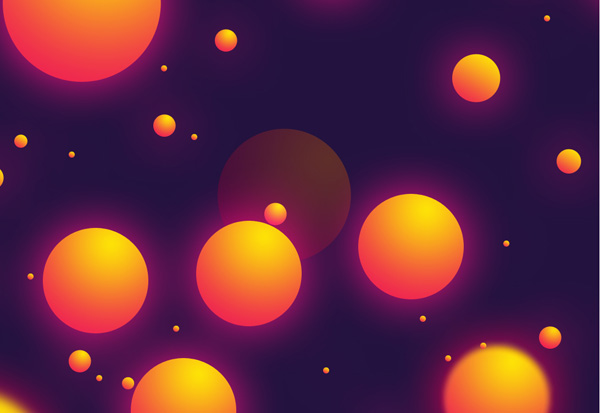
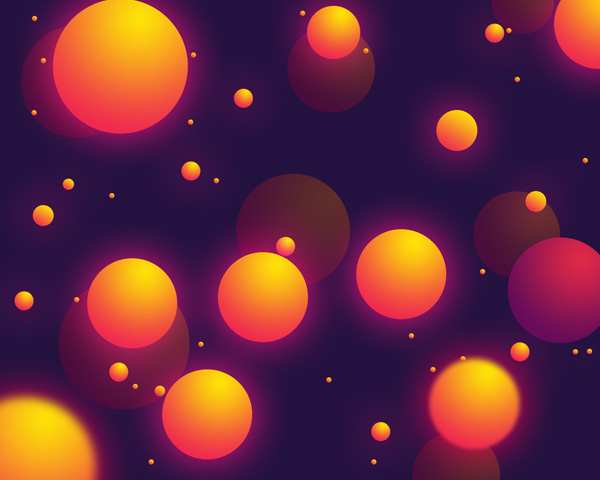
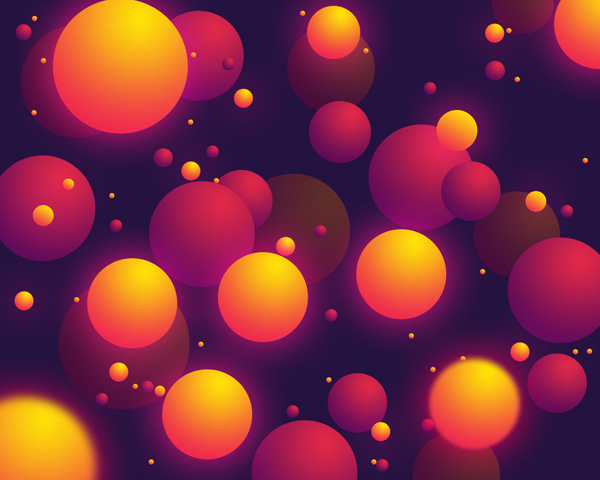
Final Image Preview
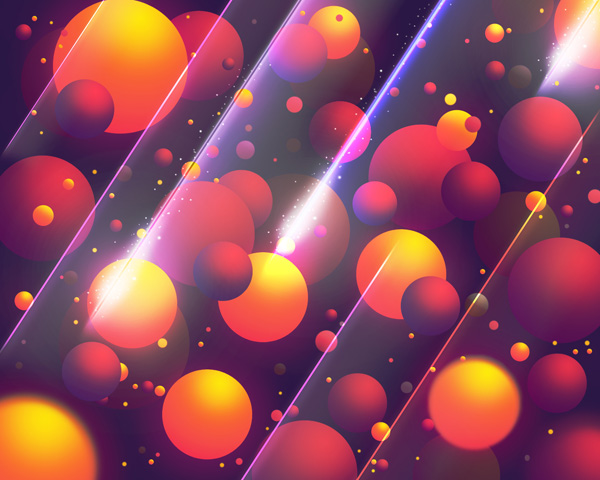
Taking inspiration from Andrew Footit and his LightSpeed poster.
Start working by creating a new document (Ctrl+N) in Adobe Photoshop CS5 with the size 1280px by 1024px (RGB color mode) at a resolution of 72 pixels/inch. Use the Paint Bucket Tool (G) to fill with #23123F color the new background layer.

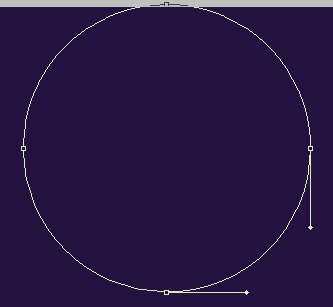
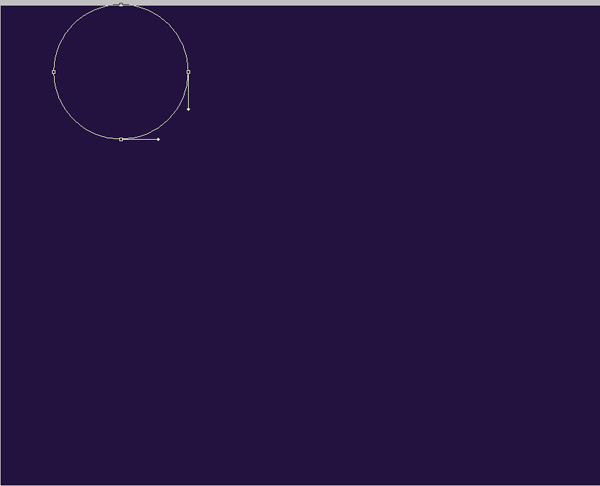
Take now the Ellipse Tool (U) and drag to draw a small ellipse on the top of the canvas.

Set Fill to 0% for this layer and click on Add a layer style icon from bottom part of the Layers panel and select Outer Glow.
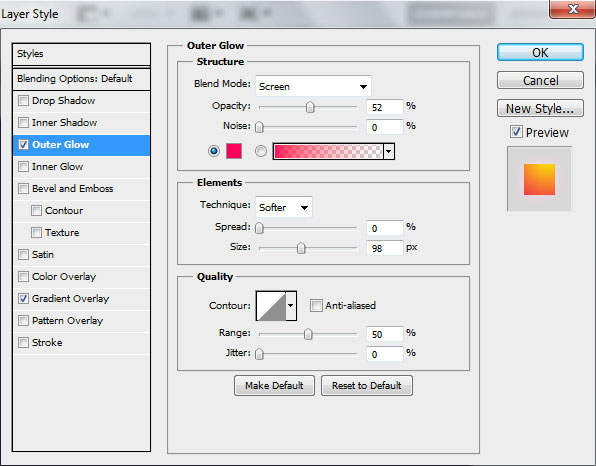
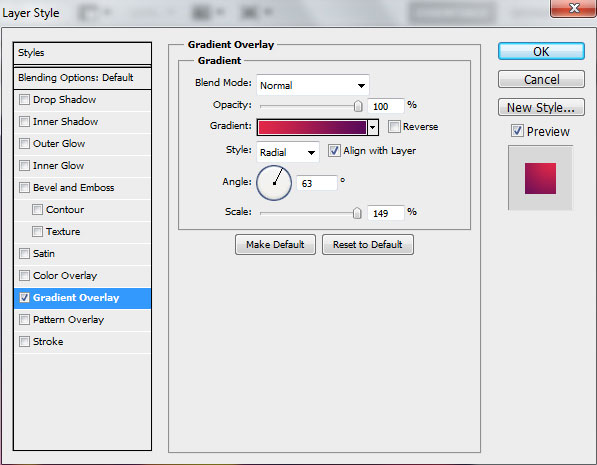
Add Gradient Overlay.
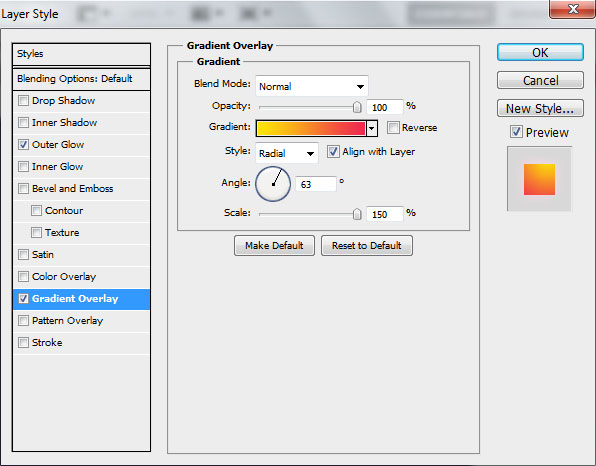
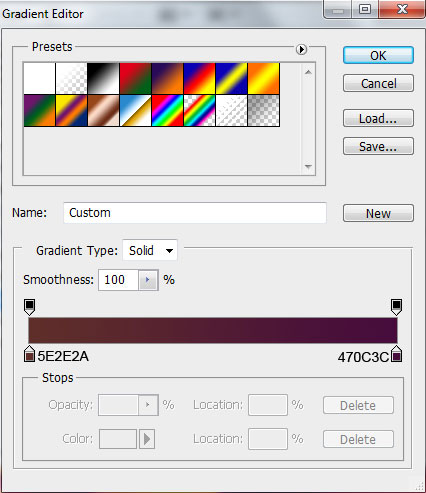
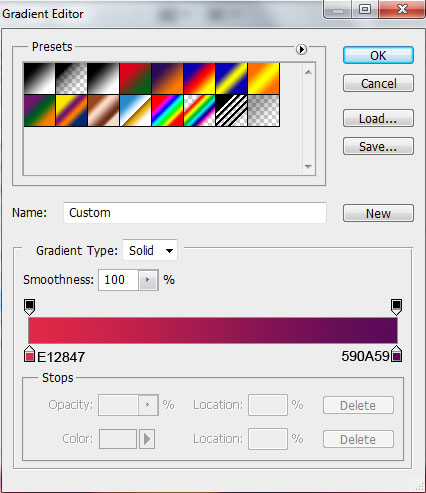
Click in the color bar to open the Gradient Editor and set the color stops as shown. Click OK to close the Gradient Editor dialog box.

We’ve got the next effect on the ellipse:

Make now many copies of the drawn ellipse (Duplicate layer) and choose the Free Transform (Ctrl+T) command to change the copies’ sizes and their position on the canvas.

Make a copy of one layer with the ellipse on it, select Free Transform (Ctrl+T) command and change the copy’s size and its position on the canvas as shown.
Create a new layer above the last made one, select both layer and press CTRL+E to Merge Down. On the rasterized layer we’ll apply the next filter: Filter>Blur>Gaussian blur.

We’ve got the next result:

Make one more copy of the ellipse’s layer and choose Free Transform (Ctrl+T) command to enlarge the copy’s layer and place it as it is shown below.

We need to rasterize the layer with the circle the same way described above (Create a new layer above the last made one, select both layer and press CTRL+E to Merge Down). Apply on the rasterized layer the next next filter: Filter>Blur>Gaussian blur.

We’ve got the next result:
Combine in a group all the layers composing the ellipses (press CTRL button and select the necessary layers on the Layers panel. Then hold on the left mouse’s button while draging the selected layers on Create a new group icon from bottom part of the Layers panel.
Use again the Ellipse Tool (U) to draw a small ellipse under the made group already.

Set Fill to 0% for this layer and click on Add a layer style icon from bottom part of the Layers panel and select Gradient Overlay.
Click in the color bar to open the Gradient Editor and set the color stops as shown. Click OK to close the Gradient Editor dialog box.
We’ve got the next result:
Make many copies of the last made layer containing the ellipse and choose Free Transform (Ctrl+T) command to change the copies’ sizes and their placement as shown.
Combine again in a group all the layers containing the last made ellipses (press CTRL button to select the necessary layers and hold on the left mouse’s button when draging the selected layers on Create a new group icon from bottom part of the Layers panel).
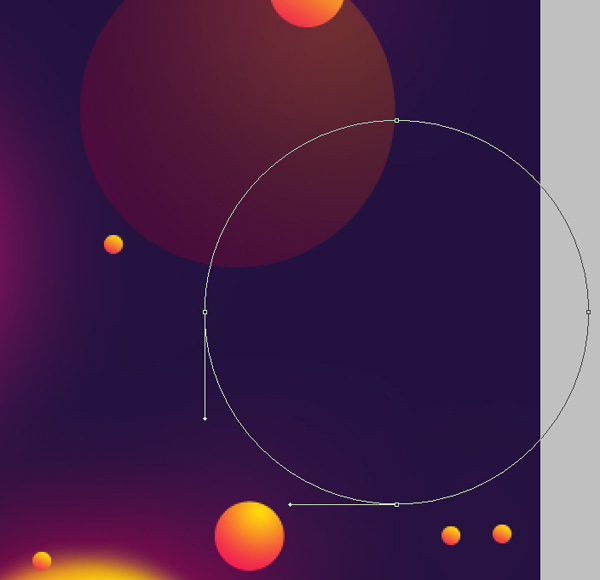
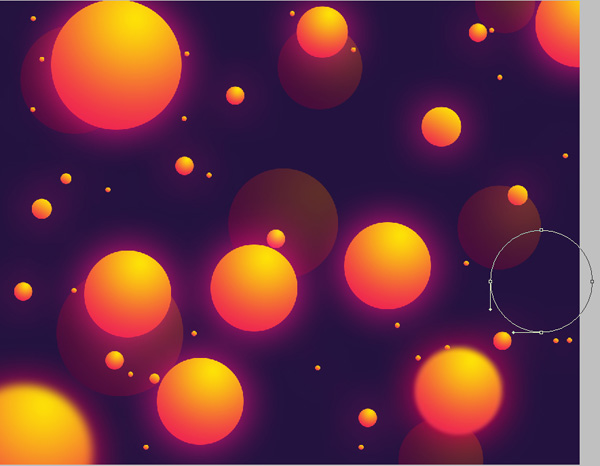
We have to draw now the next ellipse between the groups, using the Ellipse Tool (U).
Set Fill to 0% for this layer and click on Add a layer style icon from bottom part of the Layers panel and select Gradient Overlay.
Click in the color bar to open the Gradient Editor and set the color stops as shown. Click OK to close the Gradient Editor dialog box.
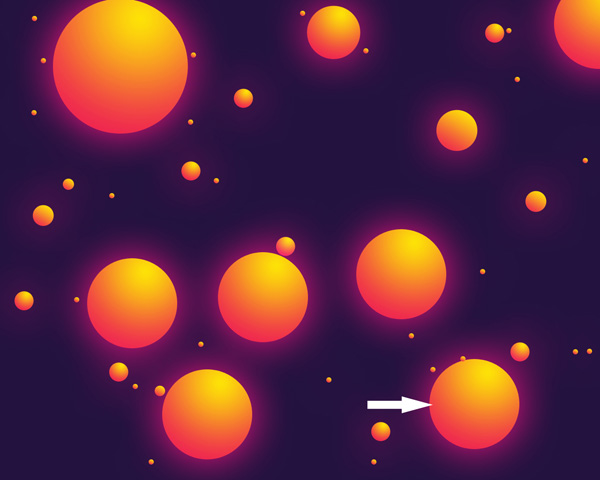
We’ve got the next result:
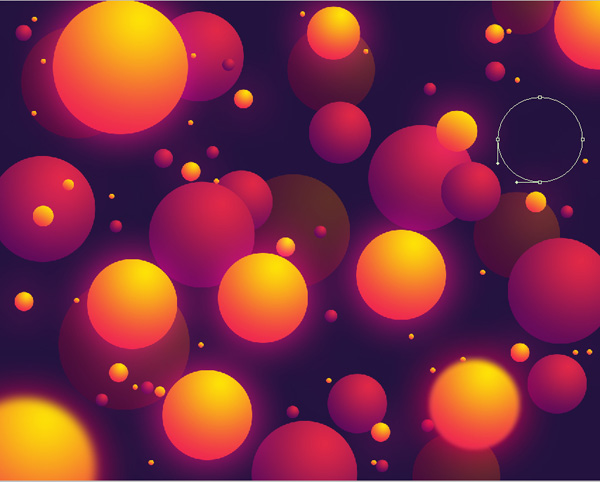
Make many copies of the last made ellipse’s layer and choose Free Transform (Ctrl+T) command to change the copies’ sizes and their placement, placing them as it is indicated below:
Let’s represent now the next ellipse, placing its layer above all the previous ones, using the same Ellipse Tool (U).
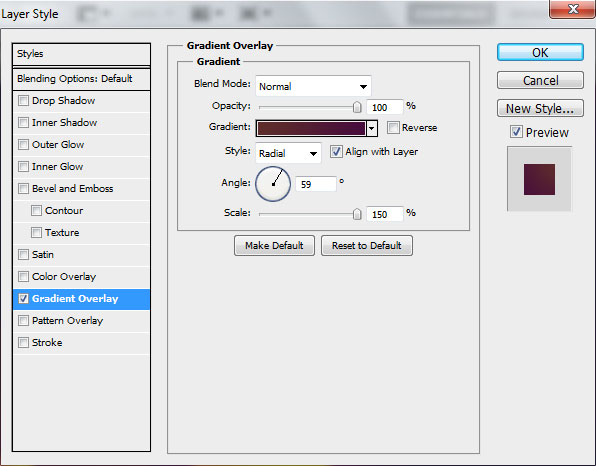
Set Fill to 0% for this layer and click on Add a layer style icon from bottom part of the Layers panel and select Gradient Overlay.

Click in the color bar to open the Gradient Editor and set the color stops as shown. Click OK to close the Gradient Editor dialog box.

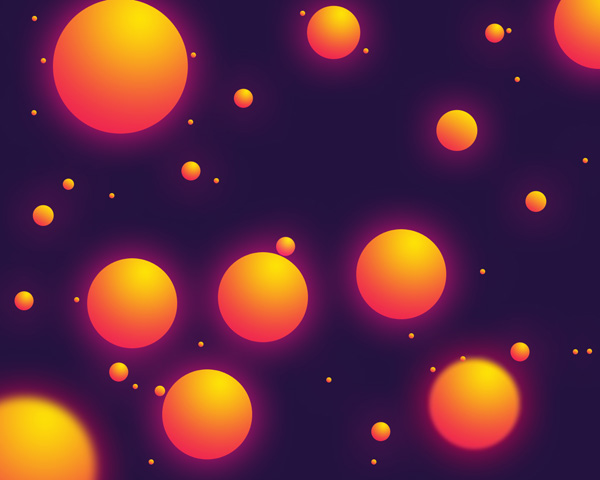
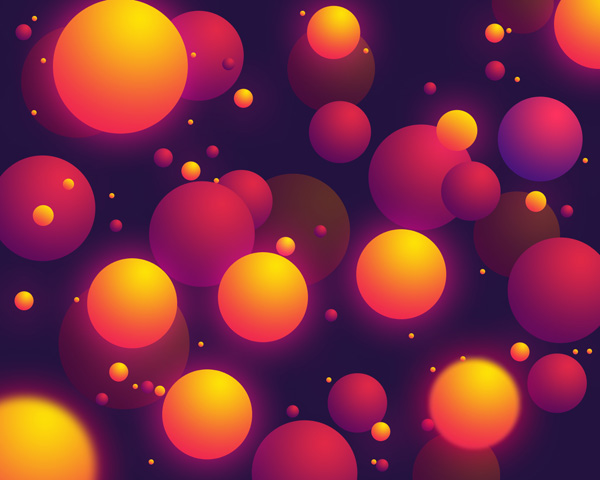
We’ve got the next result:
Page: 1 2
Comments