
How to create a New Year 2011 colorful card in Photoshop CS5
In this quick and easy graphic design tutorial, I will show you the steps I took to create a New Year 2011 colorful card using simple techniques from Adobe Photoshop CS5. Let’s get started!
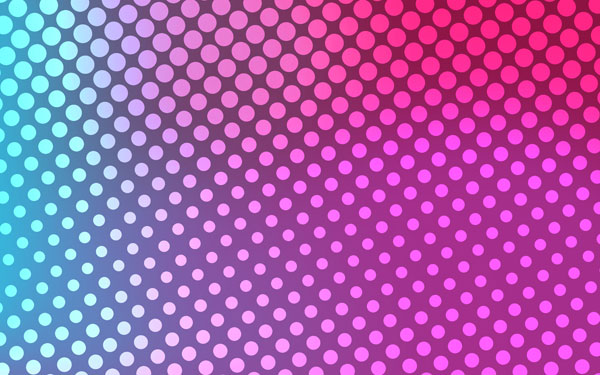
Final Image Preview

Start working by creating a new document (Ctrl+N) in Adobe Photoshop with the size 1920px by 1200px (RGB color mode) at a resolution of 72 pixels/inch. Use the Paint Bucket Tool (G) to fill with #8D1342 color the new background layer.

Create a new layer and select the Soft Round brush from Brush Tool (B). Set Foreground color to #A52E8C.
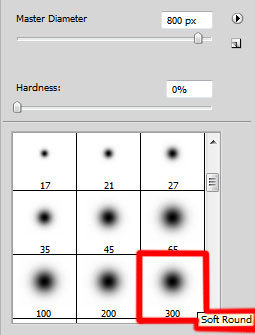

Use this brush to paint the bottom part of the canvas as shown.

On the next new layer we’ll paint very accurately on the left side with the color #3AAACE (set brush’s Opacity to 30% in Options bar).

Create the next new layer, select the Gradient Tool (G) and open the Gradient Editor from Options Bar. Set the color stops as shown. Click OK to close the Gradient Editor dialog box.
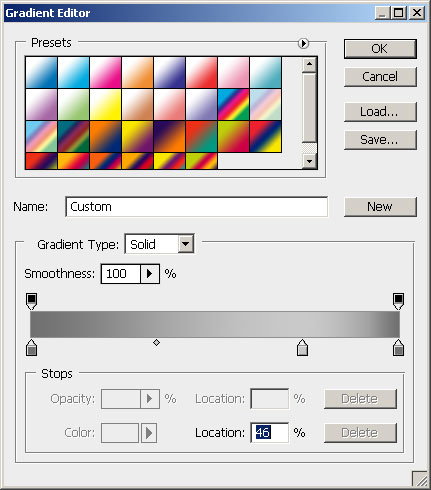
Apply the gradient from the top to down.

Choose for this layer the next filter: Filter>Pixelate>Color Halftone.
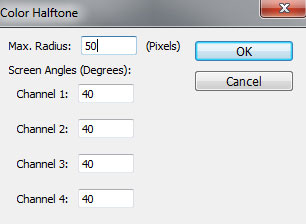
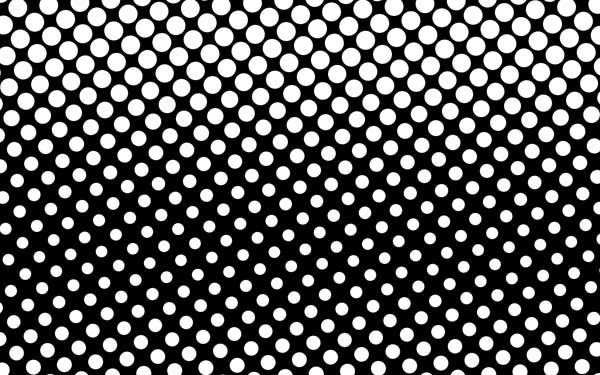
We’ve got the next result:

Press CTRL+I to Inverse the color.
Next we’ll use the Magic Eraser Tool (E) to delete the black color from our layer, click on the black color between the points to delete it.

Set the Blending mode for this layer to Overlay.
Create a new layer and select the Soft Round brush of white color.

Use this brush to represent two highlights as shown.

Set the Blending mode for this layer to Overlay.

Let’s create one more new layer and use here the brush mentioned above to draw a highlight of the color #FF00C0 (set Opacity to 20% in Options bar).

Set the Blending mode for this layer to Linear Light.

On the next new layer we’ll use the Paint Bucket Tool (G) to fill it with black color.

Insert the mask on the layer by choosing Add layer mask on the bottom part of the Layers panel and choose the Soft Round brush of black color.

Paint in the mask using this brush to hide the black color on the central part of the canvas the same way from below.

Click the Horizontal Type tool (T). Select a font, size and color in the Character panel (I have used VAG Rounded font or if you prefer, you can substitute similar font of your own).
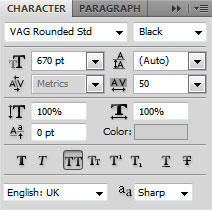
Click in the canvas and type New Year 2011. Press Enter to apply the text. Type each number in a separate layers.

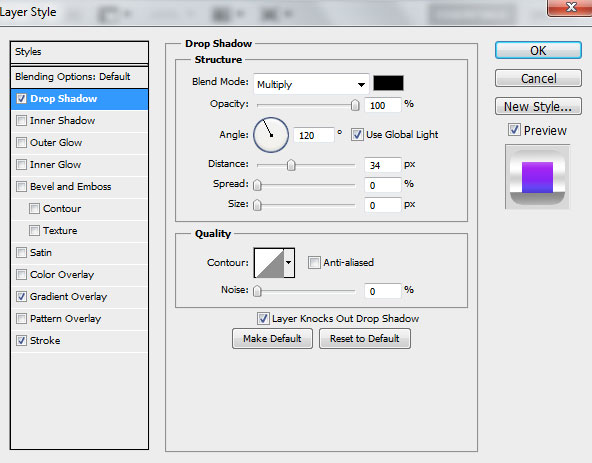
For layer containing number ‘2’ click on Add a layer style icon from bottom part of the Layers panel and select Drop Shadow.
Add Gradient Overlay:
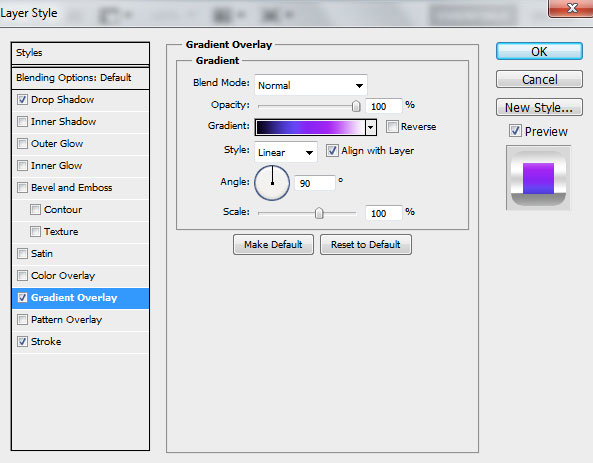
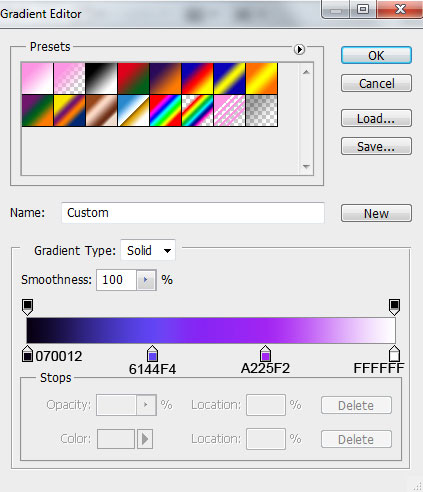
Click in the color bar to open the Gradient Editor and set the color stops as shown. Click OK to close the Gradient Editor dialog box.
Settings for Stroke:
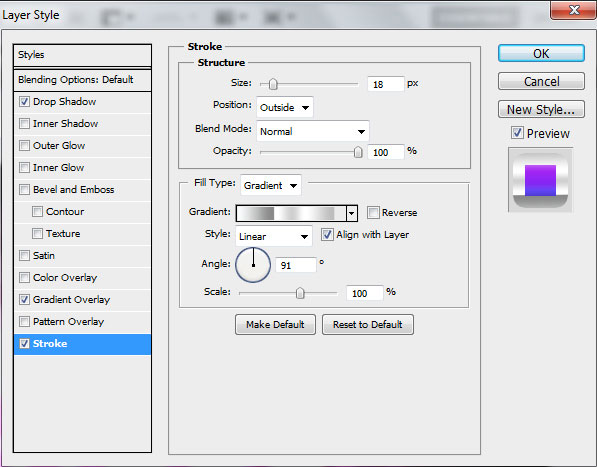
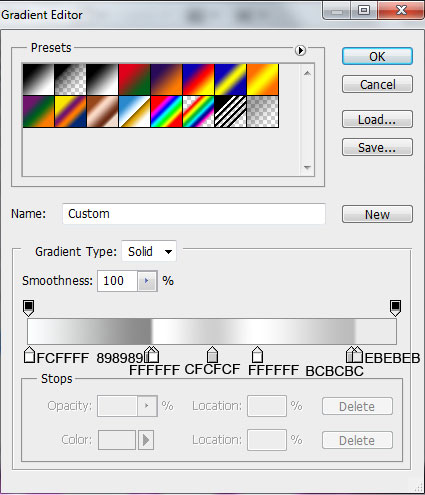
Select File type – Gradient and click in the color bar to open the Gradient Editor and set the color stops as shown. Click OK to close the Gradient Editor dialog box.
We’ve got the next result:

Page: 1 2
Comments