
How to create Christmas greeting card with New Year’s toys in Photoshop CS5
In the following tutorial I will explain how to create Christmas greeting card with New Year’s toys in Adobe Photoshop CS5. You will learn how to use brushes to make an abstract background then we will use Pen Tool and Layer Style to create New Year’s toys on the background. You can use these techniques and elements to create your own greeting card!
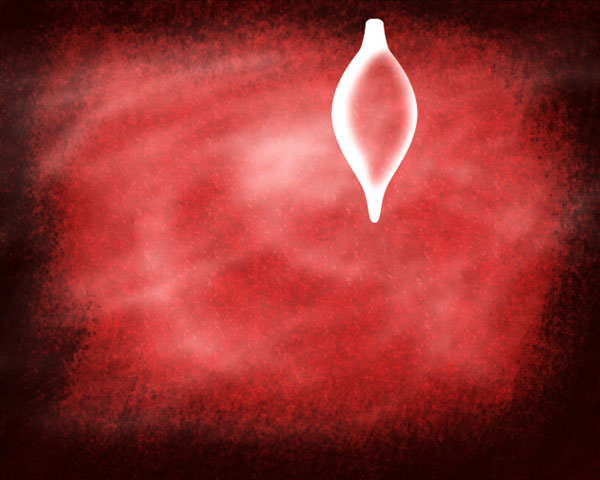
Final Image Preview

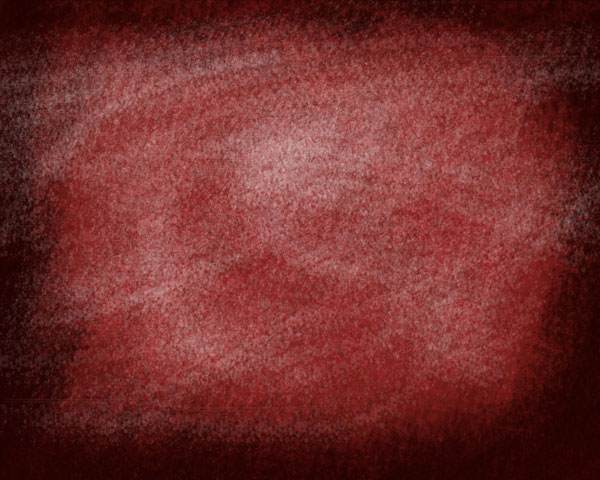
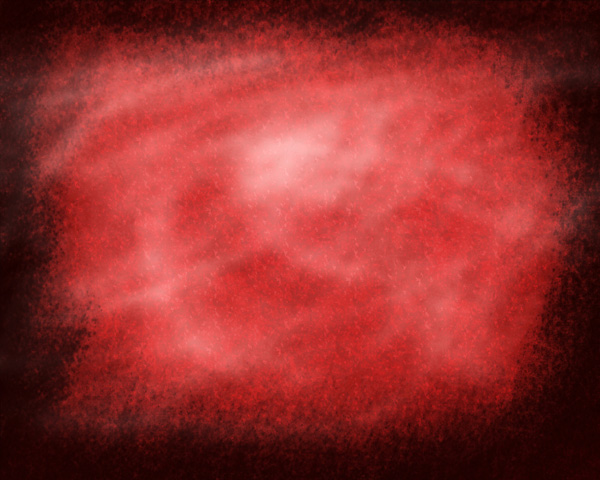
Start working by creating a new document (Ctrl+N) in Adobe Photoshop with the size 1280px by 1024px (RGB color mode) at a resolution of 72 pixels/inch. Download from Psdgraphics the next Red grunge background and insert it on a new layer in our main document.

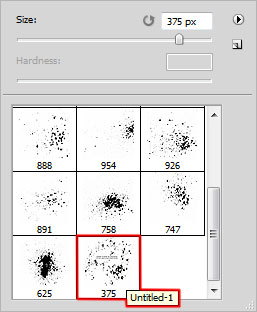
Now download the next sets of brushes for Adobe Photoshop, named: c130_splatter and Lep – reflections. Create a new layer and select the next brush from c130_splatter set. The brush’s color is black (set the Opacity to 35% in Options bar).

Use this brush to paint the edges of the canvas as shown:

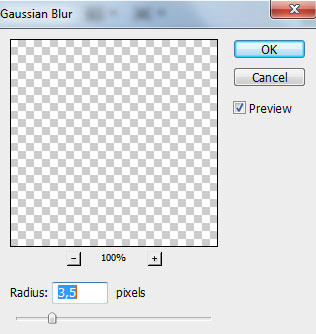
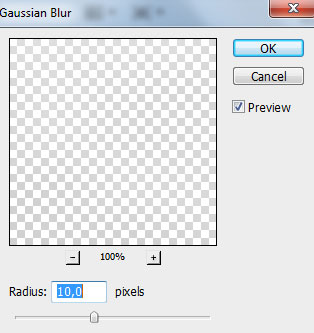
Next we’ll have to make a copy of the last made layer and apply on it the next filter: Filter>Blur>Gaussian blur.
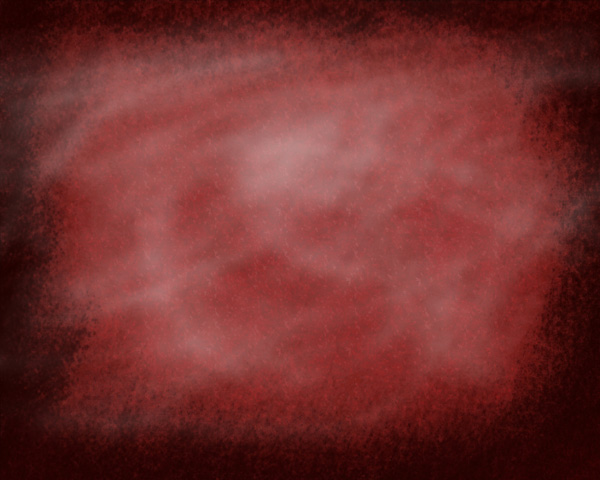
We’ve got the next result:

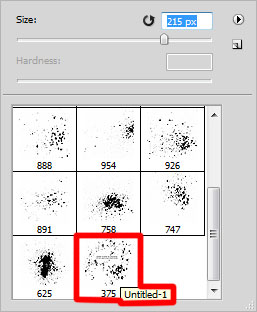
Create a new layer and select the same brush from the earlier mentioned set. The brush is of white color.
Use this brush to paint on the canvas as shown.
Apply for this layer the next filter: Filter>Blur>Gaussian blur.
We’ve got the next result:

Make a copy of the last made layer and set Fill to 8% for this layer.
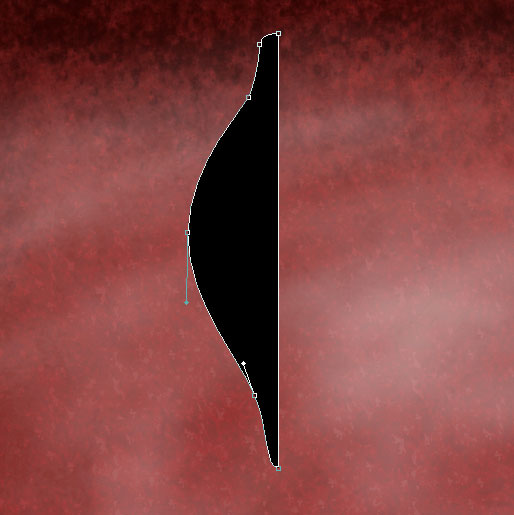
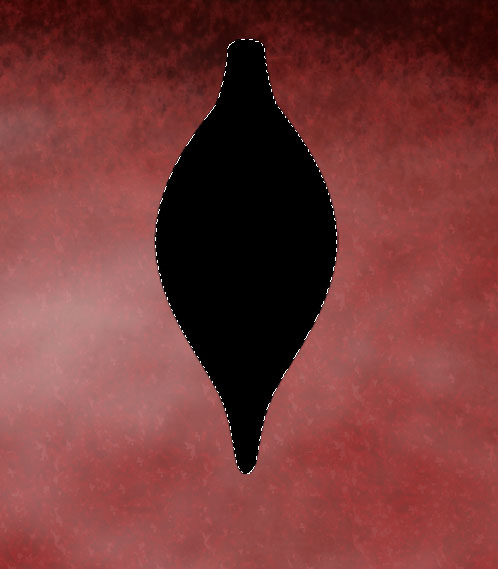
Now we’ll represent a Christmas tree toy. Firstly we’ll represent a half of it, choose the Pen Tool (P), set the drawing mode on Shape Layers in Options bar and draw the next shape as shown.
Make a copy of the last made layer and choose the Free Transform (Ctrl+T) command to turn around the copy’s layer and place it the way from below:
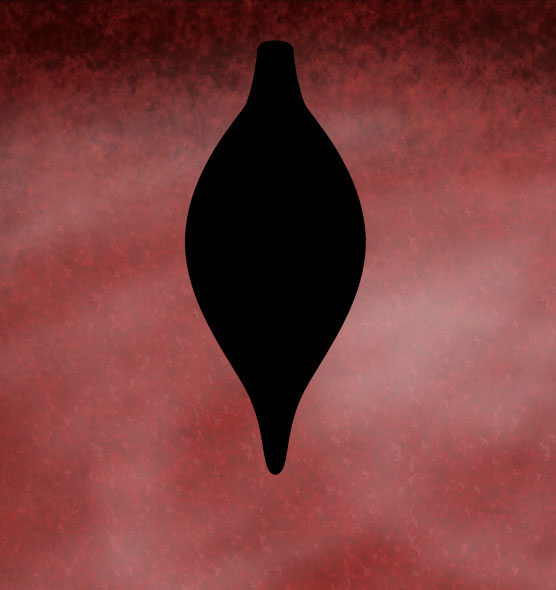
Put together both layers into a single one. Press CTRL button, select both layers and press CTRL+E to Merge Down. Press now CTRL button and click on the layer containing the toy in Layers panel. We’ll get a selection.
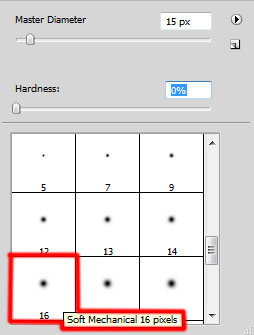
Create a new layer and select the Soft Mechanical brush from Brush Tool (B).
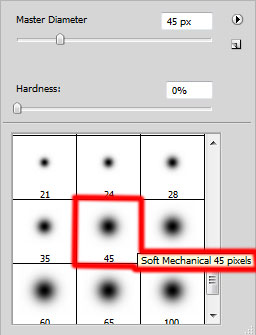
Paint inside the selection with white color, hiding preliminary for a while the layer with the toy itself.

Hide for a while the layer containing the toy and click Create new fill or adjustment layer from bottom part of the Layers panel and click to Curves to adjust the curve shape as shown to make a little color corrections.
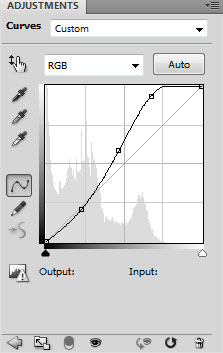
We’ve got the next result:
Make visible again the layer with the toy and choose the Free Transform (Ctrl+T) command to place the layer as it is shown below.
Use after that the Pen Tool (P), set the drawing mode on Shape Layers in Options bar and draw the toy’s support as shown.
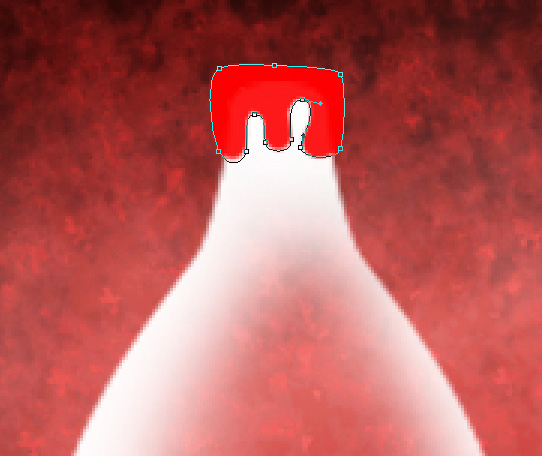
Set Fill to 0% for this layer, click on Add a layer style icon from bottom part of the Layers panel and select Bevel and Emboss.
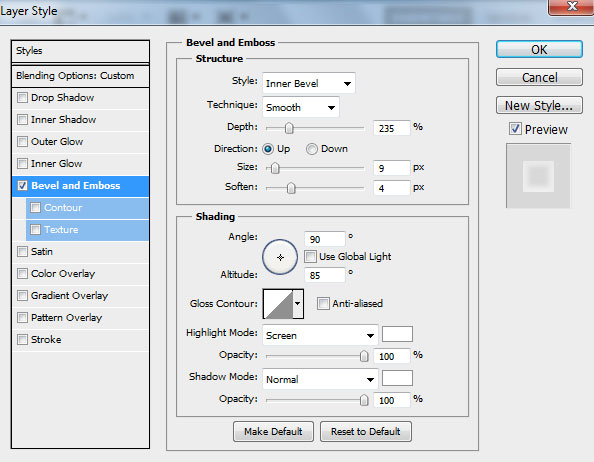
We’ve got the next result:

Next we’ll represent the ring for the toy’s support, take the Ellipse Tool (U) and represent the first ellipse and then press Alt button or select Subtract from shape area (-) in Options bar and draw the next ellipse to cut the middle part of the first ellipse.

Set Fill to 0% for this layer, click on Add a layer style icon from bottom part of the Layers panel and select Bevel and Emboss.
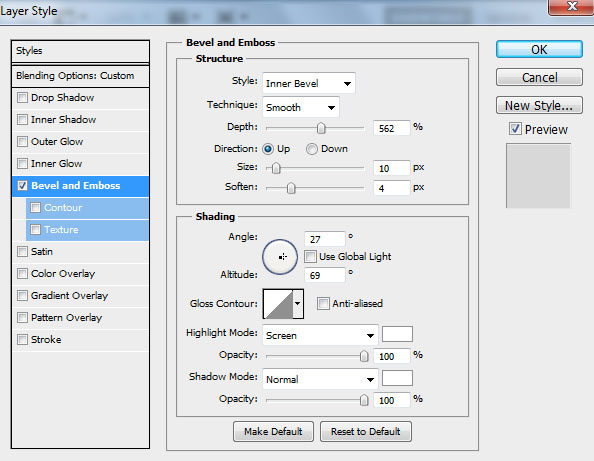
We’ve got the next result:

Insert the mask on the layer by choosing Add layer mask on the bottom part of the Layers panel and choose the Soft Mechanical brush of black color.
Paint in the mask using this brush to hide the lowest part of the ring as it is demonstrated on the picture.

Now we’ll put together the layers containing the tree’s toy into a single layer. Press CTRL button to select the necessary layers in Layers panel and then press CTRL+E to Merge Down. Make four copies of the got layer and select Free Transform (Ctrl+T) command to change the copies’ sizes and put them the same way demonstrated below:

Page: 1 2
Comments