
How to design an abstract Christmas illustration with colorful shapes and glass baubles in Photoshop CS5
We have another great tutorial available for our readers today. If you want to learn how to design an abstract Christmas illustration with colorful shapes and glass baubles, using simple shapes and gradients in Adobe Photoshop CS5, then this tutorial is for you.
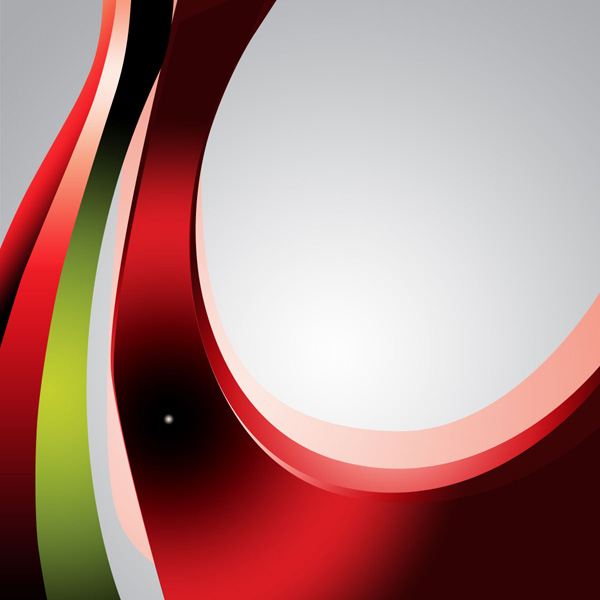
Final Image Preview

Start working by creating a new document (Ctrl+N) in Adobe Photoshop with the size 1200px by 1200px (RGB color mode) at a resolution of 300 pixels/inch. Take now the Rectangle Tool (U) and draw a rectangle on the whole canvas.

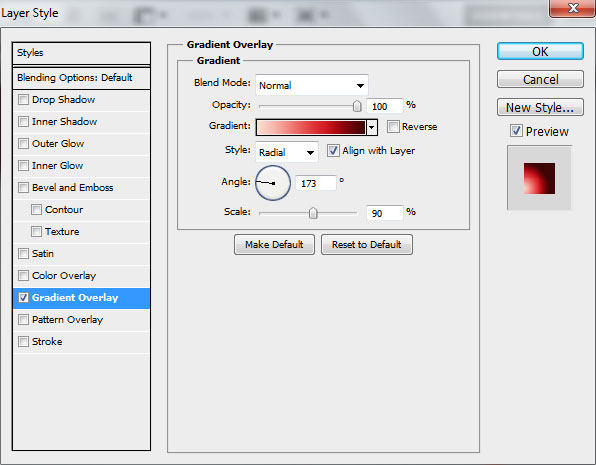
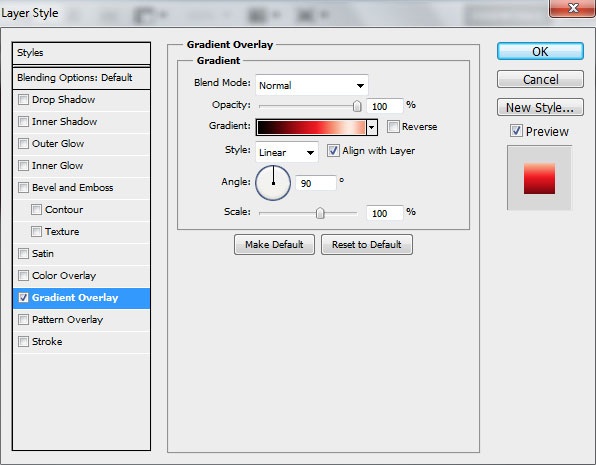
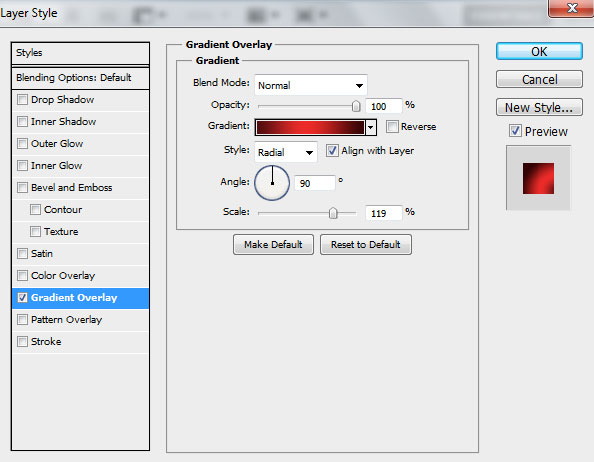
Click on Add a layer style icon from bottom part of the Layers panel and select Gradient Overlay.
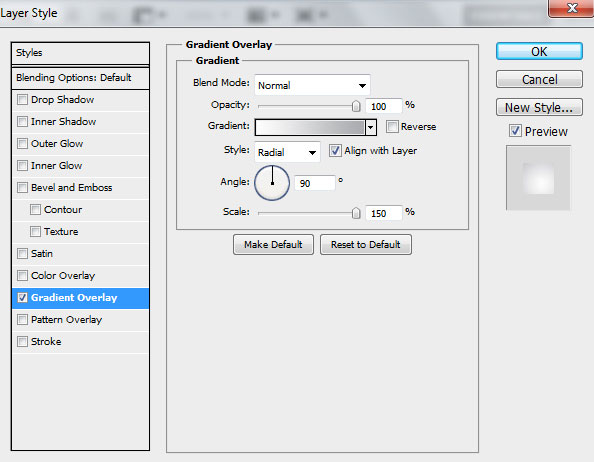

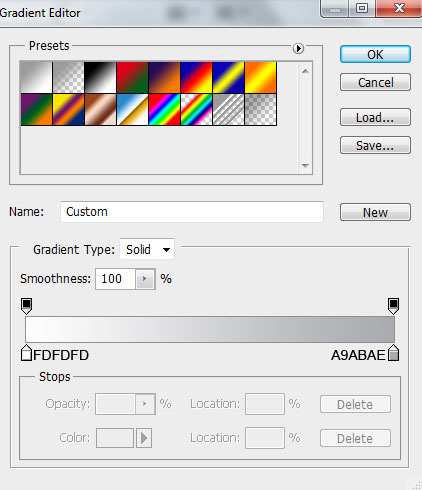
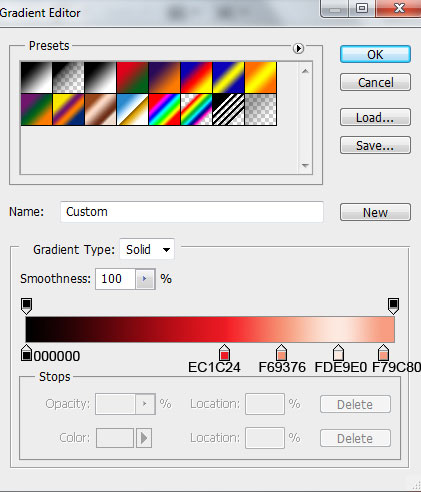
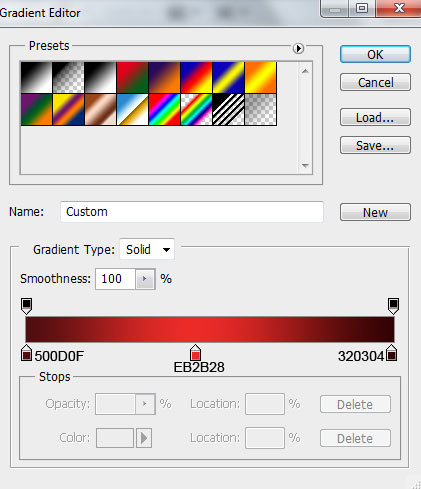
Click in the color bar to open the Gradient Editor and set the color stops as shown. Click OK to close the Gradient Editor dialog box.
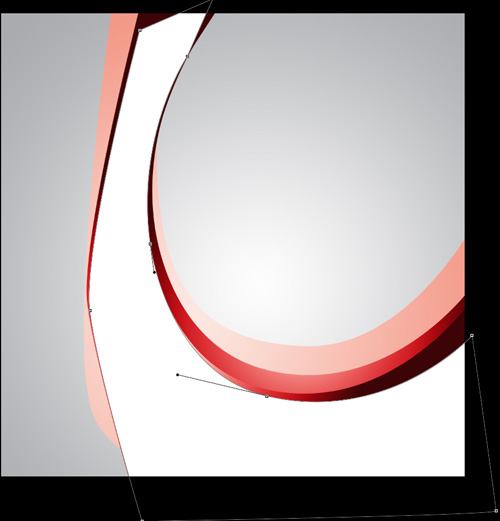
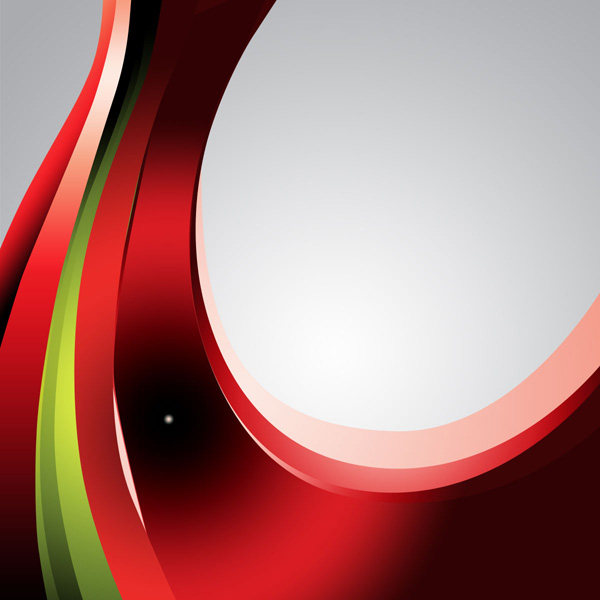
We’ve got the next background:

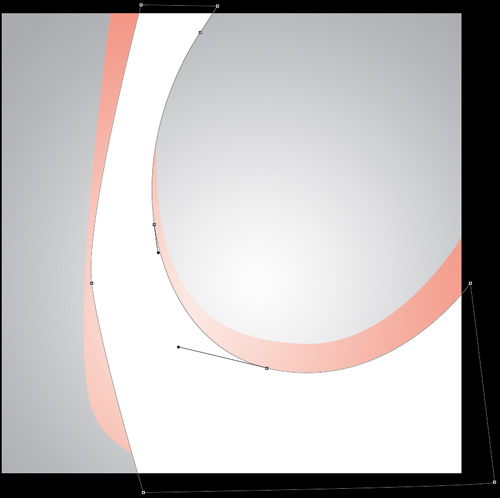
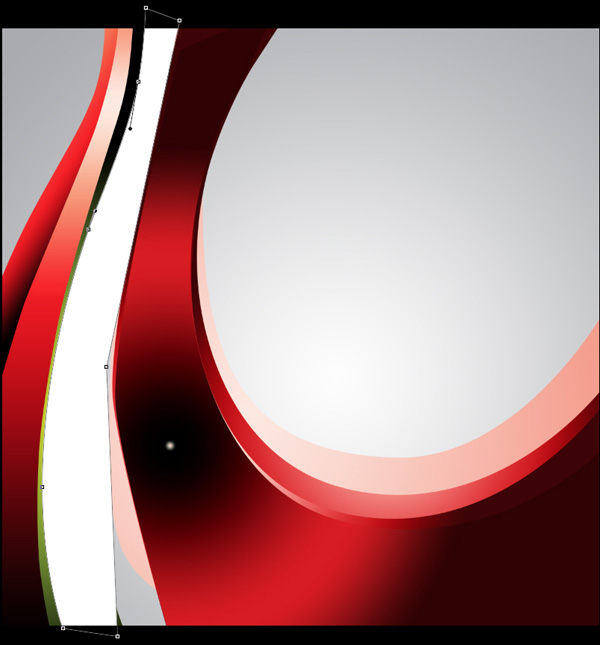
Next we’ll create many shapes to decorate our Christmas background. Choose the Pen Tool (P), set the drawing mode on Shape Layers in Options bar and draw the next shape as shown.

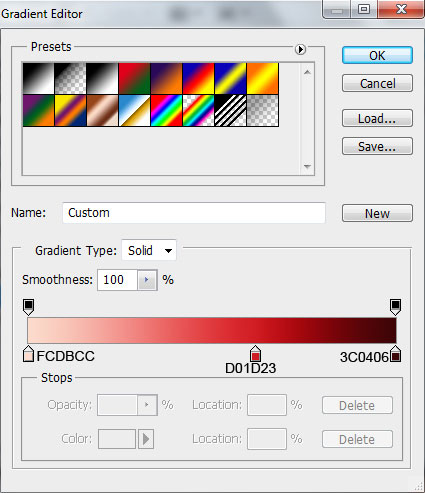
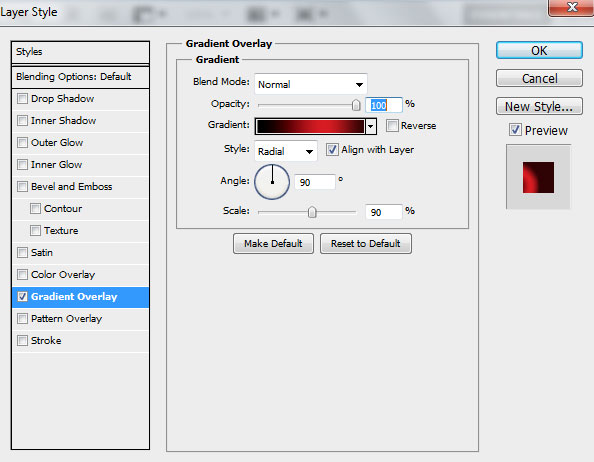
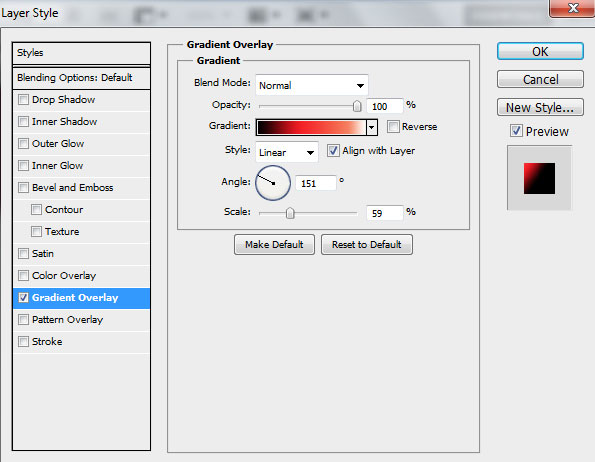
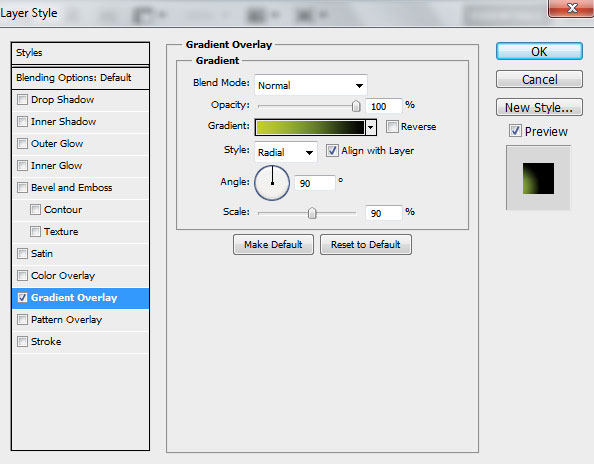
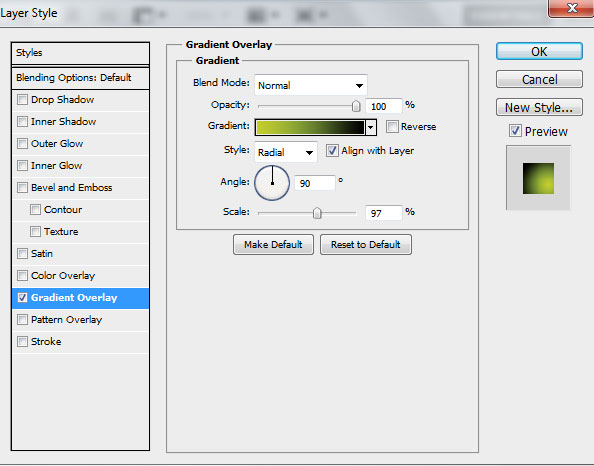
Click on Add a layer style icon from bottom part of the Layers panel and select Gradient Overlay.
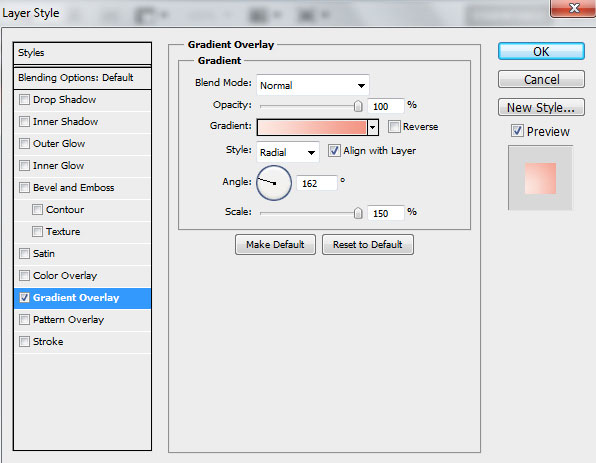
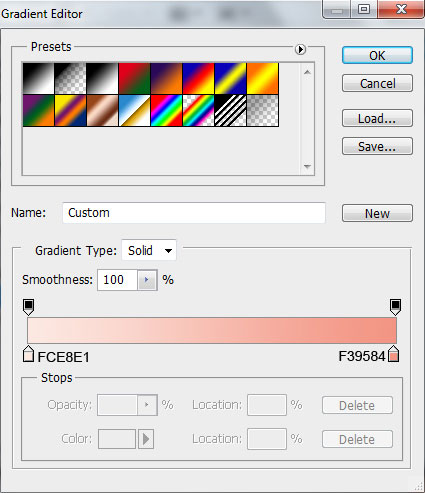
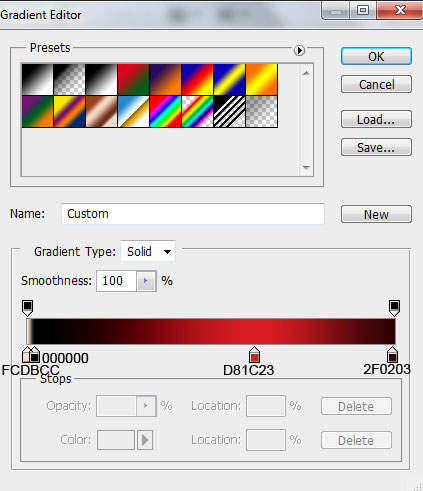
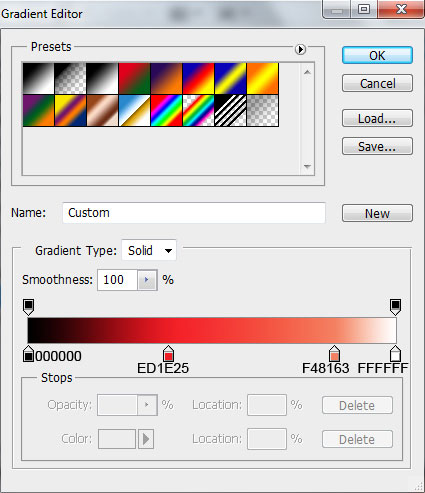
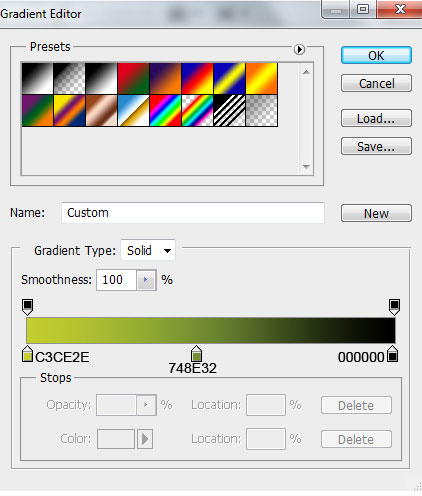
Click in the color bar to open the Gradient Editor and set the color stops as shown. Click OK to close the Gradient Editor dialog box.
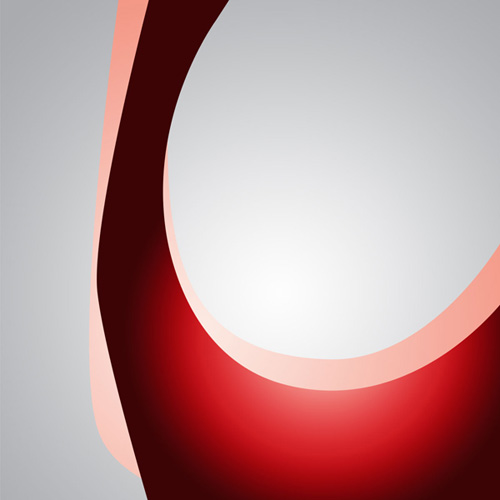
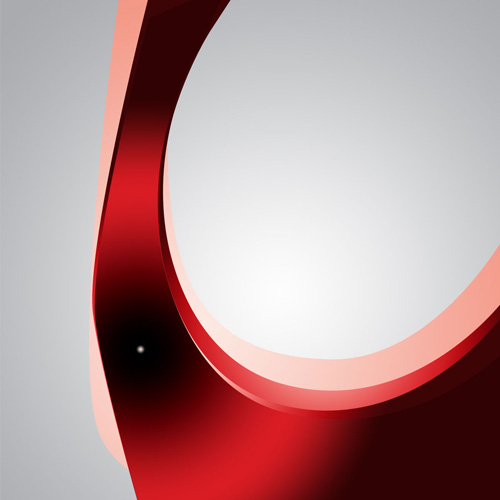
We’ve got the next result:

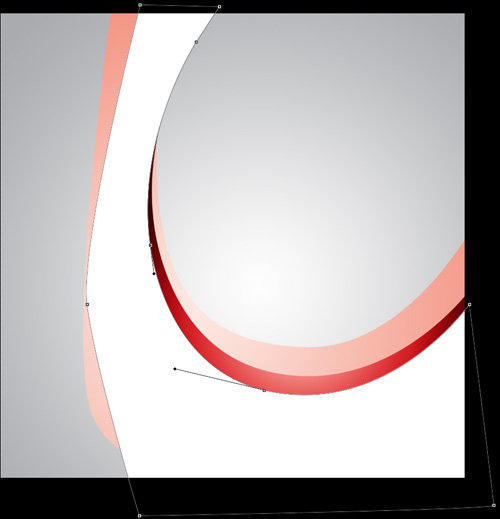
Use Pen Tool (P) to create another shape.
Click on Add a layer style icon from bottom part of the Layers panel and select Gradient Overlay.

Click in the color bar to open the Gradient Editor and set the color stops as shown. Click OK to close the Gradient Editor dialog box.
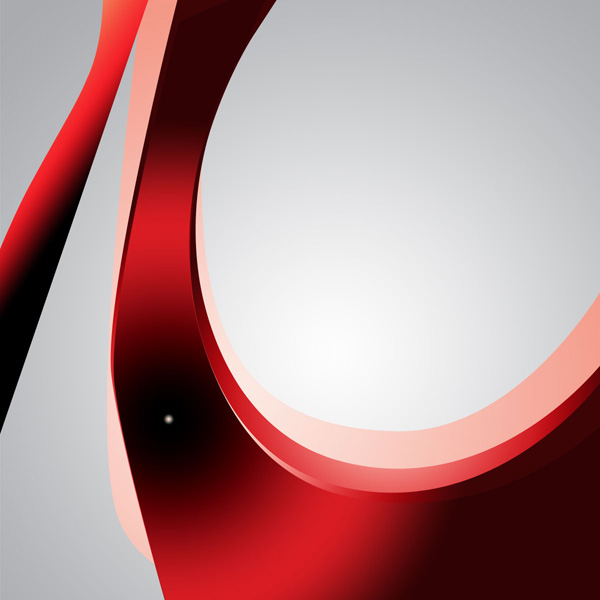
We’ve got the next result:
Draw another shape using Pen Tool (P).
Click on Add a layer style icon from bottom part of the Layers panel and select Gradient Overlay.
Click in the color bar to open the Gradient Editor and set the color stops as shown. Click OK to close the Gradient Editor dialog box.

We’ve got the next result:

We’ll continue with drawing another shape.
Click on Add a layer style icon from bottom part of the Layers panel and select Gradient Overlay.
Click in the color bar to open the Gradient Editor and set the color stops as shown. Click OK to close the Gradient Editor dialog box.
We’ve got the next result:
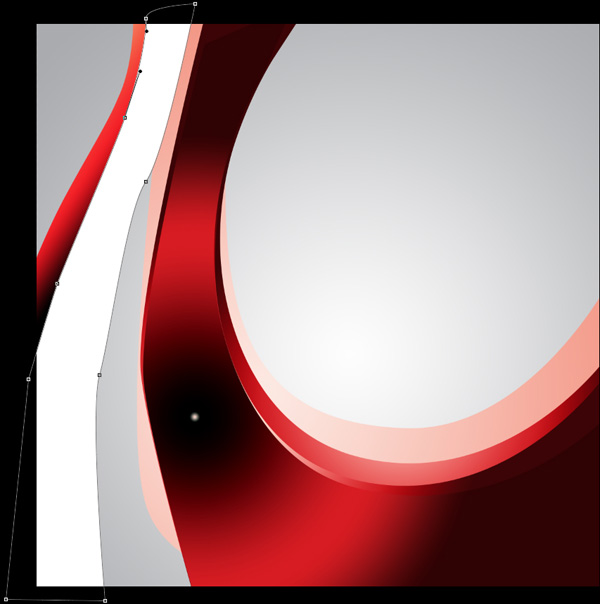
Use Pen Tool (P) to draw the next shape.

Click on Add a layer style icon from bottom part of the Layers panel and select Gradient Overlay.
Click in the color bar to open the Gradient Editor and set the color stops as shown. Click OK to close the Gradient Editor dialog box.
We’ve got the next result:
Draw another shape as shown using Pen Tool (P).
Click on Add a layer style icon from bottom part of the Layers panel and select Gradient Overlay.
Click in the color bar to open the Gradient Editor and set the color stops as shown. Click OK to close the Gradient Editor dialog box.
We’ve got the next result:

Use Pen Tool (P) to create the next shape.

Click on Add a layer style icon from bottom part of the Layers panel and select Gradient Overlay.
Click in the color bar to open the Gradient Editor and set the color stops as shown. Click OK to close the Gradient Editor dialog box.

We’ve got the next result:
Let’s add another shape on our background.
Click on Add a layer style icon from bottom part of the Layers panel and select Gradient Overlay.
Click in the color bar to open the Gradient Editor and set the color stops as shown. Click OK to close the Gradient Editor dialog box.
We’ve got the next result:

Draw a shape as shown using Pen Tool (P).
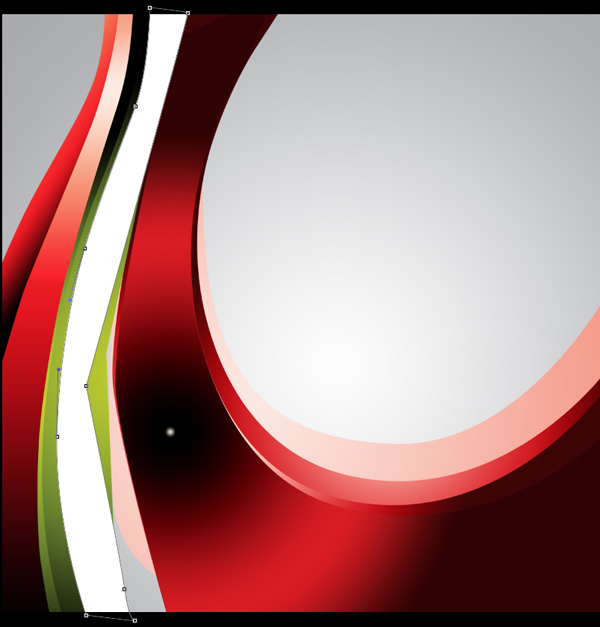
Click on Add a layer style icon from bottom part of the Layers panel and select Gradient Overlay.
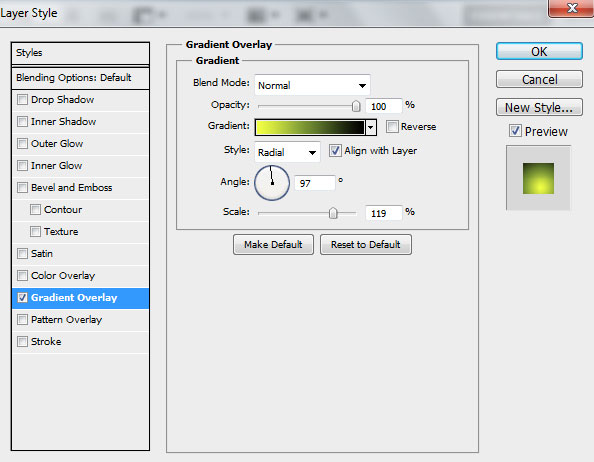
Click in the color bar to open the Gradient Editor and set the color stops as shown. Click OK to close the Gradient Editor dialog box.
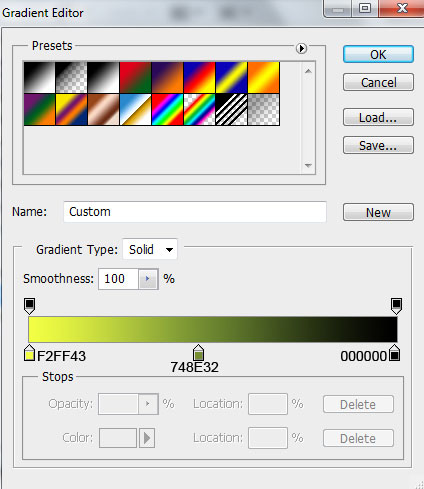
We’ve got the next result:
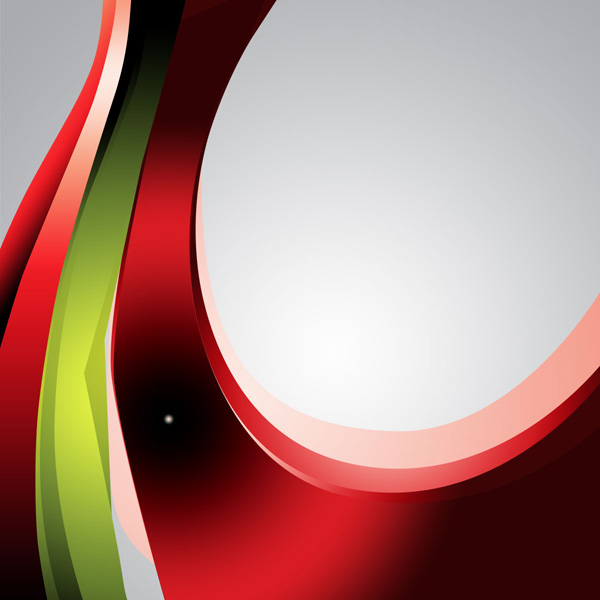
Use Pen Tool (P) to draw another shape as shown.

Click on Add a layer style icon from bottom part of the Layers panel and select Gradient Overlay.
Click in the color bar to open the Gradient Editor and set the color stops as shown. Click OK to close the Gradient Editor dialog box.
We’ve got the next result:
Comments