
How to create abstract new year illustration with 3D typography using Photoshop CS5
In today’s tutorial, I’m going to show you how to create abstract new year illustration with 3D typography using new 3D tools that Adobe has included in Photoshop CS5 Extended. Let’s get started!
Final Image Preview

Start working by creating a new document (Ctrl+N) in Adobe Photoshop CS5 Extended with the size 1280px by 1024px (RGB color mode) at a resolution of 72 pixels/inch. Use the Paint Bucket Tool (G) to fill with #E0F8FF color the new background layer.

Insert the mask on the layer by choosing Add layer mask on the bottom part of the Layers panel , press CTRL+I to Inverse the color and choose the Soft Round brush of black color.
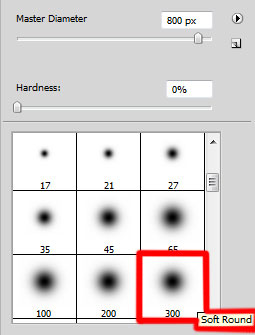

Use this brush to add some brushstrokes in mask on the central part of the canvas.

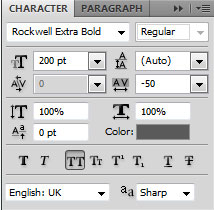
Click the Horizontal Type tool (T). Select a font, size and color in the Character panel (I have used Rockwell Extra Bold font or if you prefer, you can substitute similar font of your own). Click in the canvas and type Happy New Year. Press Enter to apply the text.
Settings for Happy word:

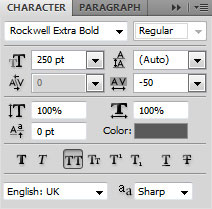
Settings for New word:


Settings for Year word:
We’ve got the next result:

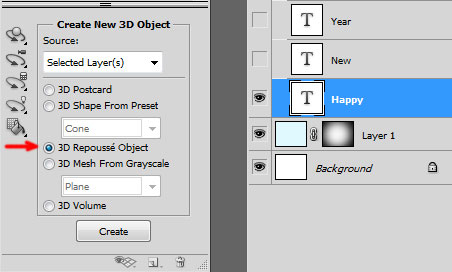
Make active the layer with the Happy word on it and select Windows > 3D to open the 3D panel (it’s necessary to have Adobe Photoshop CS5 Extended). Hide for a while the layers with the other words and select from Create New 3D Object dialog box the next 3D Repousse Object option:
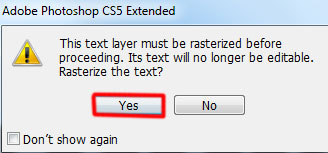
Select Yes to Rasterize the text.
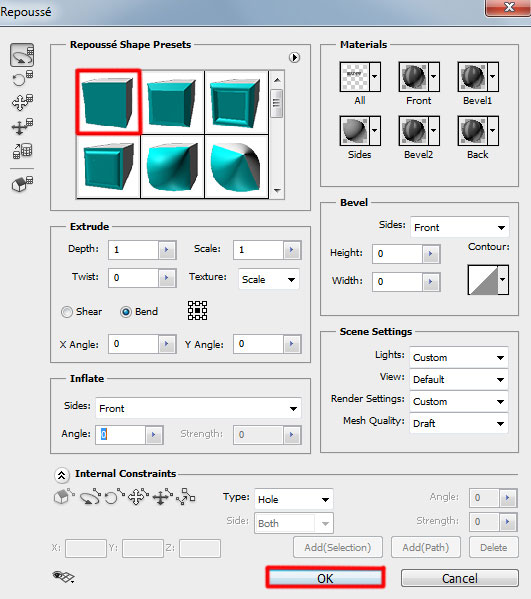
In the Repousse dialog box go to Repousse Shape Presets, select Extrude option and click OK.
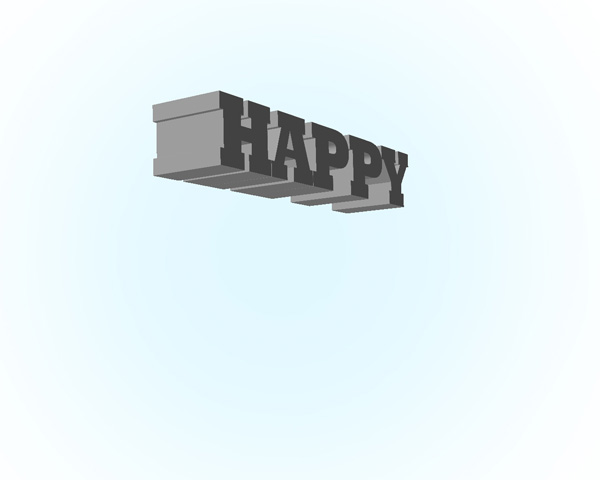
We’ve got the next result:

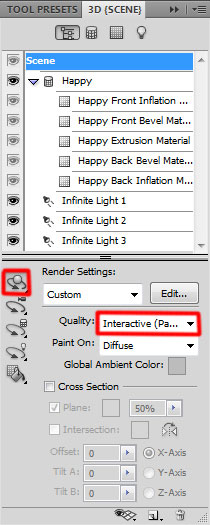
In the Render Settings dialog box select Object Rotate Tool (K).
Choose View > Show > 3D Axis.
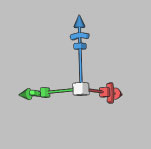
Use 3D Axis to rotate our object as shown.
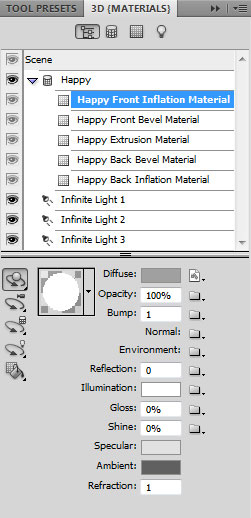
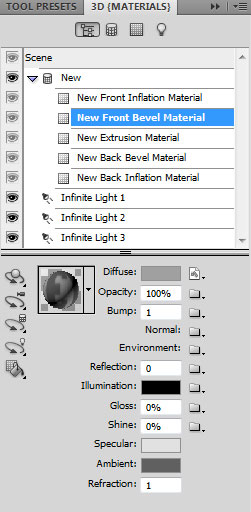
Next we’ll select from Scene options the Front Inflation Material, change the color to white for Illumination option.
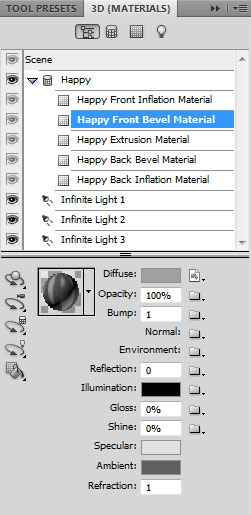
Settings for Front Bevel Material:
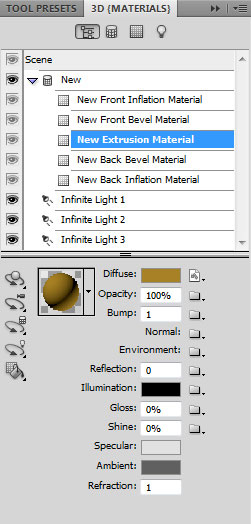
In the Extrusion Material change the color to #9f2d05 for Diffuse option.

In Back Bevel Material and Back Inflation Material leave the default presets. Select Light Rotate Tool and rotate the light source as shown.

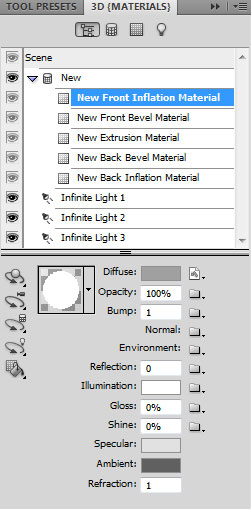
Make visible now the layer with the New word on it:

Do the same operations as for the Happy word. Firstly select from Create New 3D Object dialog box the 3D Repousse Object. Click Yes to Rasterize the text. Open Repousse dialog box go to Repousse Shape Presets, select Extrude option and click OK.
In the Render Settings dialog box select Object Rotate Tool (K). Use 3D Axis to rotate our object as shown.

Select from Scene options the Front Inflation Material, change the color to white for Illumination option.
Settings for Front Bevel Material:
In the Extrusion Material change the color to #a78125 for Diffuse option.
In Back Bevel Material and Back Inflation Material leave the default presets. Select Light Rotate Tool and rotate the light source as shown.

Page: 1 2
Comments