
How to create amazing colorful text effect in Photoshop CS5
In the following Quick Tip tutorial you will learn how to mix different shapes, brushes and blending modes in Photoshop CS5 to create amazing colorful text effect. Layered PSD file included. Let’s get started!
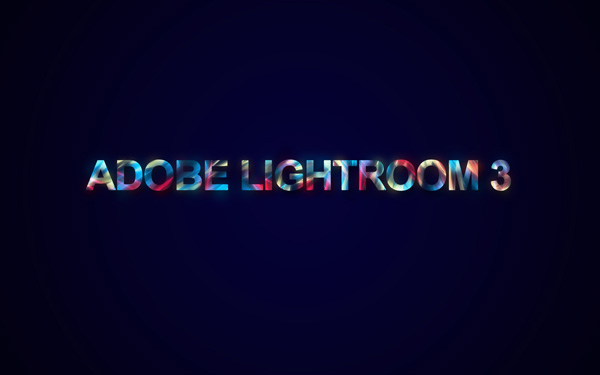
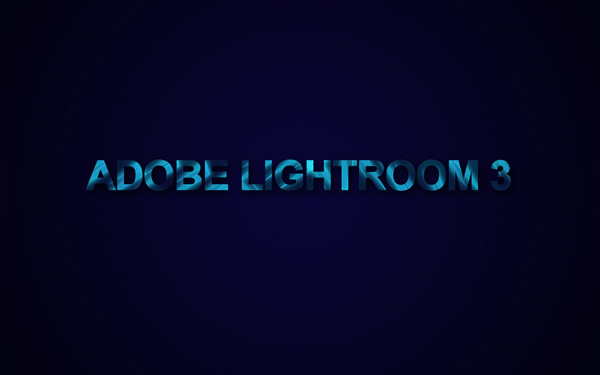
Final Image Preview
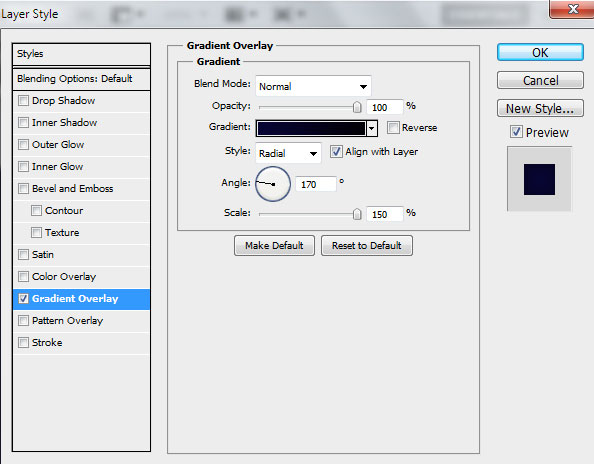
Start working by creating a new document (Ctrl+N) in Adobe Photoshop with the size 1900px by 1200px (RGB color mode) at a resolution of 72 pixels/inch. Click on Add a layer style icon from bottom part of the Layers panel and select Gradient Overlay.
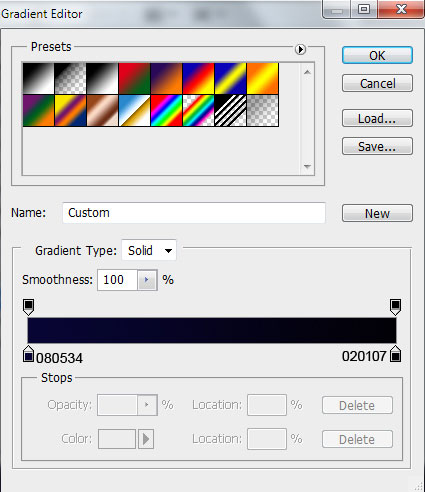
Click in the color bar to open the Gradient Editor and set the color stops as shown. Click OK to close the Gradient Editor dialog box.

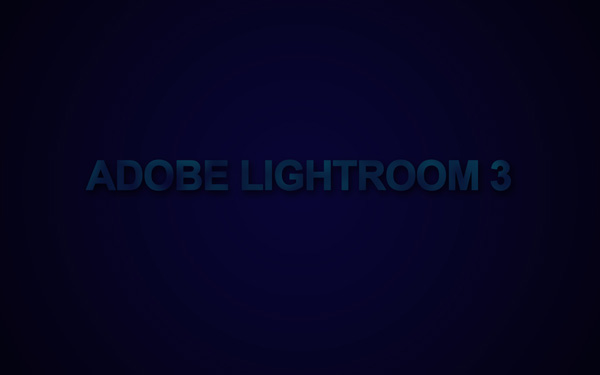
We’ve got the next background:

Select the Horizontal Type tool (T). Select a font, size and color in the Character panel.
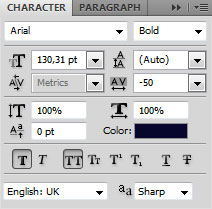
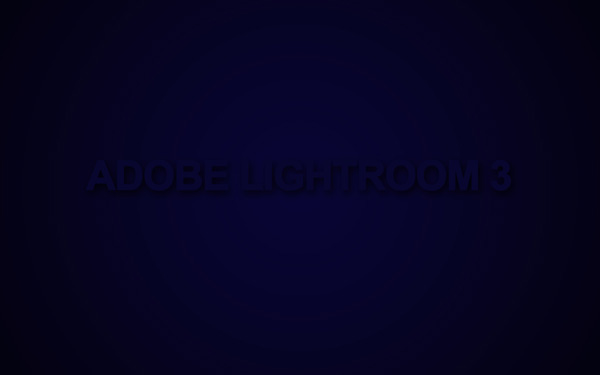
Click in the canvas and type “Adobe Lightroom 3”. Press Enter to apply the text.

Click on Add a layer style icon from bottom part of the Layers panel and select Drop Shadow.
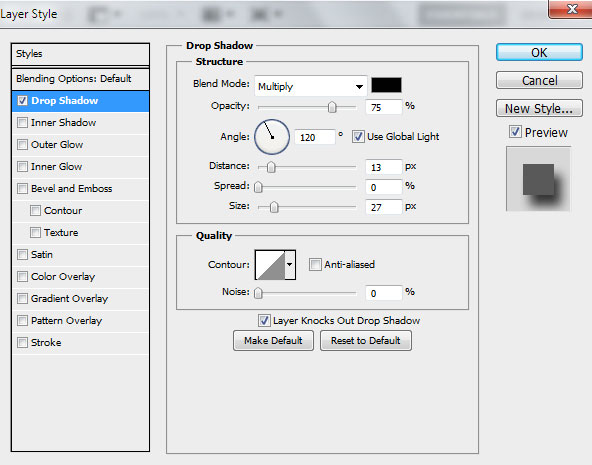
We’ve got the next shadow on the text:
Create a new layer and select the Soft Mechanical brush.
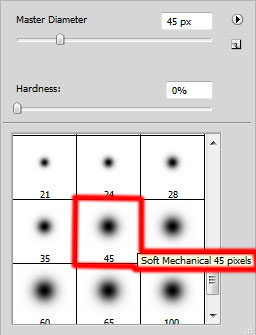
Use this brush to paint above the text with the next color #07384F (set Opacity to 30% in Options bar).

Hold down Alt (Windows) or Option (Mac OS) and click between the layer containing the text and the brush’s layer in the Layers panel to create a clipping mask.
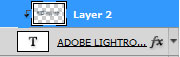
We’ve got the next result:
Select after that the Pen Tool (P), set the drawing mode on Shape Layers in Options bar and draw the next shape as shown. The Foreground color is #13A7C5.

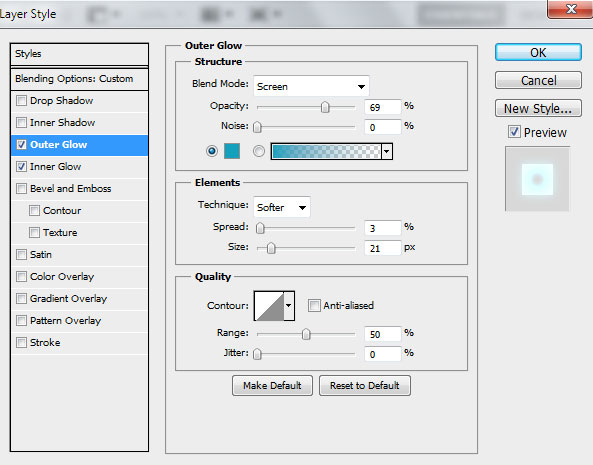
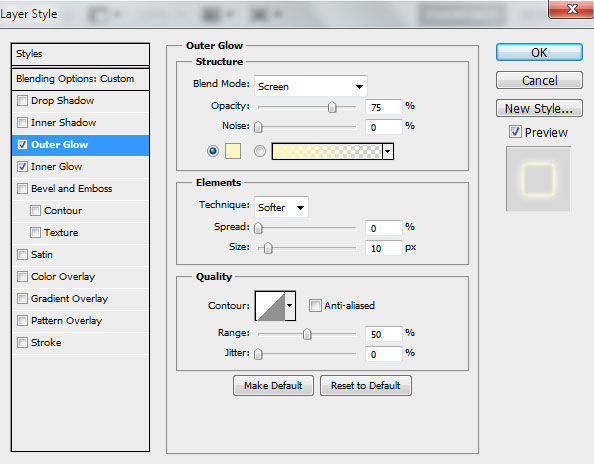
Set Fill to 0% for this layer and click on Add a layer style icon from bottom part of the Layers panel to select Outer Glow.
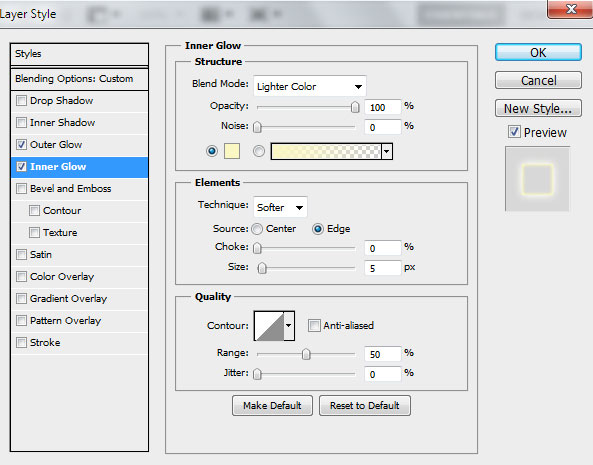
Add Inner Glow:
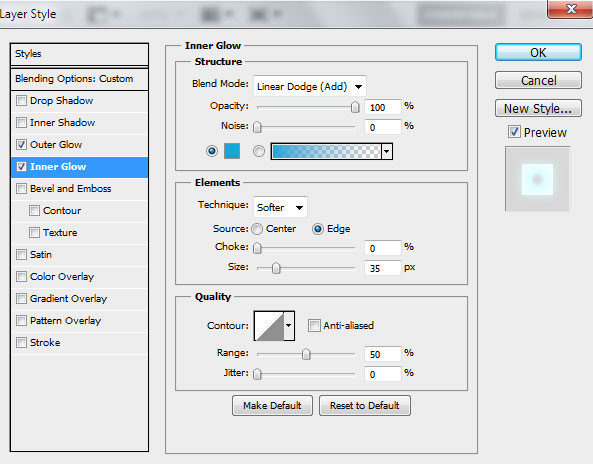
We’ve got the next result:

Insert the mask on the layer by choosing Add layer mask on the bottom part of the Layers panel and choose the Soft Mechanical brush of black color (set Opacity to 15% in Options bar).

Paint in the mask using this brush to clean out smoothly the shape’s layer.

Hold down Alt (Windows) or Option (Mac OS) and click between layers in the Layers panel to create a clipping mask.
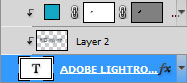
We’ve got the next result:

Make many copies of the last made layer and select the Free Transform (Ctrl+T) command to change the copies’ position, placing them the same way demonstrated next picture. Hold down Alt (Windows) or Option (Mac OS) and click between layers in the Layers panel to create a clipping mask.
Use again the Pen Tool (P) to draw the next shape of the color #B6BC36.

Set Fill to 0% for this layer and click on Add a layer style icon from bottom part of the Layers panel to select Outer Glow.
Add Inner Glow:
We’ve got the next result:

Page: 1 2
Comments