
How to create Happy New Year 2012 Colorful Greeting Card in Photoshop CS5
Today we’ve got a really nice and simple tutorial demonstrating how to create abstract Christmas card with colorful shapes using simple tools and techniques like Ellipse Tool, Brush Tool, Layer Style, etc. in Adobe Photoshop CS5. Layered PSD file included. Let’s get started!
Final Image Preview

Start working by creating a new document (Ctrl+N) in Adobe Photoshop with the size 1920px by 1200px (RGB color mode) at a resolution of 300 pixels/inch. Click on Add a layer style icon from bottom part of the Layers panel and select Gradient Overlay.
Click in the color bar to open the Gradient Editor and set the color stops as shown. Click OK to close the Gradient Editor dialog box.

We’ve got the next background:

Insert the message text for greeting card. Select the Horizontal Type tool (T). Select a font, size and color in the Character panel.
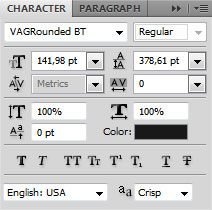
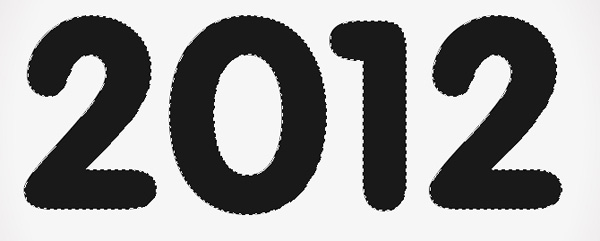
Click in the canvas and type ‘2012’. Press Enter to apply the text.

Hold CTRL button and click on digits’ layer in Layers panel to get the next selection:
Return to background’s layer (make sure it’s active), insert the mask on the layer by choosing Add layer mask on the bottom part of the Layers paneland then press CTRL+I to inverse the color. Click the eye icon next to the digits’ layer to hide its content in the document window.

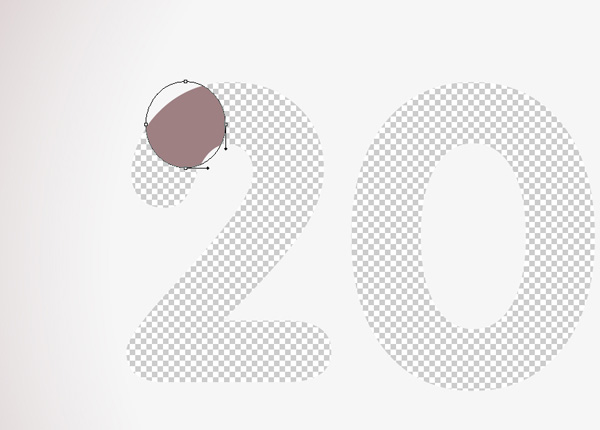
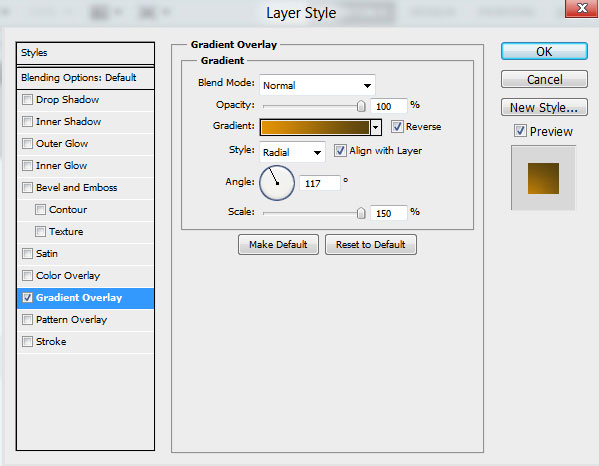
Now we have to decorate the digits, representing in this case the small circles of different colors. Their layer will be situated under the background’s one. Use the Ellipse Tool (U) to draw the first ellipse.
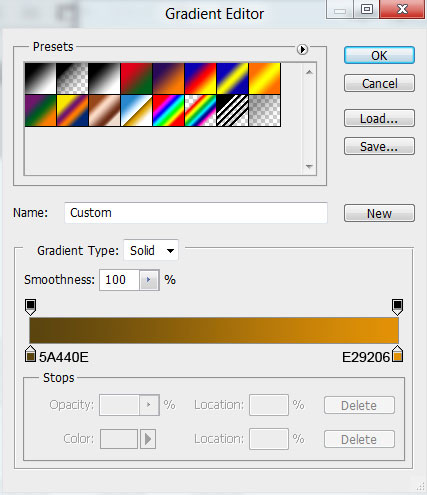
Click on Add a layer style icon from bottom part of the Layers panel and select Gradient Overlay.
Click in the color bar to open the Gradient Editor and set the color stops as shown. Click OK to close the Gradient Editor dialog box.
We’ve got the next result:
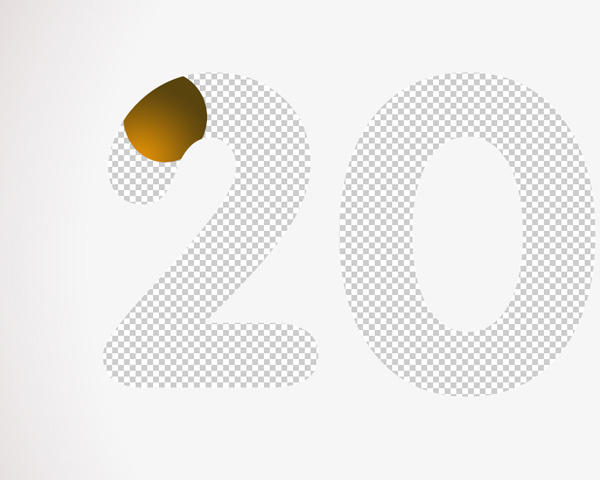
Continue drawing the next ellipse:
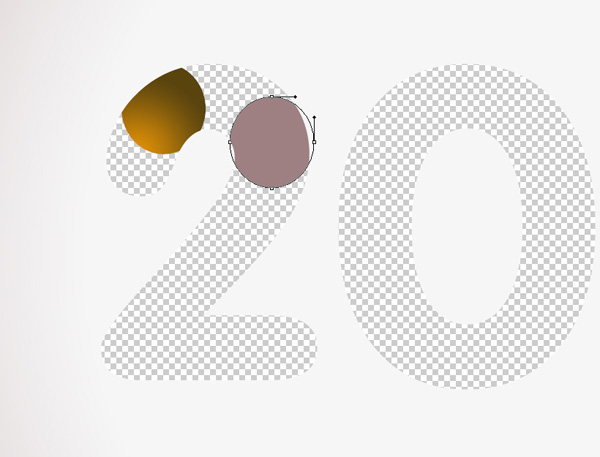
Click on Add a layer style icon from bottom part of the Layers panel and select Gradient Overlay.
Click in the color bar to open the Gradient Editor and set the color stops as shown. Click OK to close the Gradient Editor dialog box.
We’ve got the next result:
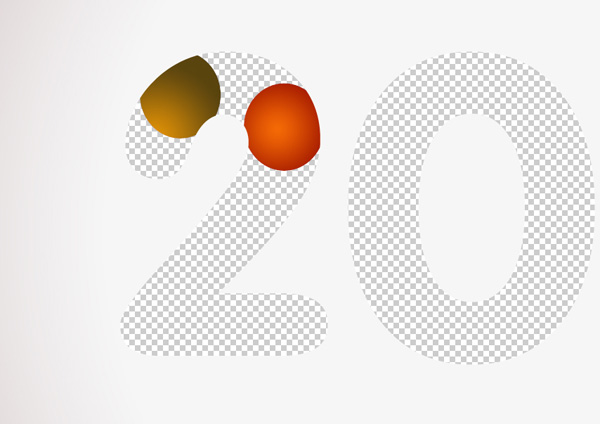
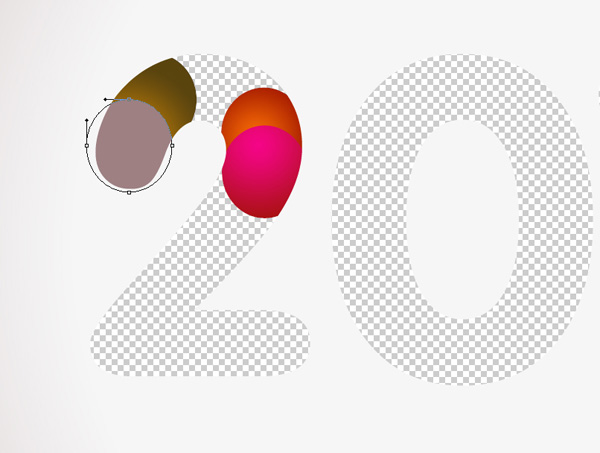
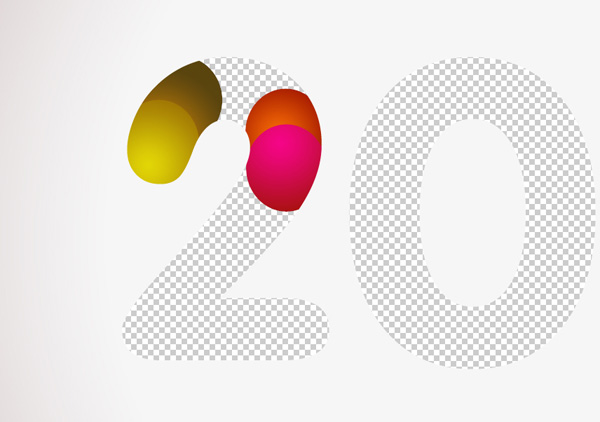
Draw another shape:
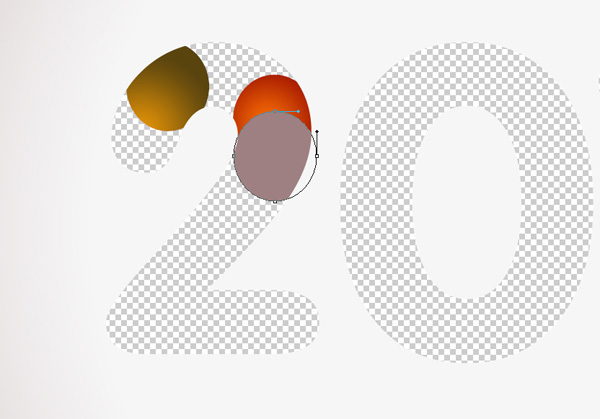
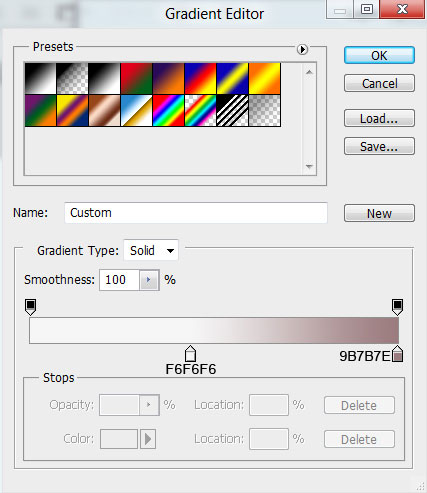
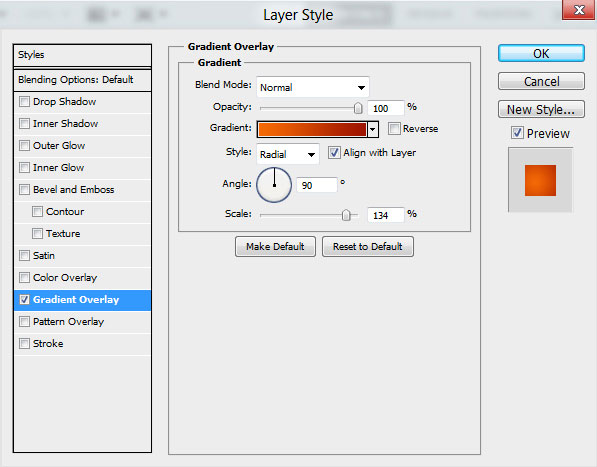
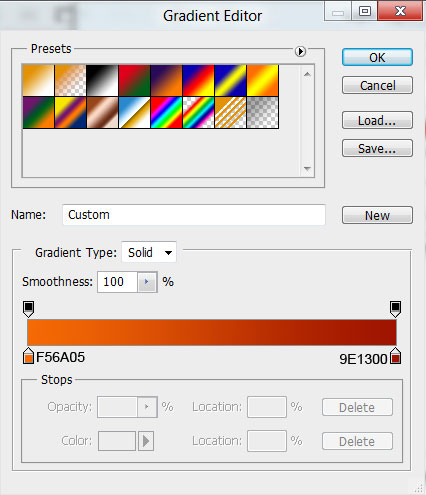
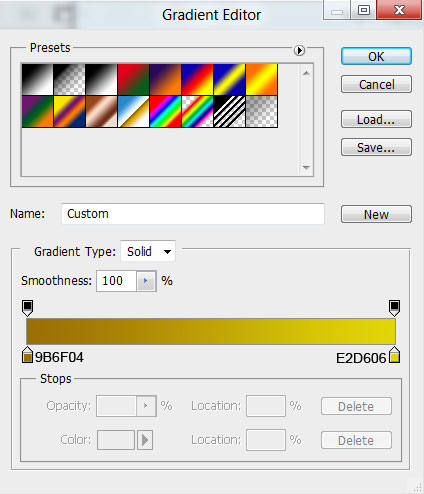
Click on Add a layer style icon from bottom part of the Layers panel and select Gradient Overlay.
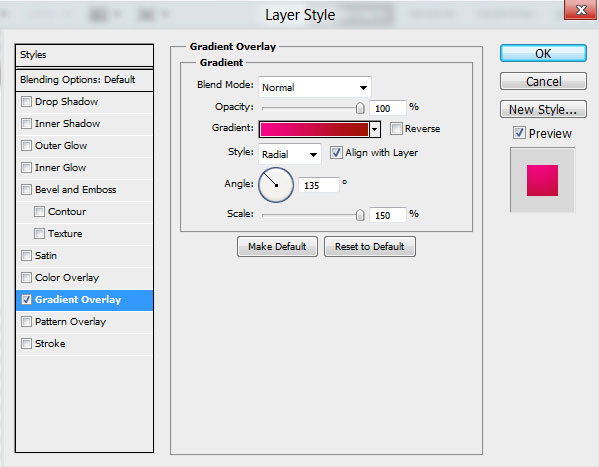
Click in the color bar to open the Gradient Editor and set the color stops as shown. Click OK to close the Gradient Editor dialog box.

We’ve got the next result:
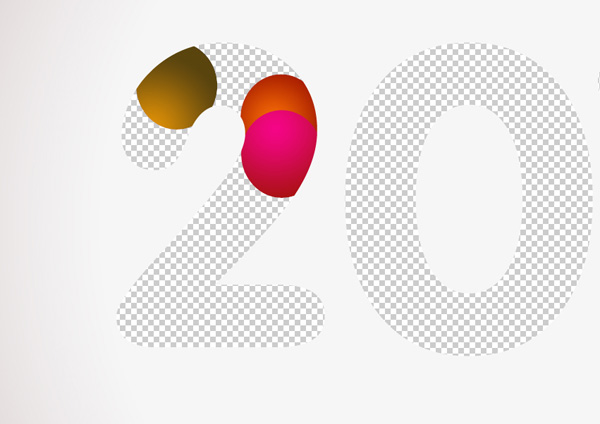
Draw one more ellipse:
Click on Add a layer style icon from bottom part of the Layers panel and select Gradient Overlay.
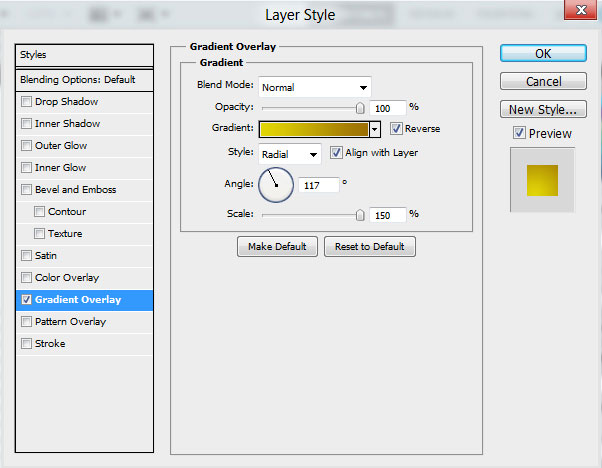
Click in the color bar to open the Gradient Editor and set the color stops as shown. Click OK to close the Gradient Editor dialog box.
We’ve got the next result:
Comments