
How to create Neon Illustration Happy New Year 2012 in Photoshop CS5
In this tutorial, we are going to design a simple New Year illustration with neon digits in Photoshop CS5. I hope you enjoy this tutorial and that it inspires you to create your own illustration for New Year! Layered PSD file included. Let’s get started!
Final Image Preview

Start working by creating a new document (Ctrl+N) in Adobe Photoshop with the size 1900px by 1200px (RGB color mode) at a resolution of 72 pixels/inch. Click on Add a layer style icon from bottom part of the Layers panel and select Gradient Overlay.
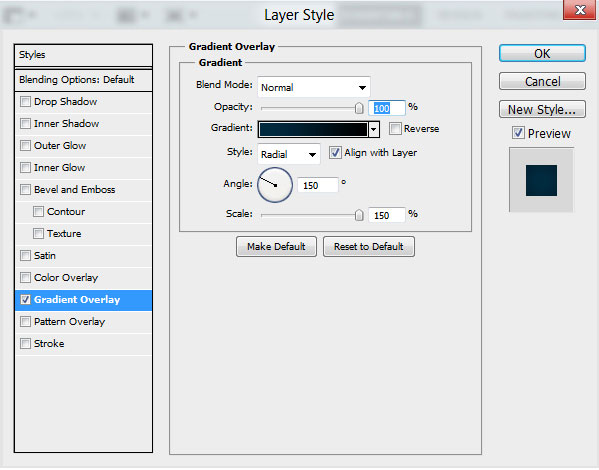
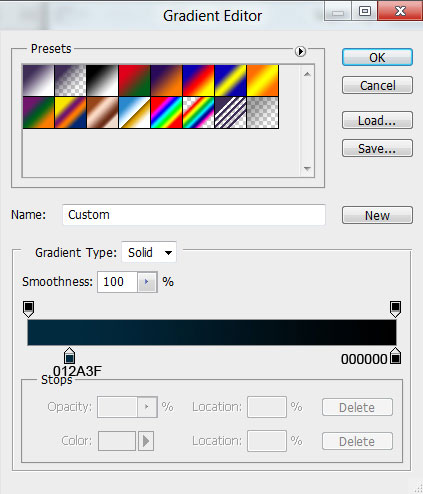
Click in the color bar to open the Gradient Editor and set the color stops as shown. Click OK to close the Gradient Editor dialog box.

We’ve got the next background:

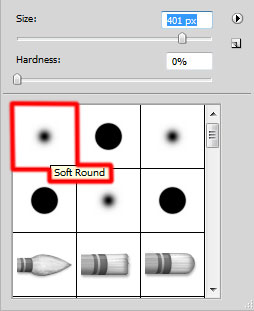
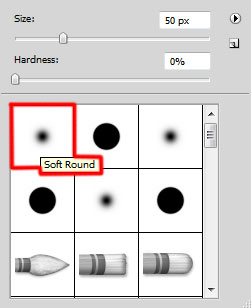
Create a new layer and select the Soft Round brush from Brush Tool (B).
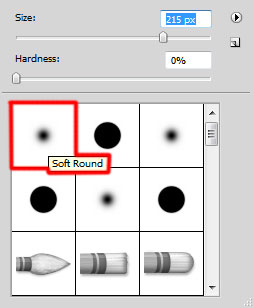
Use this brush to paint the central part of the canvas, Foreground color is #03334C:

Select the Horizontal Type tool (T). Select a font, size and color in the Character panel.
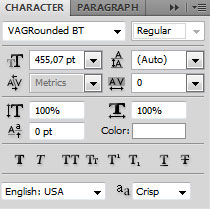
Click in the canvas and type ‘2012’. Press Enter to apply the text.

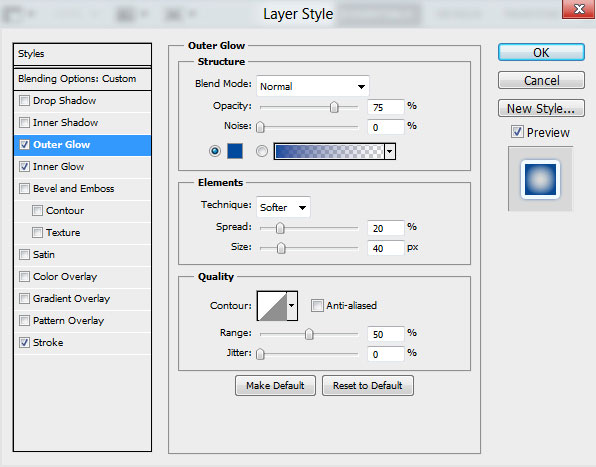
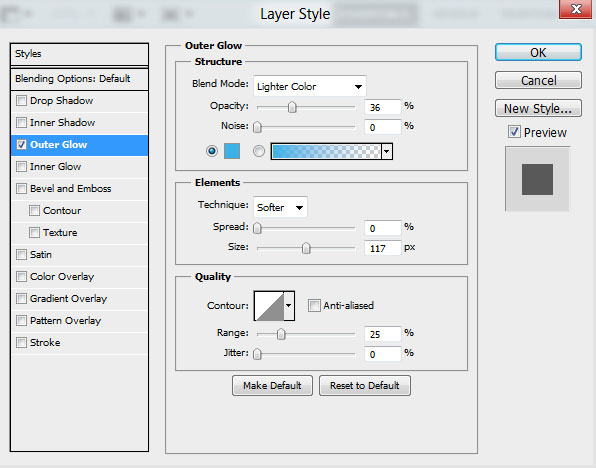
Set Fill to 0% for this layer and click on Add a layer style icon from bottom part of the Layers panel to select Outer Glow.
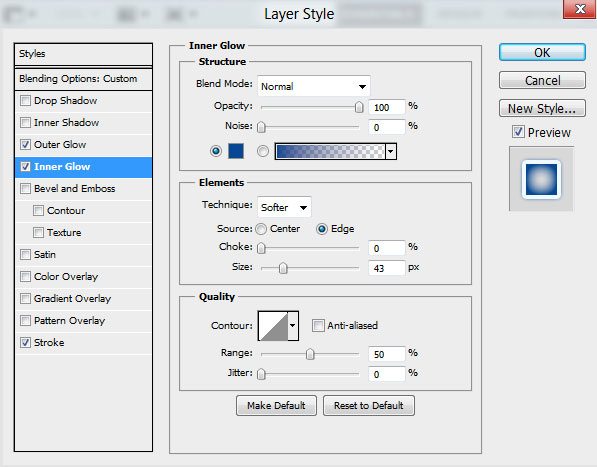
Add Inner Glow:
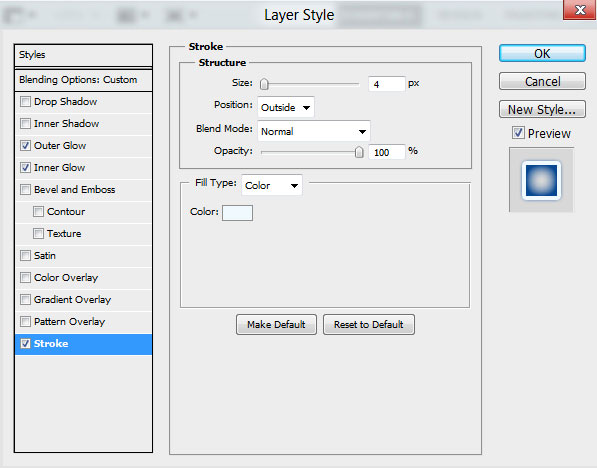
Apply Stroke:
We’ve got the next result:

Rasterize the text’s layer by creating a new layer above the digits’ one and then select both layers in Layers panel by holding Ctrl button. Then press CTRL+E to Merge Down.
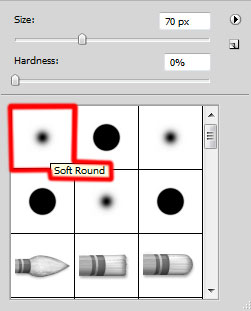
Insert the mask on the layer by choosing Add layer mask on the bottom part of the Layers panel and choose the Soft Round brush of black color (set Opacity to 80% in Options bar).
Paint in the mask using this brush to change the opacity of the digits as shown.

Paint with the same Soft Round brush on the mask, but of a smaller Brush Size and using this time white color to give back the brightness on several zones on the same digits, to get the same result as the one from below:
We’ve got the next result:

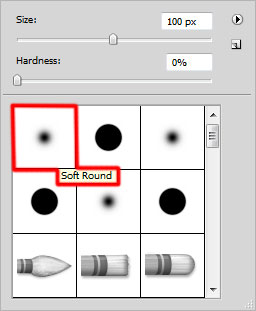
Create a new layer and select the Soft Round brush of white color (brush Opacity – 10%).
Use this brush to paint certain places on the digits.

Create the next new layer and select again the Soft Round brush.
Use this brush to represent a dot on the bottom part of the digits’ edge.

Using the Free Transform (Ctrl+T) command, we can stretch the dot horizontally to get the same result as on the next picture. Set Fill to 50% for this layer.

Click on Add a layer style icon from bottom part of the Layers panel and select Outer Glow.
We’ve got the next result:

Apply the above described method on a new layer (Create a new layer) and get a line by stretching it out of the dot. The brush remains the same.

Set Fill to 46% for this layer and change the Blending mode to Overlay.

Make a copy of the last made layer and select the Free Transform (Ctrl+T) command to stretch down the copy’s layer.

Make a copy of this last made layer:

Make a copy of the last represented layer and select the Free Transform (Ctrl+T) command to place the copy’s layer between the top horizontal line and the bottom one.

Create a new layer and select the Soft Round brush of white color (brush Opacity – 10%).

Use this brush to represent the shining effect under the digits on the central part of the canvas.

Set the Blending mode for this layer to Lighter Color.

Create a new layer and select here the Soft Round brush of white color.

Use this brush to represent a dot on the right part of the digits.

Using the Free Transform (Ctrl+T) command, it’s possible to stretch out the dot horizontally to get the same result as below:

Set Fill to 25% for this layer and change the Blending mode to Overlay.

Make a copy of the recently made layer and select the Free Transform (Ctrl+T) command to place the copy’s layer on the digits’ left side as on the next picture it is demonstrated:

Click Create new fill or adjustment layer from bottom part of the Layers panel and click to Curves to adjust the curve shape as shown to make a little color corrections.
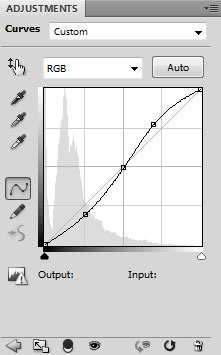
We’ve got the next result:

Page: 1 2
Comments