
How to create Abstract Wormhole Background in Photoshop CS5
Today, I’m going to show you how using brushes and different adjustment layers in Adobe Photoshop CS5 you can create abstract wormhole background. Layered PSD file included. Let’s get started!
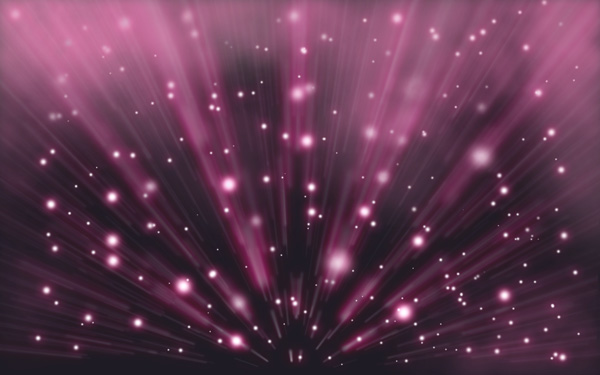
Final Image Preview

Start working by creating a new document (Ctrl+N) in Adobe Photoshop CS5 with the size 1920px by 1200px (RGB color mode) at a resolution of 72 pixels/inch. Use the Paint Bucket Tool (G) to fill with #1E1B24 color the new background layer.

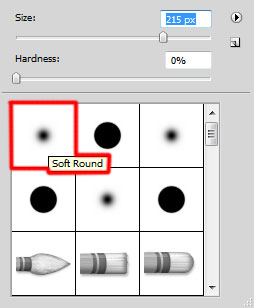
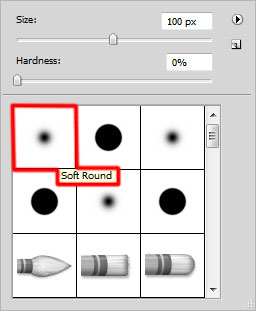
Create a new layer and select the Soft Round brush of white color.


Use this brush to represent many dots of different diameter.
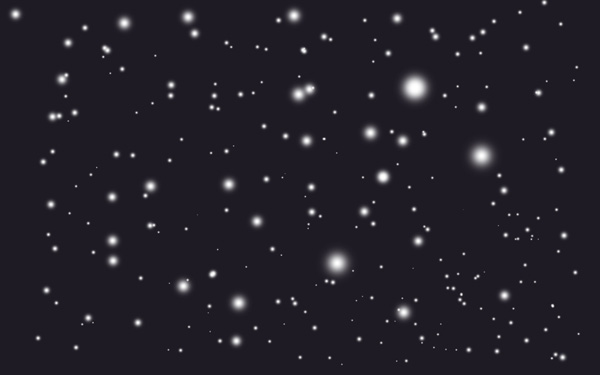
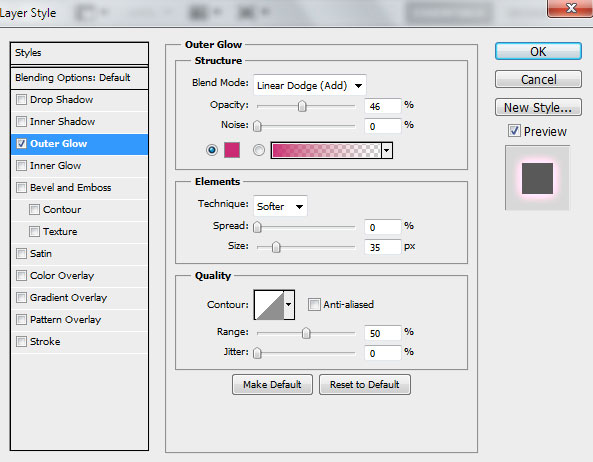
Click on Add a layer style icon from bottom part of the Layers panel and select Outer Glow.
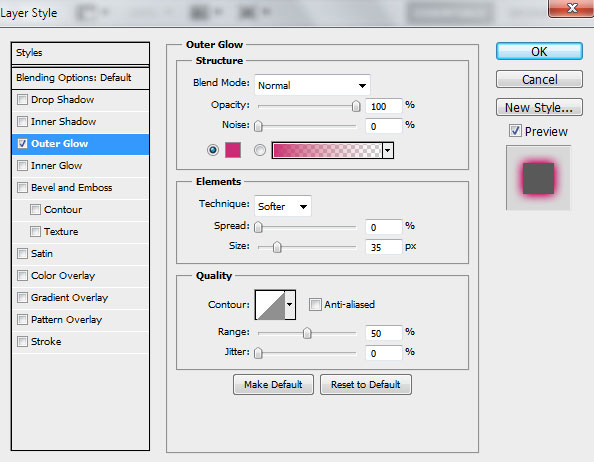
We’ve got the next result:

Insert the mask on the same layer by choosing Add layer mask on the bottom part of the Layers panel and choose the Soft Round brush of black color (set Opacity to 60% in Options bar).

Paint in the mask using this brush to hide several made dots.

Make a copy of the recently made layer containing the dots. Then rasterize the copied layer. In this case create a new layer above the made layer and select both layers (hold Ctrl button when select the layers). Finally CTRL+E to Merge Down. Apply on the rasterized layer the next filter: Filter > Blur > Radial blur.
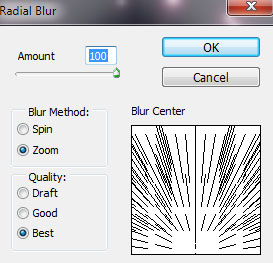
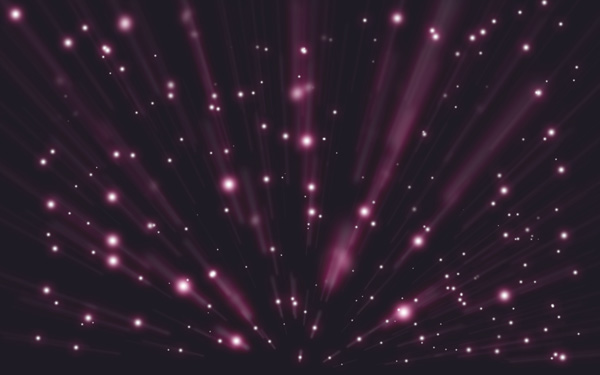
We’ve got the next result:
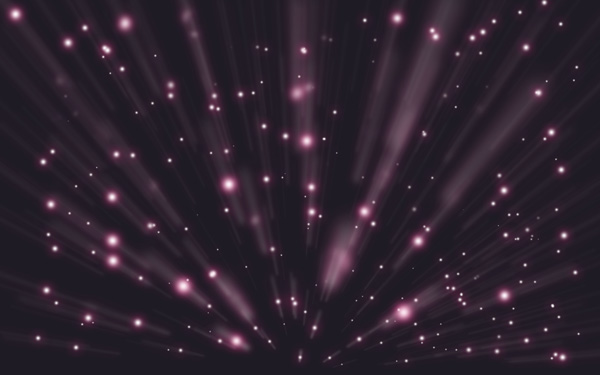
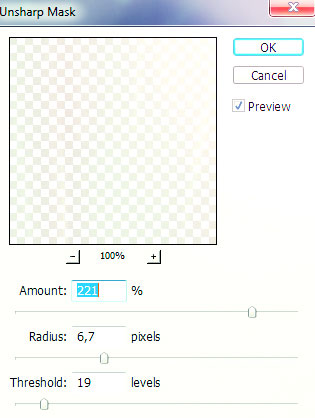
Apply for the same layer the next filter: Filter > Sharpen > Unsharp mask.
Set the Blending mode for this layer to Hard Light.
Create a new layer and select the Soft Round brush.
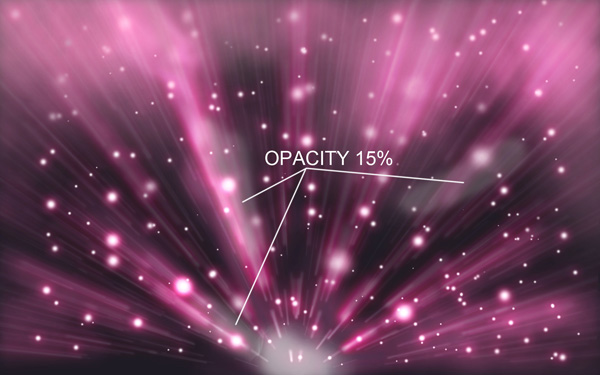
Use this brush to to paint the background on the top part of the canvas. The brush have #FFB5D9 color (brush Opacity – 40%). The layer must be put under the layer containing the stars’ rays.
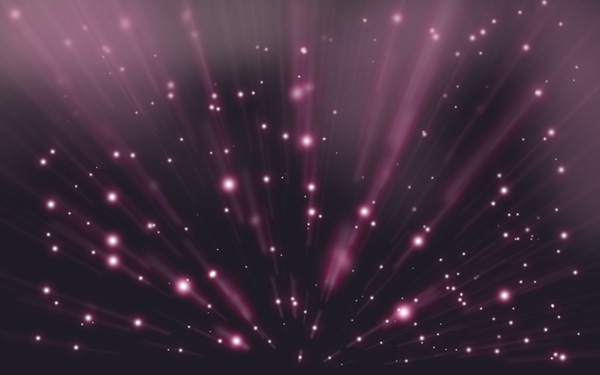
Next we have to make a copy of the very first layer containing the dots and the last made layer painted with #FFB5D9 color. Remove the mask of the copied layer of the very first layer with the dots and put together both copies (hold Ctrl button, select them both layers and press CTRL+E to Merge Down). Place this layer under the layer with the rays on it. Click on Add a layer style icon from bottom part of the Layers panel and select Outer Glow.
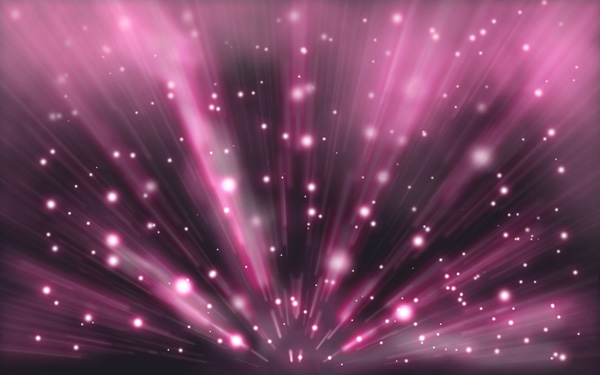
We’ve got the next result:
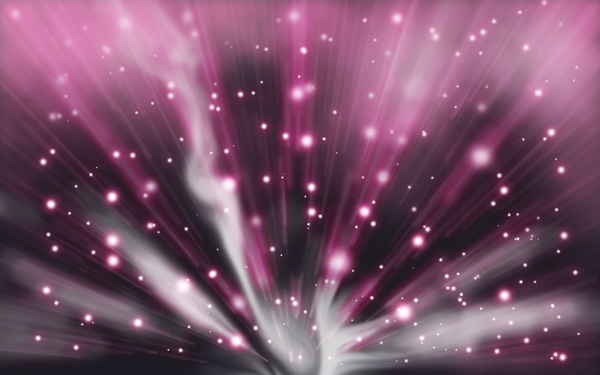
Insert the mask on the same layer by choosing Add layer mask on the bottom part of the Layers panel and apply on the mask the next filter: Filter > Render > Clouds.
Next we must make a copy of the rays’ layer. Choose the Free Transform (Ctrl+T) command to turn over the copy’s layer as on the next picture it is shown:
Make a copy of the last made layer, set Fill to 50% for this layer and change the Blending mode to Hard Light.
Then we have to create a new layer, select the Soft Round brush of white color.

Use this brush to represent a spot on the bottom part of the canvas and in the point containing the rays’ focus.
Now we have to apply Smudge Tool to blur out the spot to get the same result as on the next picture.
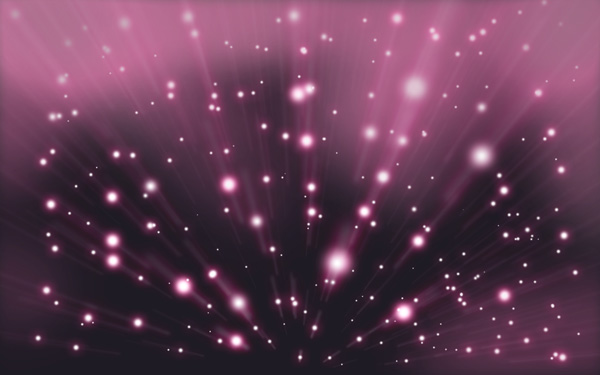
Set the Blending mode for this layer to Overlay. Click on Add a layer style icon from bottom part of the Layers panel and select Outer Glow.

We’ve got the next result:
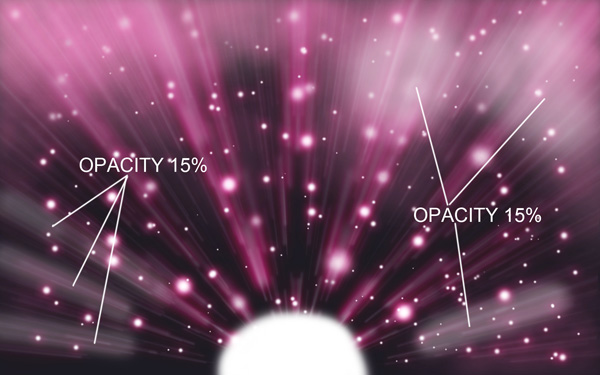
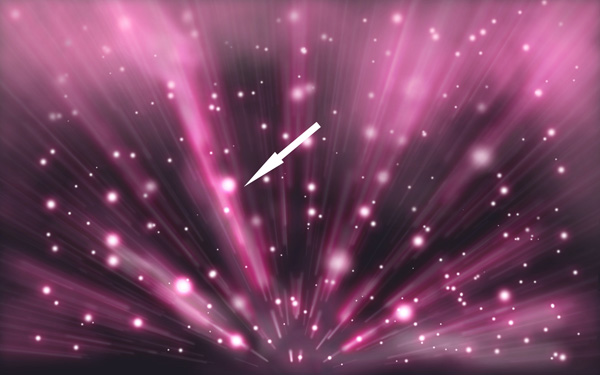
Create a new layer again and select for it the Soft Round brush mentioned in the previous example of white color to paint the indicated zones below.
Select then the same Smudge Tool to get the same result as on the next picture:
Insert the mask on the layer by choosing Add layer mask on the bottom part of the Layers panel and choose the Soft Round brush of black color.
Paint in the mask using this brush to hide the place around the star very accurately.
Click Create new fill or adjustment layer from bottom part of the Layers panel and click to Curves to adjust the curve shape as shown to make a little color corrections.

We’ve got the next result:

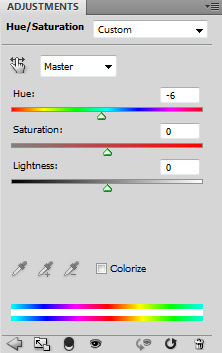
Click Create new fill or adjustment layer from bottom part of the Layers panel and select Hue/Saturation.
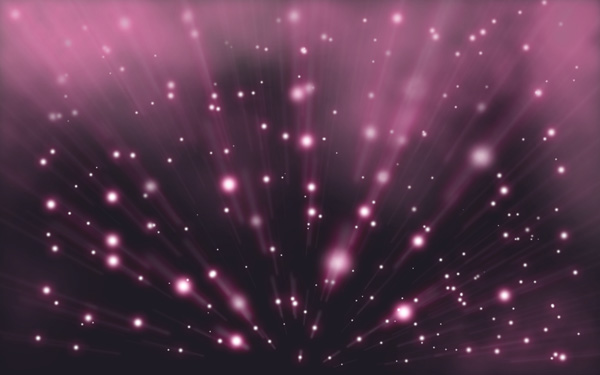
Drag the slider to the left to decrease the Hue of the color range.
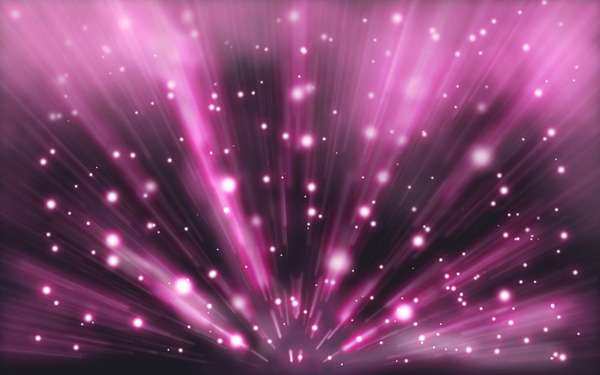
We’ve got the next result:
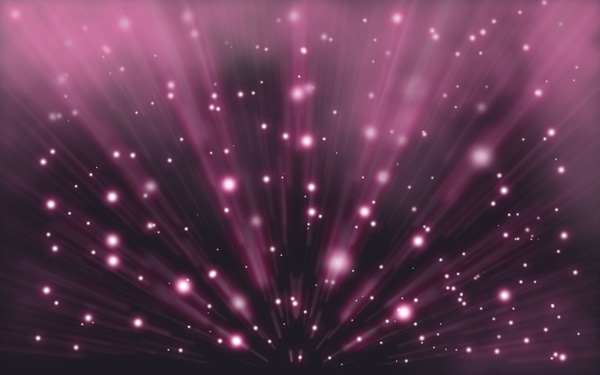
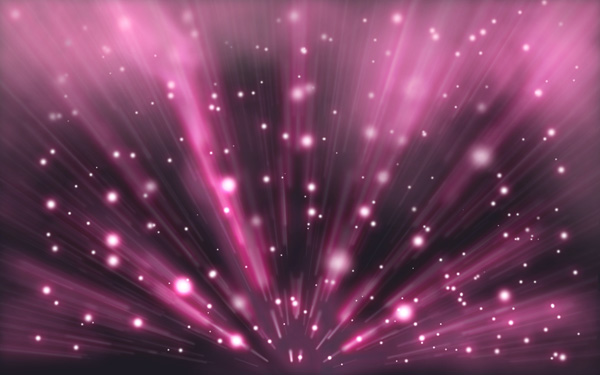
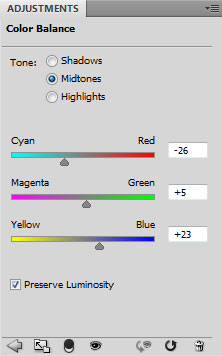
Click Create new fill or adjustment layer from bottom part of the Layers panel and select Color Balance to change the overall mixture of colors. In the Adjustments panel, select Midtones. Select Preserve Luminosity to prevent changing the luminosity values in the image while changing the color. Drag the slider to increase Green and Blue colors also decrease the Red color in the image.
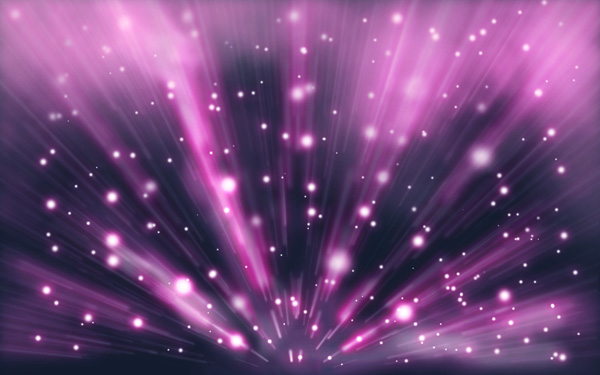
We’ve got the next result:
Create a new layer and select on it the Paint Bucket Tool (G) to fill the layer with yellow color.

Set Fill to 10% for this layer and change the Blending mode to Color Dodge.
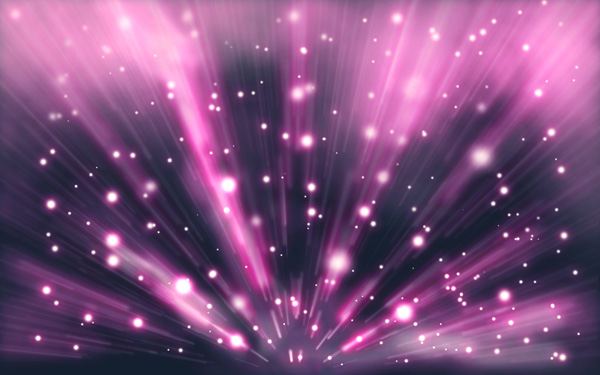
Our Abstract Wormhole Background is finished!
View full size here.
Download free Layered PSD file.
Comments