
How to Create Christmas and New Year Greeting Card with Shiny Red Balls in Adobe Photoshop CS6
Today we’ve got a really nice and simple tutorial demonstrating how to create Christmas and New Year greeting card with shiny red balls using simple tools and techniques like Ellipse Tool, Brush Tool, Layer Style, etc. in Adobe Photoshop CS6. Layered PSD file included. Let’s get started!
Final Image Preview

Start working by creating a new document (Ctrl+N) in Adobe Photoshop CS6 with the size 1000px by 1000px (RGB color mode) at a resolution of 72 pixels/inch. Use the Paint Bucket Tool (G) to fill with #F7F1E3 color the new background layer.

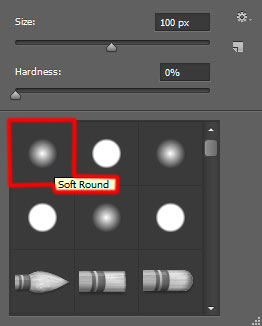
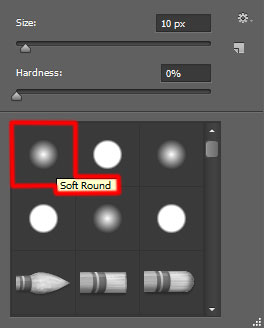
Create a new layer and select the Soft Round brush of white color (set Opacity to 60% in Options bar).

Use this brush to paint the canvas as shown:

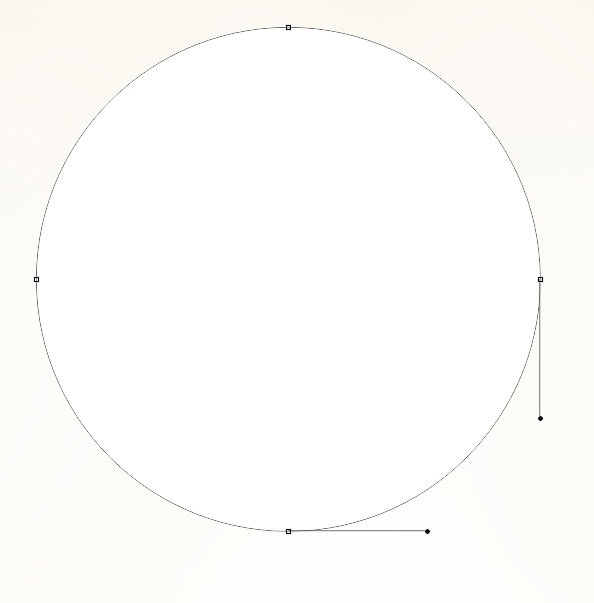
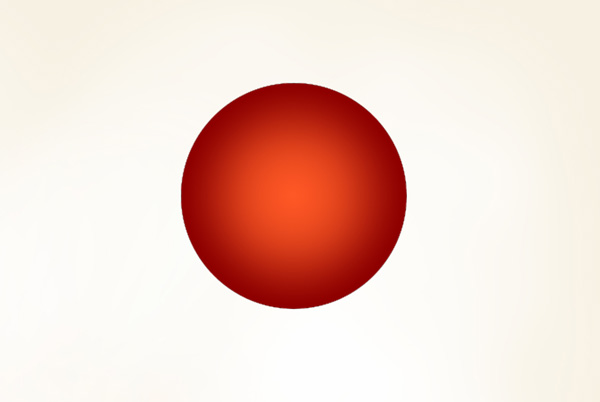
Next we’ll represent a Christmas ball, select the Ellipse Tool (U) and draw the next circle.
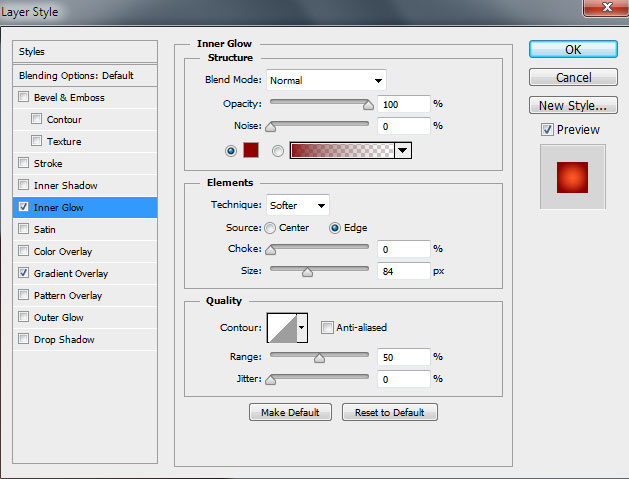
Click on Add a layer style icon from bottom part of the Layers panel and select Inner Glow.
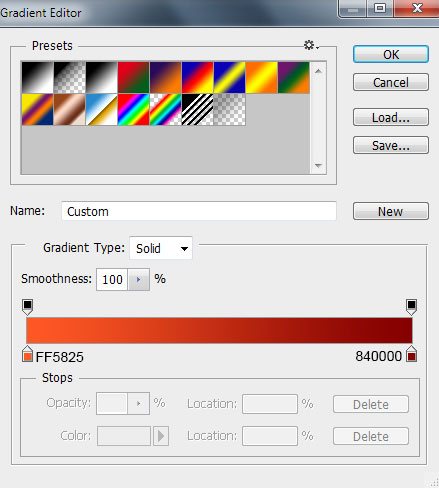
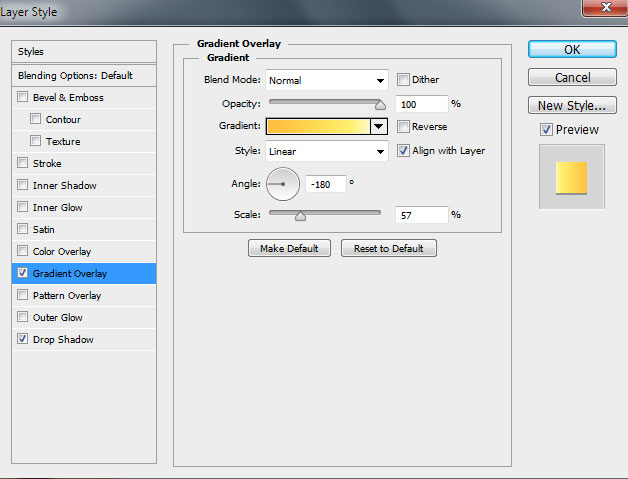
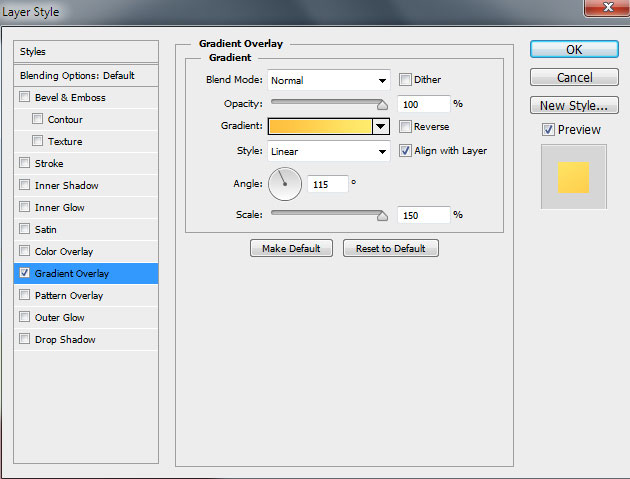
Add Gradient Overlay:
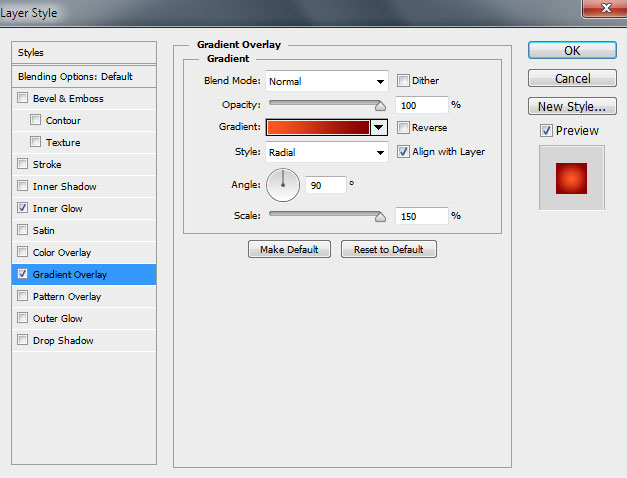
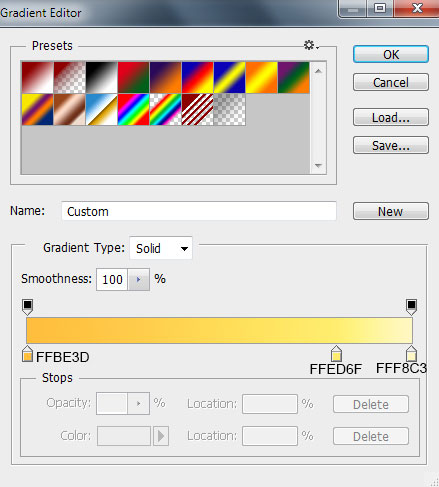
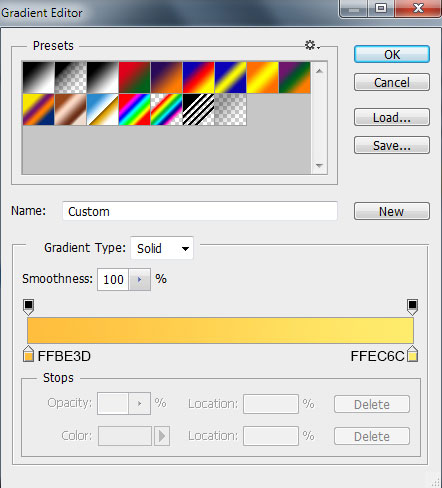
Click in the color bar to open the Gradient Editor and set the color stops as shown. Click OK to close the Gradient Editor dialog box.
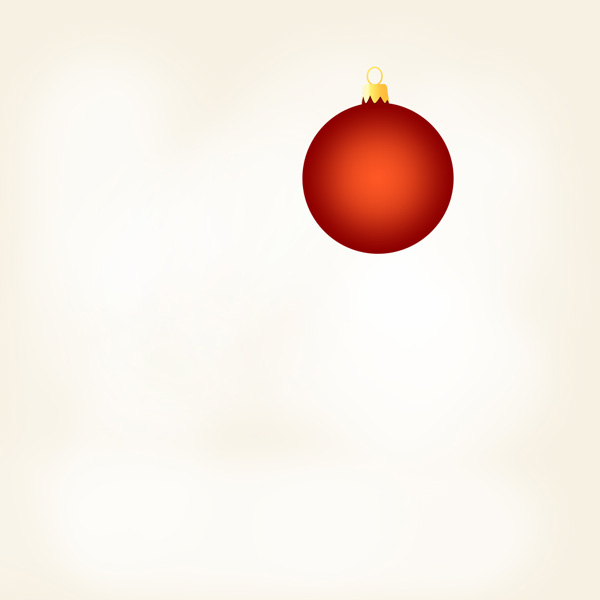
We’ve got the next result:
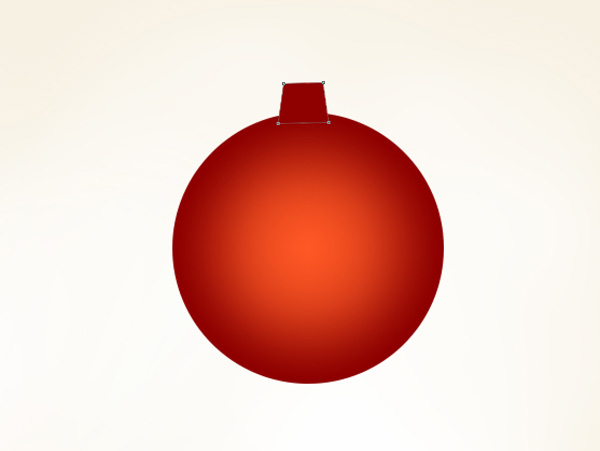
Now we’ll represent the ball’s support element, choose the Pen Tool (P), set the drawing mode on Shape Layers in Options bar and draw the next shape as shown with #8D0000 color.
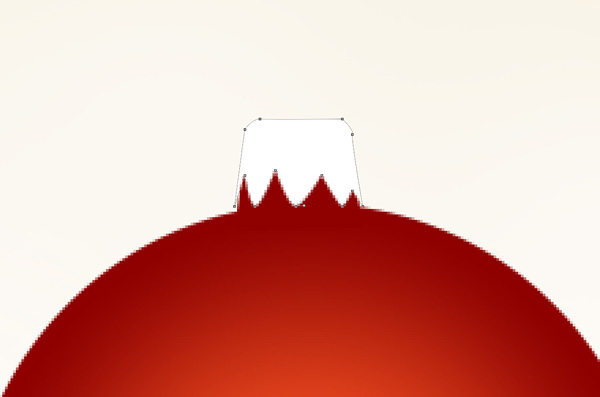
Use again the Pen Tool (P) to draw the next element of the ball’s support.
Click on Add a layer style icon from bottom part of the Layers panel and select Gradient Overlay.
Click in the color bar to open the Gradient Editor and set the color stops as shown. Click OK to close the Gradient Editor dialog box.
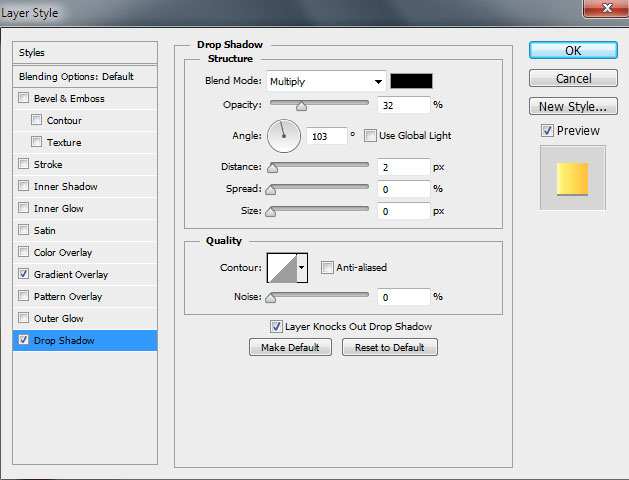
Add Drop Shadow:
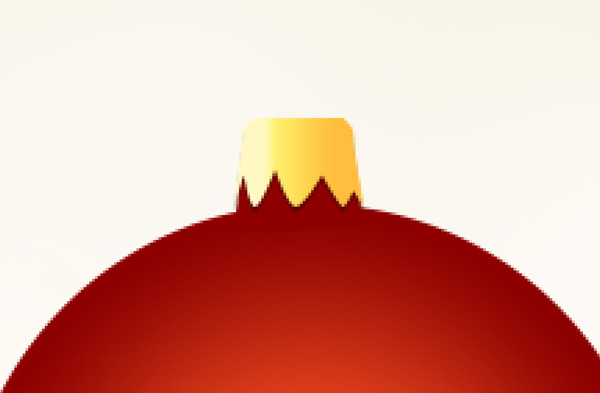
We’ve got the next result:
Take the Ellipse Tool (U) to draw a kind of small ring as a next element and place the layer under the layers containing the ball’s support element. Select the next options in Options bar:

We’ve got the next result:

Click on Add a layer style icon from bottom part of the Layers panel and select Gradient Overlay.
Click in the color bar to open the Gradient Editor and set the color stops as shown. Click OK to close the Gradient Editor dialog box.
We’ve got the next result:

Combine in a group all the layers composing the Christmas ball (press CTRL button to select the necessary layers and hold on the left mouse’s button while dragging the selected layers on Create a new group icon from bottom part of the Layers panel).
This will compose one version of our ball. Make a copy of the new group and insert a new layer in the group (Create new layer). The last created layer must be situated above the ball’s layer in Layers panel. Select after that the Soft Round brush of white color.
Use this brush on the same layer to draw several small dots.
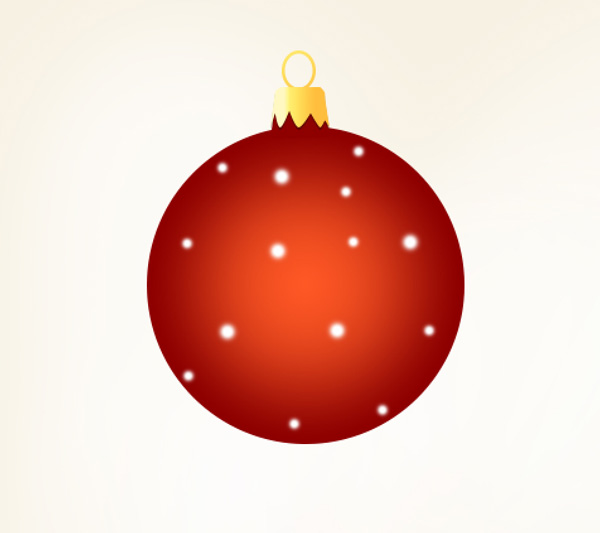
Set the Blending mode for this layer to Soft Light.

We’ve got the next result:

Make a copy of the very first group containing the Christmas ball. Represent the texture on the same group above the ball’s layer by using the Line Tool (U) (Weight – 8px) to draw twenty vertical lines.
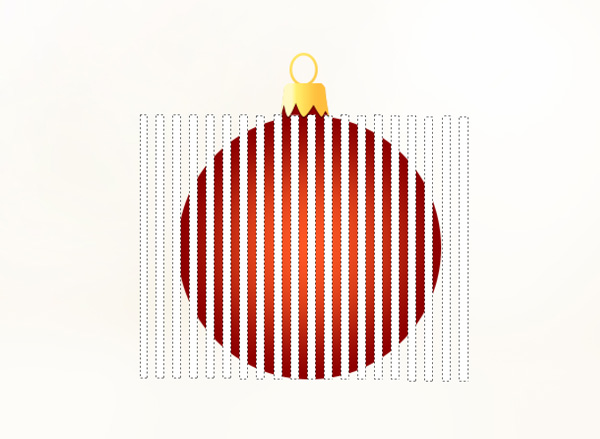
Put together now all the lines’ layers in a single rasterized layer (hold CTRL button and select all lines’ layers in Layers panel, finally press CTRL+E to Merge Down).
Choose for the rasterized layer the Free Transform (Ctrl+T) command, click the Switch Between Free Transform And Warp Modes button in the Options bar. Move the control points to the ball’s middle part to distort the layer the same way as it is shown below. Set Fill to 40% for this layer.
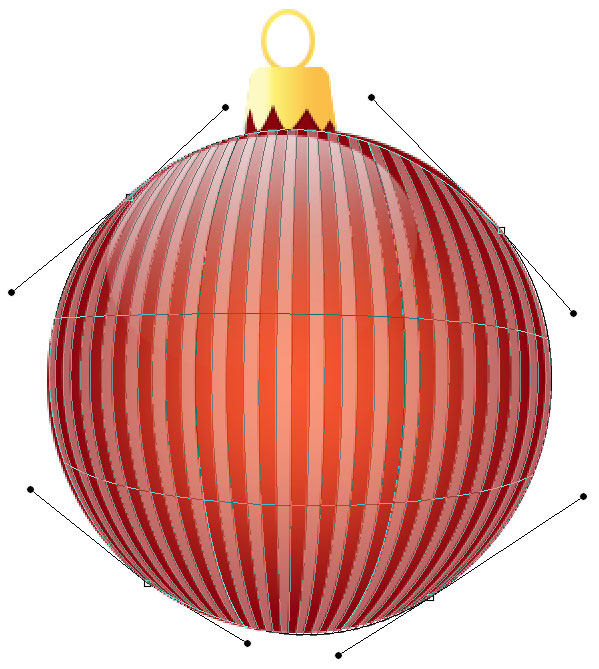
This way we’ve obtained three versions of the same Christmas ball in three separate groups.

Using the Free Transform (Ctrl+T) command, make copies of the groups, putting them together in a pyramid, the same way indicated below:

Page: 1 2
Comments