
How to create Greeting Card with Christmas ball and Green Ribbon in Adobe Photoshop CS6
Today we’ve got a really nice and simple tutorial demonstrating how to create greeting card with red Christmas ball using simple tools and techniques like Ellipse Tool, Brush Tool, Layer Style, etc. in Adobe Photoshop CS6. Layered PSD file included. Let’s get started!
Final Image Preview

Start working by creating a new document (Ctrl+N) in Adobe Photoshop CS6 with the size 1920px by 1200px (RGB color mode) at a resolution of 72 pixels/inch.
Create a new layer, click on Add a layer style icon from bottom part of the Layers panel and select Gradient Overlay.
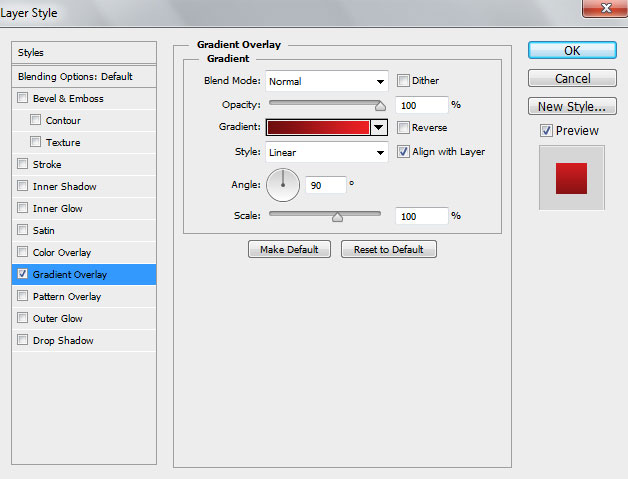
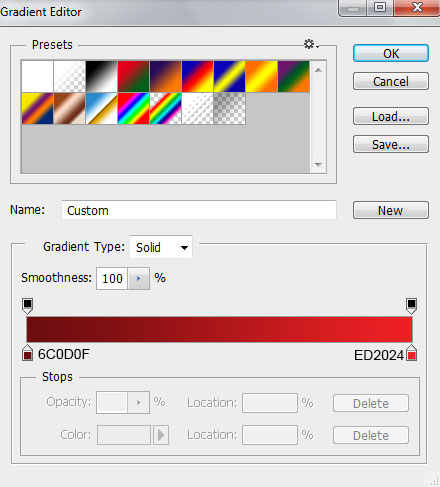
Click in the color bar to open the Gradient Editor and set the color stops as shown. Click OK to close the Gradient Editor dialog box.

We’ve got the next background:

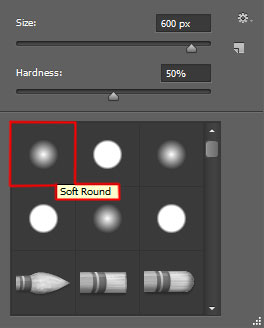
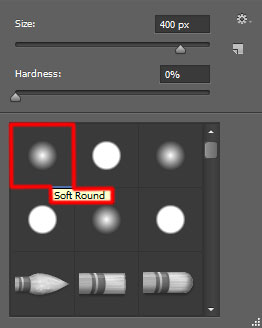
Create a new layer and select the Soft Round brush from Brush Tool (B).
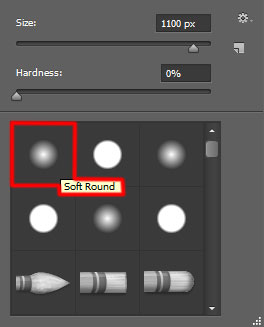
Paint on the background on the central part of the picture using this brush, using this color – #FCC653.

Next we’ll represent a Christmas ball, using the Ellipse Tool (U) to represent firstly the ellipse and then hold SHIFT button while applying the Rectangle Tool (U) to add the next shape for the support.
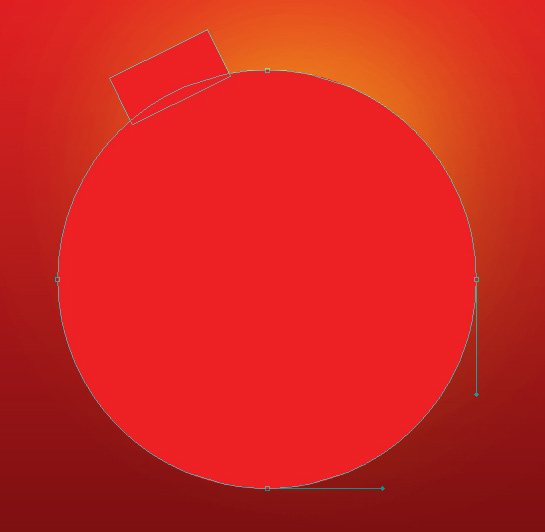
Select this color #ED2024 for Christmas ball and incline the shape as it is represented on the next image, using the Free Transform (Ctrl+T) command:

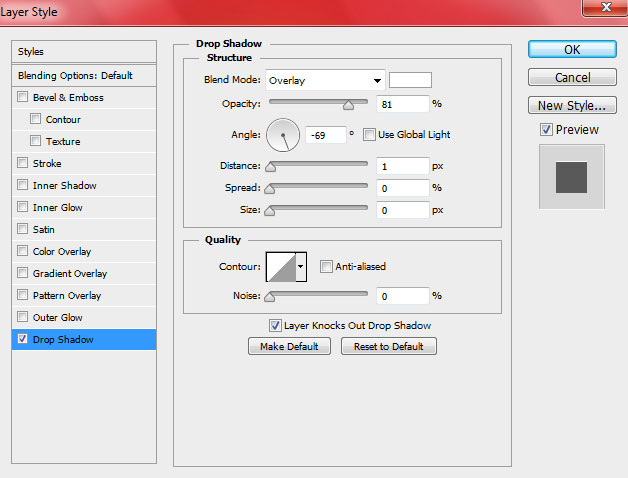
Click on Add a layer style icon from bottom part of the Layers panel and select Drop Shadow.
We’ve got the next result:

Create the next new layer and select the Soft Round brush from Brush Tool (B).
Paint the Christmas ball using this brush with this color – #800F12.

Then hold CTRL button and click on the ball’s layer in Layers panel to get the next selection.
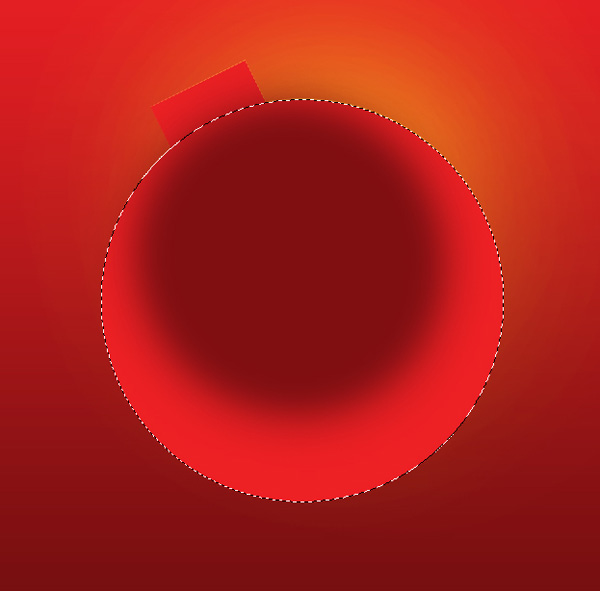
Select the layer with the brush in Layers panel and insert the mask on it by clicking on the bottom part of the Layers panel on Add layer mask. We’ll cut the brush’s layer around the ball. Change the visibility of the brush’s layer inside the mask using Soft Round brush of black color (set Opacity to 20%) for this operation.

We’ve got the next result:

Create a new layer and select the Soft Round brush from Brush Tool (B).
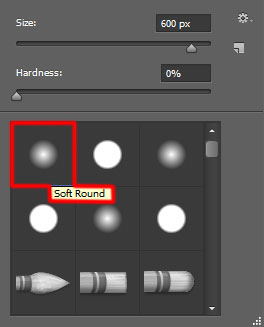
Use this brush to add a big spot with this color – #FE6400 (brush Opacity – 40%).

Create a new layer to represent the highlight on the Christmas ball, select the Soft Round brush of white color (brush Opacity – 40%).
Apply this brush to add a big white spot as shown:

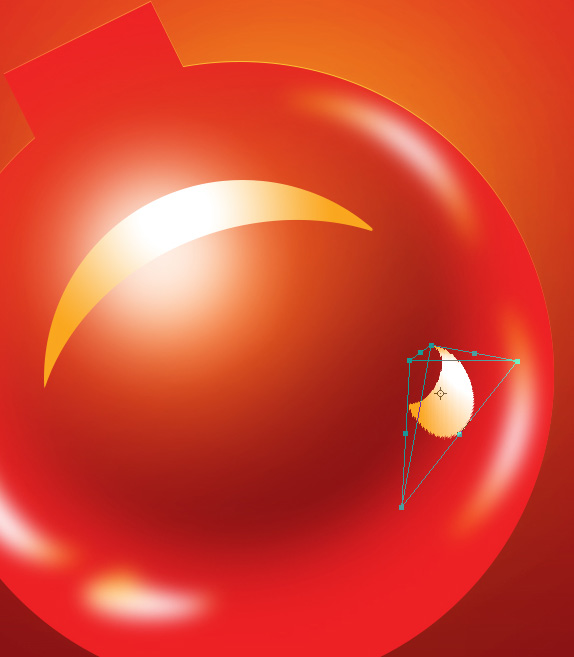
Using the Ellipse Tool (U), we’ll represent the next highlight on the Christmas ball, draw for the beginning an ellipse on the central part of the ball, then hold Alt button draw another ellipse to cut everything that is unnecessary, using the same tool.
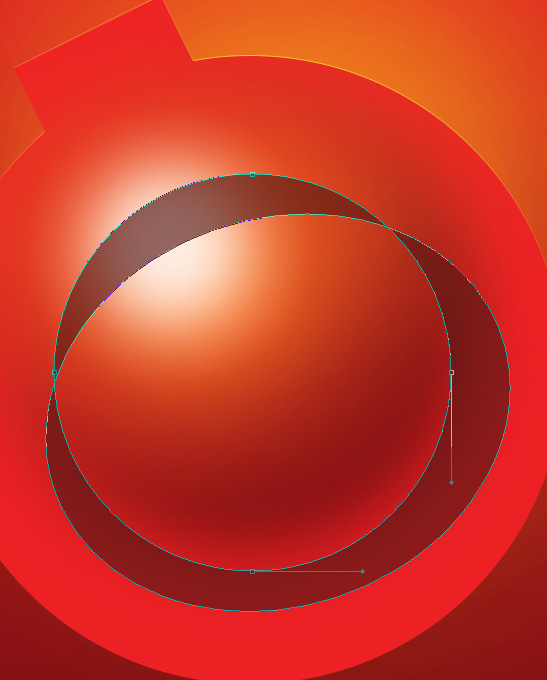
Click on Add a layer style icon from bottom part of the Layers panel and select Gradient Overlay.
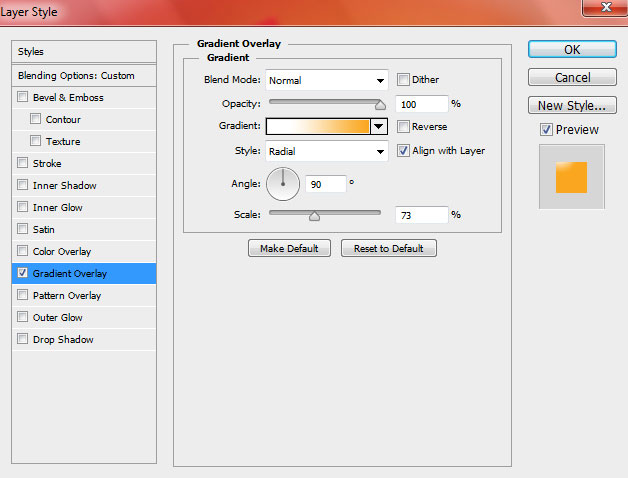
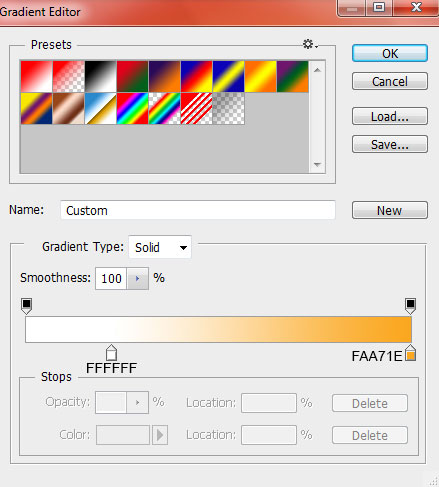
Click in the color bar to open the Gradient Editor and set the color stops as shown. Click OK to close the Gradient Editor dialog box.
We’ve got the next result:

Insert the mask on the same layer by choosing Add layer mask on the bottom part of the Layers panel and choose the Hard Round brush of black color.

Paint in the mask using this brush to hide the unnecessary elements as it is represented below:

Make a copy of the recently made layer containing the highlight and rasterize the copy’s layer. In this case create a new layer above the copy’s layer and hold CTRL button to select both layers, pressing CTRL+E to Merge Down.
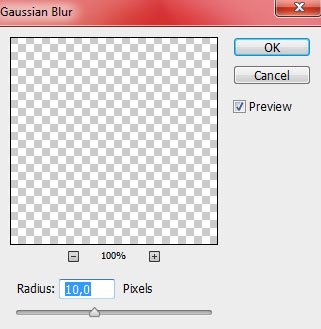
On the rasterized layer apply the next filter: Filter > Blur > Gaussian blur.
We’ve got the next result:

Make four copies of the last made layer with the highlight on it and choose the Free Transform (Ctrl+T) command to change the copies’ sizes, placing them the same way indicated next image:

Second copy:

Third copy:

Fourth copy:
We’ve got the next result:

Comments