
How to create Vintage New Year Card with Christmas Decorations in Adobe Photoshop CC
We have another great tutorial available for our readers today. If you want to learn how to create a vintage New Year card with Christmas decorations, using simple shapes and gradients in Adobe Photoshop CC, then this tutorial is for you. Layered PSD file included. Let’s get started!
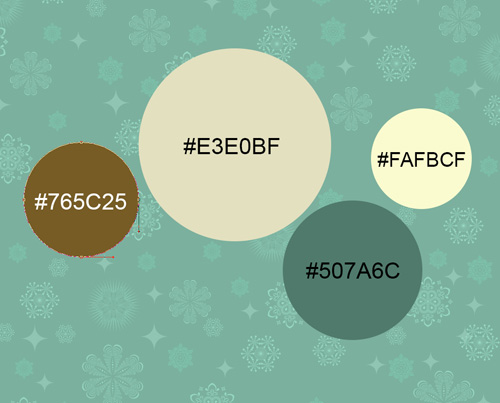
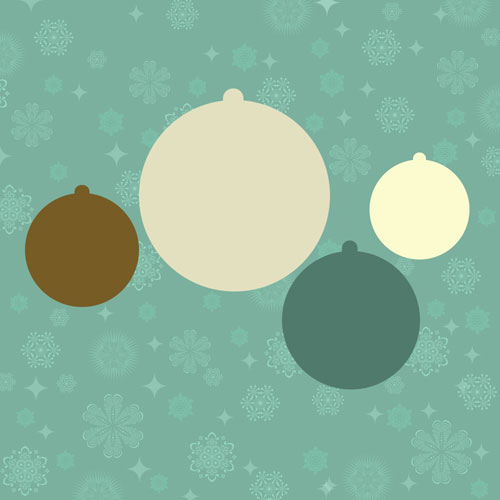
Final Image Preview

Start working by creating a new document (Ctrl+N) in Adobe Photoshop CC with the size 1000px by 1000px (RGB color mode) at a resolution of 72 pixels/inch. Use the Paint Bucket Tool (G) to fill with #7BB09E color the new background layer.

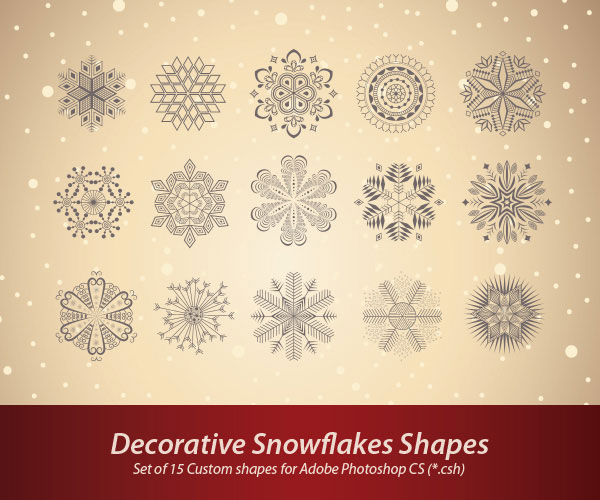
Next we’ll download set of custom shapes named Decorative Snowflakes Shapes. Little tutorial to explain how to load Custom Shapes here.

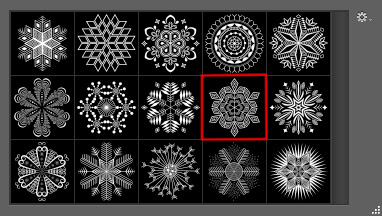
Select the Custom Shape Tool (U) in the Tools bar, in the Options bar click the Shape to open the selection menu. Find loaded shapes Decorative Snowflakes Shapes at the bottom of the menu, and then double-click a shape thumbnail to select it.
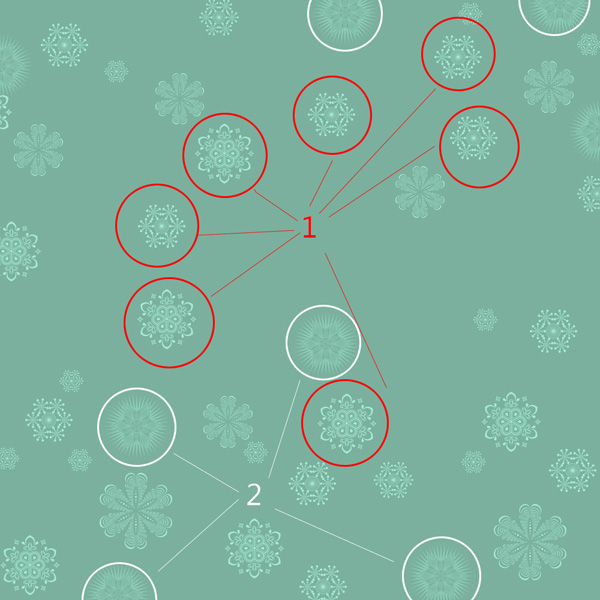
Click and drag to insert the snowflakes on the background. Firstly we’ll add the big ones, placing them the way from the next picture. Each snowflake needs a separate layer. Their color is #A4EDD4 (1), #8CCDB7 (2).
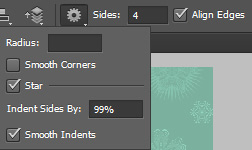
Next we’ll draw some stars on the background, select the Polygon Tool (U), go to Options bar and click on Polygon Options. Set Indent Sides by – 99% and check the Star, Smooth Indents. Also set in Options bar the Sides – 4.
Click and drag to draw the star as shown using #B0E2D2 color.

We’ve got the next result:

Set Fill to 40% for the stars’ layers.

Combine in a group all the layers containing the snowflakes (press CTRL button to select the necessary layers and hold on the left mouse’s button while dragging the selected layers on Create a new group icon from bottom part of the Layers panel). Combine in a group also all the layers containing the stars. The stars’ group needs to be included in the snowflakes’ group after that, on the Layers panel.
On the new group we’ve got we’ll apply Fill to 64% and change the Blending mode to Lighten.

Using the Custom Shape Tool (U), we can insert smaller snowflakes on the background, having this color #7DCAB0.
We’ve got the next result:

Then we’ll start representing the Christmas tree decorations, representing usual spheres. Firstly draw the basic layer, using the Ellipse Tool (U).
We’ve got the next result:

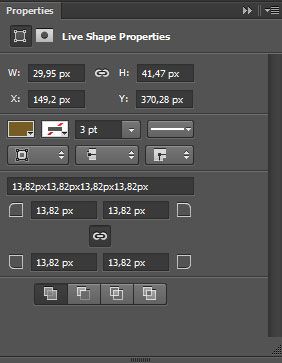
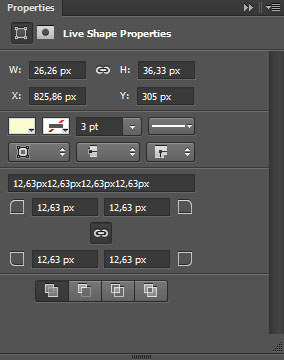
On the upper part we’ll make the decoration’s support element. Its color is the same with the basic layer and the tool applied is the Rounded Rectangle Tool (U). In Photoshop CC, adding a Rounded Rectangle (using the Shape tools) displays the Properties panel making it easier to access the Live Shape Properties. Apply the next settings in Properties panel as shown:
We’ve got the next result:

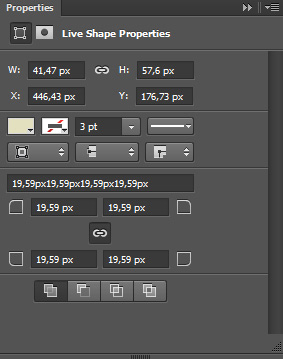
Draw another shape and apply the next settings in Properties panel:
We’ve got the next result:

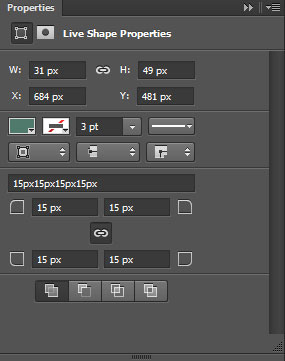
Settings for the next shape in Properties panel:
We’ve got the next result:

And the last shape settings:
We’ve got the next result:

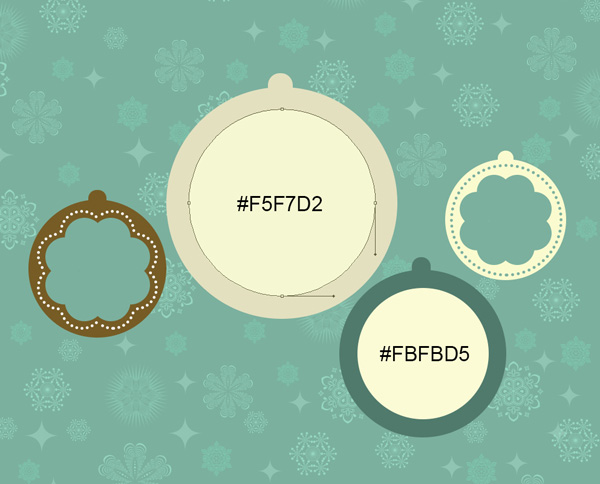
Our decorations with supports:
Represent inside the decoration the first layer containing the ornament. This time apply the Ellipse Tool (U). Insert for the beginning one ellipse and then hold SHIFT button to add more ellipses with the same tool to get the same result as below. The color is #7BB09E.

This way we may represent the ornament on the next sphere, applying the same color.

Next we’ll draw around the represented ornament a shape made of dots. In this case we need to select all the ornamental circles, using the Path Selection Tool (A).
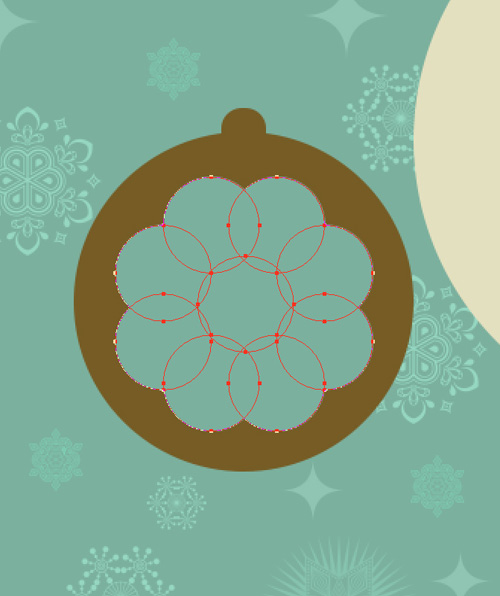
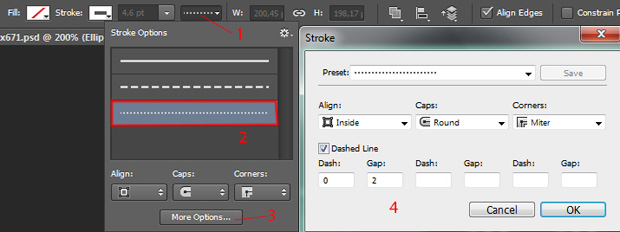
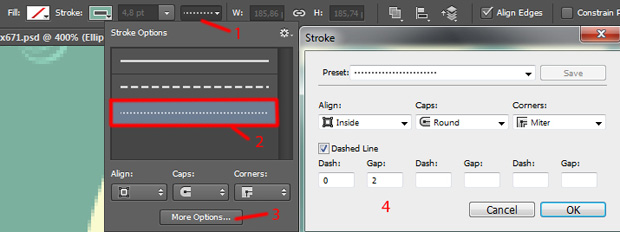
Select the Merge Shape Components option in the Options bar. Our circles will be put together in a single shape. Make a copy of the circles that are put together and set Fill to None, add Stroke with dotted line for the last made copy:

Stroke Options:
Use on the layer the Free Transform (Ctrl+T) command (set Maintain aspect ratio in Options bar) to enlarge a little the copy as it is demonstrated below.

Represent a ellipse of dots inside the ornament on the other decoration, using the Ellipse Tool (U) with the color #7DB09F. Set Fill to None and select the next settings for Stroke:

Stroke Options:
We’ve got the next result:

Using the Ellipse Tool (U) we may represent the ellipses on the rest of the decorations.
Page: 1 2
Comments