
Pepper Wallpaper
The next lesson we’ll learn to represent the desktop wallpapers, selecting the photo of a fruit or of vegetable and different ornaments.
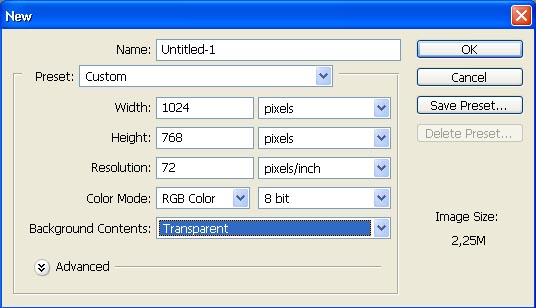
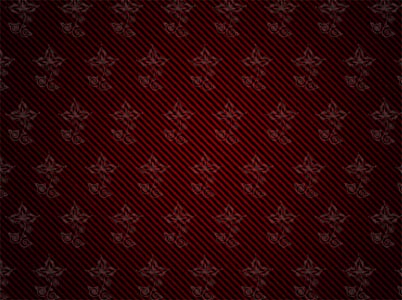
Firstly we need to create a new file of standard size wallpapers: File ? New (ctrl+n).
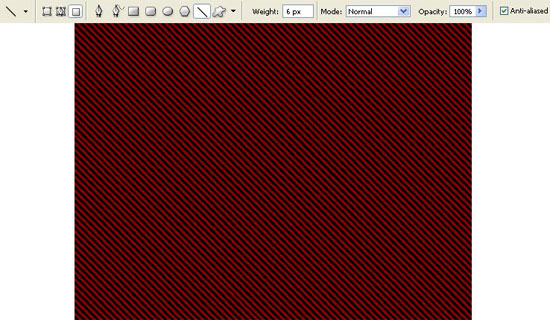
Then we have to paint out the background’s layer by applying the Paint Bucket Tool.

Using the Line Tool and keep pressing the shift button, represent several stripes of different thicknesses.

Then create a new layer: Layer ? New ? Layer and paint it by selecting the Gradient Tool.
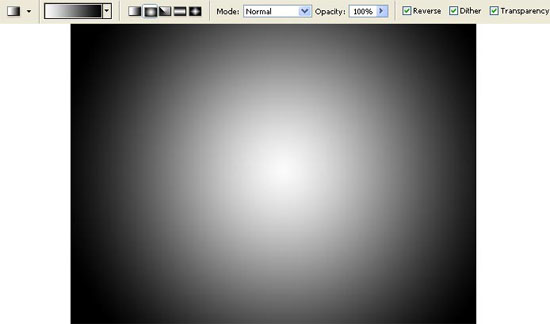
Change the layer’s Blending Mode on Multiply and minimize the Opacity till 70%.

Now we’ll select the Brush Tool and download a set of ready to use brushes containing ornaments. They may be selected from here: http://www.deviantart.com/deviation/18916556/ ?qo=12&q=in%3Aresources%2Fapplications%2Fpsbrushes+sort%3Atime+henna and then place one of the ornaments on the whole background.
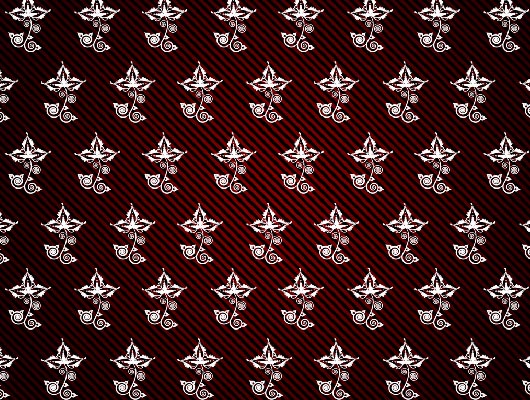
Make the Opacity smaller till 15%.
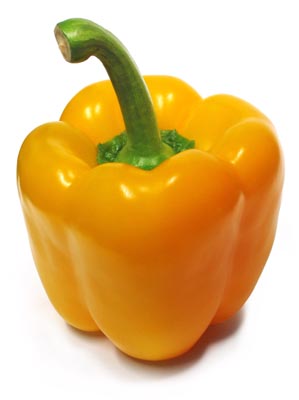
Open in a new window the picture of a pepper: File ? Open (ctrl+o).
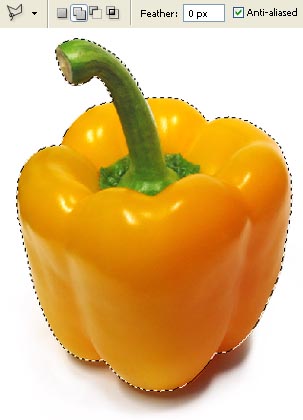
Mark it out along its contours, choosing previously the Polygonal Lasso Tool.
Make a copy of it: Edit ? Copy (ctrl+c) and get back to the wallpapers window to insert the pepper on a new layer: Edit ? Paste (ctrl+v). Make the corrections on its size, applying the next selection: Edit ? Free Transform (ctrl+t).
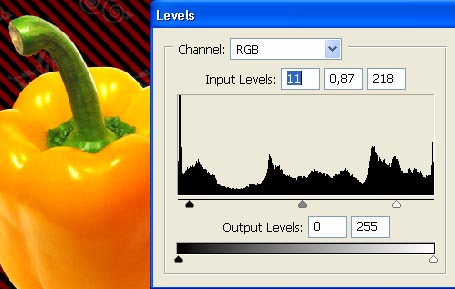
We’ll make the corrections on its brightness and contrast also, using the here shown option: Image ? Adjustments ? Levels (ctrl+l).
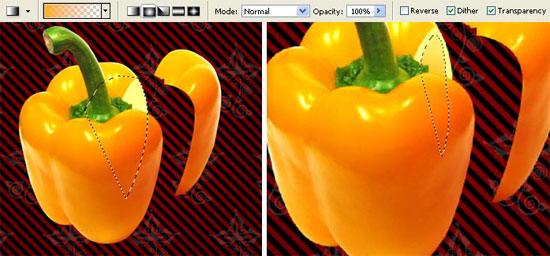
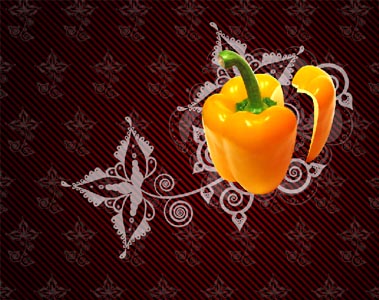
Mark out now a part of the pepper by using the Pen Tool and Make Selection command.

Move the marked part aside. Create a new layer now and place it under the pepper’s layer. Choose after that the Pen Tool again to represent a kind of marking on that part of the pepper that is missing. Paint it out with Paint Bucket Tool. Then create a new marking and fill the inside part of pepper with more naturalness, selecting the usual Gradient Tool.
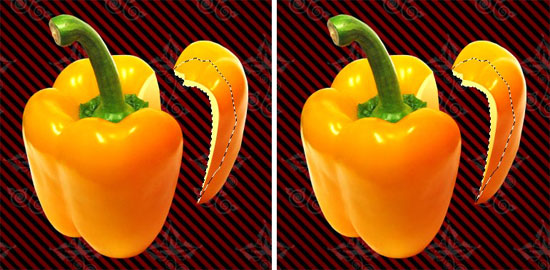
Add the same way the necessary thickness for the cut out pepper’s part.
Place on a lower layer one more ornament, making this layer’s Opacity smaller till 65%.
Insert on a new layer one more ornament that I’ve made it by combining several of them, selecting the Free Transform option and Eraser Tool. Minimize the layer’s Opacity till 80%.
Select the Gradient Tool on a new layer, under the pepper’s layer to create a kind of effect, like the next one:
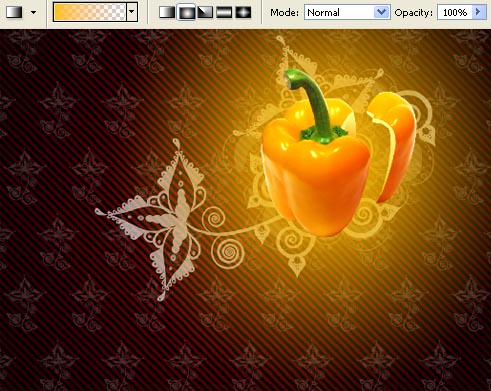
Now we’ll change the layer’s Blending Mode on Soft Light and make the Opacity smaller till 80%.
Select the Text Tool now and the next combination: Edit ? Free Transform (ctrl+t) to insert an inscription like that one shown below on the picture. Minimize the layer’s Opacity too (the layer with the inscription).

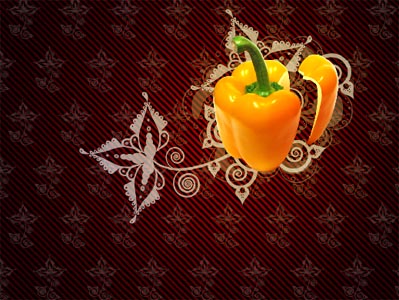
Merge down all the layers: Layer ? Merge Visible (shift+ctrl+e) and make small corrections on the color, applying the next option: Image ? Adjustments ? Selective Color.

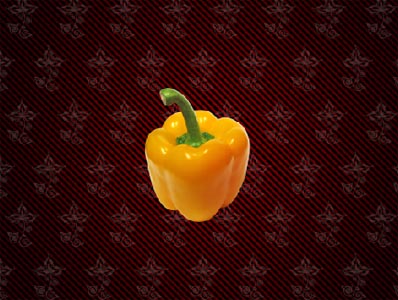
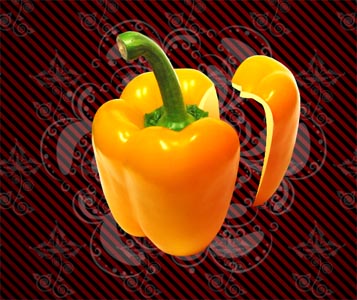
That is what we have got:

The illustration is finished!
Made by Sigma
Comments