
From The Inside Photo Effect
This task we’ll learn how to change the picture’s color, work with the layers, make an original make-up, create the effect of objects’ perspectives and volume, imitate the glow-worms and blood drops and also how to work with the filters.
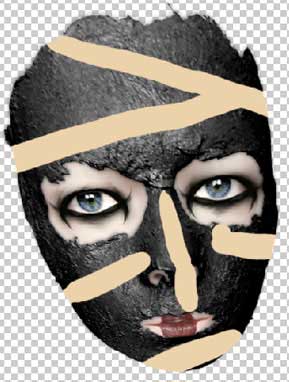
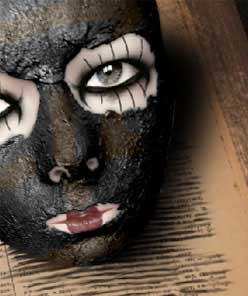
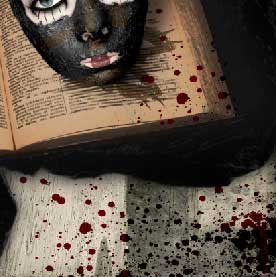
Take a girl’s photo, having a cosmetic mask on her face.
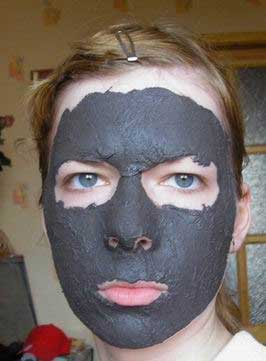
Mark out the mask along its contour with Polygonal Lasso Tool.
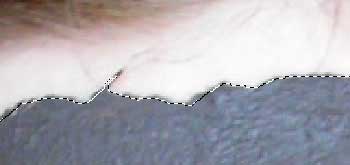
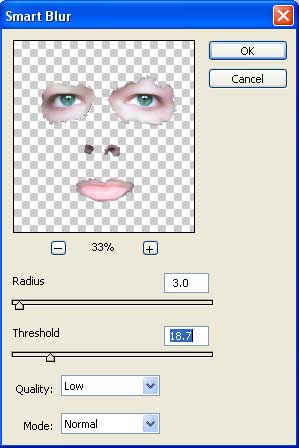
Cut it out, applying Edit ? Cut (ctrl+x) and place it on a new layer: Edit ? Paste (ctrl+v). Separate the same way the remaining face’s portions with the mask. Place this layer lower than the mask’s layer. Apply also Filter ? Blur ? Smart Blur.

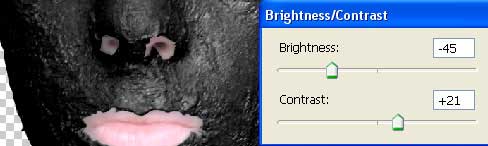
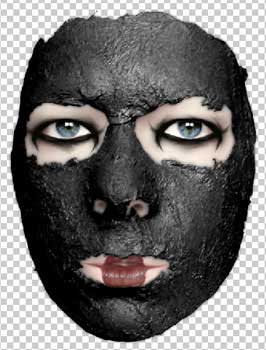
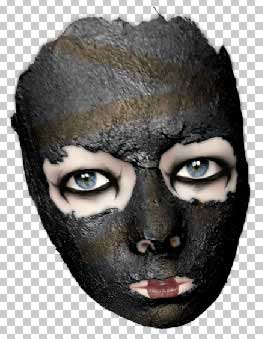
Make the mask’s layer look darker, using the next command Image ? Adjustments ? Brightness/Contrast.
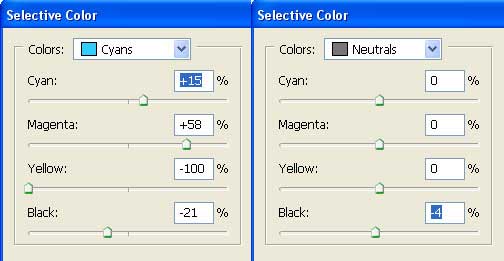
Applying the next option Image ? Adjustments ? Selective Color, it’s possible to correct a little the face’s layer colors.
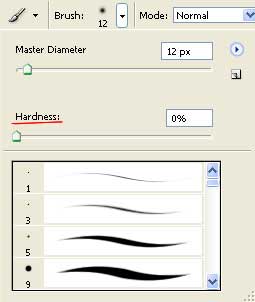
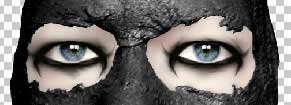
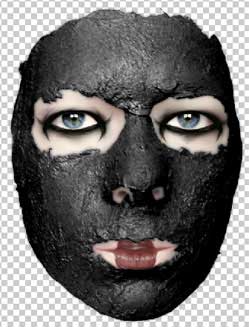
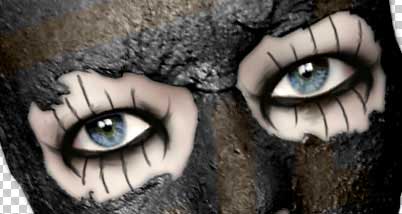
Take the Brush Tool next and set out the brush’s Hardness on 0%. Pass to the eyes’ make-up now.
Blur a little the painted parts with the Smudge Tool.
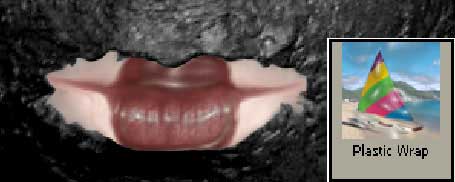
Paint the same way the lips, applying Filter ? Filter Gallery ? Plastic Wrap.
Copy now the mask’s layer, applying to it Filter ? Blur ? Gaussian Blur.
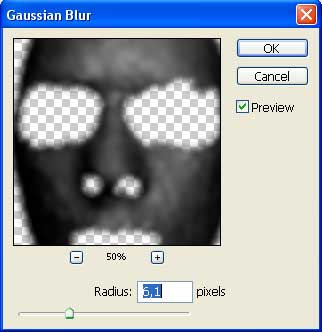 Place this layer under the basic mask’s layer, just clicking on it and moving on the necessary place. This way we create the effect of mask’s natural positioning on the face.
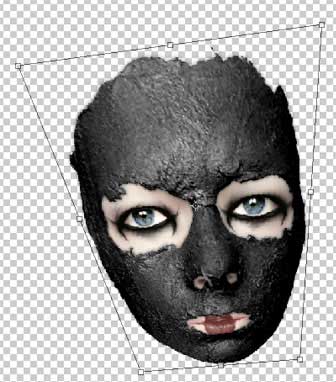
Merge next step the mask’s layer with the face’s one, applying Layer ? Merge Down (ctrl+e). Turn around the layer that we’ve got with Edit ? Transform ? Flip Horizontal.
Distort the form, creating an effect of perspective using the next selection Edit ? Transform. <?xml:namespace prefix = o ns = “urn:schemas-microsoft-com:office:office” /><o:p></o:p>
Choose again the Brush Tool and on a new layer, above the mask, picture several stripes. Group this layer preliminary with that layer where the mask is situated: Layer ? Create Clipping Mask (ctrl+g).
Apply then Filter ? Blur ? Gaussian Blur and change the layer’s type on Multiply.
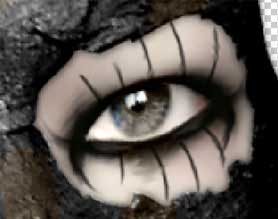
Take the same instrument to draw the eyelashes, but choose a brush of small size this time.
Take the Sponge Tool to make lighter a portion of the indicated eye.
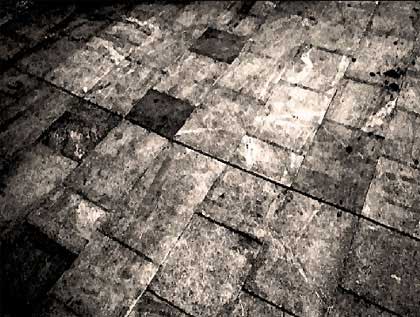
To represent the background, it’s necessary to take a photo picturing tile or asphalt.
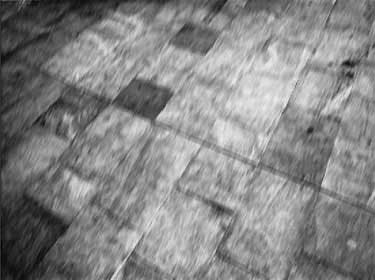
Place it on the lowest layer, but first open the picture on a new layer, cut it out and get back to the file with the processed picture. Place it then on the new layer.
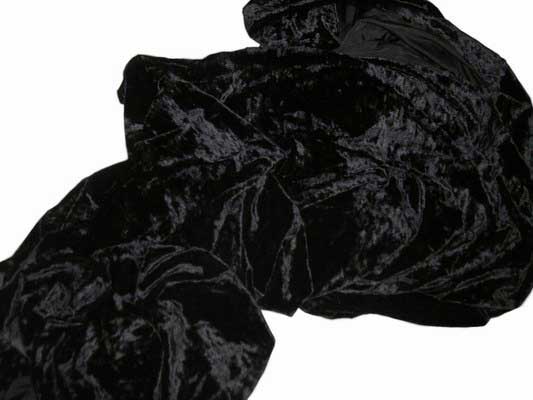
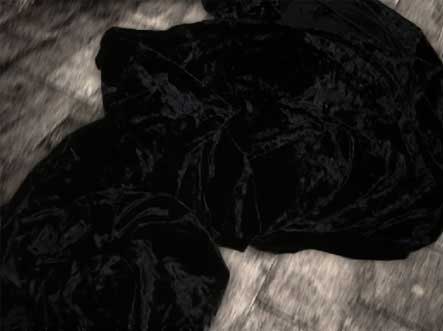
 Further insert the picture of draped textile on a new layer, above the background.
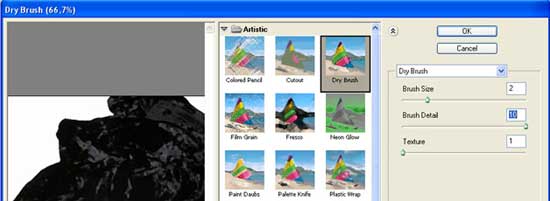
Cut the background on which the textile was situated and erase it, Apply to this layer Filter ? Filter Gallery ? Dry Brush.
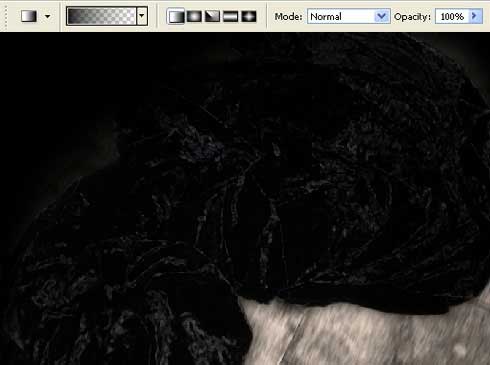
To represent the textile’s shadow, just copy the layer and blur it out: Filter ? Blur ? Gaussian Blur. Place the blurred layer under the textile’s one.
Dark out the upper corners, using Gradient Tool.
Insert the book’s picture on a higher layer.
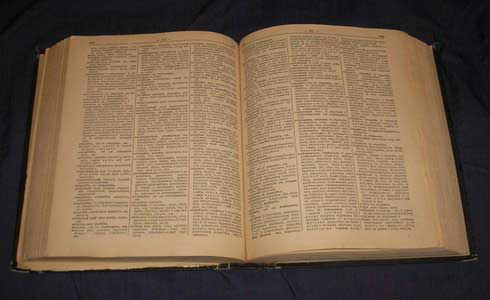
Mark out and erase all unnecessary parts, turn it a little, applying Edit ? Free Transform (ctrl+t) and apply Filter ? Filter Gallery ? Film Grain.

Place the mask above the book. Using Smudge Tool instrument, imitate the chin’s touch with the letters.
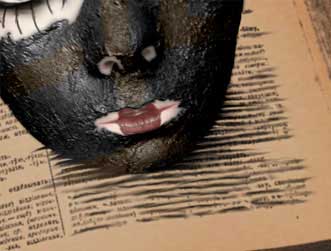
On a layer lower, picture the mask’s shadow with the next tool (Brush Tool) and blur it out.
Minimize the Opacity of the indicated layer.
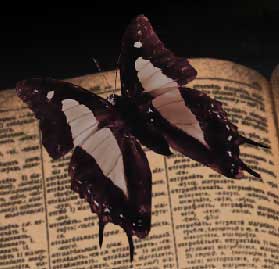
 Insert on a new layer the butterfly’s picture.
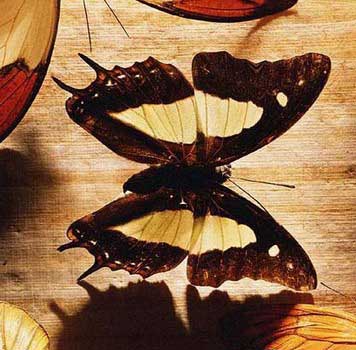
Mark it out and erase everything unnecessary. Turn around the picture, using Edit ? Free Transform (ctrl+t) and change the color: Image ? Adjustments ? Hue/Saturation (ctrl+u).
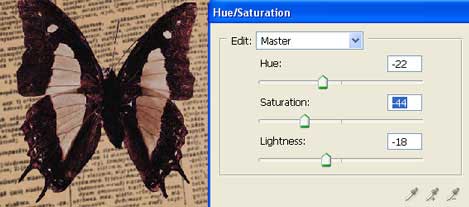
Apply to this layer Filter ? Blur ? Smart Blur. Distort now the butterfly, applying the next selection: Edit ? Transform ? Distort.
Add the shadow now the same way we did with the mask. Next step includes copying this layer several times and placing them on the book’s pages on different angles.
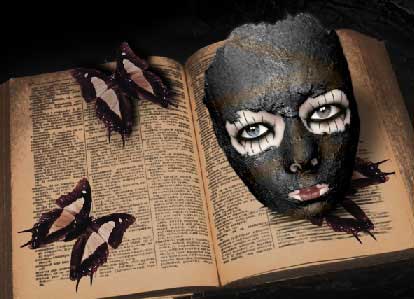
Merge now the copied layers: Layer ? Merge Down (ctrl+e) and change the new layer’s type on Luminosity. Minimize the Opacity till 40%.
On a new layer, above the background, insert a small part of the picture showing some blood drops.
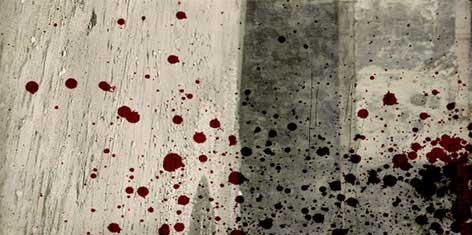
Change the layer’s type on Multiply.
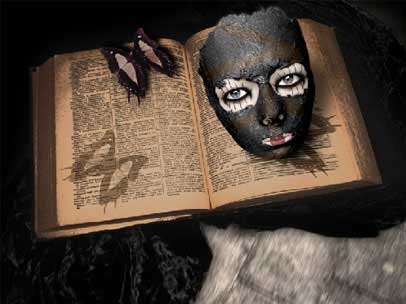
Mark out a small part of the drops’ layer and copy it: Edit ? Copy (ctrl+c). Place it above the book. Turn them a little (Edit ? Free Transform) and change the layer’s type on Darken.
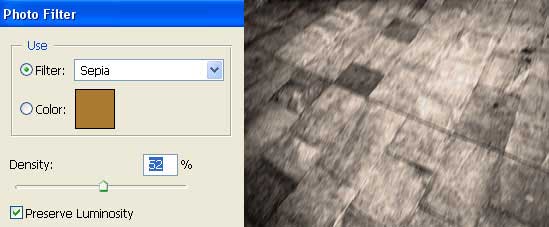
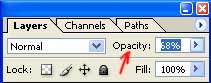
Place now the background’s layer copy above all the layers, using Layer ? Duplicate Layer. Apply to this layer the already known filter (Filter ? Filter Gallery ? Dry Brush).
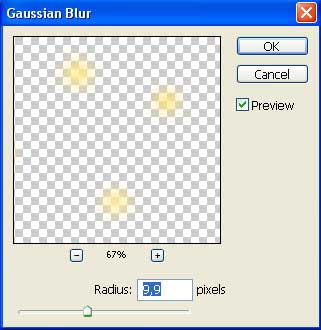
Change the layer’s type on Multiply and minimize the opacity till 18 %. The last feature includes the glow- worms. To picture them, it’s necessary to choose the Ellipse Tool and draw several circles of yellow color and then inside the yellows – the white ones, but of smaller size.
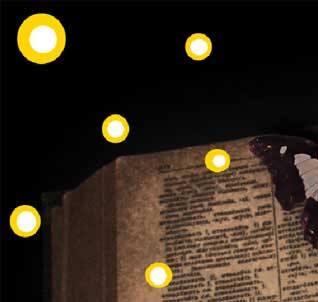
Select also for blurring Filter ? Blur ? Gaussian Blur.
That’s it!
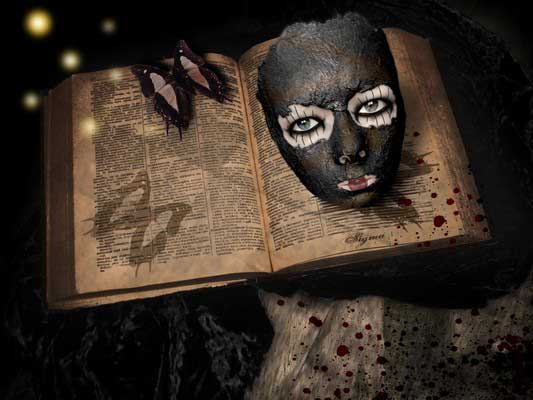
Made by Sigma
Comments