
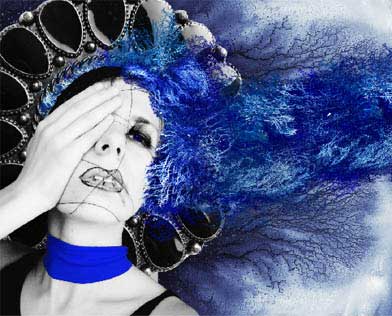
Snow Queen
This lesson we’ll learn how to create an effect of artificial hair, work with textures and layers, create shadows and highlights and also represent flowery ornaments.
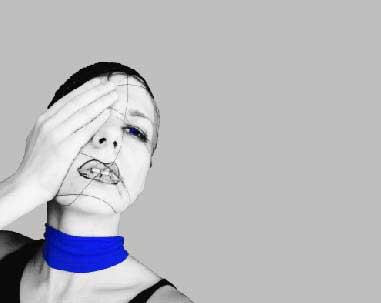
Open the girl’s picture: File ? Open (ctrl+o)
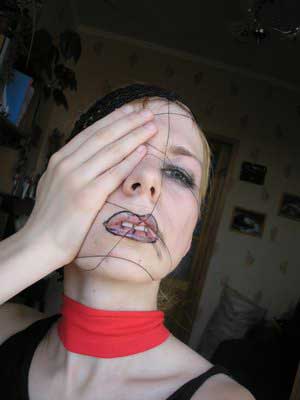
Mark out the background along the contour, using Polygonal Lasso Tool and delete it with Edit ? Cut (ctrl+x)
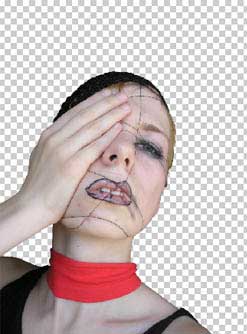
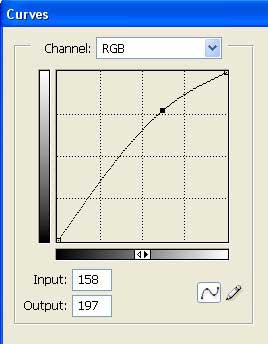
Take now Sponge Tool to decolorize the girl’s picture except her scarf on her neck. Increase then the layer’s brightness, applying Image ? Adjustments ? Curves (ctrl+m).

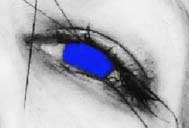
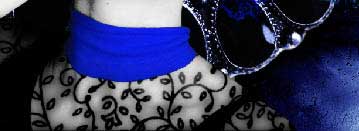
Change the scarf’s color on blue one: Image ? Adjustments ? Hue/Saturation (ctrl+u)

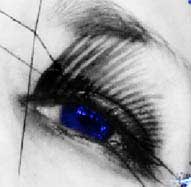
Create now a new layer: Layer ? New ? Layer and make use of Brush Tool to paint the eyes in the same color of the scarf.
Change the layer’s type on Overlay and combine it with the previous one: Layer ? Merge Down (ctrl+e). Then increase the picture’s size, using Crop Tool. Create a new layer now for the background and place it out lower then the girl’s layer. Paint it after that in a neutral color, applying Paint Bucket Tool.
Open now on a new layer a certain texture (File – Open).
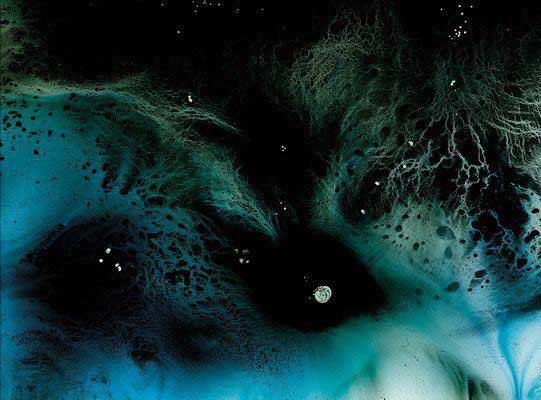
Choose Magic Wand Tool and mark out a certain part of this texture for copying it: Edit ? Copy (ctrl+c). Insert it on a new layer and get back to the processed picture: Edit ? Paste (ctrl+v)
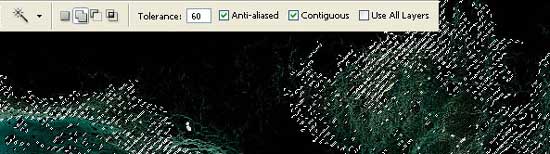
Insert a texture’s part on different layers, changing their colors also (Hue/Saturation)
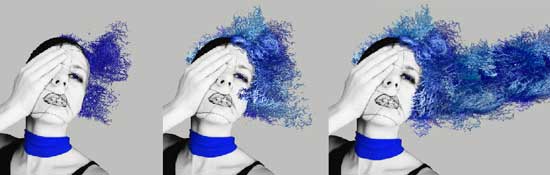
Then finish the eyes’ make up on a new layer, using for this the Brush Tool and Filter ? Blur ? Motion Blur.
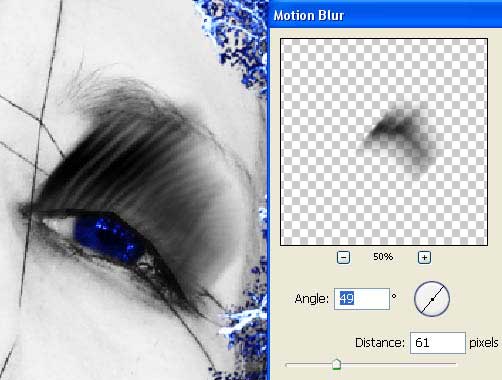
Change the layer’s type on Overlay.
 Insert above the background now such a texture.

Copy this layer now and turn around the copy, applying Edit ? Transform ? Flip Vertical. Merge both these layers and change the color (Hue/Saturation)
Open now a picture representing the brooch.
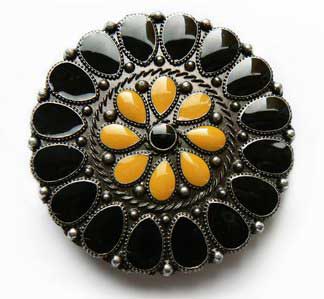
Place it on a layer under the girl’s one. Mark it out and erase the background which it was situated on and then decolorize the layer.
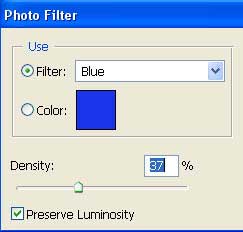
Make the brooch look bluer, applying Image ? Adjustments ? Photo Filter.
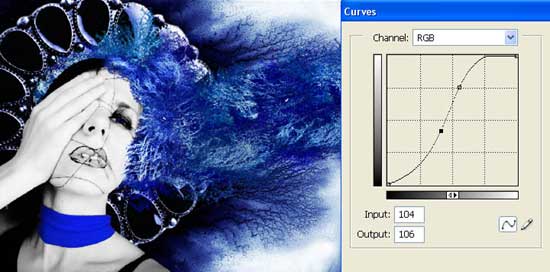
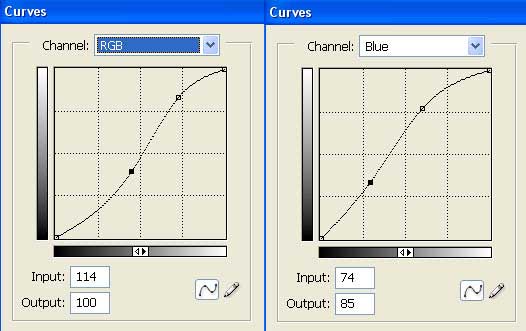
Get back to the background’s layer and work with the color: make it profounder: (Curves)
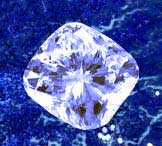
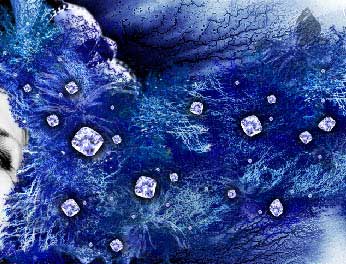
Insert on a new layer the picture of a diamond.
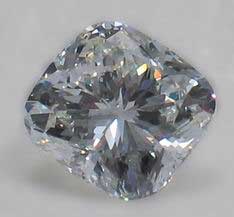 Erase the diamond’s background (Polygonal Lasso Tool) and increase the stone’s contrast (Curves). Give it a blue nuance also (Photo Filter)
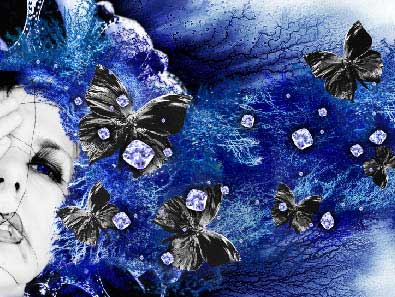
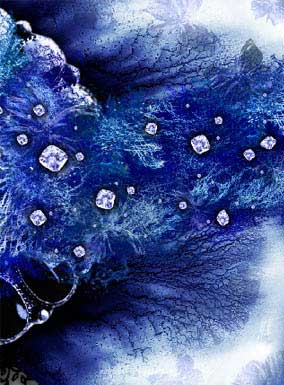
Copy now many times this layer and place the diamonds on the ?hair’s? surface, changing their size with Edit ? Free Transform (ctrl+t)
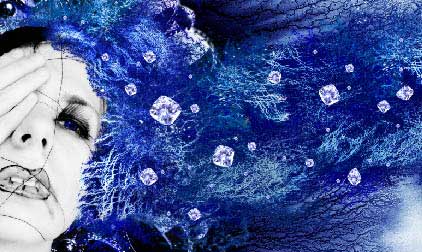
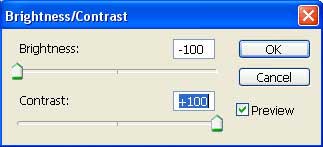
Add the shadows by copying the stones’ layer and make them of black color: Image ? Adjustments ? Brightness/Contrast
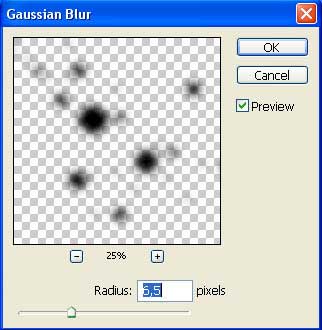
Place the indicated layer lower than the basic stones’ layer and blur it out with Filter ? Blur ? Gaussian Blur.
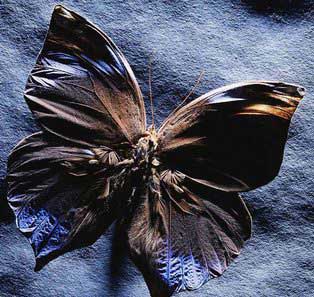
Insert now the butterfly picture.
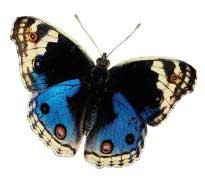
Separate it also from its background and make the color lighter, applying Curves.
Cut out one wing and turn it around with Free Transform option. Place it on the girl’s head. Copy this layer and blur it out a little this copy (Gaussian Blur)
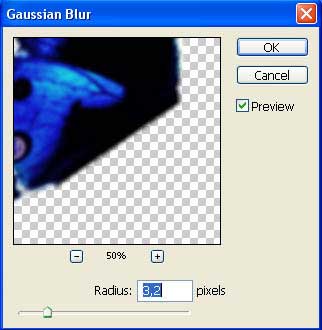
Change the blurred layer’s type on Multiply and merge down both layers representing the butterfly’s wing (Merge Down).
Open in a new window the ornaments’ texture.
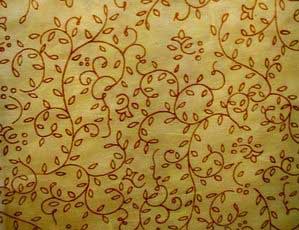
Decolorize it and increase the brightness and the contrast (Curves).
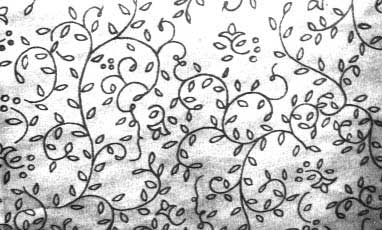
Pass to the Channels window, choosing Red (ctrl+1), applying next command Load Channel as Selection.
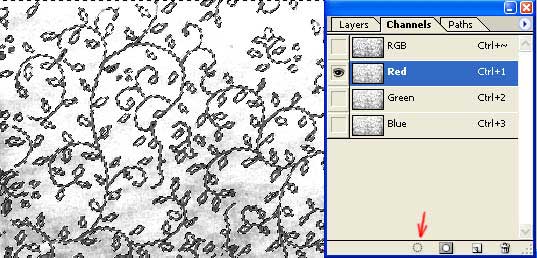
Choose then again RGB, cut out the ornament (Cut) and insert it on a new layer, above the girl’s layer. Get back to the processed picture and group these layers (the ornament must not be situated outside the girl’s contours), applying Layer ? Create Clipping Mask (ctrl+g). Change the layer’s type on Color Burn.
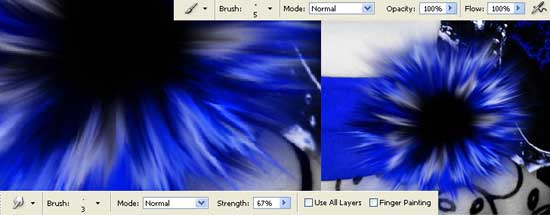
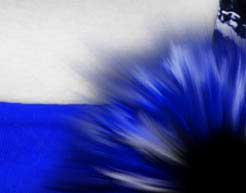
 Use now the Brush Tool and Smudge Tool to picture a fluffy ?flower? on the scarf.
Add to it the shadow, copying the layer (Duplicate layer), making it of black color (Brightness/Contrast) and blurring it out with Gaussian Blur.
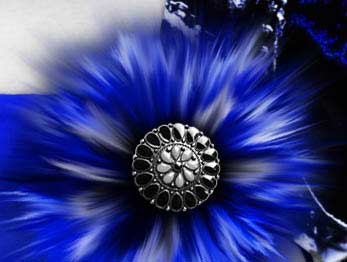
Place in the center the brooch which we used before, minimizing its size with Free Transform and decolorizing it.
Insert next on a new layer the picture of another butterfly, under the stones, but above the girl’s picture.
Erase the background on which it was situated and decolorize it. Copy several times the layer and place the copies on the hair’s surface, changing their size and the angle (Free Transform). Combine now all the layers with butterflies.
Change the layer’s type on Luminosity and minimize the Opacity till 47 % as the butterflies almost would be invisible.
Then copy this layer and place several butterflies above the background’s layer, minimizing the Opacity till 24% and change its type on Color Burn.
Add the highlights on the stones now and on the eye, making use of the Brush Tool of white color and Gaussian Blur filter.
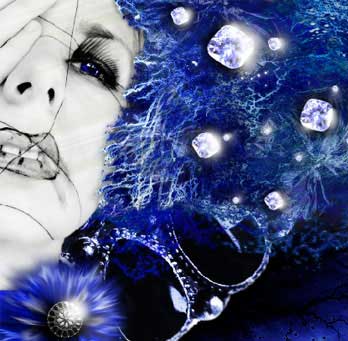
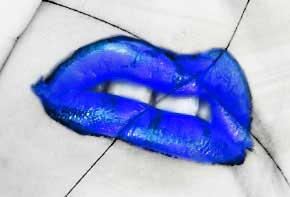
Mark out and copy the girl’s lips, place them on a new layer on the same place they were situated before. Change their color with Image ? Adjustments ? Curves (ctrl+m).
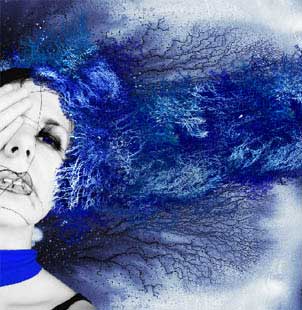
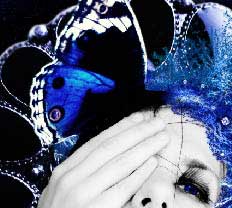
Now it’s possible to combine all the layers: Layer Merge Visible (shift+ctrl+e). Insert everything in a frame, applying Crop Tool and Rectangular Tool. Use the Sponge Tool to decolorize a part of the picture, that one from the right side.
Finishing the features, add the ready brushes’ set representing the stars (they may be downloaded here: http://www.deviantart.com/deviation/30000107/
?qo=20&q=by%3Aanarasha&qh=sort%3Atime+-in%3Ascraps).
The brushes representing the frost may be downloaded on this address http://www.deviantart.com/deviation/27149678/
?qo=16&q=Ice&qh=in%3Aresources%2Fapplications%2Fpsbrushes+sort%3Atime
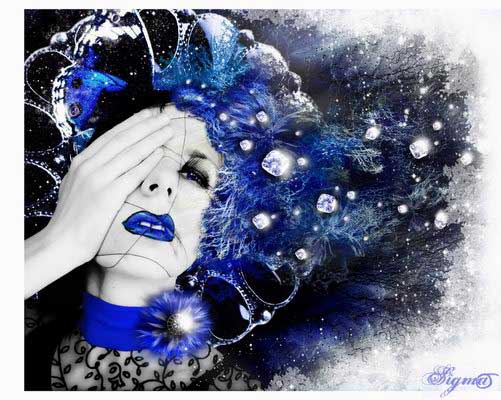
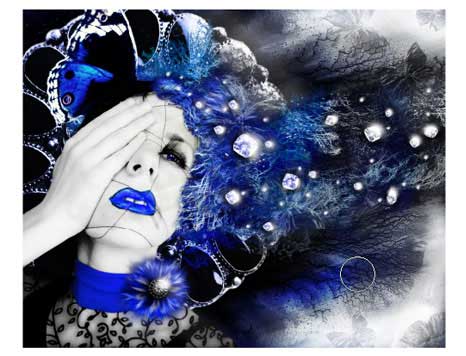
Finished!
Made by Sigma
Comments