
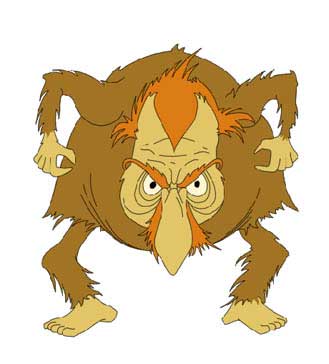
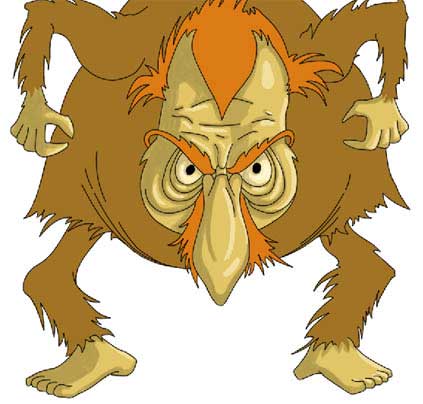
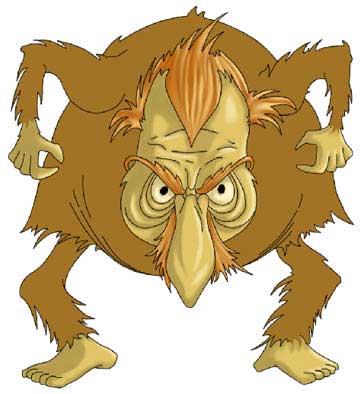
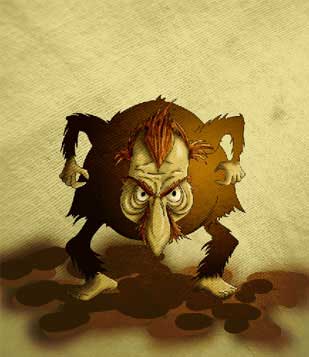
Primitive Art Man Cartoon
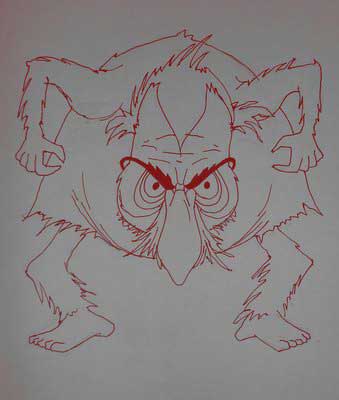
Open the scanned or pictured contours of a drawing: File ? Open (ctrl+o). It’s not necessary for the contours to be regular and correct ones.
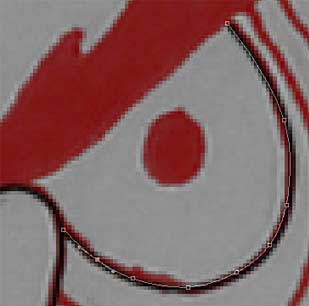
Apply now the Pen Tool on a new layer to picture the correct contours. Choose form the next table the appropriate adjustments for the instrument.

The new layer is possible to represent with the next command: Layer ? New – Layer

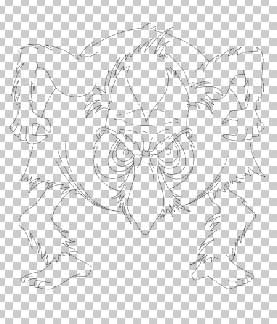
Erase the layer, containing the scanned contours, using the fast button on the Layers window.
Create a new layer and move it lower than the layer with the new drawn contours, by clicking on it and moving on the necessary position. Paint it in white, choosing Paint Bucket Tool
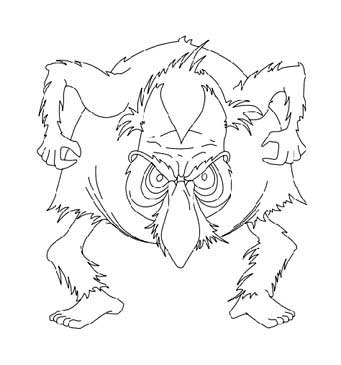
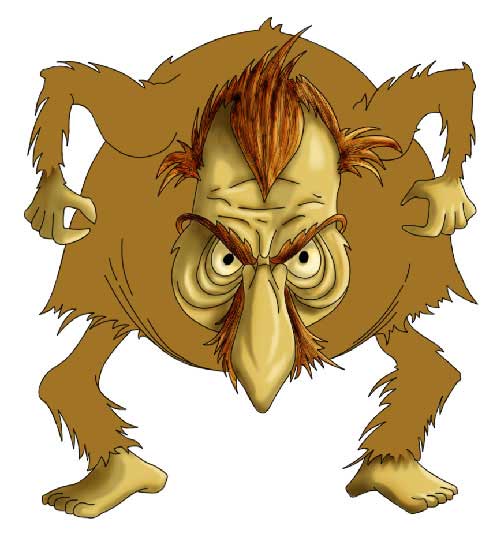
Choose next the Brush Tool and paint our ancient man with the basic colors on the layer that is placed lower than the contours’ layer. His clothes must be pictured on a different layer than that of the skin, eyes or hair.
Determine out now the light’s direction.
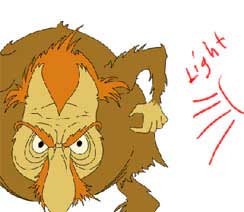
Set the brush this way.

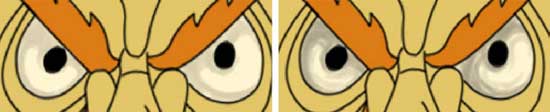
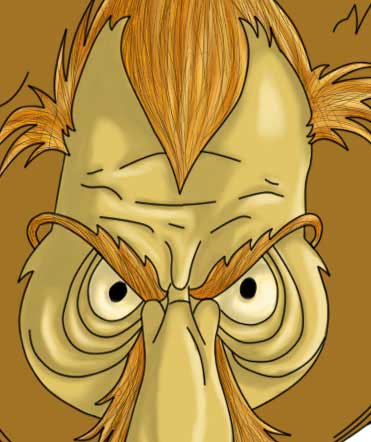
Pass to representing the shadows, but first give volume to the eyes.
Then mark out the shadows on his skin.
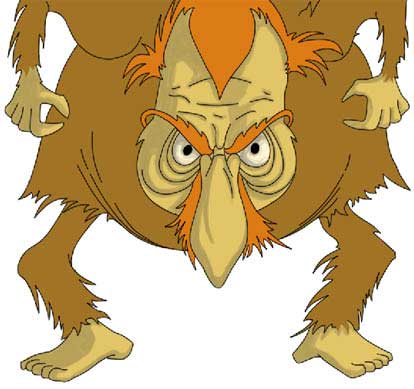
Mark out the same way the enlighten parts of the skin.
Introduce the shadows on his hair, eyebrows or moustache.
 Choose now the Smudge Tool and represent smoother the colors’ transition on his hair.
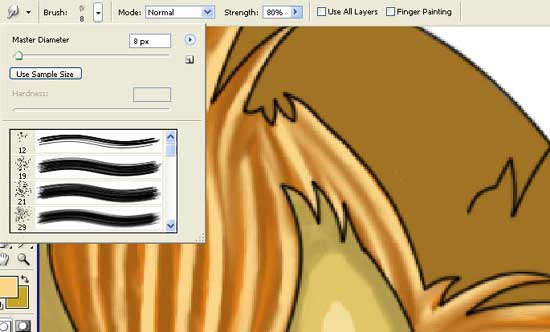
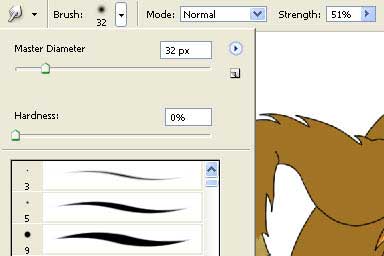
Change a little the Smudge Tool‘s adjustments.
Smooth out more the hair and represent smoother also the light’s and shadows’ transition on his skin and in his eyes.
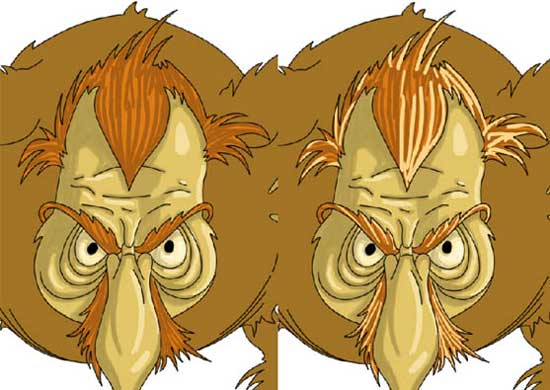
Get another instrument now (Brush Tool) having 1 px and picture out the hair’s texture in one color firstly.
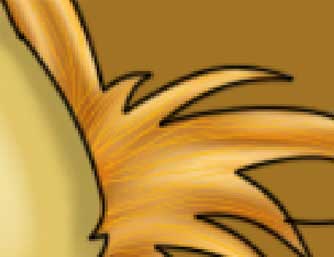
Then apply a darker color, representing the lines sometimes irregular to create an effect of shaggy hair.
Choose finally the Burn Tool for finishing working with the hair.
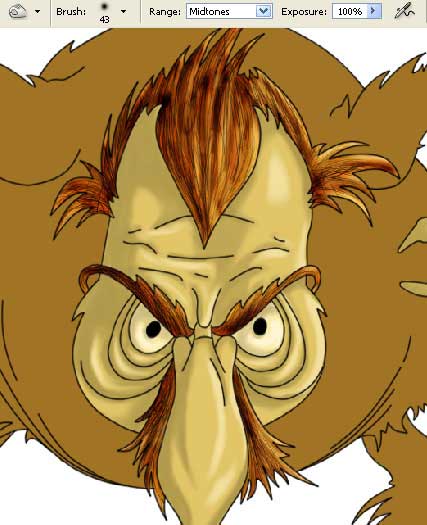
Apply the same instrument to mark out the darkest places on the skin. You may not be afraid that the skin would seem to be dirty, because we need exactly this effect.
Open now a new layer above the clothes’ layer and group out both of the layers applying Layer ? Create Clipping Mask (ctrl+g). Choose the Gradient Tool to paint the layer above the clothes’ one.
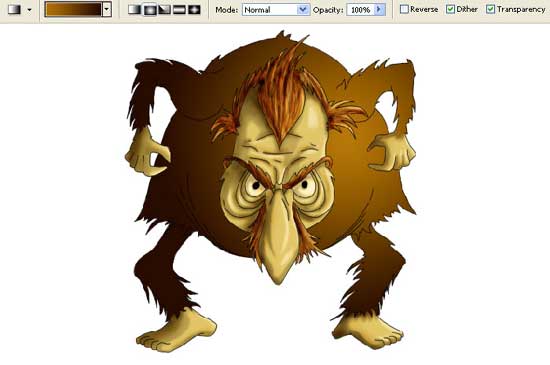
Pass to the background’s layer, using Paint Bucket Tool and paint it with the appropriate color.
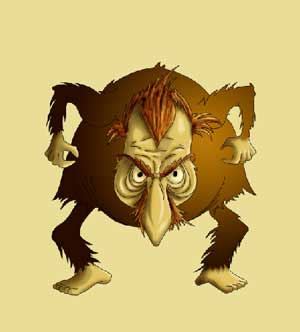
Choose firstly the Brush Tool and set a big size brush. Creating a new layer, mark the place on which the man is situated.
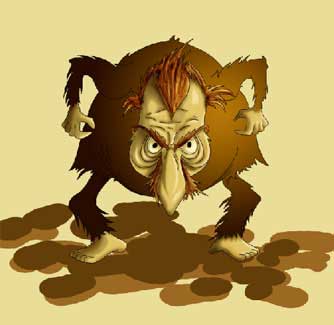
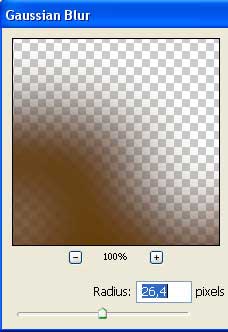
Copy now this layer: Layer ? Duplicate Layer and place the copy lower. Apply to it Filter ? Blur – Gaussian Blur.
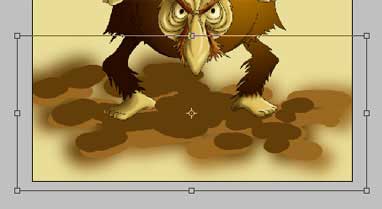
 Increase the copies’ sizes with Edit ? Free Transform (ctrl+t).
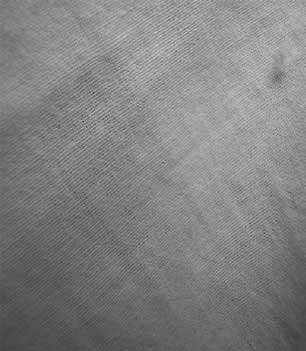
Merge down all layers next step: Layer ? Merge visible (shift+ctrl+e) and represent a new layer. Insert on it the textile’s texture to create the effect of having represented the picture on the canvas.
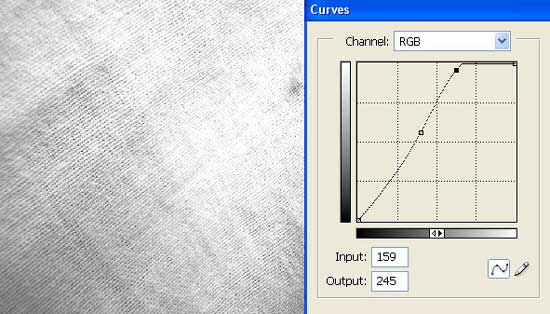
Increase the brightness and the layer’s contrast (Curves).
Change the layer’s type on Linear Burn and minimize the layer’s Opacity till 54%.
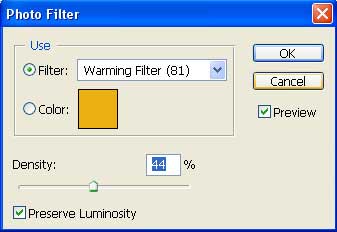
Apply to this layer a color filter (Image ? Adjustments ? Photo Filter)
Using Crop Tool and Rectangular Tool, it’s possible to insert the picture into a frame.
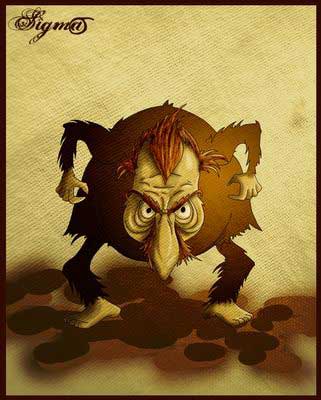
Finished!
Made by Sigma
Comments