
Gorilla Mask Drawing
This task we’ll learn how to picture a big hairy gorilla’s head and give to the picture an original texture.
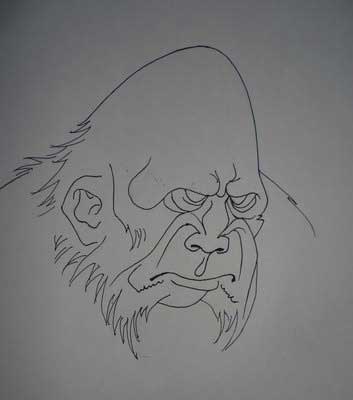
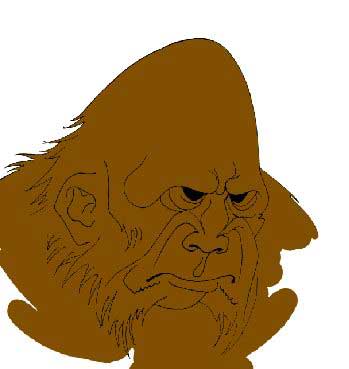
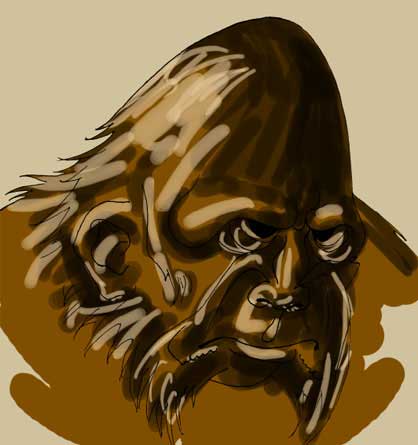
Let’s begin. Open in a new window the scanned gorilla’s picture.
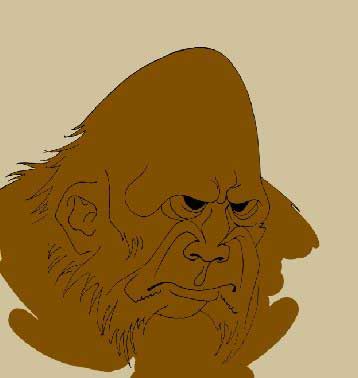
To be easier to work with it just copy this layer: Layer – Duplicate Layer and then decolorize it with next function: Image – Adjustments – Desaturate (shift+ctrl+u). Erase the previous layer with the fast button on the Layers window. Use then Image Adjustments – Curves (ctrl+m).
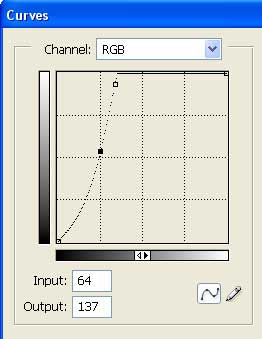

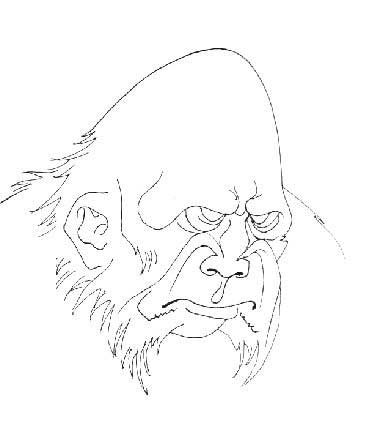
Make the paper look white and the contours – black:
Change the got layer’s type on Multiply and create a new layer: Layer – New – Layer. Move it under the contours’ layer. Next make use of the Brush Tool and paint the gorilla with the basic color.
To insert the background, open a new layer and move it on the bottom, painting it also with the necessary color (Paint Bucket Tool).
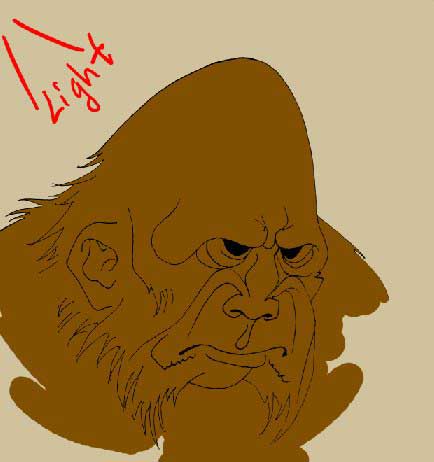
Determine the light’s direction now.
Then change the Brush Tool‘s adjustments and determine the shadow’s place.
Determine also this way the light’s direction.
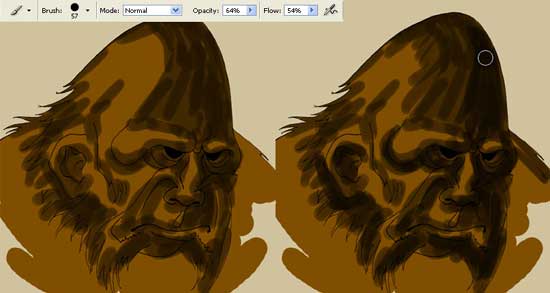
Choose now the Smudge Tool of a medium size and blur out the colors respecting the hair’s direction.
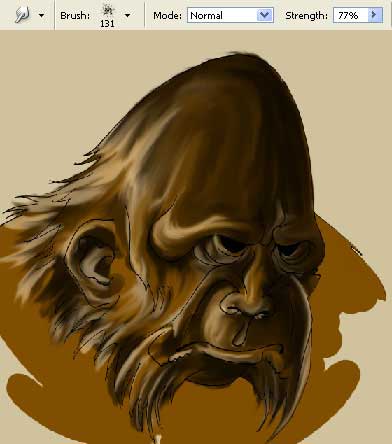
Using the Burn Tool, of a medium size, make the shadows more intensive.

Blur out also the features that we’ve got, applying the same Smudge Tool.
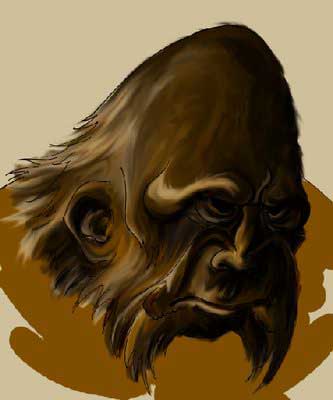
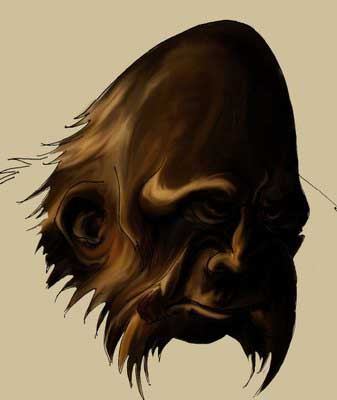
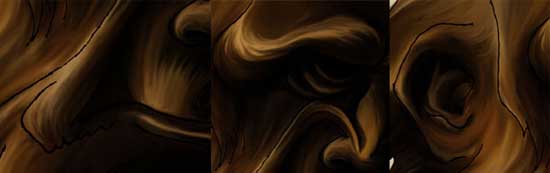
We’ll get such a picture:
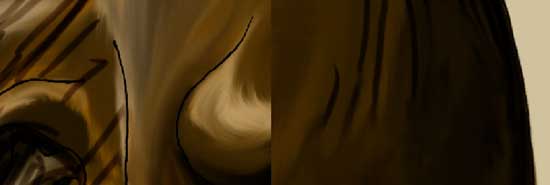
Choose now the Eraser Tool and correct the edges.
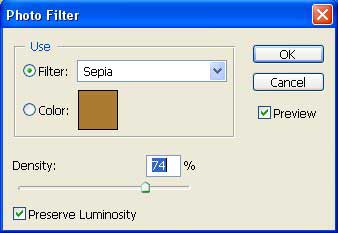
 Change a little the fur’s color applying the color filter: Image – Adjustments – Photo Filter.
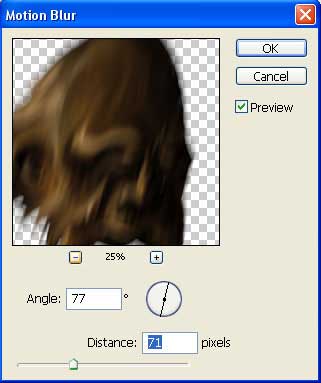
Copying this layer, group it with the basic layer: Layer – Create Clipping Mask (ctrl+g). Then blur out the copies in the necessary direction, using Filter – Blur – Motion Blur.
Change the layer’s type on Soft Light and minimize the Opacity till 73%.
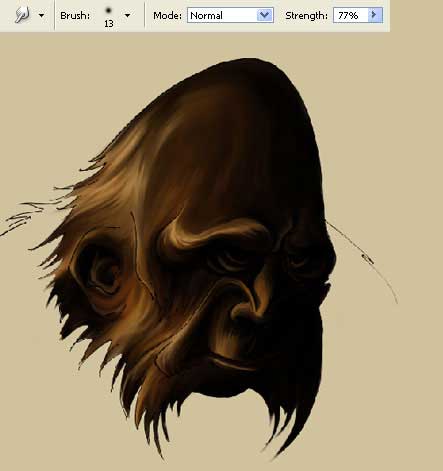
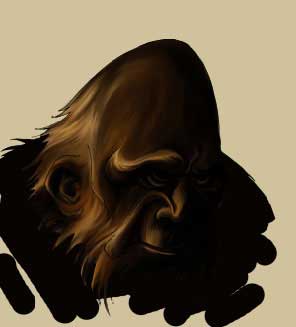
Choose again the Smudge Tool and set out a brush of small size, making the picture accurately and more detailed.
Apply a different instrument now: Eyedropper Tool, and choose the darkest color on the fur. Creating a new layer above the background, outline the gorilla’s body.
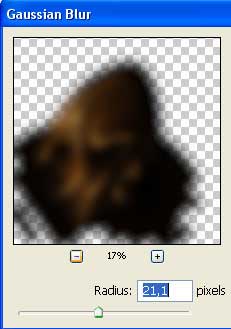
Combine the layers containing the head and the outlined body: Layer – Merge Down (ctrl+e). Copy the new layer that we’ve got: Layer – Duplicate Layer. Place this copy lower than the basic layer with the gorilla and blur it out, choosing Filter – Blur – Gaussian Blur.
Insert the picture now in the frame, making use of the Crop Tool and Rectangular Tool. 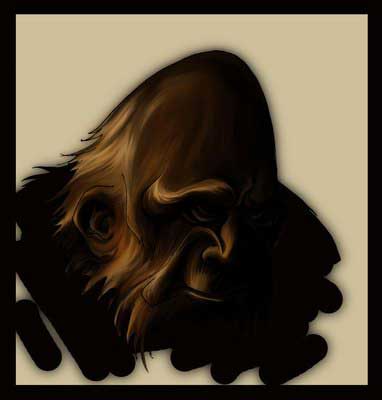
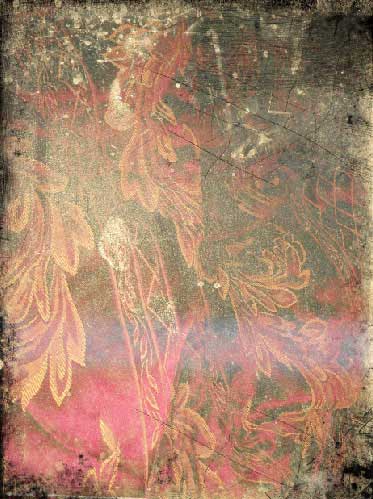
To make the picture look more interesting, just add the texture.
You have to open in a new window the necessary texture you want to insert in.
Mark it out with the Rectangular Marquee Tool and copy it: Edit – Copy (ctrl+c).
Get back to the file with the picture and insert it on the upper layer: Edit – Paste (ctrl+v).
Decolorize this layer, applying Image – Adjustments – Desaturate (shift+ctrl+u) and change the layer’s type on Soft Light.
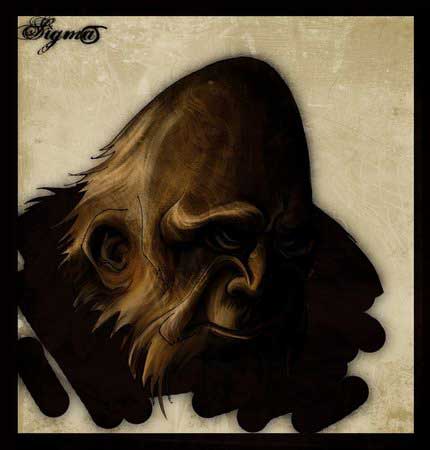
That’s our picture!
Made by Sigma
Comments