
Nature Picture
This lesson we’ll learn to picture a landscape’s etude in black and white colors.
Open a new file: File – New (ctrl+n).
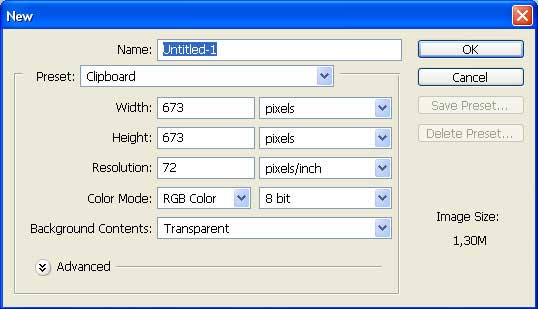
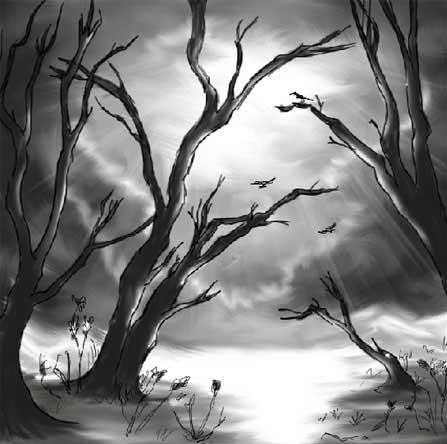
Paint the layer in white, applying Paint Bucket Tool. Then create a new layer (Layer – New – Layer). After that choose the Brush Tool of a small size and try to outline the future picture, including the trees, the grass and the birds.
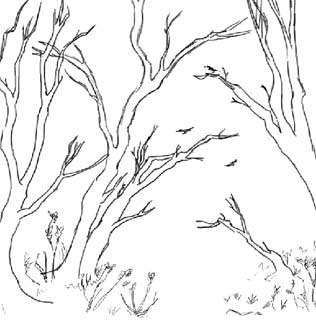
Create another new layer, above the background’s layer.
Choose another brush now for outlining the sky and the soil.


Create one more new layer, making the brush’s size smaller and picturing the trees.
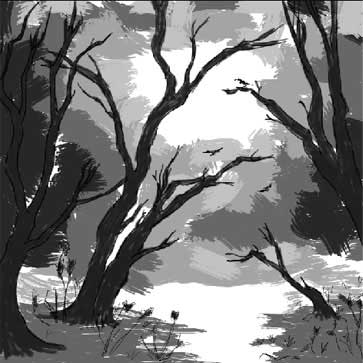
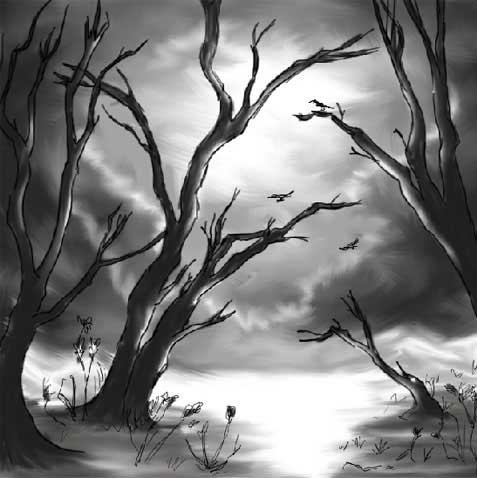
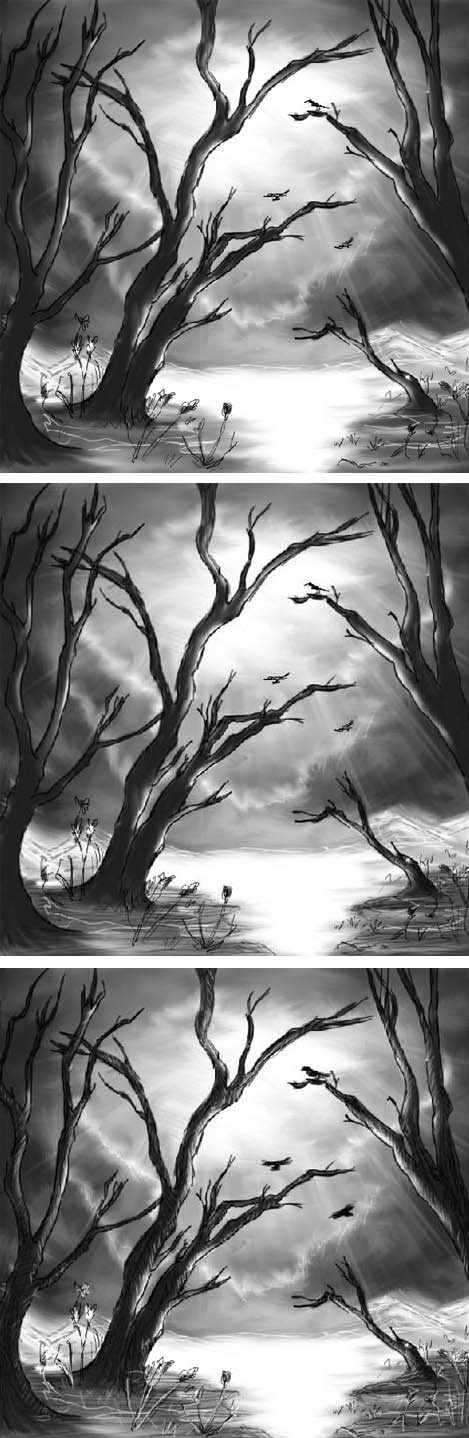
Get back to the layer with the sky and the soil and choose the Smudge Tool to give more reality to the picture by using blurring action.
When picturing the soil we have to direct the paint motion on the processed surface.
When picturing the sky, direct the painting on different directions.

Apply the Burn Tool now to add more shadows on the soil and in several places on the sky.
Blur them out too, making use of the Smudge Tool.
Choose then Brush Tool of white color and accentuate the sky, the mountains, the grass and the trees.
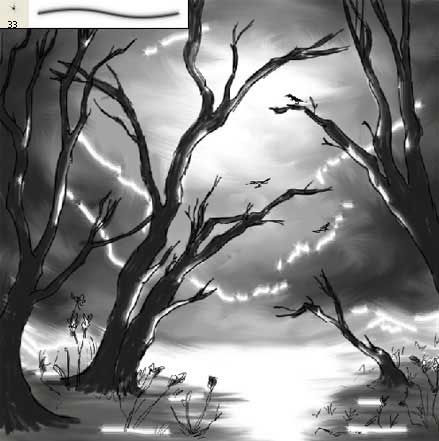
Apply again the Smudge Tool.
To picture out the sun rays, we should create a new layer above the sky’s layer.
Choose for this the Brush Tool of a small size and picture out several stripes.
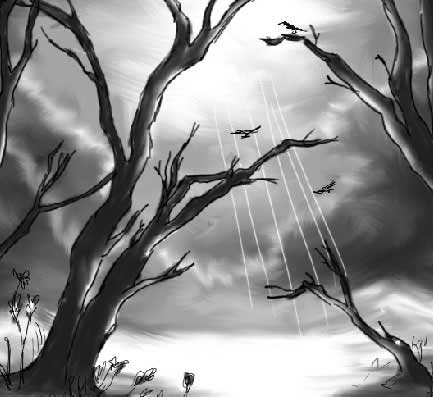
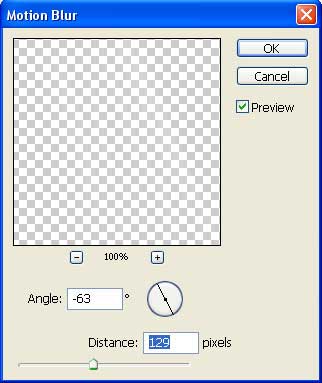
Blur them out on the necessary direction, applying Filter ? Blur ? Motion Blur.
Copy several times the new layer (Layer – Duplicate Layer)
and place all the copies for that the sun rays would shine on different
sides, half-circular. It’s necessary to apply for this the commands Edit – Free Transform (ctrl+t) and Edit – Transform – Flip Horizontal.
Merge down now all the layers containing the rays: Layer – Merge Down (ctrl+e). Copy the new layer and apply a filter to this copy that would blur along the circular territory: Filter – Blur – Radial Blur.

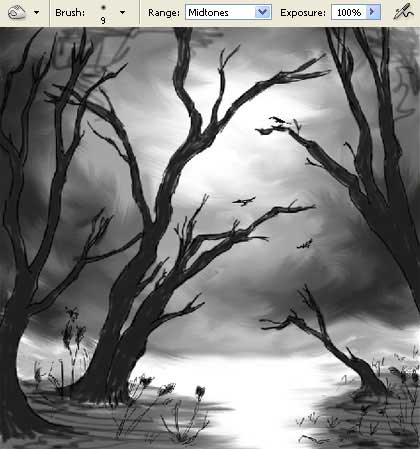
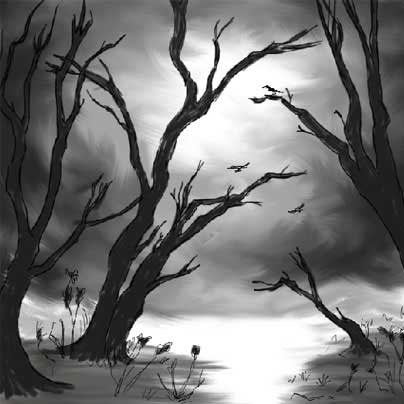
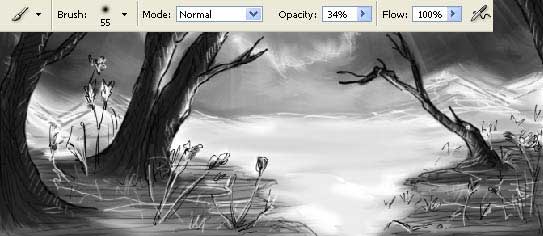
Create now a new layer upper than the rest of them and represent on it the landscape’s outlining with thin lines and the Brush Tool. Use the black, grey and white colors.
Dark out a little the water by choosing the grey color and changing the brush’s adjustments.
Add now more obscurity and mystery to the landscape by adding the fog. It’s necessary for this to combine all the layers: Layer – Merge Visible (shift+ctrl+e) and to copy the last layer (Layer – Duplicate Layer). Blur out the copy, making use of Filter – Blur – Gaussian Blur.
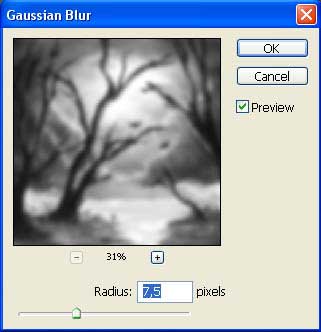
Minimize the Opacity till 24%.

Finished!
P.S. The painting is a reproduction of the landscape’s etude of Daniel Alekow.
Made by Sigma
Comments