
Mazda Photoshop Rendering
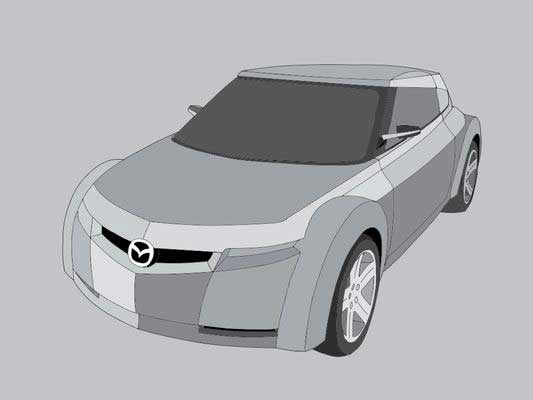
The next task we’ll see how is it possible to picture a Mazda car, having its photo.
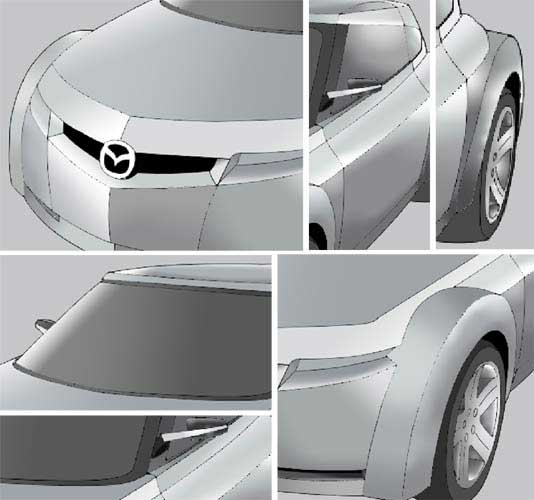
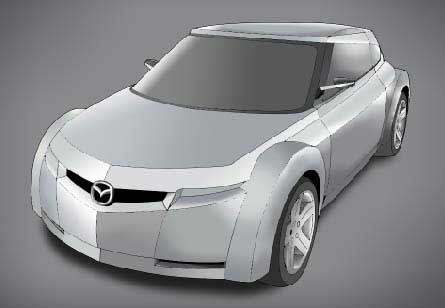
Find the photo of that car you want to picture out.
Make then everything corresponding to the photo.
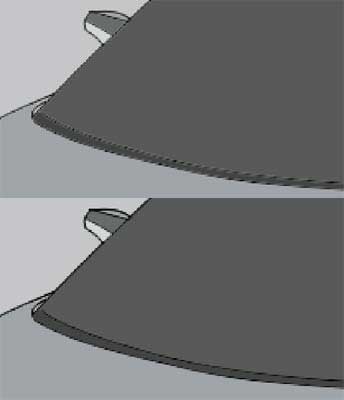
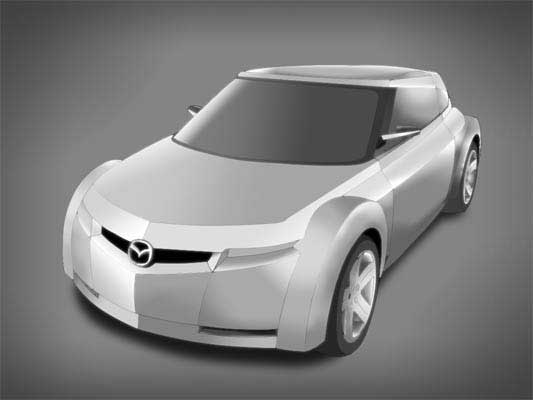
Before: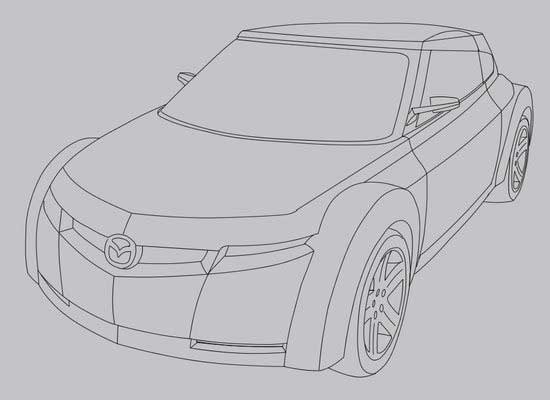 |
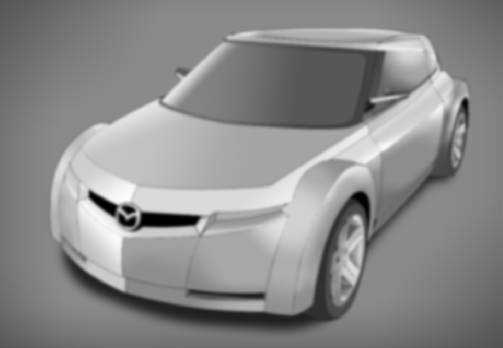
After: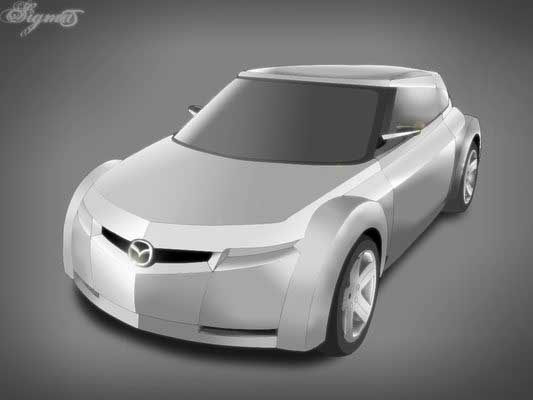 |
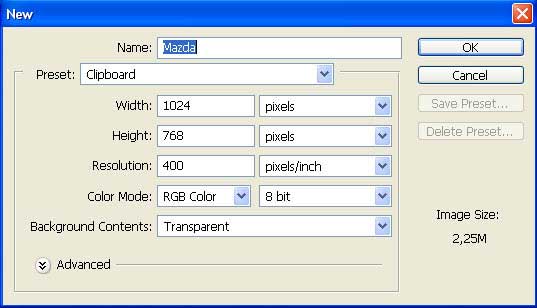
Open a new file: File – New (ctrl+n)
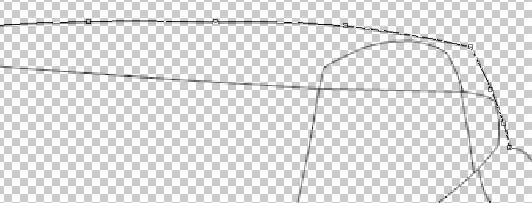
Having the Pen Tool now, draw the contours of our future car.

Then create a new layer (Layer – New – Layer) and move it lower than the contours’ layer.
Paint it with the necessary color, applying Paint Bucket Tool.
Apply the same tool (Paint Bucket) to paint out the car’s surfaces, differing a little by their colors. If it’s not possible to paint because of the small plane’s size, use the Brush Tool. All this actions you must do on the contours’ layer.
Because of using before the Paint Bucket Tool, there were remaining several white stripes close to the contours. To get rid of them, you have just to copy this layer (Layer – Duplicate Layer) and combine it with the previous one, using next selection: Layer – Merge Down (ctrl+e).
Continue painting the car, applying Magic Wand Tool.

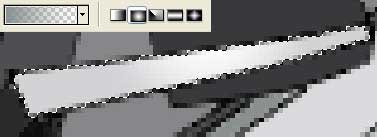
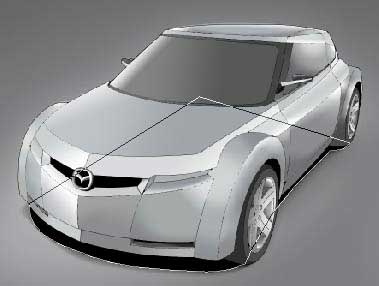
Mark out now each of the car’s surfaces, using Gradient Tool and adding more nuances and reality.
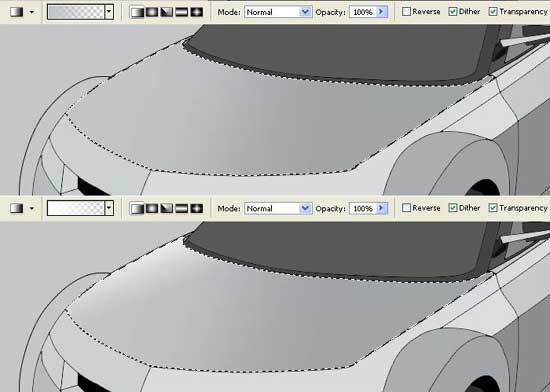
In some places you’ll have to change the color’s nuance exactly in the middle of the surface (plane) and not on the edges. In this case you’ll just change the paint type on circular one.
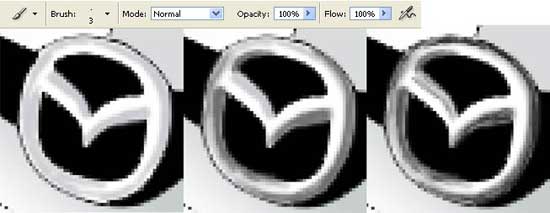
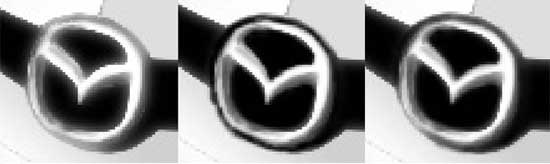
Insert on our picture now the car’s logo, using the Brush Tool.
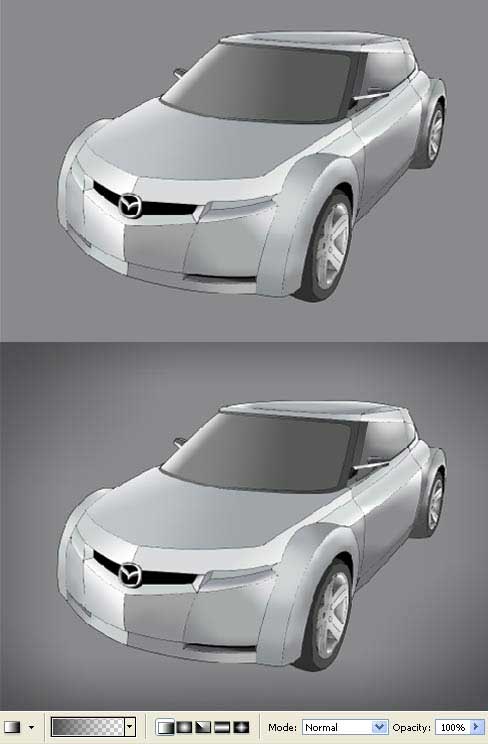
Make the background look darker not to distract the attention from the car. Apply Paint Bucket Tool.
The corners must also look darker, that’s why you should choose the Gradient Tool.
Next step includes adding the car’s shadow.
Choose for this the Pen Tool on a new layer and insert the shadow under the car’s layer.
Then blur it out, applying the next combination: Filter ? Blur ? Gaussian Blur.
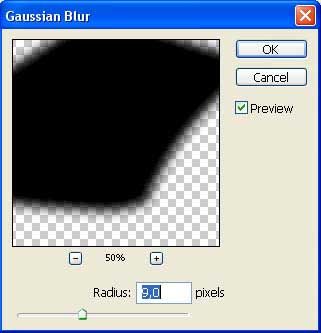
Minimize the layer’s Opacity till 76%.
Merge down all the layers now with Layer – Merge Visible (shift+ctrl+e).
Copy the layer that you’ve got and blur it out.
Change the layer’s type on Lighten and minimize the layer’s Opacity till 85%.
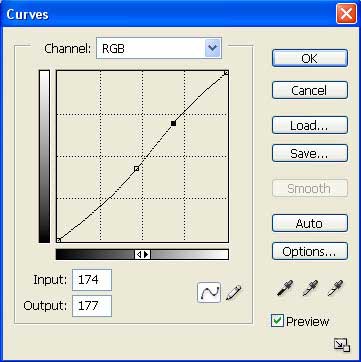
Increase a little the picture’s contrast, applying Image – Adjustments – Curves (ctrl+m).
Make the car’s logo now look clearer, making use of the Brush Tool and the Blur Tool (just not to look too in contrast comparing with the entire car).
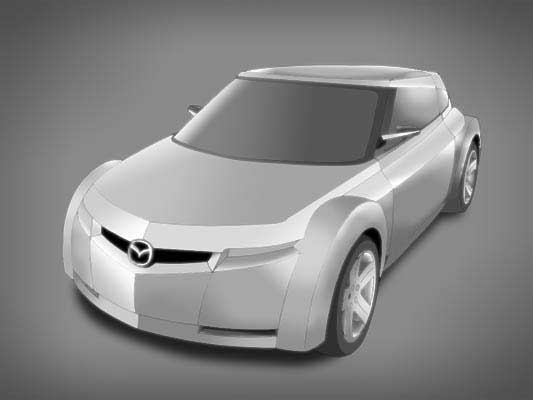
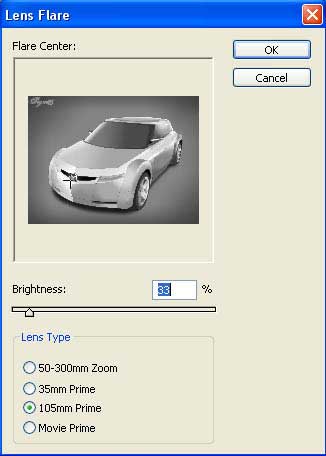
Finally add the flare on it, using Filter – Render – Lens Flare.
That’s it! 
Made by Sigma
Comments