Glamour Model
This lesson we’ll see how to retouch a face’s photo and make from a simple picture a very original one.
Open in a new window the necessary photo: File – Open (Ctrl+O).

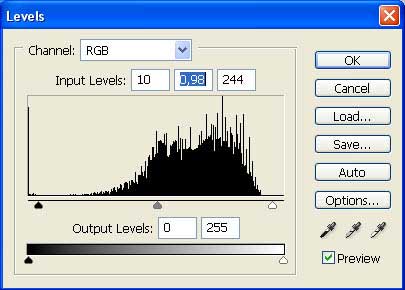
Copy the layer, applying Layer – Duplicate Layer and erase the previous layer, using Delete Layer button in the Layers window. Change a little the brightness of the picture, using next combination: Image – Adjustments – Levels (Ctrl+L)

Apply next the Crop Tool for dividing the picture in several sequences for the picture to look more successful.

Apply now the Patch Tool to erase the patches from the face, by marking out the necessary part to retouch and moving it on the place without defects.


Pass to the menu Filter – Liquefy (Shift+Ctrl+X) and use Turbulence Tool to correct the face’s traits by very careful and blurring motions. Improve the lips also.

Raise a little the eyebrow.

Make the nose a little thinner:

Using a different size for the brush, it’s possible to narrow a little the face’s oval:

Then narrow out a little the picture, just for the face not to look so long, applying Edit – Free Transform (Ctrl+T)

Erase the rest of the picture that is not necessary for processing, using the Crop Tool. Applying Polygonal Lasso Tool, mark out the face, deviating a little from the face’s edges. After that, change the instrument’s adjustments to erase the markings from the eyes, lips and the nostrils.

Copy this part now: Edit – Copy (Ctrl+C) and insert it on a new layer: Edit – Paste (Ctrl+V). Blur out the layer that we’ve got, making use of next combination: Filter – Blur – Gaussian Blur.

Minimize the layer’s Opacity till 69%.

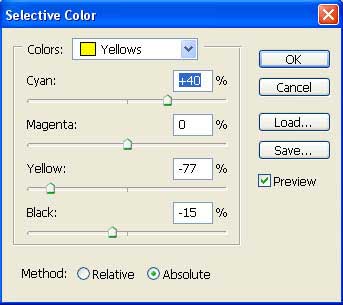
Combine this layer with the previous one: Layer – Merge Down (Ctrl+E) and delete the yellowness from the hair and the neck that is so uncomfortable for the eyes, applying Image – Adjustments – Selective Color.
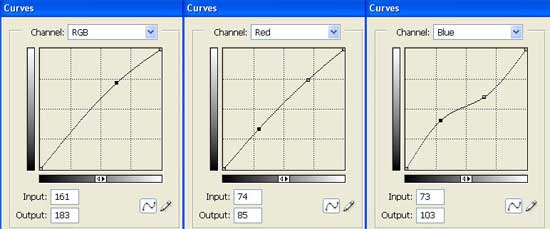
Correct a little the picture’s color, using Image – Adjustments – Curves (Ctrl+M)
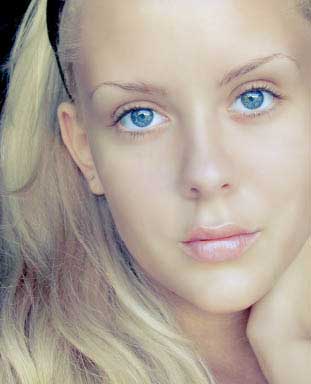
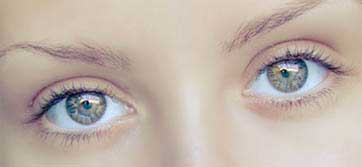
Change the eyes’ color now. It’s necessary for this to create a new layer, applying the fast button in the Layers window and using the Brush Tool for picturing the eyes.
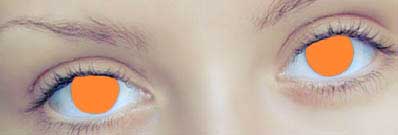
Blur out a little the layer with Gaussian Blur.
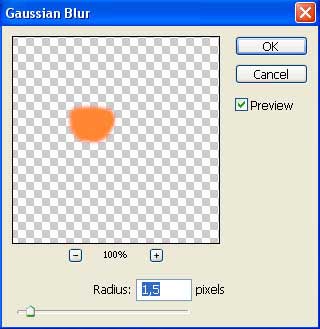
Change the layer’s type on Soft Light and minimize the Opacity till 70%.
Create a new layer again and paint the girl’s lips on it, blurring them out also with Gaussian Blur.
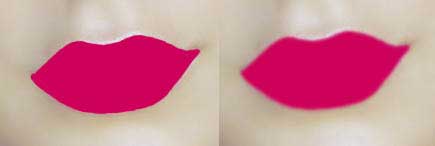
Change the layer’s type on Soft Light and minimize the Opacity till 60%.
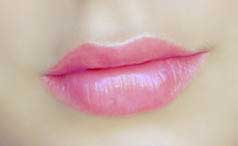
Take another instrument now Eyedropper Tool and click on the darkest place on the eyelashes to copy the color. Outline the eyes on a new layer, using the Brush Tool.
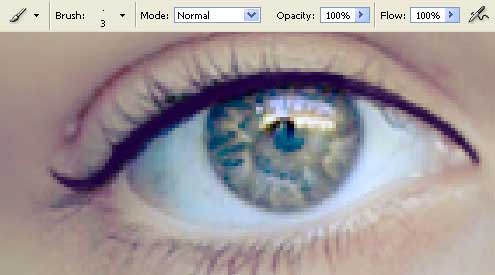
Change the layer’s type on Soft Light also.
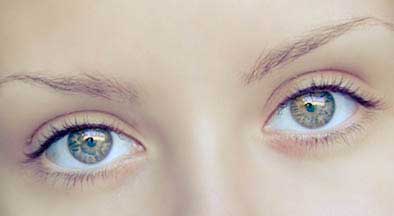
Then picture out the shadows on a new layer.
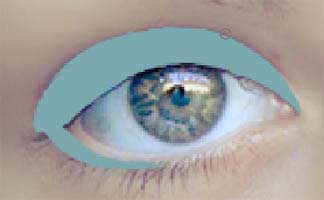
Blur them out too.
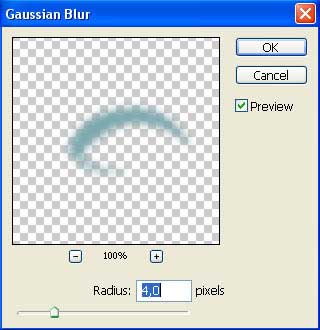
Change the layer’s type on Color Burn.
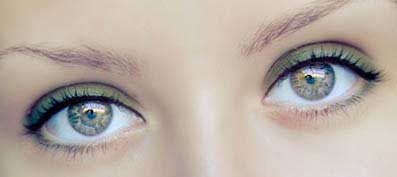
We see now that the color that we have chosen earlier for the lips must be changed. Choose for this the layer with the lips and apply the command Image – Adjustments – Hue/Saturation (Ctrl+U)
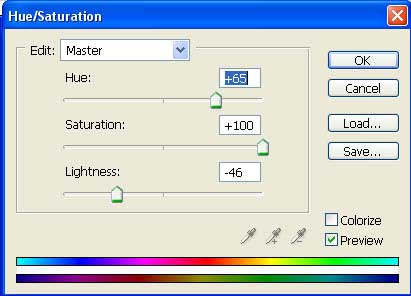
Set the layer’s Opacity till 73%.

Open a new layer and picture on it the rouge.

Blur them out very strongly.
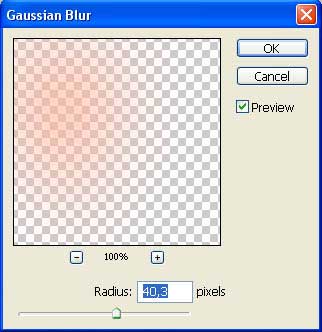
Using the Eraser Tool, delete everything that is outside the face’s edges. Change the layer’s type on Linear Burn and minimize the layer’s Opacity till 42%.
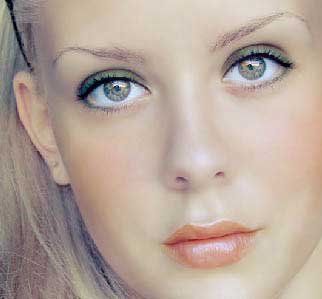
Merge down all the layers now: Layer – Merge Visible (Shift+Ctrl+E) and get to work again with Image – Adjustments – Levels (Ctrl+L)
Copy this layer, blurring out the copy with Gaussian Blur and change the layer’s type on Soft Light. Minimize the Opacity till 50%.
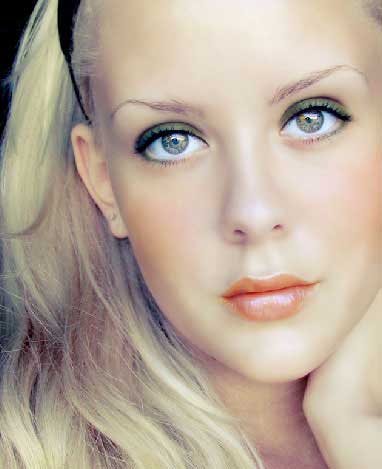
Finished!
Made by Sigma


Comments