
Magic Of Violin Photo Effect
This lesson we’ll learn
to create an illusion of voluminous space, correct the object’s shape,
imitate the body-art and also to create an effect of old picture.
|
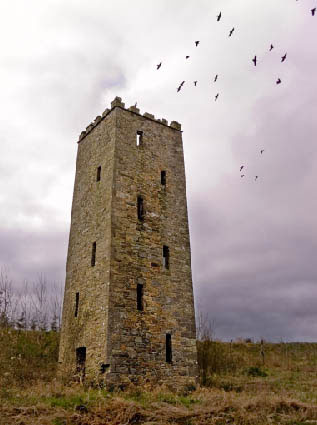
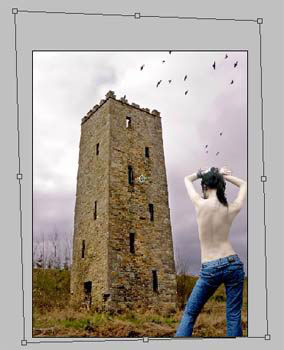
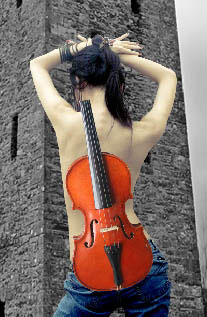
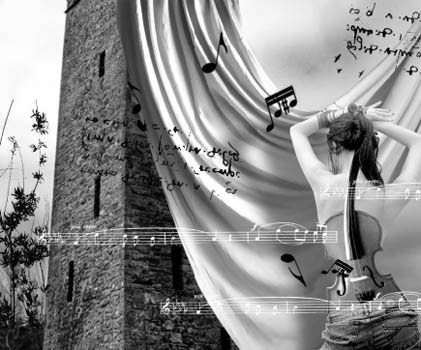
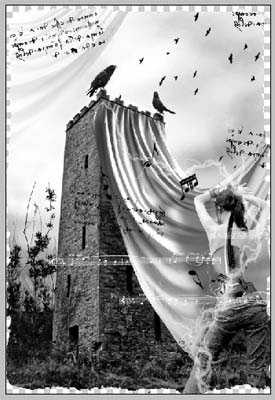
Before:
|
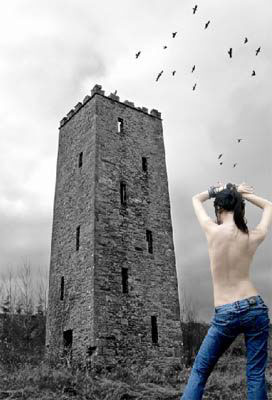
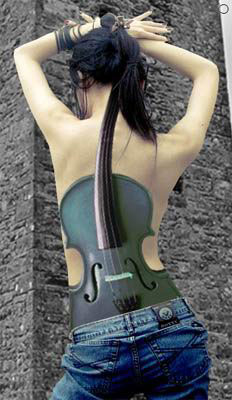
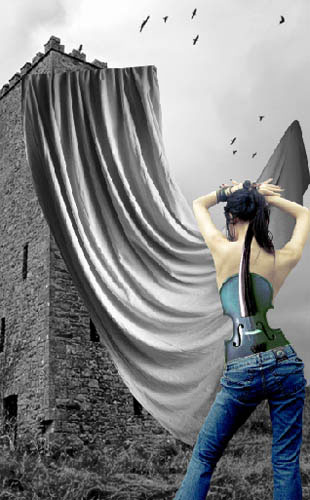
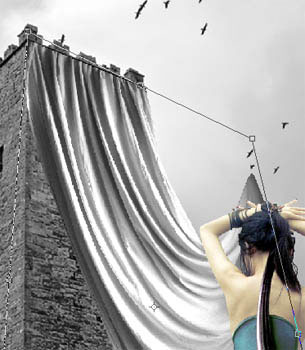
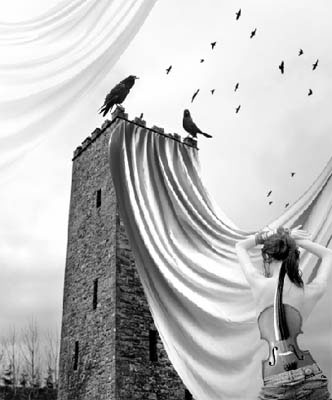
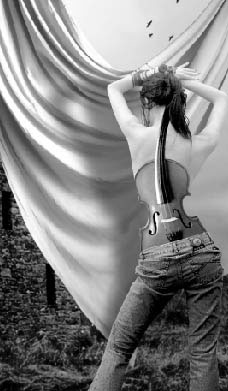
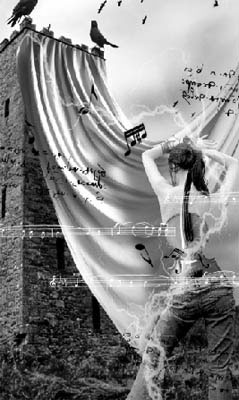
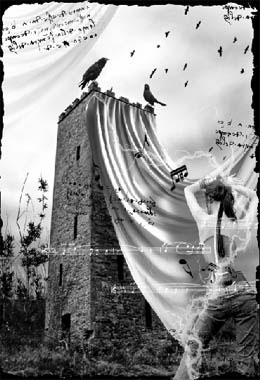
After:
|
Open the photo in a new window: File – Open (Ctrl+O).
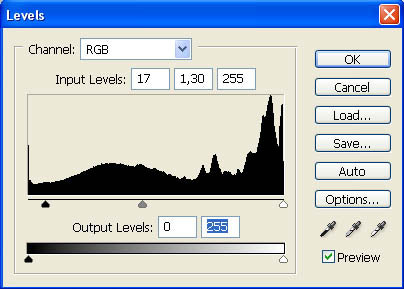
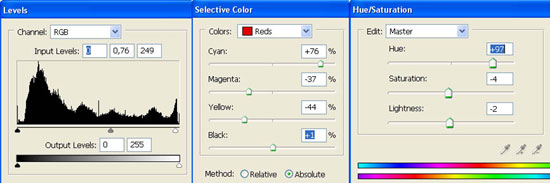
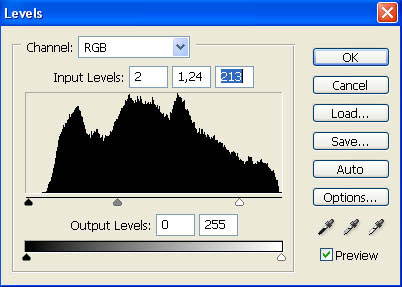
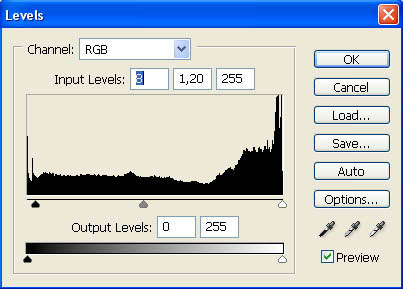
Correct next step the brightness and the contrast in the picture with Image – Adjustments – Levels (Ctrl+L).

After that you should open in a new window the picture, representing a young girl.
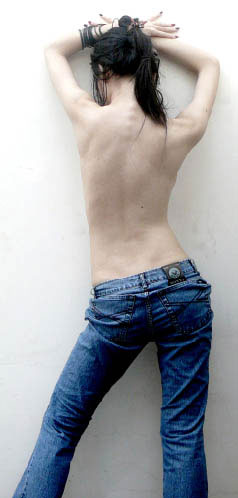
Mark it out, using Rectangular Marquee Tool and then copy it: Edit – Copy (Ctrl+C). Get back to the processed file and insert it on a new layer: Edit – Paste (Ctrl+V). Correct the girl’s parameters with Edit – Free Transform (Ctrl+T).
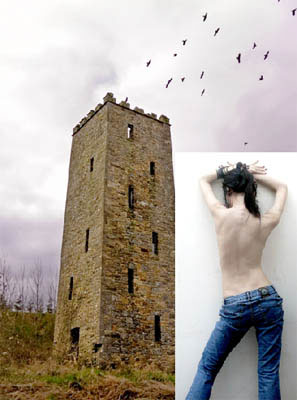
Accentuate the background the girl is situated on, making use of Polygonal Lasso Tool. Then erase it.
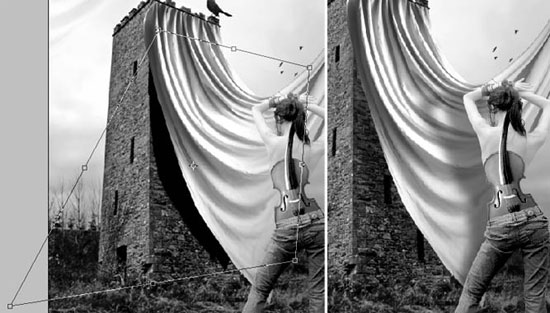
Get back to the background’s layer and change the building’s perspective, using Edit – Transform – Distort.
Stretch it out a little (the size and the highness), using Edit – Free Transform (Ctrl+T). After that, decolorize the layer with the next selection: Image – Adjustments – Desaturate (Shift+Ctrl+U).
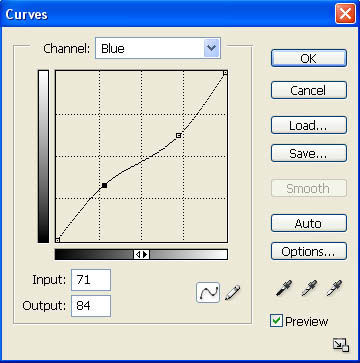
Get to process the girl’s image. Change firstly the color, with Image – Adjustments – Curves (Ctrl+M).
Magic Of Violin Photo Effect – Part 2
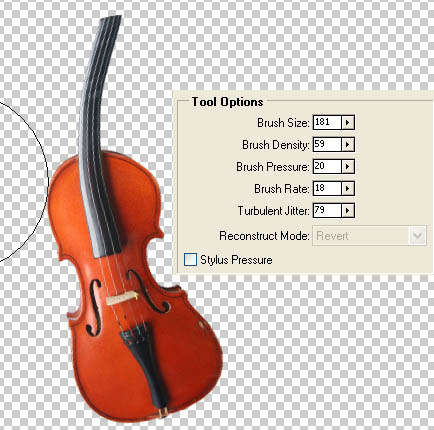
Insert – – – on a new layer, above the girl’s one, a picture representing a violin without the upper part, the finger-board.

Cut it out also, changing the size and turn it around a little with Free Transform.
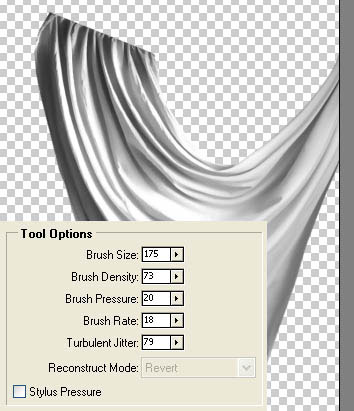
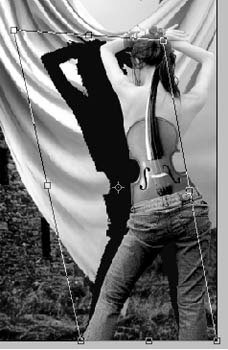
Get to a new window Filter – Liquefy (Shift+Ctrl+X) to apply the Turbulence Tool for bending the violin in a way to be placed along the girl’s backbone.
Correct now the violin’s distort level with Edit – Transform – Distort.
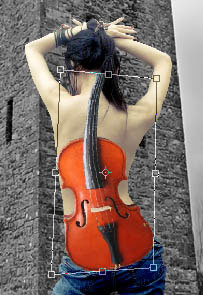
Now mark out and erase (Polygonal Lasso Tool) the violin’s parts that are situated outside the girl’s skin.
Creating a new layer with the fast button in the Layers window and grouping it with the violin’s layer (Layer – Create Clipping Mask (Ctrl+G)), we dark out a little the finger-board with the Gradient Tool.
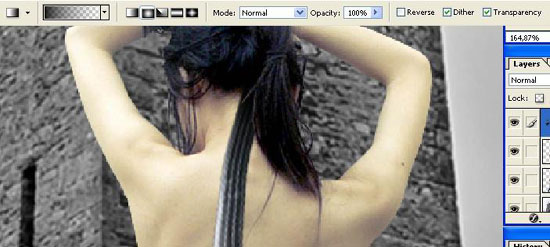
Combine both layers: Layer – Merge Down (Ctrl+E).
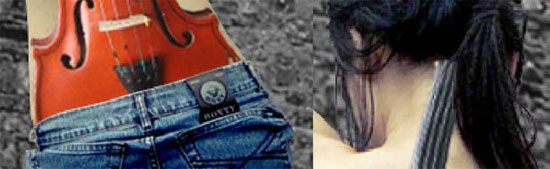
Change now the violin’s brightness and contrast with Image – Adjustments – Levels (Ctrl+L) to make the instrument look like a picture on the girl’s back. Change the colors also with Image – Adjustments – Selective Color and Image – Adjustments – Hue/Saturation (Ctrl+U).
Get back to the girl’s layer again.
Choose Eraser Tool to delete the waist for creating the effect of having the violin instead of waist.
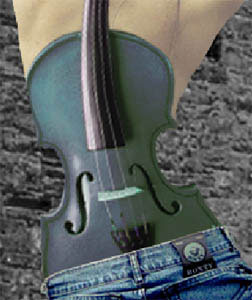
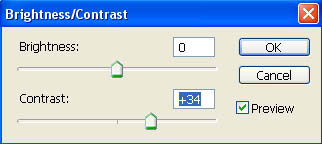
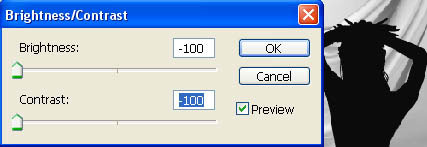
Increase the violin’s contrast: Image – Adjustments – Brightness/Contrast.
Magic Of Violin Photo Effect – Part 3
Then on a new layer, above the background’s layer, insert the picture of a draped textile.
If it is colored we should decolorize it firstly – Shift+Ctrl+U.
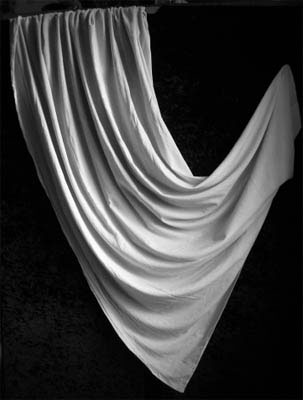
Cut out the textile (Polygonal Lasso Tool):
Make it brighter (Levels):
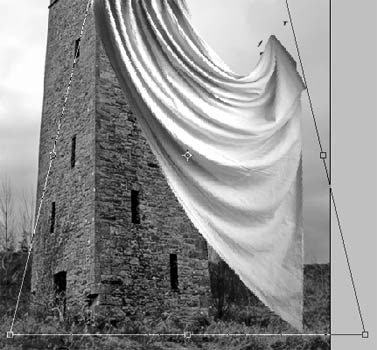
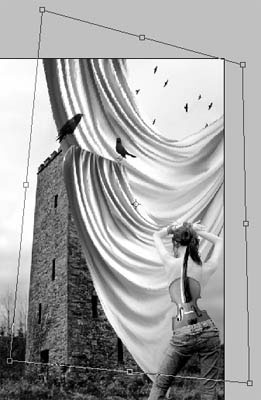
Create an illusion that the upper textile’s part is connected with the castle.
It’s possible to represent it this way with next combination: Edit – Transform – Distort.
Make it look more voluminous by extending the lower edge, with Edit – Transform – Perspective
(for your convenience, it’s possible to hide temporarily the visibility
of the upper layers by clicking on the pictured eye near the layer).
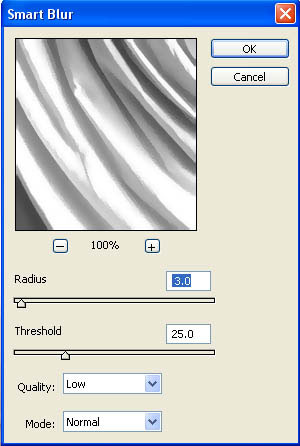
Apply to the textile next: Filter – Blur – Smart Blur.
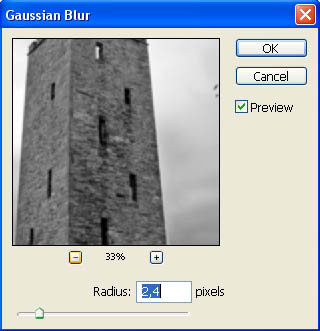
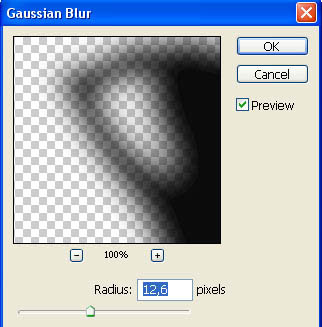
The girl’s layer must be decolorized. Copy the layer with the background now and blur it out with next combination: Filter – Blur – Gaussian Blur.
Change the layer’s type on Soft Light.
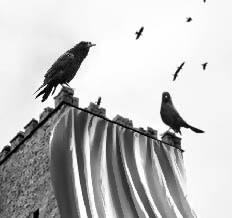
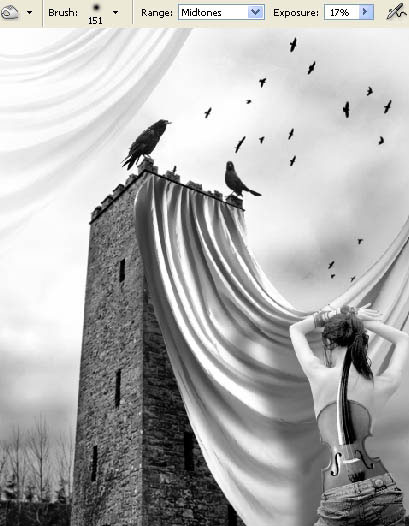
Apply next the Brush Tool and represent on the tower two crows (the brushes may be downloaded here: http://www.deviantart.com/deviation/11634912/
?qo=56&q=by%3Alarafairie-stock&qh=sort%3Atime+-in%3Ascraps)
Get back to the Liquefy window again and choose the Turbulence Tool to stretch out a textile’s edge outside the picture.
Copy the textile’s layer: Layer – Duplicate Layer (Ctrl+J) and place the copy above the background’s layer, changing its color (Distort).
Turn it around (Ctrl+T) and minimize the Opacity till 25%.
Magic Of Violin Photo Effect – Part 4
Create now the falling girl’s shadow by copying the girl’s layer and making it absolutely black with Image – Adjustments – Brightness/Contrast.
Move this layer lower then the girl’s one and distort it a little.
Blur out the shadow after that (Gaussian Blur).
Group out this layer with the textile’s layer, but the shadow must not get outside the bounds (Ctrl+G). Minimize the layer’s Opacity till 50%.
Make the same way the textiles shadow, falling on the tower.
Then on the layer’s background, using the Burn Tool we should dark out the clouds.
Using the Brush Tool on a new layer, place several words. The brushes may be downloaded here: http://www.deviantart.com/deviation/43320231/
?qo=4&q=by%3Akrakograff&qh=sort%3Atime+-in%3Ascraps).
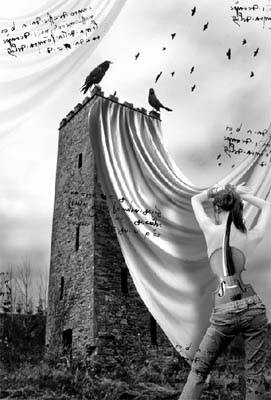
Change the layer’s type on Color Burn.
Add next some vegetation to the left side of the tower, using the Brush Tool too. Download them here: http://www.deviantart.com/deviation/15244928/
?qo=61&q=by%3Aspiritsighs-stock&qh=sort%3Atime+-in%3Ascraps)
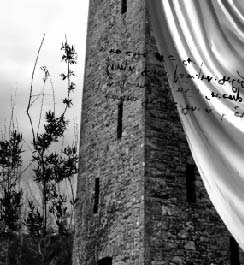
Add the musical notes
(downloaded here: http://www.deviantart.com/deviation/15251697/
?qo=51&q=by%3Aspiritsighs-stock&qh=sort%3Atime+-in%3Ascraps)
Magic Of Violin Photo Effect – Part 5
Insert now the picture of lightning on the upper layer.

If it’s necessary, you may change its dimensions.
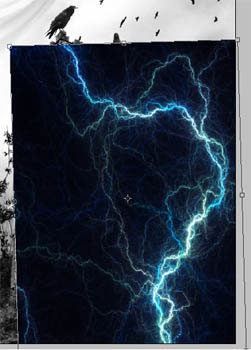
Decolorize the layer (Shift+Ctrl+U) and correct the brightness and the contrast (Ctrl+M).

Change the layer’s type on Screen and minimize the Opacity till 60%.
Merge down all the layers now: Layer – Merge Visible (Shift+Ctrl+E).
Then you must insert on a new layer the texture with unequal edges.
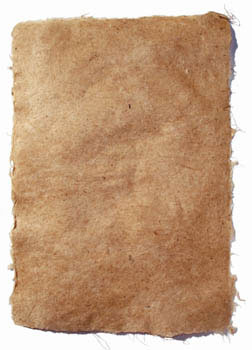
Using the Magic Wand Tool, mark out and erase the white background the texture is situated on.

Place it lower than the picture’s layer and group out both layers (Ctrl+G).
Create a new layer now, placed lower than the rest of them and paint it in black, making use of Paint Bucket Tool.
Copy the texture’s layer (Ctrl+J) and place the copy above the picture.
Change this layer’s type on Hard Light, but the Opacity minimize till 65%.
Make several corrections to the texture and place the copy above the black background. Turn it around horizontally with Edit – Transform – Flip Horizontal. That is to create the effect of having unequal edges.
Increase the contrast next step on the basic picture (Levels).
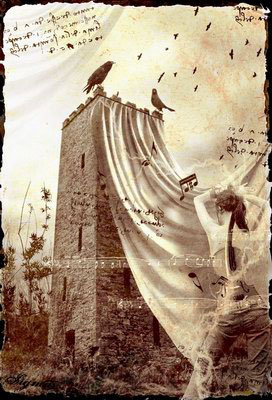
Finished!
Made by Sigma
Comments