
Draw an Audi car's sketch
This new topic we’ll learn to draw an Audi car’s sketch.
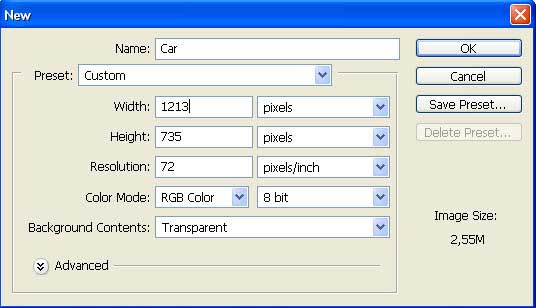
First we need to open a new file: File – New (Ctrl+N).
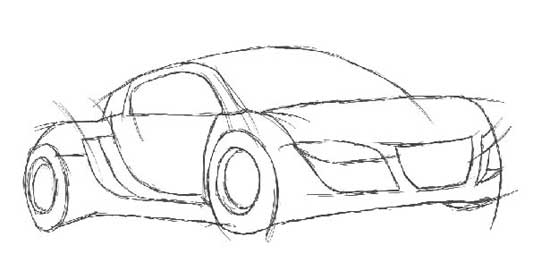
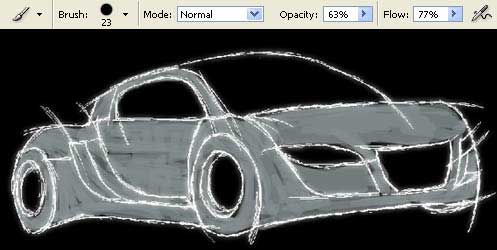
Use after that the Paint Bucket Tool to paint in white the car’s background’s layer. Create then a new layer: Layer – New – Layer. Choose next the Brush Tool to draw the car’s sketch.

We need to minimize the layer’s Opacity till 50% and picture out on a new layer very accurate lines, but don’t endeavor too much.

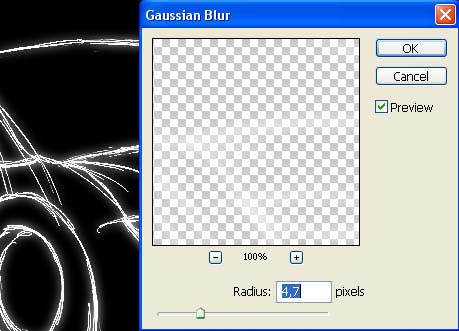
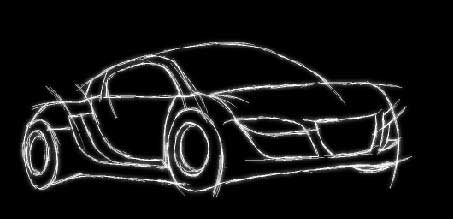
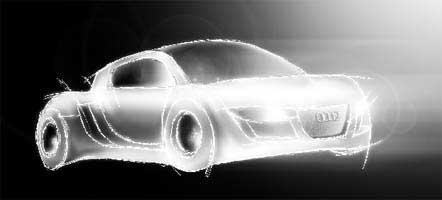
We have to invert now the colors of the background and of the contours with next option: Image – Adjustments – Invert (Ctrl+I). Copy the layer containing the contours: Layer – Duplicate Layer (Ctrl+J), then blur it out with a special filter (Filter – Blur – Gaussian Blur).
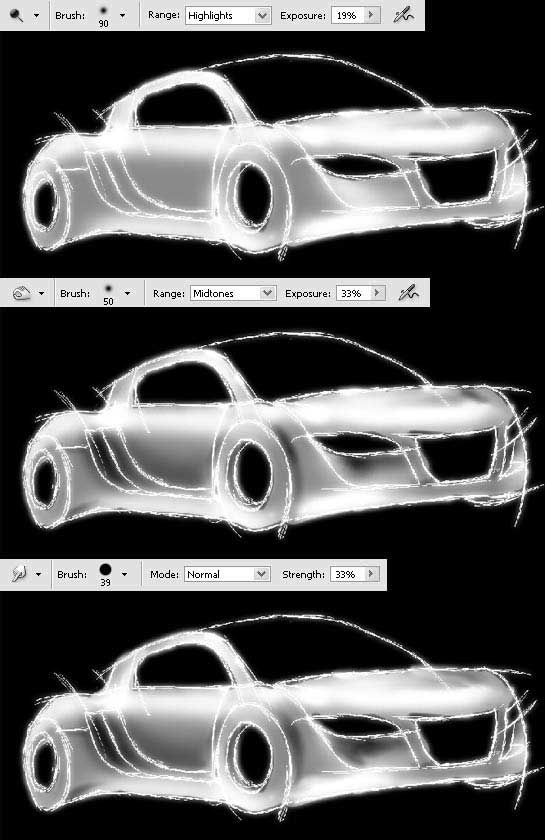
Make a new layer under the contours’ layer and choose the Brush Tool to start painting the car with the basic color.
Copy the layer and blur out the copy also (Gaussian Blur). Combine the layers with the color: Layer – Merge Down (Ctrl+E). Choose after that the Dodge Tool to show up the light. Next use the Burn Tool to insert the shadow. Choose the Smudge Tool and paint the borders between them.
Make use of the next tools (Pen Tool and Gradient Tool) to draw the glass, headlights and the disks on the wheels.
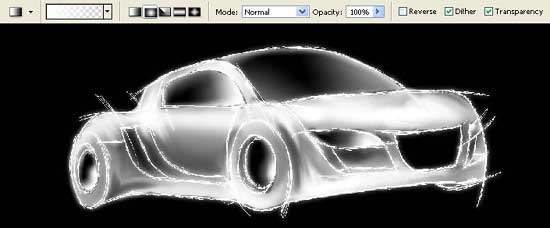
Copy the layer containing the car’s painting (Ctrl+J) and group out these layers: Layer – Create Clipping Mask (Ctrl+G). The copy must be blurred out with the same Gaussian Blur used earlier. Finally combine both layers (Ctrl+E).
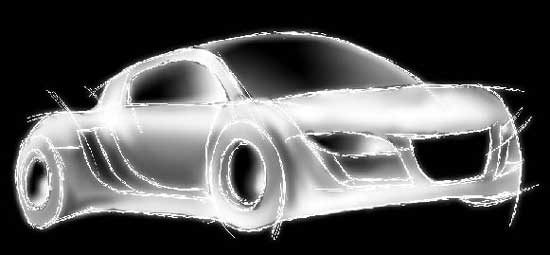
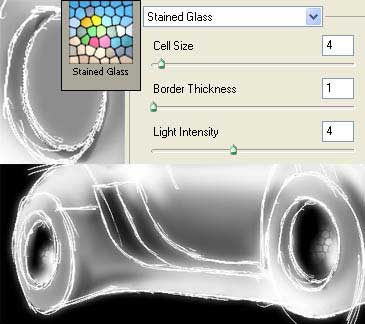
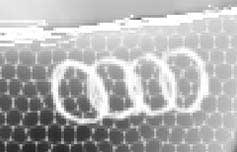
Create the markings on a new layer now. It’s necessary to use the Elliptical Marquee Tool on the disks’ places and to paint the marked zone in grey. Choose Filter – Texture – Stained Glass and don’t forget to change the layer’s type on Overlay.
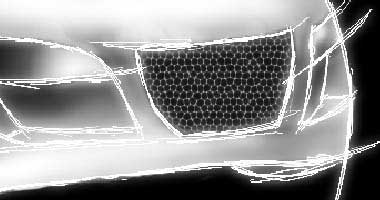
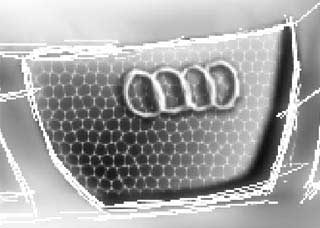
Using the Pen Tool mark out the necessary place, paint it in black and apply the same filter used earlier but with a change in the radiator’s adjustments.

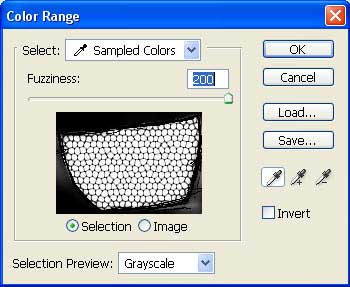
Erase the black color, making use of the next selection Select – Color Range and the Delete button on the keyboard.
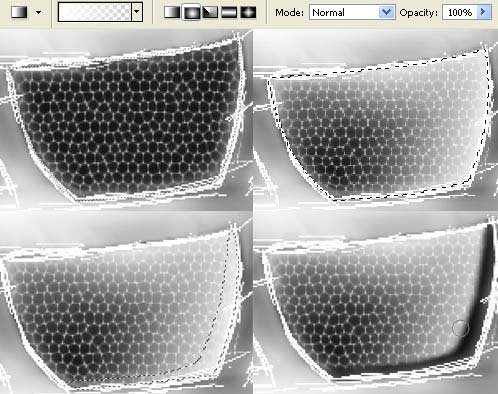
Copy the layer and blur out the copy with the Gaussian Blur (2, 3 px).
Give it more volume, using the Pen Tool and the Gradient Tool.
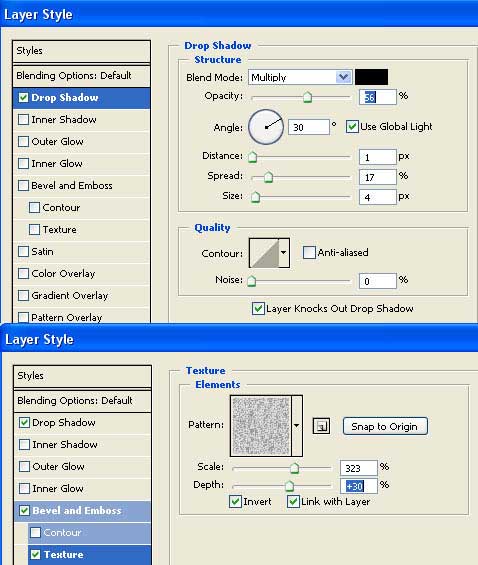
Insert the Audi’s mark. But first we need to draw the mark. It’s necessary to use the Brush Tool on a new layer.
Pass to the Layer – Layer Style – Blending Options menu and set the next adjustments that you may see below.
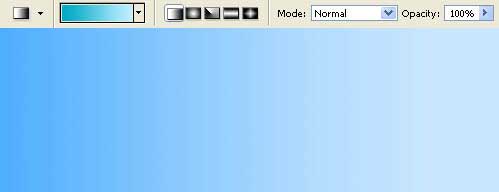
Apply the Gradient Tool now to change the background.
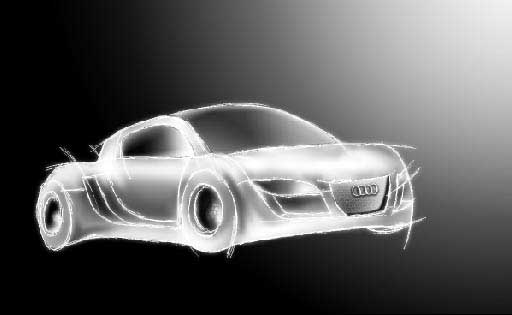
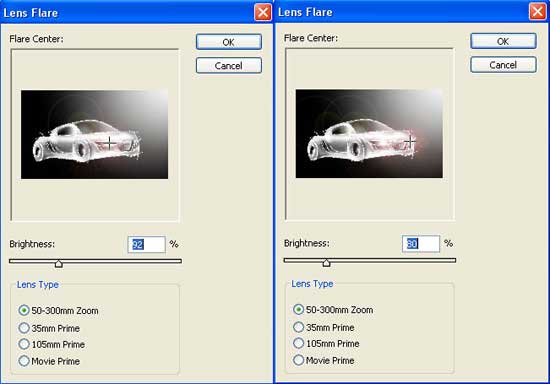
Merge down finally all the layers: Layer – Merge Linked (Shift+Ctrl+E). The car needs its headlights, that is why we need to use the next selection: Filter – Render – Lens Flare.
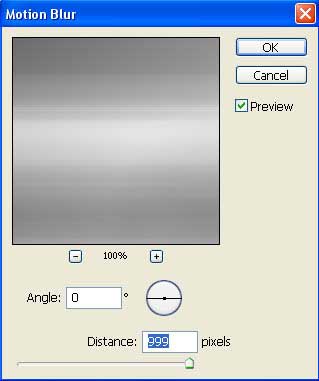
Decolorize the layer: Image – Adjustments – Desaturate (Shift+Ctrl+U). Make a copy of it which must be blurred out horizontally. Use the Filter – Blur – Motion Blur for this action.
Change the type of the blurred layer on Overlay and combine the layers (Ctrl+E).
Create a new layer and paint it, making use of the next instrument: Gradient Tool. It must have the same nuances we want to paint the car in.
Change the layer’s type on Color Burn. Use the Crop Tool and the Rectangular Tool to erase the unnecessary background’s zones and insert the picture in a frame.
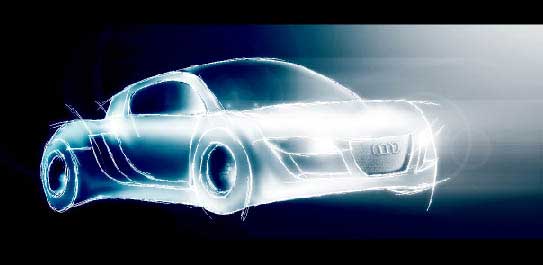
Finished!
Made by Sigma
Comments