
Retro Car Drawing
This new topic we’ll see how to picture a car in retro style and represent its shadow.
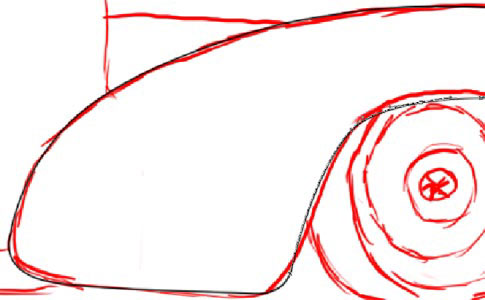
Open first a new file: File – New (ctrl+n) and paint the layer in white, choosing the Paint Bucket Tool. Then create a new layer, using the icon in the Layers window and represent the contours of the car to be.
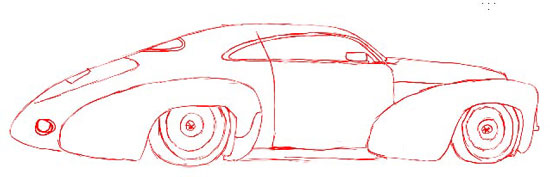
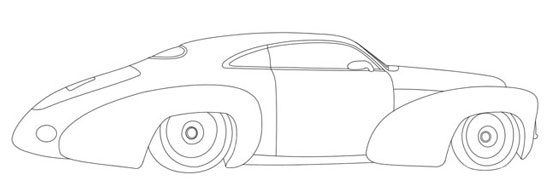
Create now another new layer and make use of the Pen Tool with the command Stroke Path to represent very accurate contours.
Erase now the layer containing the contours by moving it on the recycle icon in the same Layers window.

Now we should paint the car on a new layer, under the contours’ layer. Paint it firstly with the main colors by using the Brush Tool and it’s better to place each color on a new layer. When representing the shadows, we need to create a new layer and merging it out with the previous one (ctrl+g).
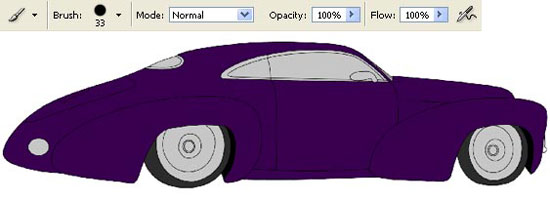
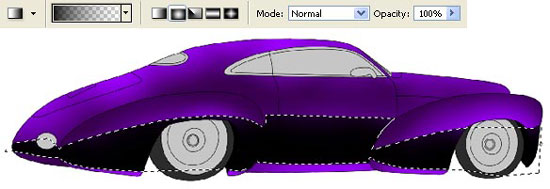
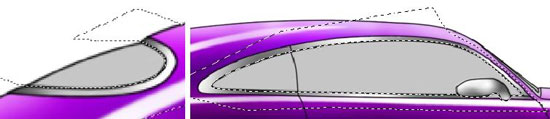
Mark out now turn by turn all the car’s details, selecting the Pen Tool with the command Make Selection. Start adding the volume, applying the Gradient Tool.

Introduce also the shadows, but the colors’ transition on the edges should be done very smoothly.
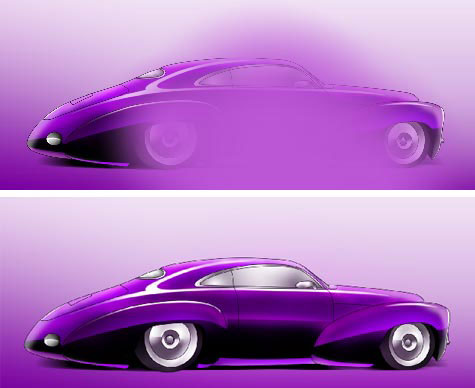
And the light:
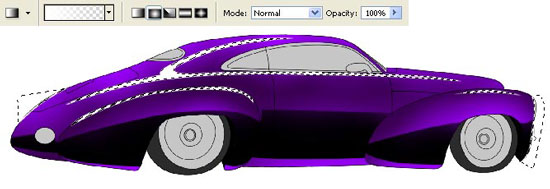
That is what we get in this moment:
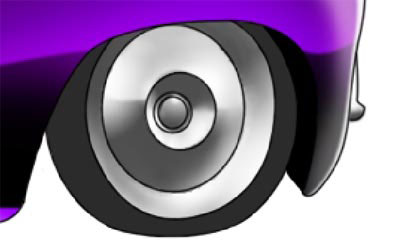
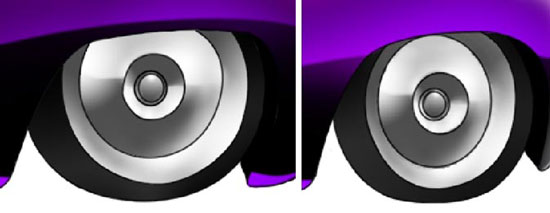
Start processing the metallic parts. Paint them, applying the same
method we did with the car itself. Choose for them the grey-dark and
white colors.


And the other disk:
Process the windows too:

And finally – the tires (we should use in this case only the dark color):
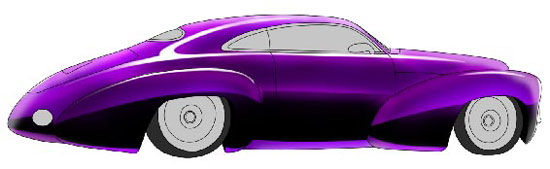
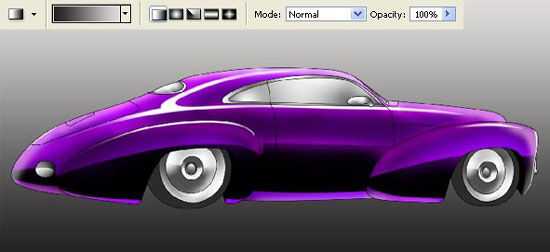
Merge down all the layers now, except the background’s layer: Layer – Merge Down (ctrl+e). Change after that the background with the Gradient Tool.
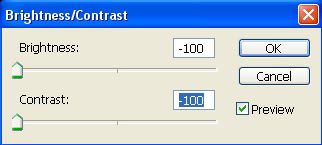
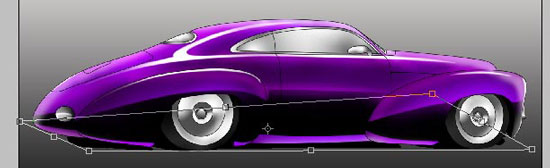
Insert now the car’s shadow. We need firstly to copy the car’s layer, by moving it on the new layer’s icon in the Layers window. Represent the car in this layer in black color, selecting next options: Image – Adjustments – Brightness/Contrast.
Move this layer lower than the basic one by distorting it a little, using Edit – Transform – Distort.
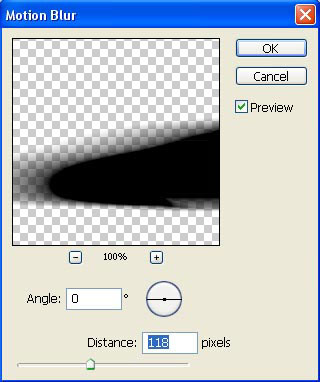
Then we should blur out a little the shadow on its horizontal position, selecting the next option: Filter – Blur – Motion Blur.
Paint the new layer, situated above the background’s one in lily-light color, taken from the car with the Eyedropper Tool. Then we should change the layer’s Blending Mode on Screen.
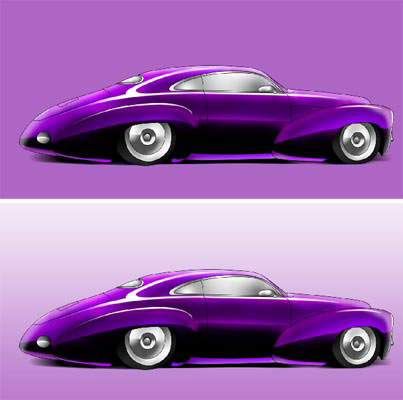
On this new layer we should make darker a certain part of the background. It’s necessary to apply in this case the Gradient Tool. Then change the layer’s Blending Mode on Overlay.
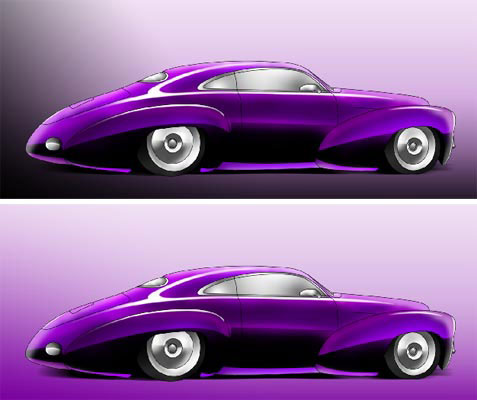
Insert then on the grey parts of the car the reflexes. Select again on a new layer the Gradient Tool for this manipulation and change the layer’s type on Soft Light. Minimize the Opacity also till 50%.
The last step we reached at is creating for this picture a frame, choosing the usual instruments for this operation: Crop Tool and Rectangular Tool.
Made by Sigma
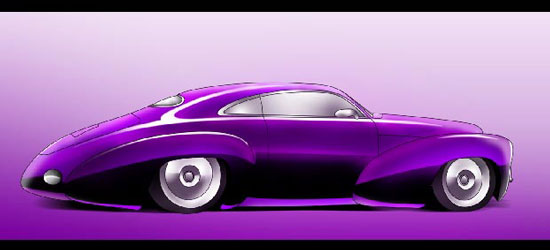
The car is finished!
Comments