
Portrait of Beautiful Girl
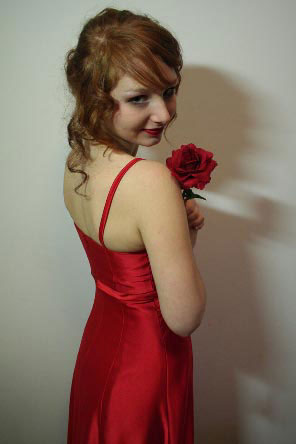
This new lesson we’ll see how to represent an artistic portrait out of a photo by changing the background, correcting the colors and using different textures and filters.
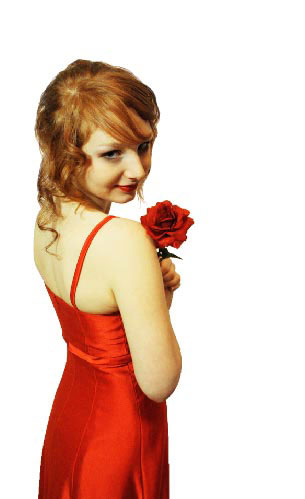
Open a photo, for the beginning, in a new window, that one, we want to process: File – Open (ctrl+o).
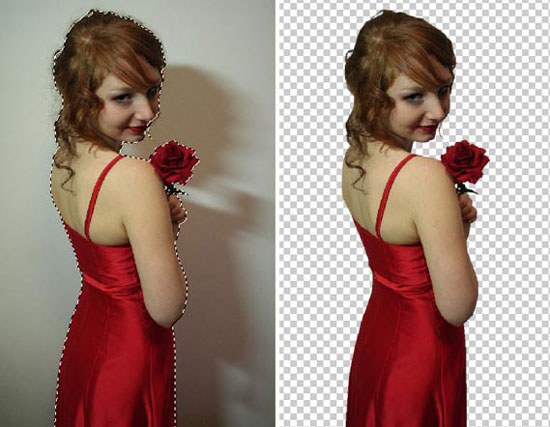
Copy the layer to make easier working with it: Layer – Duplicate Layer (ctrl+j) and delete the previous layer, using the corresponding icon in the Layers window. Mark out now the background, choosing the Polygonal Lasso Tool and then erase it.
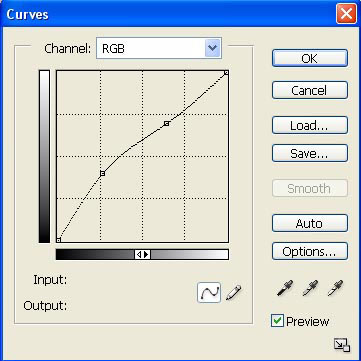
Increase a little the working space, selecting the Crop Tool and start correcting the colors and the brightness. First we need to increase the brightness, making use of next combination Image – Adjustments – Curves (ctrl+m).

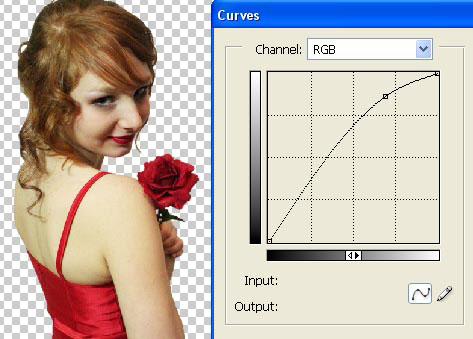
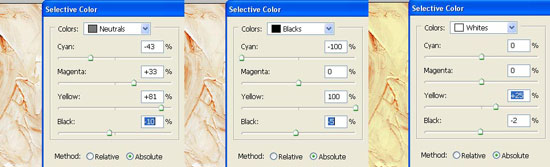
Now make the colors look more intensive by applying next combination: Image – Adjustments – Selective Color.

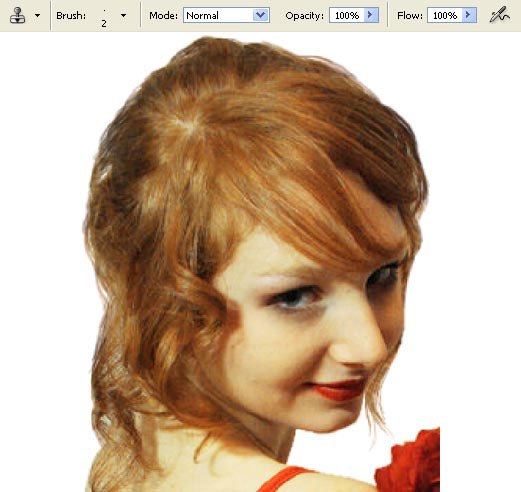
Select now the Stamp Tool and use this tool as a brush to make the girl’s coiffure look livelier:
Make a copy of this layer (ctrl+j) and blur it out, selecting the next filter: Filter – Blur – Gaussian Blur.
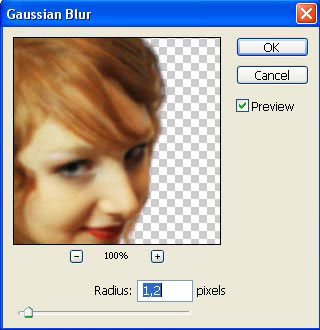
Now we should change the layer’s Blending Mode on Soft Light and minimize the Opacity till 35%. Then merge down the layers: Layer – Merge Down (ctrl+e).
What we need to do further is opening in a new window (ctrl+o) the picture we want to make the background out of it. In this case we have smudge paint.
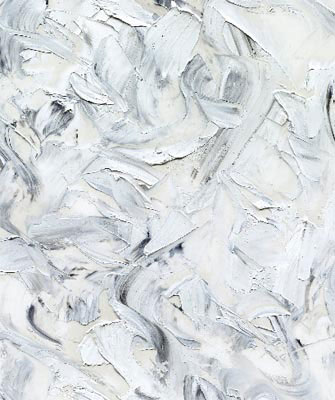
Mark it out with Rectangular Marquee Tool, make a copy of it: Edit – Copy (ctrl+c) and get back to the girl’s window to insert the background on a new layer: Edit – Paste (ctrl+v). Move then this layer lower than the girl’s layer and make the necessary corrections on it, selecting next option: Edit – Free Transform (ctrl+t).
Now we should change the background’s colors for them to look harmonious on the picture. It’s possible to do this operation, selecting Image – Adjustments – Selective Color.
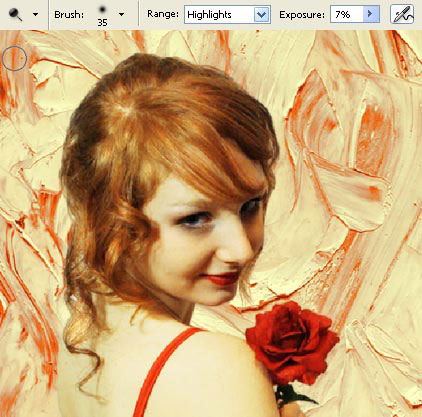
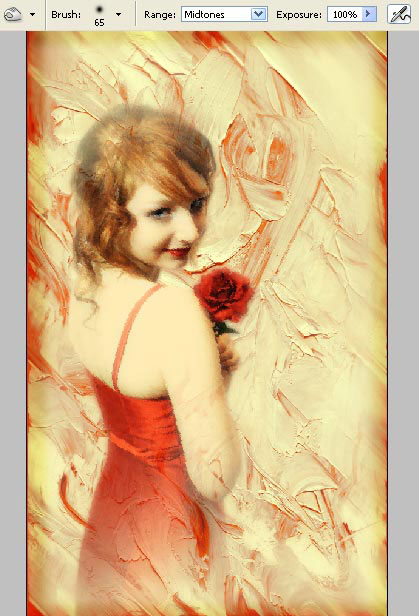
Get back to the girl’s layer to introduce more flares on her hair using the Dodge Tool.
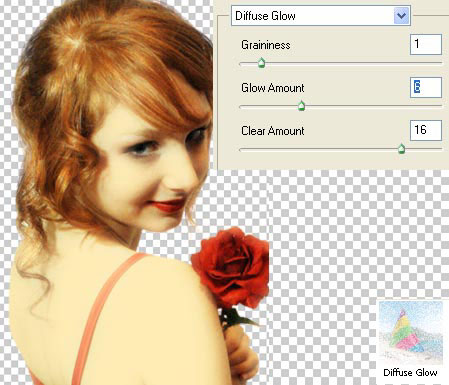
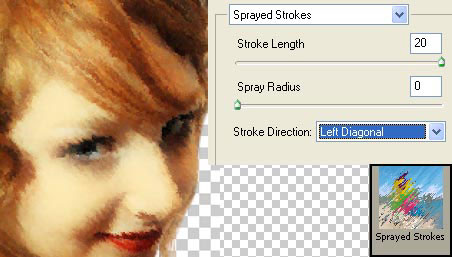
Apply after, turn by turn, two filter on this layer: Filter – Distort – Diffuse Glow and Filter – Brush Strokes – Sprayer Strokes.
Make a copy of the background’s layer (ctrl+j) and place the copy upper than the girl’s layer. Create out of this layer a mask: Layer – Add Layer Mask – Reveal All and select the Gradient Tool of black color to make visible only this part of the layer, situated on the bottom.
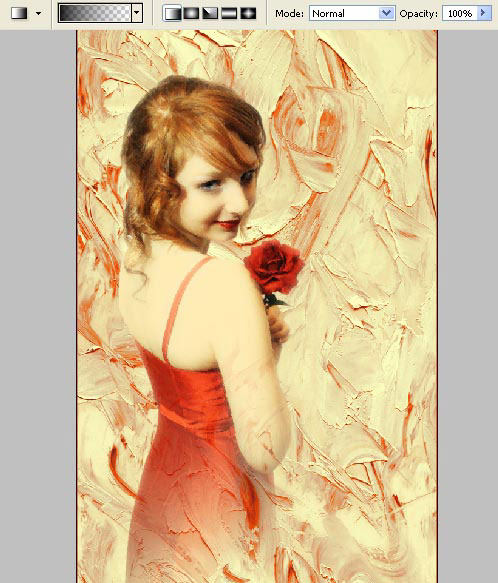
Change the gradient’s color on white and make visible now this layer on its upper part.
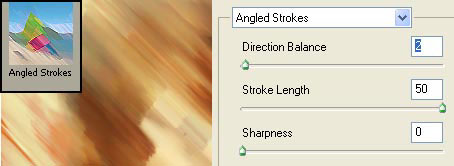
Merge down all the layers: Layer – Merge Visible (shift+ctrl+e). Then make a copy f the new represented layer (ctrl+j). It should be processed with the filters too: Filter – Brush Strokes – Angled Strokes.
Select the Layer Mask to make this layer visible only along the picture’s edges. We should do that as for the background not to get out on the front plan.
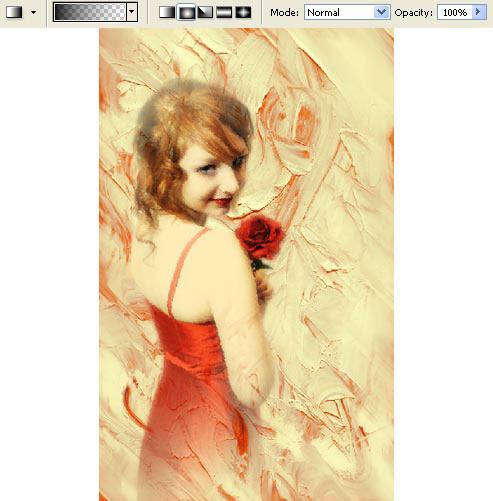
Merge down the layers now and dark out the picture’s edges, applying the Burn Tool.
Start making the final corrections on the brightness and on the contrast (ctrl+m).
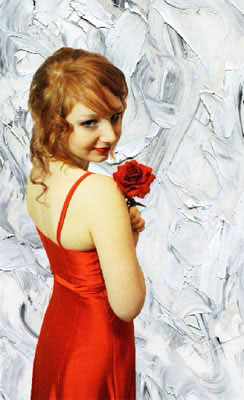
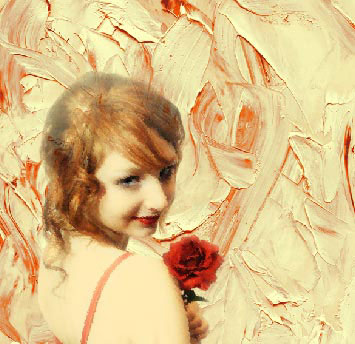
That is what we’ve got:
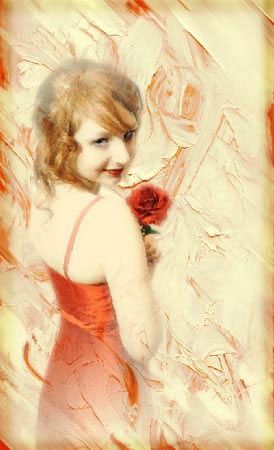
The picture is finished!
Made by Sigma
Comments