
Wallpaper with Eagle designing
The next lesson we’ll
learn to create the wall papers by imitating the vectorial picture.
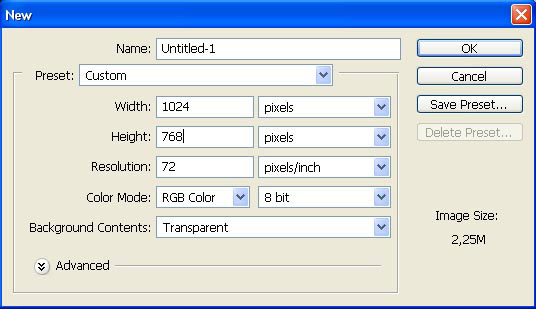
For
the beginning, open a new file: File – New (ctrl+n).
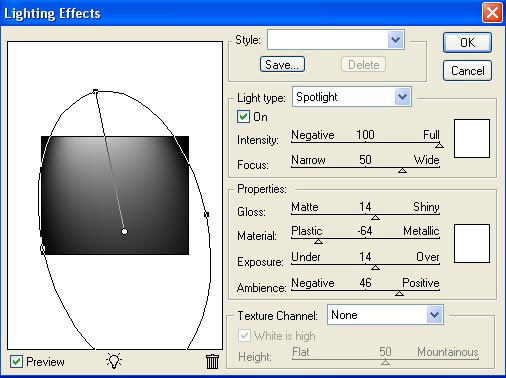
Paint this primary layer in black color by using the Paint
Bucket Tool.

Apply this filter options too: Filter – Render –
Lightness Effect.

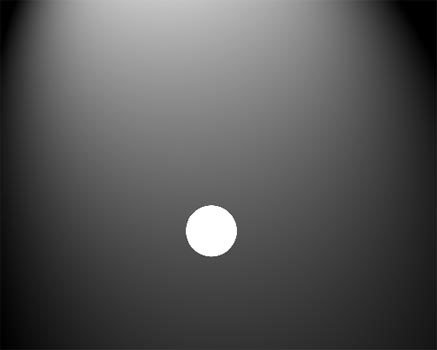
Represent after that a new layer: Layer – New – Layer
and draw inside of it a small circle, using the Ellipse Tool and
keeping pressed the shift button.
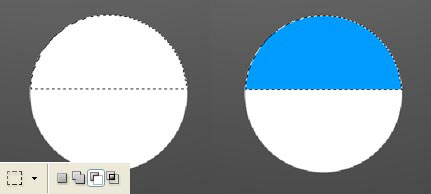
Mark out the circle by clicking on
its layer, then click on the ctrl button and erase the markings from
its lower half; select the Rectangular Marquee Tool and
paint the upper part in the necessary color.
Mark out again the entire circle, but this time erase the
markings from its painted part already. Insert on the lower half several
stripes by applying the Rectangular Tool.

Erase all the markings after all these manipulations: Select – Deselect (ctrl+d) and insert on the blue part of the circle a
star, choosing it beforehand in the already known set of the Custom
Shape Tool.

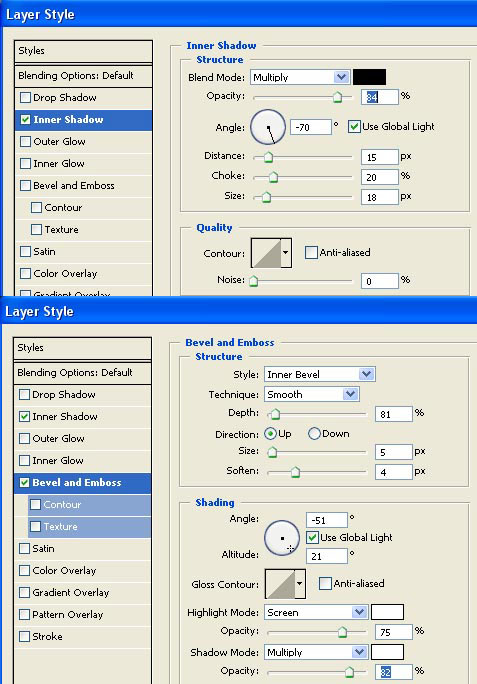
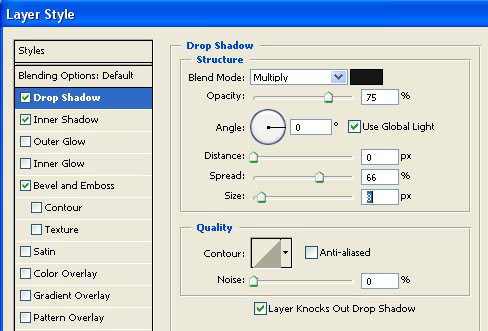
Make the necessary processing with this layer, using next
combinations: Layer – Layer Style – Blending Options
with the following adjustments:
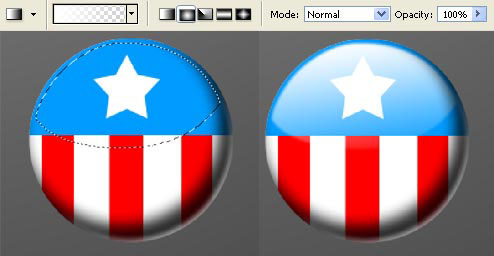
Try to represent now a special
marking on the circle, choosing the Pen Tool and the
command Make Selection. Then paint this part with the
usual instrument (Gradient Tool).
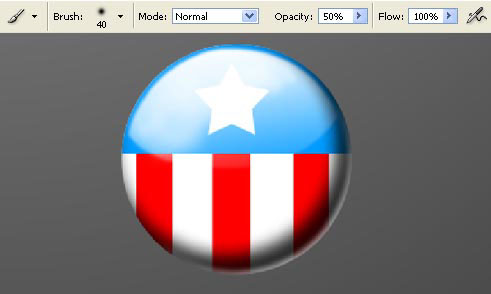
Represent on the circle now a visible flare, selecting the Brush
Tool with smooth edges:
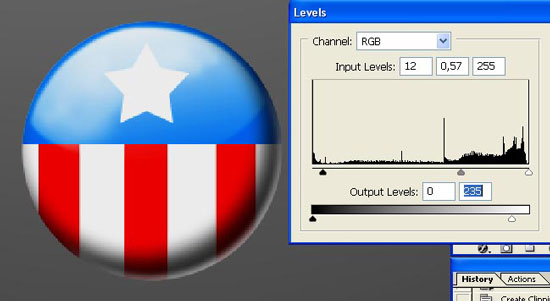
Then make the corrections on its brightness and contrast, using
the next options: Image – Adjustments – Levels
(ctrl+l).
Continue with the Blending Options window and
set the next adjustments in it:
That is what we’ve got:

Select now again the Pen Tool and Fill
Path command to represent a stylish eagle around this circle:
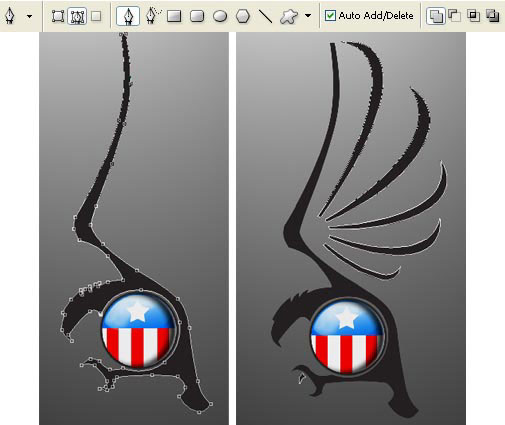

The wall papers are finished! (the designer’s name of these
original wallpaper is Dana Pellerin).
Made
by Sigma
Comments