
Fantastic Wallpapers
This new task I’ll show you how
to create some fantastic wallpapers on the desktop by imitating the
vectorial style.
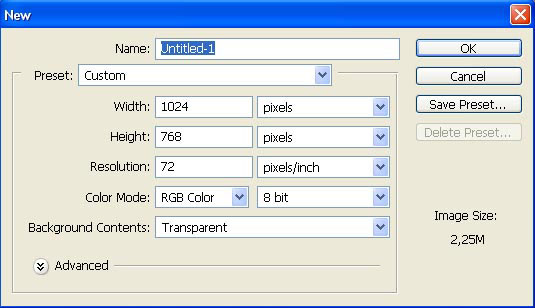
Create first a new file: File – New
(ctrl+n).
Paint its background with the appropriate color, using the Paint
Bucket Tool.

Select now the Polygonal Lasso Tool to outline
several rays and paint them in a lighter color:

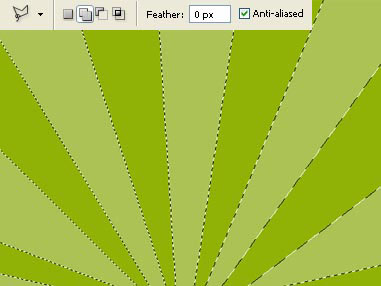
Erase the markings: Select – Deselect (ctrl+d)
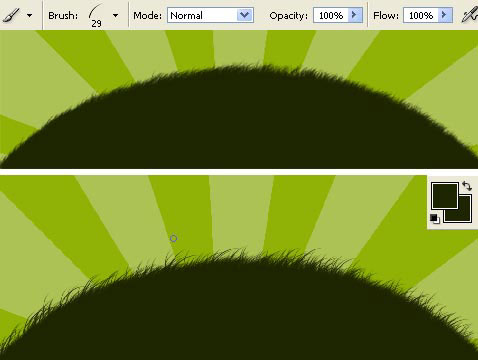
and choose next the Elliptical Marquee Tool to
represent a half round marking which must be painted in a darker color,
the same way you may see below:

Take
now the Brush Tool to represent the grass. First take a
smaller size brush, then a bigger one to accentuate the edge of the
half circle. Choose also for the background and for the foreground the
same color we used when painting the half circle itself.
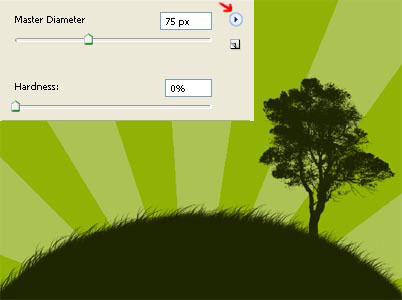
Select now a prepared brush from the menu on the upper panel
and insert the tree on our picture (the brush may be downloaded here: http://www.deviantart.com/deviation/33101073/
?qo=13&q=by%3Aanarasha-stock&qh=sort%3Atime+-in%3Ascraps)
Select now the Pen Tool to introduce in our
picture a rainbow. First try to outline on a new layer (Layer –
New – Layer) the rainbow to be, colored in red and using the Fill
Path for this operation. Then represent one more new layer and
group it with the previous one: Layer – Create Clipping Mask
(ctrl+g), just not to get outside the already drawn lines and insert
the other colors of the rainbow. If you’ll get an unnecessary part of
the basic layer, select the Make Selection command and
mark out this part to erase it later, applying the Delete
button on the keyboard.
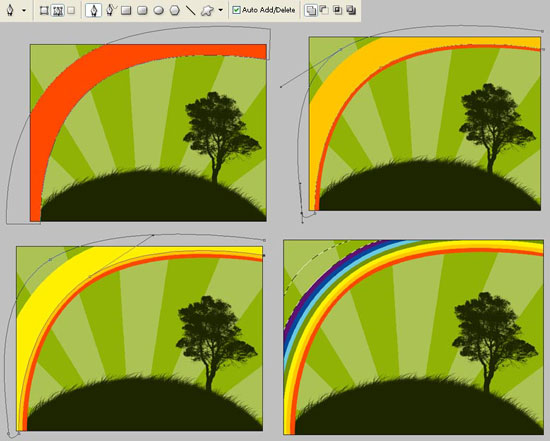
Combine now the layers containing the rainbow: Layer –
Merge Down (ctrl+e) and minimize the Opacity
of the new layer till 60%.
Take
now a prepared brush again and introduce in out picture several
standard vectorial ornaments (download the brushes on this address: http://www.akpro.net/downloads2/AK-VectorBrushPack01.zip)

Choose now the Line Tool of 2px
and draw the thread falling from the sky. Take after that the Custom
Shape Tool and insert several types of ornaments on these
threads.

Selecting the next prepared brush, it’s possible to insert the
stars on the sky (download the brushes on the next address: http://www.deviantart.com/deviation/30000107/
?qo=1&q=by%3Aanarasha+in%3Aresources%2
Fapplications%2Fpsbrushes&qh=sort%3Atime+-in%3Ascraps)

Open in a new window the picture representing the sky: File
– Open (ctrl+o).
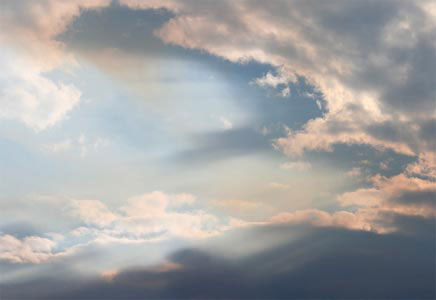
Mark it out with Rectangular Marquee Tool and
make a copy of it: Edit – Copy (ctrl+c). Get back to
the first file and insert it on a new layer: Edit – Paste
(ctrl+v). We need to make several corrections on the sky’s size,
applying the next options: Edit – Free Transform
(ctrl+t). Decolorize the layer: Image – Adjustments – Desaturate
(shift+ctrl+u).
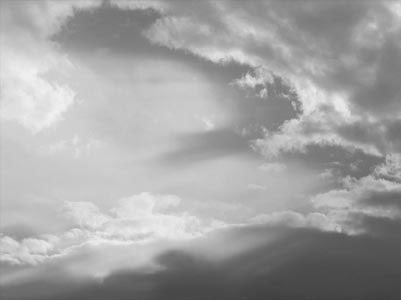
Change
the layer’s type on Overlay:

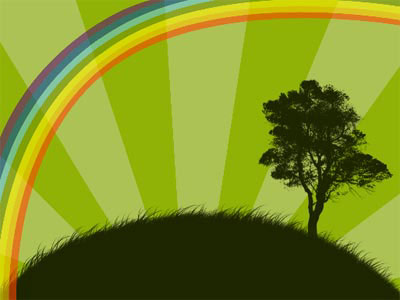
The wall papers are finished!
Made
by Sigma
Comments