
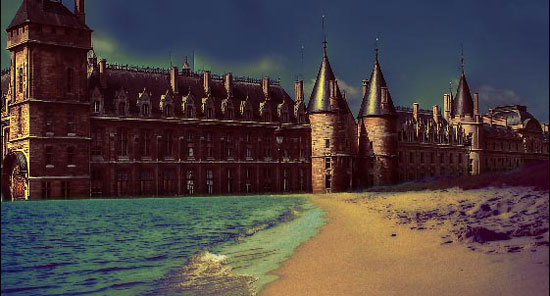
Unreal Night – Photo Effect
The next topic we’ll
learn to create different types of images’ distorting, change the
colors, the illumination, and work with the layers and program’s
filters.
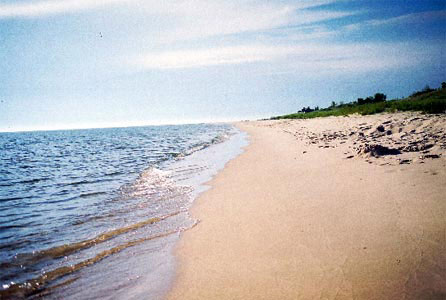
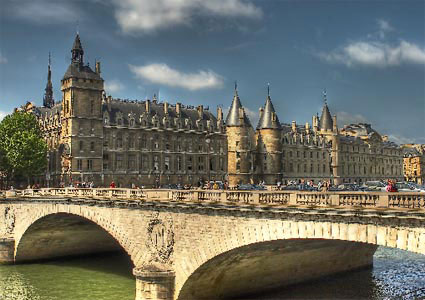
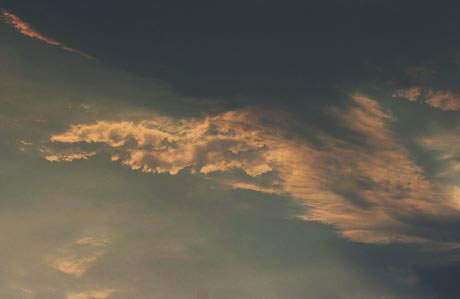
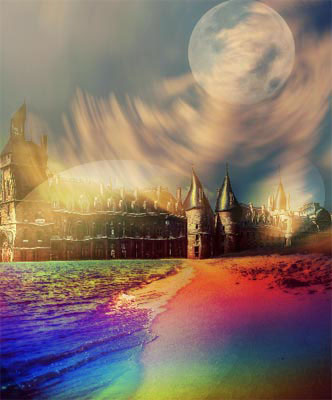
First we need to open in a new window the picture of a
sandy beach: File – Open (ctrl+o).
Make a copy of this layer just to make it accessible for work: Layer
– Duplicate Layer (ctrl+j). The previous layer must be
deleted, using the appropriate icon on the Layers
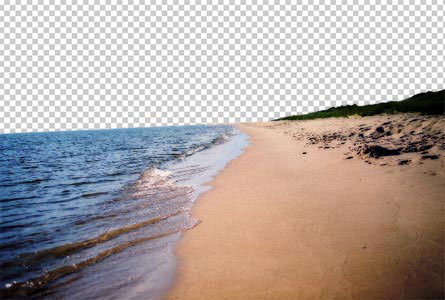
window. Now we should mark out the sky, making use of the Polygonal
Lasso Tool.
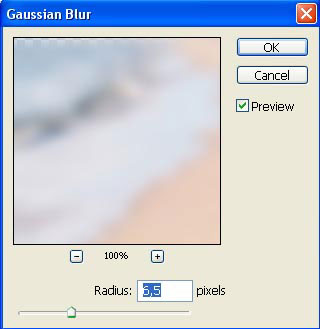
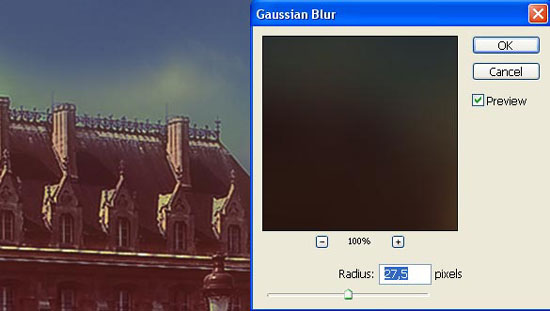
Delete the marked zone. Make a new copy of the layer (ctrl+j)
and blur it out with Filter – Blur – Gaussian Blur.

Change the layer’s type on Multiply and
minimize the Opacity of the layer till 70%.
Then merge down the layers, using the next combination: Layer –
Merge Down (ctrl+e).
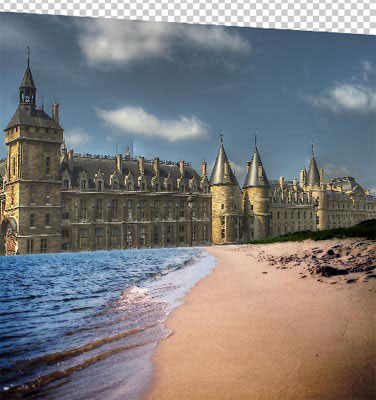
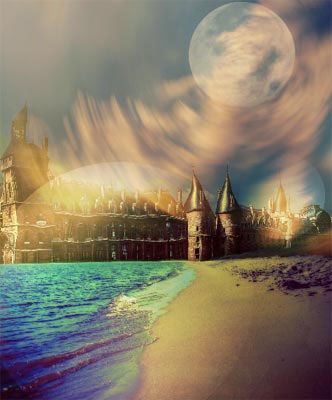
Increase now the picture on its vertical position selecting the
Crop Tool. Insert on a new layer the picture of a
castle, but first we need to open it on a new window (ctrl+o). Then mark
it out with Rectangular Marquee Tool and make a copy
of it: Edit – Copy (ctrl+c). Get back to the processed
picture and insert it on a new layer: Edit – Paste
(ctrl+v).
Move the layer lower than the beach’s layer and make the
corrections on its size and perspective level. Make use of the next
options: Edit – Free Transform (ctrl+t) and Edit
– Transform – Distort.
Select now the Clone Stamp Tool and copying
the blue zones of the sky, continue by painting the clouds and the empty
part of the picture.
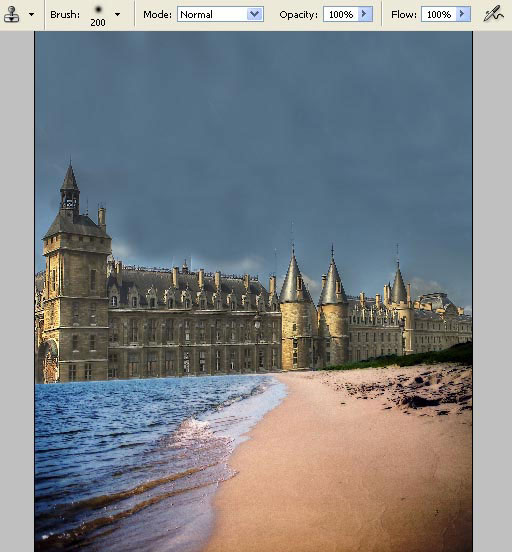
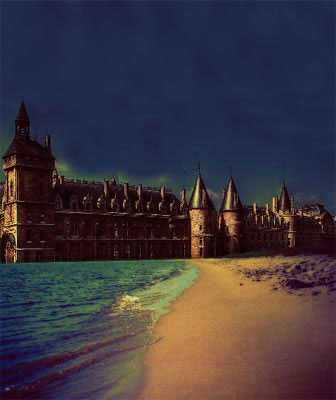
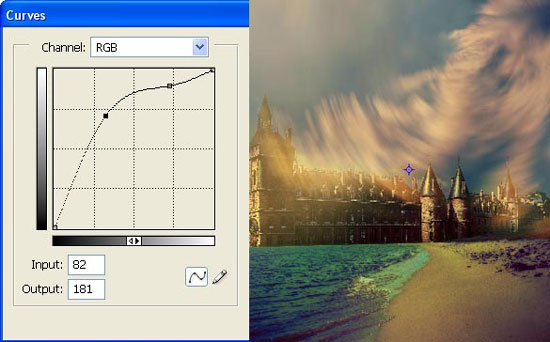
We have to change now the
colors’ corrections to create the necessary atmosphere, an evening one.
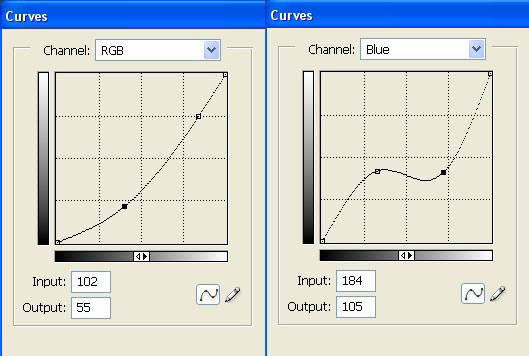
First make the necessary corrections on the sand’ layer, using the next
options: Image – Adjustments – Curves (ctrl+m) and Image
– Adjustments – Selective Color.
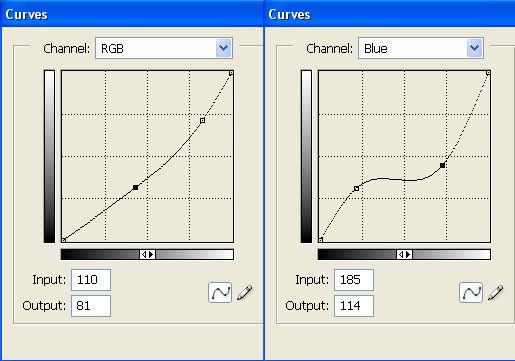
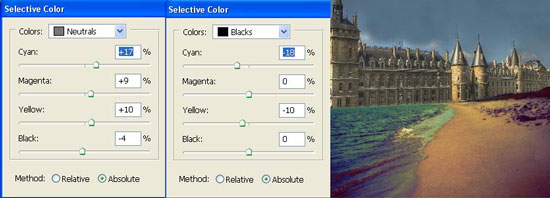
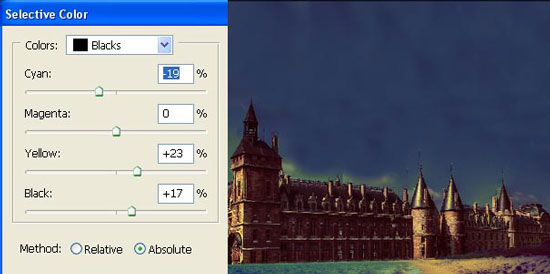
Then continue with the castle’s layer, applying the same
options:
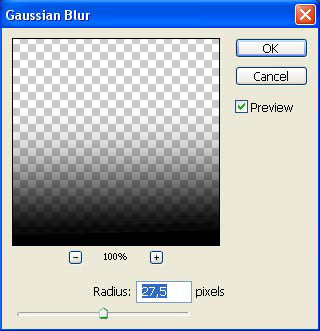
Insert now a small shadow coming from the sand’ layer. First we
need to copy the layer: Layer – Duplicate Layer
(ctrl+j) and make it totally black with Image – Adjustments –
Channel Mixer:

Then blur out the layer, making use of Filter – Blur –
Gaussian Blur.
Place it lower than the basic
layer of the sand. Change after that the layer’s Blending Mode
on Soft Light.
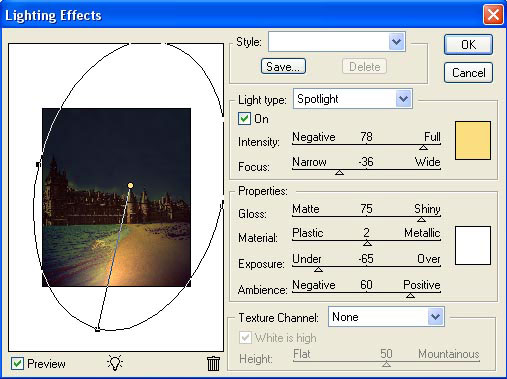
Merge down all the layers: Layer – Merge Visible
(shift+ctrl+e) and make a copy of the new obtained layer. Apply on this
layer the next filter’s option: Filter – Render – Lighting
Effects.
Blur out the layer (Gaussian Blur).
After that, change the layer’s type on Soft Light
and minimize the Opacity till 40%.
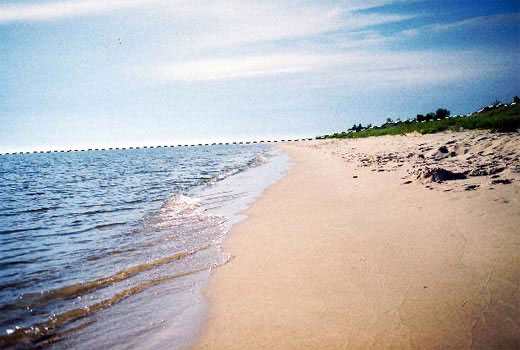
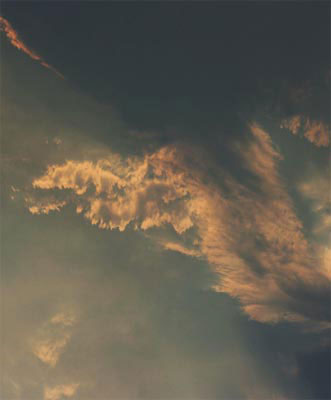
Insert now on a new layer the picture of the sky:
Correct its sizes, selecting next option: Edit – Free
Transform (ctrl+t).
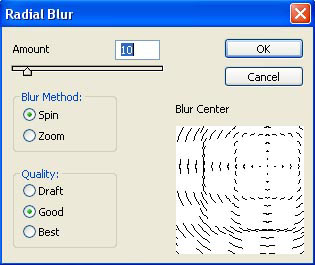
Make use of the selection shown here: Filter – Blur –
Radial Blur.
Change the layer’s type on Hard Light and
increase the brightness of the layer (ctrl+m).
Merge down the layers and
apply after that a prepared brush that can be downloaded here: http://www.deviantart.com/deviation/9890582/
?qo=65&q=by%3Alarafairie-stock&qh=sort%3Atime+-in%3Ascraps.
It is necessary for drawing the moon.
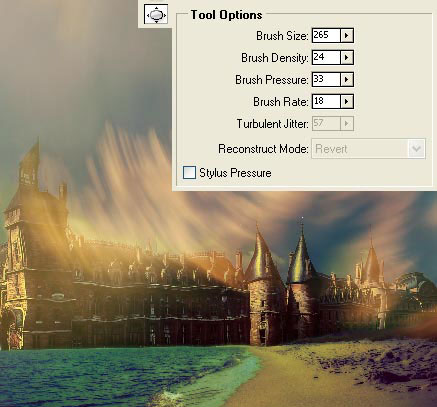
Merge down again all the layers (shift+ctrl+e) and get to the
window Filter – Liquify (shift+ctrl+x) to use Bloat
Tool for distorting a little the castle (the instrument must
be applied with short pointed motions).
Represent on a new layer now a rounded element, using the Elliptical
Marquee Tool and clicking on the shift button, paint it
partially, selecting the Gradient Tool.
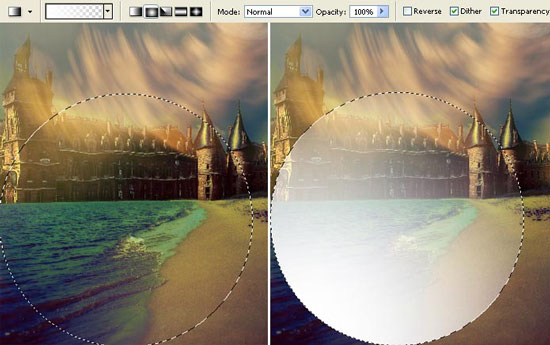
Change the layer’s type on Overlay:
Draw the same way one more circle, but this time it should be
smaller:
Represent on a new layer
several stripes of different colors that must be placed lower than the
castle. Choose for this operation the Brush Tool with
smooth edges:
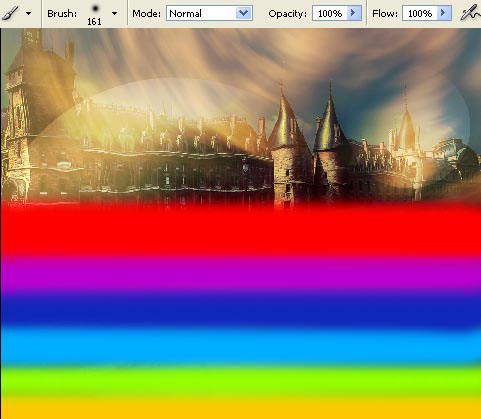
Change the layer’s type on Overlay and distort
the stripes a little, choosing next option: Edit – Transform –
Distort.
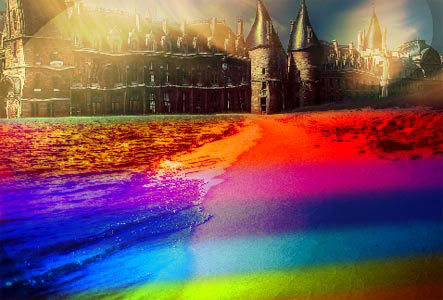
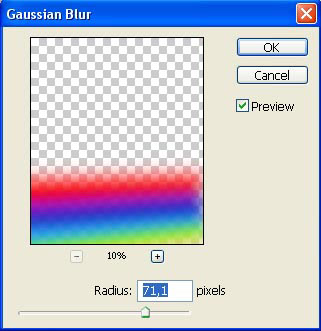
Blur out the entire layer using the Gaussian Blur:
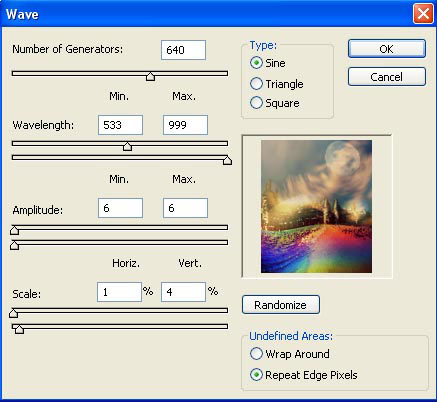
Now we have to merge down all
the layers (shift+ctrl+e) and distort the new layer that we’ve got,
making use of Filter – Distort – Wave. We have to mark
out the layer, just not to blur out the edges too, Select the Rectangular
Marquee Tool for the necessary markings:
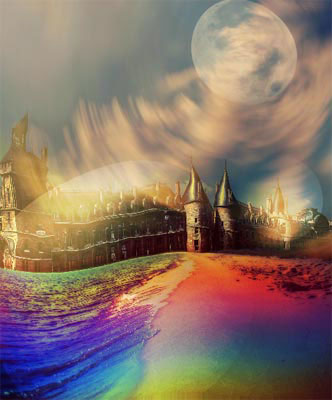
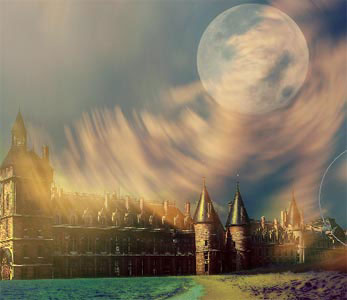
We should change now the illumination. Selecting the next
option Filter – Render – Lighting Effects, it’s
possible to create two light’s sources (the second one – by pulling the
lamp indicator).

The next instruments: Crop Tool and Rectangular
Tool will help us to insert the picture in a frame:
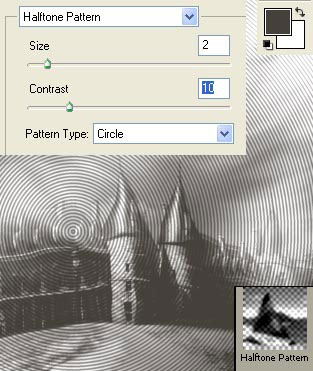
Make a copy of the layer and
apply to it the filter shown here: Filter – Sketch – Halftone
Pattern.
Change the layer’s type on Overlay:
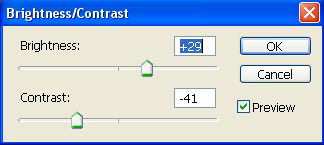
Adjust a little the brightness and the contrast with this
option: Image – Adjustments – Brightness/Contrast.
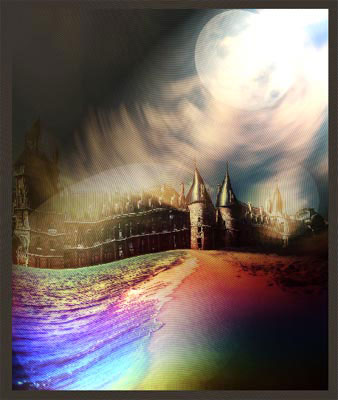
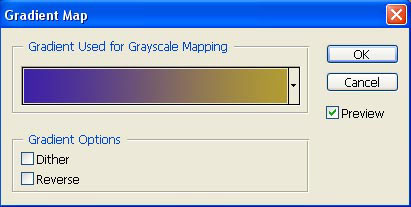
I’ve decided to change the colors of this layer and that is why
I have to use next selection: Image – Adjustments – Gradient
Map.
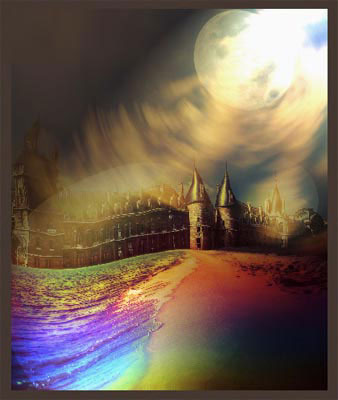
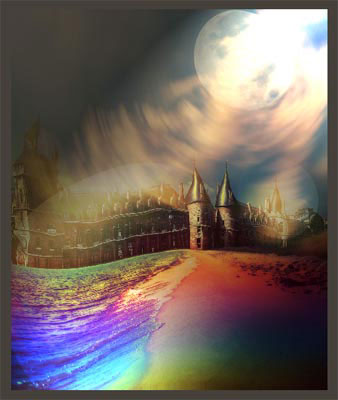
In the end we may add a lighter delicate frame. But we have to
use on a new layer the Rectangular Tool to draw it in
white color:

Change the layer’s type on Overlay:

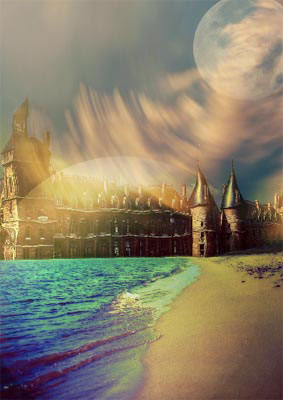
The illustration is finished!
Made
by Sigma
Comments