
Fantasy Art
The next task we’ll learn correcting the colors, working with the layers’ masks and the layers themselves. We’ll see also how to combine different pictures and create the effect of oldness on the picture’s surface.
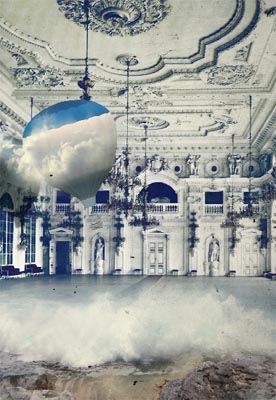
For the beginning we have to open in a new window the picture of a palace’s room: File ? Open (ctrl+o).
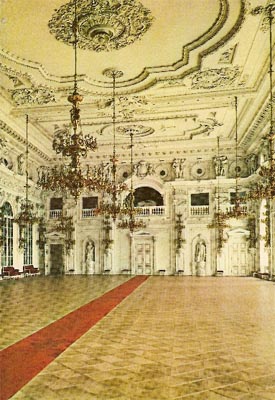
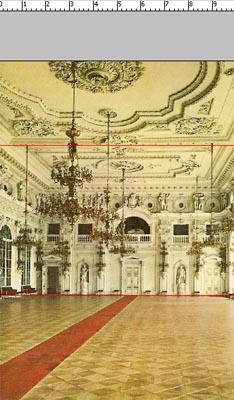
Make a copy of this layer, just to make the work easier: Edit ? Copy (ctrl+c). The previous layer should be deleted: Layer ? Delete ? Layer. Select then the Rules option and the command Edit ? Transform ? Distort and Crop Tool to smooth out the pictures distorts.
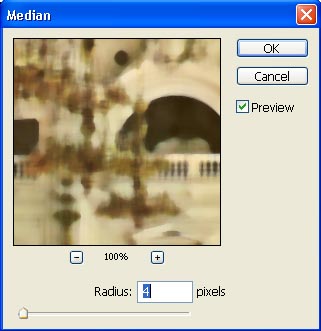
As we may see, the picture has a bad quality that is why we have to improve it. First we have to copy this layer: Layer ? Duplicate Layer (ctrl+j) and apply on it the next shown filter’s options: Filter ? Noise ? Median, setting a small value for it.

Change now the layer’s Blending Mode on Soft Light and merge down the layers: Layer ? Merge Down (ctrl+e).
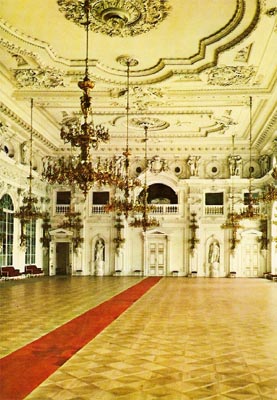
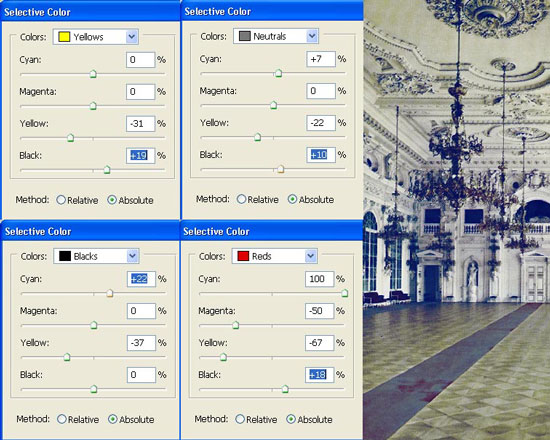
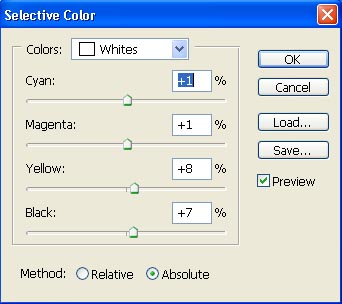
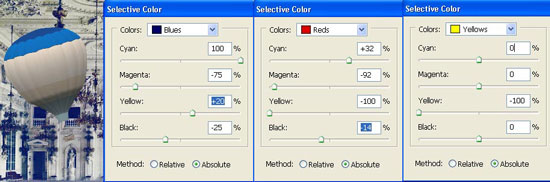
Start correcting the colors after that which is possible to do, selecting Image ? Adjustments ? Selective Color.
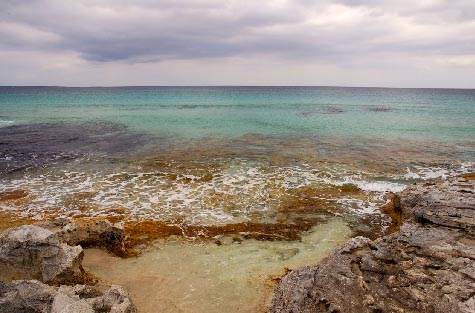
Open in a new window the picture of a sea cost (ctrl+o).
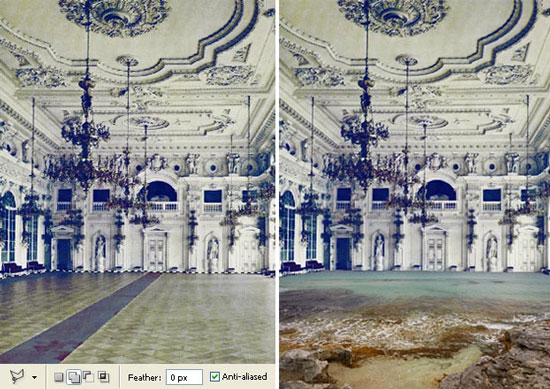
Mark it out, choosing Rectangular Marquee Tool, make a copy of it (ctrl+c) and get back to the initial file to insert the copy on a new layer: Edit ? Paste (ctrl+v). Make the corrections on the size with Edit ? Free Transform (ctrl+t) and then hide the layer’s visibility, pressing on the eye’s icon. Choose now the Polygonal Lasso Tool for marking the entire room’s zone, except the floor. Then make the sea cost’s layer visible again and delete the marked zone. Move off the markings: Select ? Deselect (ctrl+d).
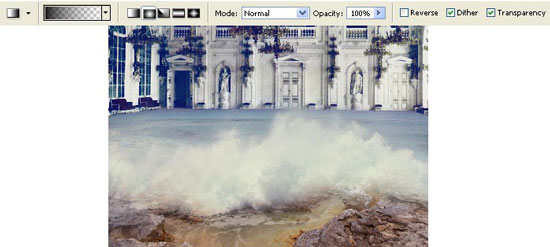
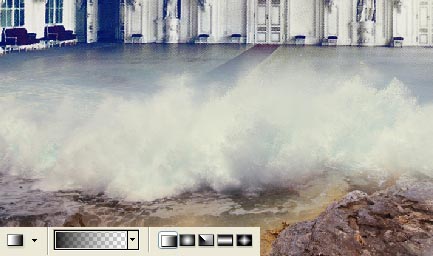
Open in a new window the picture of waves:
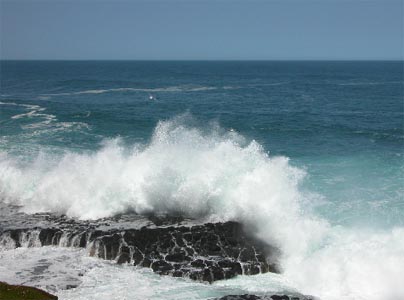
Place the picture on a new layer (ctrl+v) and make the corrections on the colors (Selective Color).
Create a mask out of this layer: Layer ? Add Layer Mask ? Reveal All and choose the Gradient Tool to use it for hiding the visibility of the layer around the waves. It’s possible to do this operation by applying very accurate tool’s motions.
Apply the next combination: Layer ? Remove Layer Mask ? Apply. Now we have to open in a new window the picture of an aerial balloon.
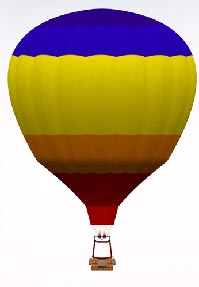
Because it is situated on a white background, we have to mark it out firstly with next command Select ? Color Range? and click on the eyedropper on the same background, just to mark it out:

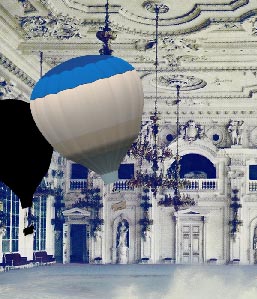
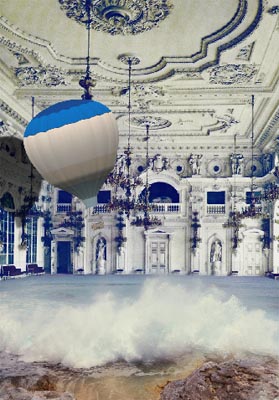
Apply the here shown combination: Select ? Inverse (shift+ctrl+i) and Select ? Modify ? Contract (1-3 px). Make a copy of the balloon (ctrl+c) and place it on the top layer, on the window with the processed picture (ctrl+v). Make the corrections on the size and on the turn level, using next option: Image ? Free Transform (ctrl+t).
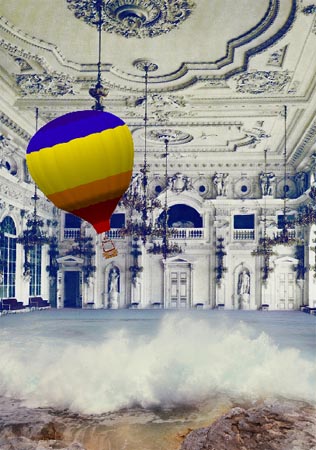
Make the corrections on the balloon’s colors, just for it not to get out of the common color palette (Selective Color).
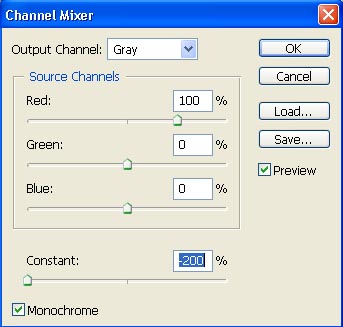
We have to create its shadow now. For the beginning we have to copy the balloon’s layer and make the lowest copy entirely black, choosing Image ? Adjustments ? Channel Mixer.
Distort the shadow, applying Edit ? Transform ? Distort.
We have to use now the layer’s mask and the Gradient Tool with a long extension to make the shadow more transparent on the bottom part.
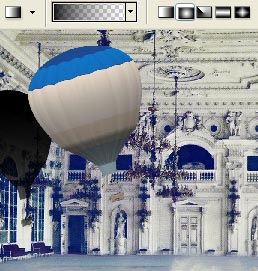
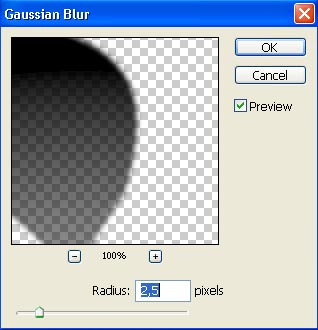
Blur out a little the layer: Filter ? Blur ? Gaussian Blur.
Change now the layer’s Blending Mode on Multiply and make the Opacity smaller, till 74 %.
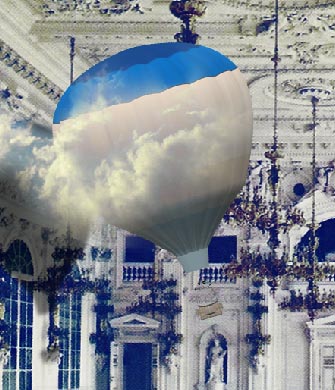
Insert on a new layer the picture having clouds on it:
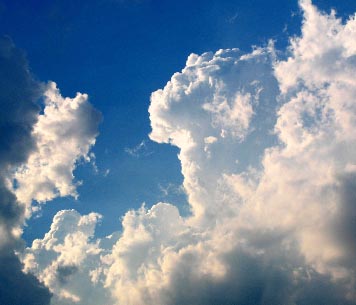
This layer must be processed also, choosing the layer’s mask and the Gradient Tool.
Get back to the sea cost’s layer to create a mask out of this layer. Select after that another type of Gradient Tool to make the layer invisible:
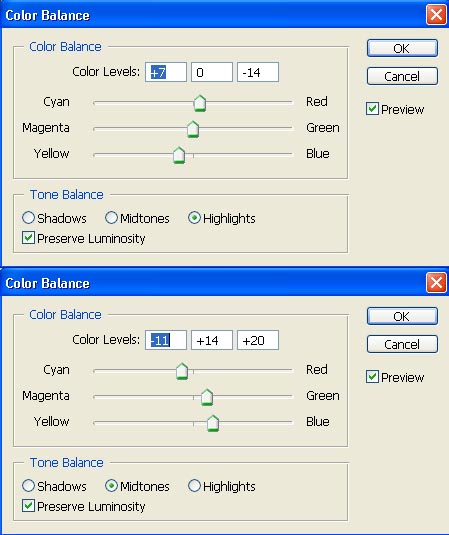
Then merge down all the layers: Layer ? Merge Visible (shift+ctrl+e) and make the necessary corrections on the picture’s colors, using Image ? Adjustments ? Color Balance (ctrl+b).
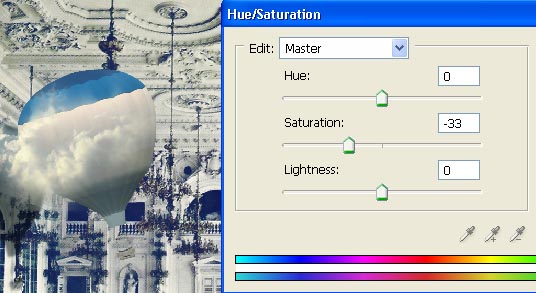
We have to minimize now the colors’ intensity, using next combination: Image ? Adjustments ? Hue/Saturation (ctrl+u).
Insert on a new layer any kind of texture, having effaced effects (in this case we have a wall).
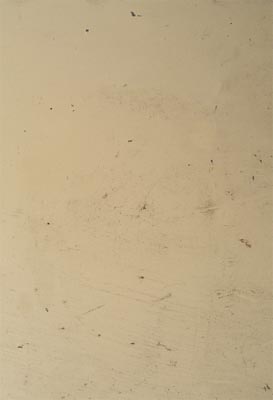
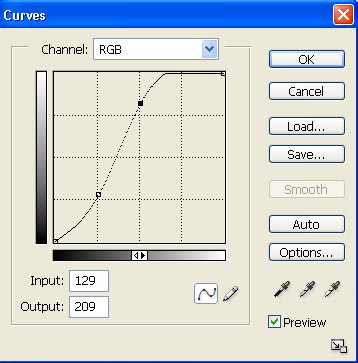
Decolorize this layer: Image ? Adjustments ? Desaturate (shift+ctrl+u) and make it brighter and in contrast: Image ? Adjustments ? Curves (ctrl+m).
Change now the layer’s Blending Mode on Multiply and merge down the layers (ctrl+e).
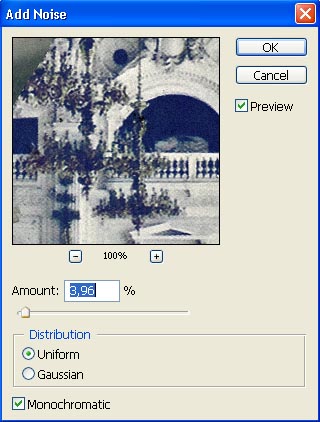
Apply the here shown filter’s option: Filter ? Noise ? Add Noise.
And finally we have to create only the frame, using the Crop Tool and the Rectangular Tool.
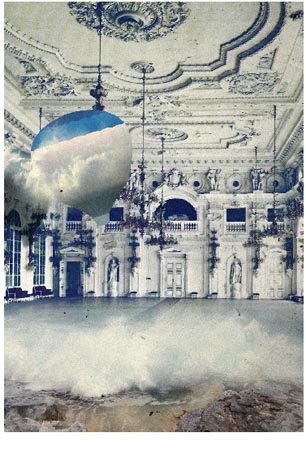
Finished!
Made by Sigma
Comments