
How to make a dream catcher photo effects
Learn to cut out from the picture the animal wool, add the cut out parts of the photos, combine a man’s face with an animal’ s body and create also a starry sky, the illusion of the motion, work with the layers and the layers’ masks. We’ll learn also to add the shadows to the objects.
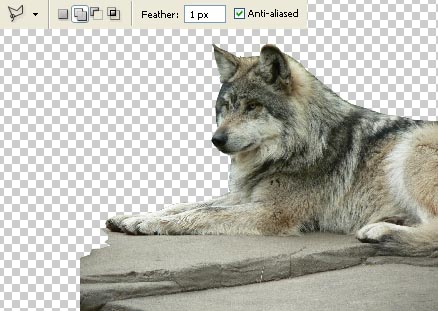
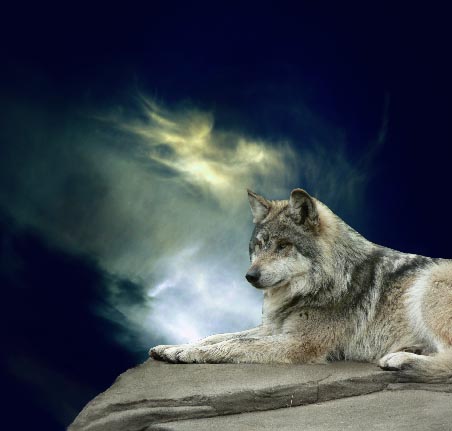
Open in a new window the picture of a wolf: File ? Open (ctrl+o).

Make a copy of this layer: Layer ? Duplicate Layer (ctrl+j), but the previous layer should be deleted selecting the corresponding icon in the Layers window. Choose now the Polygonal Lasso Tool and mark out the background the wolf is situated on, but the animal’s hair must be simply marked, like a common element with straight lines.
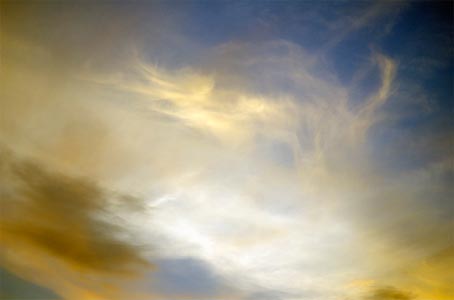
Open in a new window the sky’s picture (ctrl+o), mark it out with the Rectangular Marquee Tool and make a copy of it: Edit ? Copy (ctrl+c). Get back to the previous window and enlarge the size of the picture, using the Crop Tool and insert it on a new layer: Edit ? Paste (ctrl+v). Place this layer under the layer with the wolf and make the corrections on its size, applying the command: Edit ? Free Transform (ctrl+t).

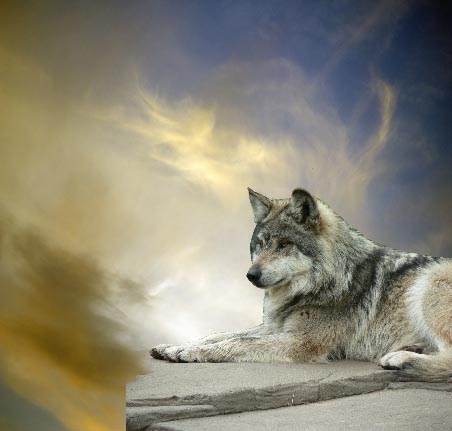
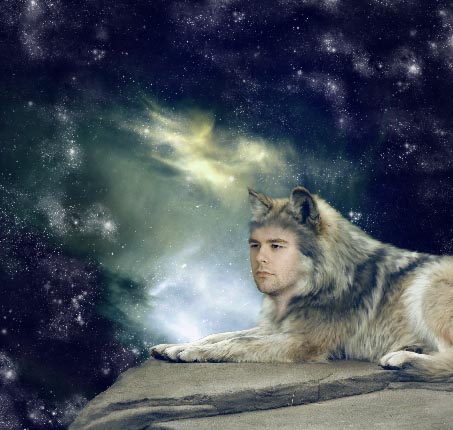
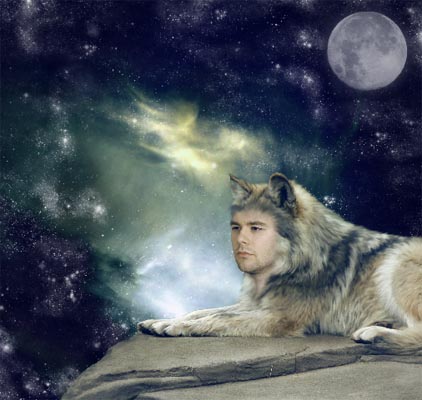
That is what we have got:
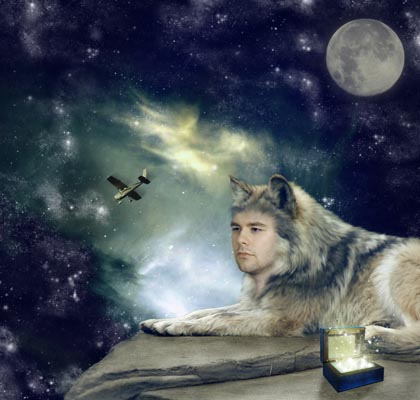
The illustration is finished!
Made by Sigma
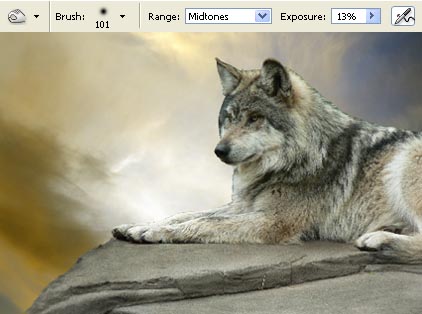
Start processing the wolf’s layer and choose the Clone Stamp Tool (a brush of Smother Round Bristle) to copy the stone’s parts, just to make them look more real:

Select after that the Burn Tool and dark out a little the stone.
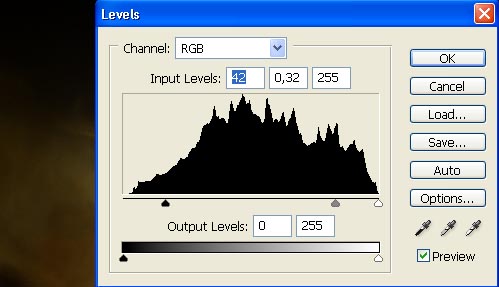
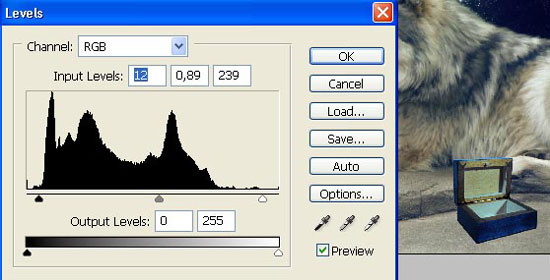
Make the corrections on the sky’s layer’s brightness and contrast: Image ? Adjustments ? Levels (ctrl+l).
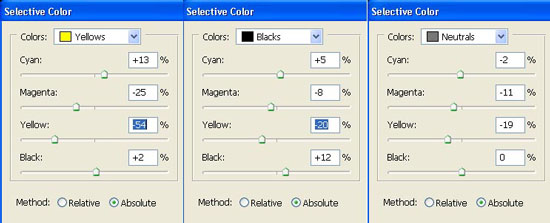
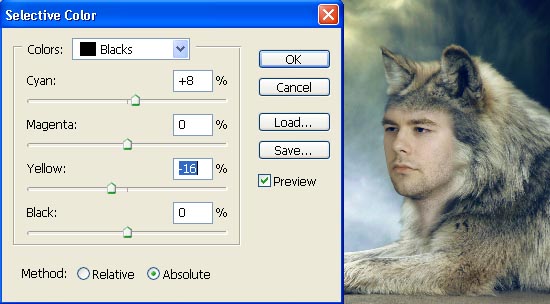
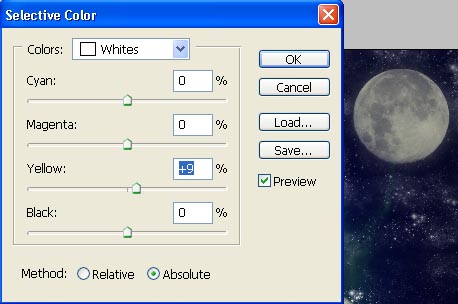
Correct the colors too: Image ? Adjustments ? Selective Color.
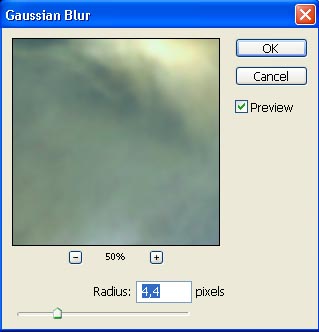
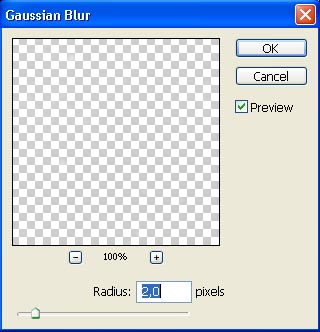
Make a copy of the sky’s layer (ctrl+j) and blur out the copy, using Filter ? Blur ? Gaussian Blur.
Change the layer’s Blending Mode on Lighten and combine the sky’s layers: Layer ? Merge Down (ctrl+e).
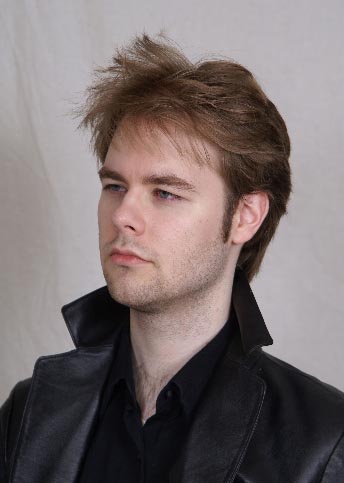
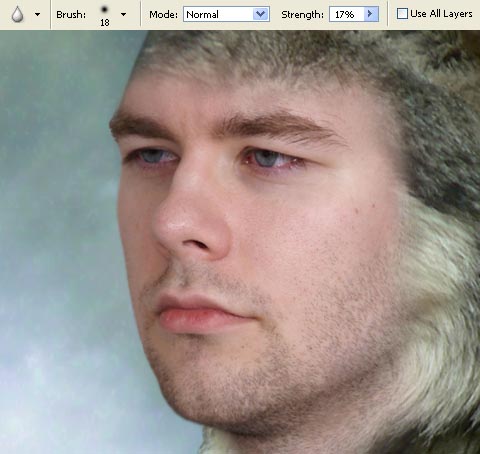
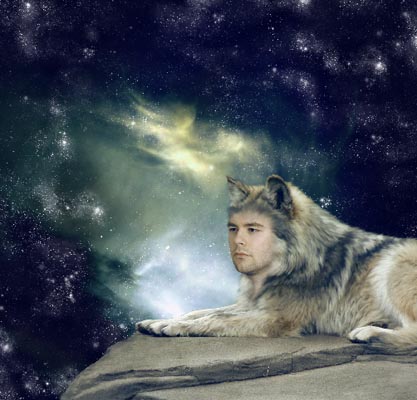
Now we’ll insert a man’s face instead of the wolf’s one on the animal’s body. Open in a new window the necessary picture (ctrl+o).
Mark out the face and the neck, using Polygonal Lasso Tool and place it above the wolf’s layer (ctrl+t).
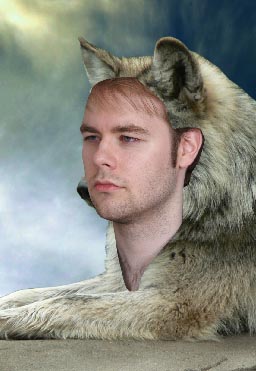
Then create a mask out of this layer: Layer ? Add Layer Mask ? Reveal All and choose the Gradient Tool of black color to start insert organically the face. We have to erase also the coming out wolf’s muzzle.
Next we have to make use of the command Layer ? Remove Layer Mask ? Apply and blur out the clear edge of the face, using the Blur Tool.
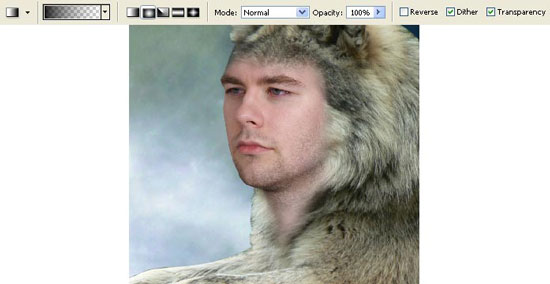
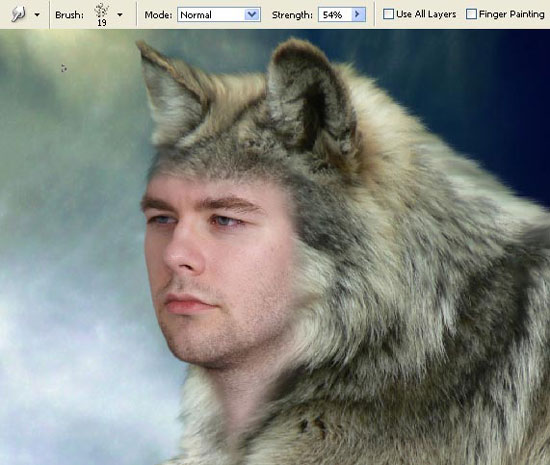
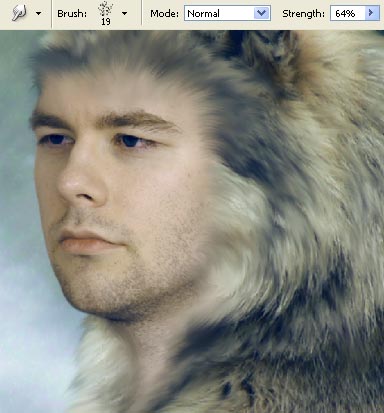
Now we have to select a Smudge Tool (Stipple brush’s type of 19 px) and process the wolf’ s layer. The blurring brush’s motions made according to the hair’s direction will make it fluffy along the edges:
Make the corrections on the color of the face’s layer (Selective Color).

Change also the eyes’ color. It’s necessary to open a new layer and choose the Brush Tool (Soft Round brush’s type) and change the layer’s Blending Mode on Soft Light.
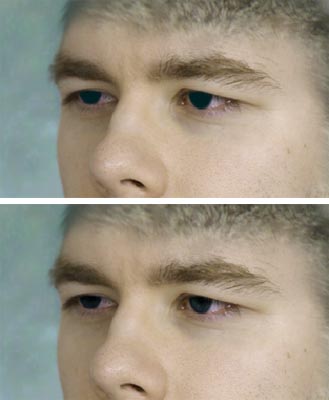
Merge down the eyes’ layers with the layers of the face and the wolf’s ones (ctrl+e) and make the corrections of the color (Selective Color):
Select the Smudge Tool to blur out the edges of the face along the hair’s direction.
And then the rest of the hair (make it accurately with short motions):

Download next the set of brushes ready to use, having the star shape (http://www.deviantart.com/deviation/30000107/ ?q=by%3Aanarasha+stars&qh=sort%3Atime+-in%3Ascraps) and start to fill on a new layer the sky with the stars, using the Brush Tool and changing the Opacity of the brush. Sometimes you may apply also the Eraser Tool.
Make a copy of this layer and blur out the copy (Gaussian Blur).
Then we have to minimize the Opacity of the blurred layer with the stars till 55%. The Opacity of the unblurred layer should be on 70%.
Select a brush from this address: http://www.deviantart.com/deviation/9890582/ ?qo=65&q=by%3Alarafairie-stock&qh=sort%3Atime+-in%3Ascraps and insert the moon on a new layer.
Change a little its color (Selective Color).
Open in a new window the picture of an airplane:
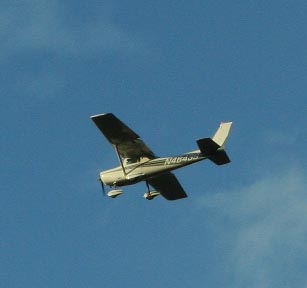
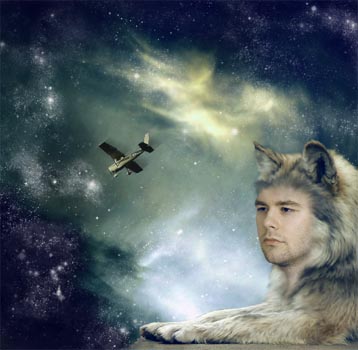
Mark it out and situate it above the stars’ layer.
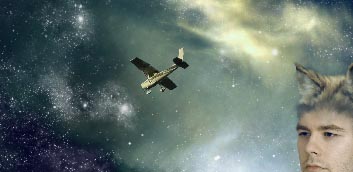
Then correct its brightness and the contrast (ctrl+l).

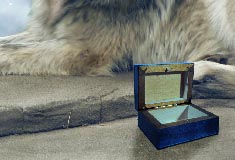
We also have to find a photo of a box:
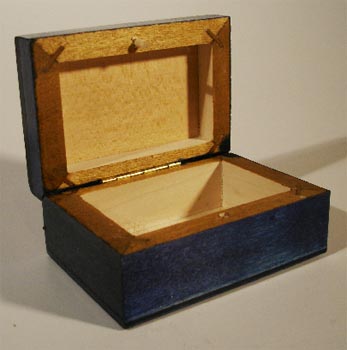
Place it above the wolf’s layer and make the corrections on its size (ctrl+t) and on the distort level: Edit Transform ? Distort, the color (Selective Color).

The brightness and the contrast (ctrl+l):
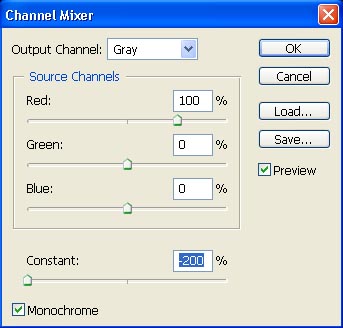
We have next to create the box’s shadow, but firstly copy this layer and the lowest copy should be made absolutely black, selecting next option: Image ? Adjustments ? Channel Mixer.
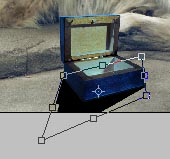
Distort the shadow on the necessary direction (opposite one from the moon), using: Edit ? Transform ? Distort.
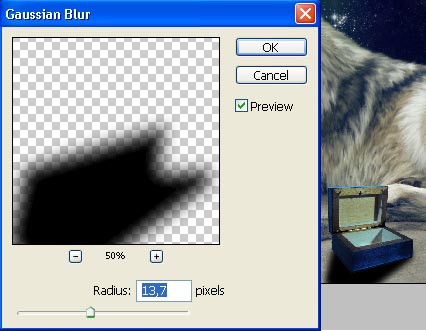
Blur it out (Gaussian Blur).
Change the layer’s Blending Mode on Soft Light.
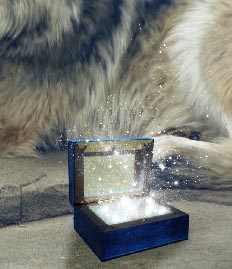
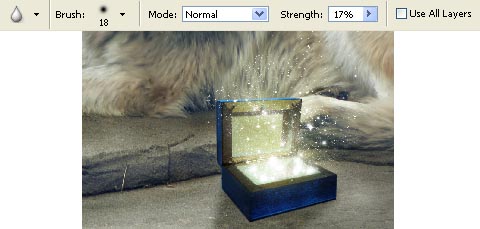
Then select the Brush Tool of star shape and the Eraser Tool and place the stars in the box:
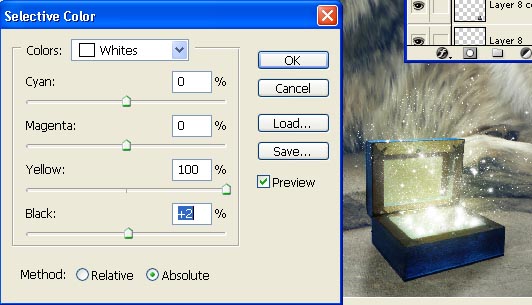
Make a copy of this layer and blur out the copy (the same way we did with the stars on the sky) and change the color of the blurred layer (It’s necessary for it to be placed under the basic layer), using Image ? Adjustments ? Selective Color.
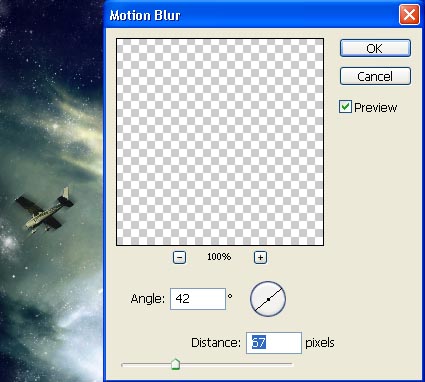
Make a copy of the plane’s layer (ctrl+j) and blur it out on the given direction, using Filter ? Blur ? Motion Blur (place it under the basic layer).
Now we have to distort a little the blurred layer, applying Edit ? Transform ? Distort.
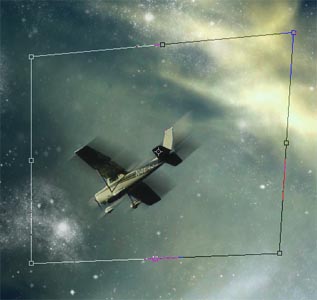
Minimize the layer’s Opacity till 55%.
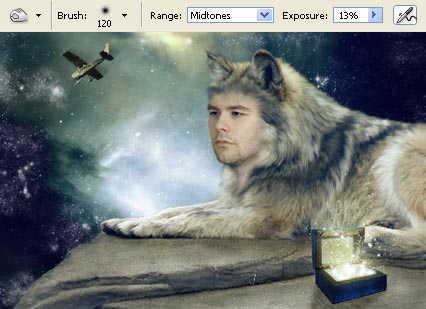
Now we have to introduce the wolf’s shadow on the stone, choosing the Burn Tool.
Blur out a little the edges of the box, using the Blur Tool.
Comments