
Spring Planks Wallpaper
The new topic we’ll learn to make the corrections on the distorts, imitate a cut out ornament on the wood and color out decolorized surfaces already.
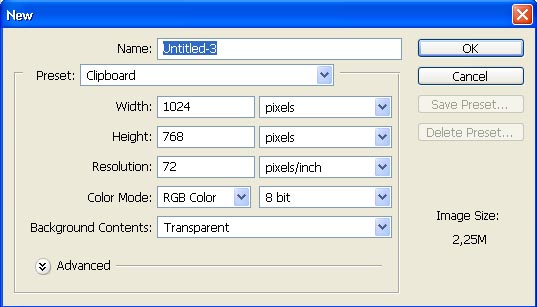
Create a new file of standard size wallpapers: File – New (ctrl+n).
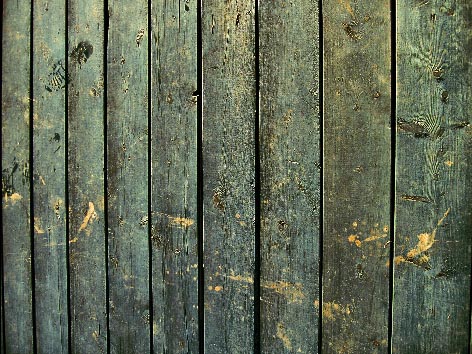
Open in a new window the picture of wooden planks: File ? Open (ctrl+o).
Mark them out, applying the Rectangular Marquee Tool and make a copy of them: Edit ? Copy (ctrl+c). Get back to the wallpapers’ file and insert the copy on a new layer: Edit ? Paste (ctrl+v). Now we have to make the corrections on the picture’s size, selecting the next option: Edit ? Free Transform (ctrl+t). As we may see the planks are distorted a little that is why we have to apply the next command: Edit ? Transform ? Distort to make even the planks’ edges on the picture’s corners.


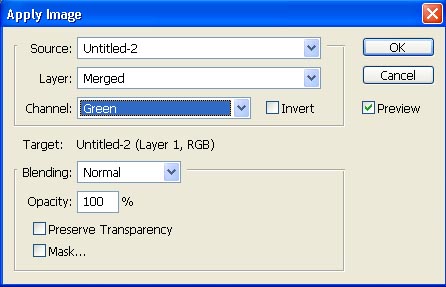
Decolorize this layer, selecting next combination: Image ? Apply Image, choosing the most in contrast Channel.
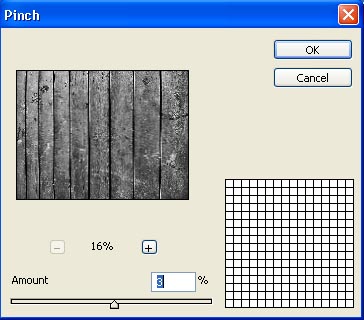
Using the next filter’s option, Filter ? Distort ? Pinch, move off the present effect of “fish’s eye”, I mean some of the planks’ roundedness on their central part.
Create now a new layer: Layer ? New ? Layer and choose the Custom Shape Tool and by pressing the shift button we may insert several ornaments. Finally change the layer’s Blending Mode on Multiply.
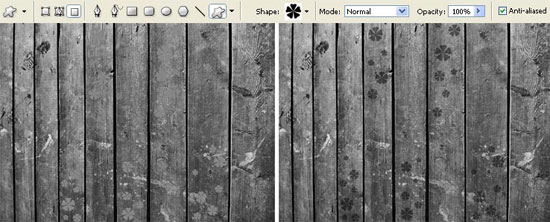
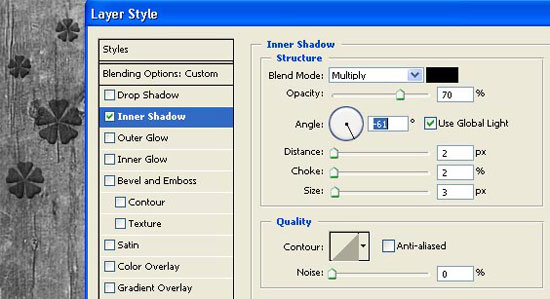
We want to create the effect of having cut out ornaments on the planks’ surface which is why we have to add the shadows, applying next selection: Layer- Layer Style ? Inner Shadow.
Insert on a new layer several more ornaments (grass, for ex.). Pick up the next selections Edit ? Transform ? Flip Horizontal and Edit ? Transform ? Flip Vertical to turn the ornaments over the way it is shown on the picture below.
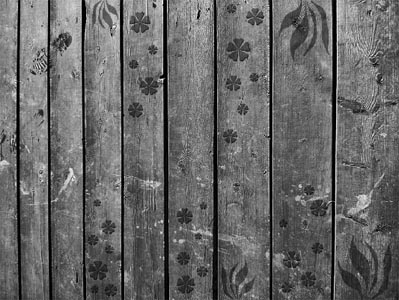
Insert the Inner Shadow with the same adjustments:

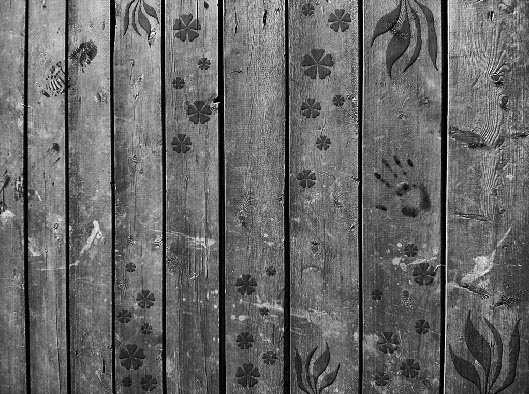
We have already represented on the planks the boot sole’s imprint, so I’ve decided to add also the hand’s imprint. It’s possible to do that with the Brush Tool and downloading a set of ready to use brushes, selected from this address: http://www.deviantart.com/deviation/43973282/ ?qo=3&q=in%3Aresources%2Fapplications %2Fpsbrushes+sort%3Atime+finger
Create after all these operations a new layer and choose the Gradient Tool with the following adjustments:
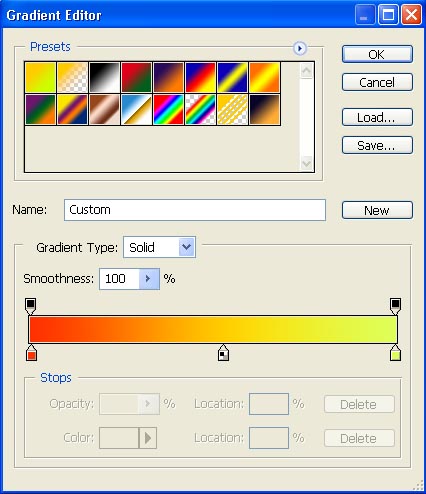
Paint out the layer, the way it is shown below:
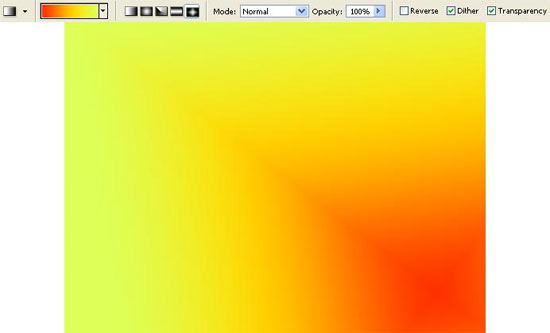
Change the layer’s Blending Mode on Soft Light. As we may see the colors look too dimly so we’ll just make a copy of this layer and make the Opacity smaller till 70%.

Paint the new layer also, changing the color and the gradient’s type.
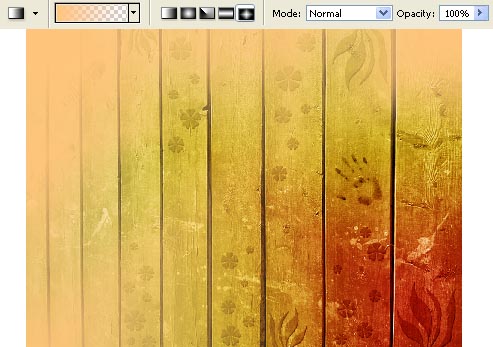
Change the layer’s Blending Mode on Pin Light and minimize the Opacity till 75%.

The picture is finished!
Made by Sigma
Comments