
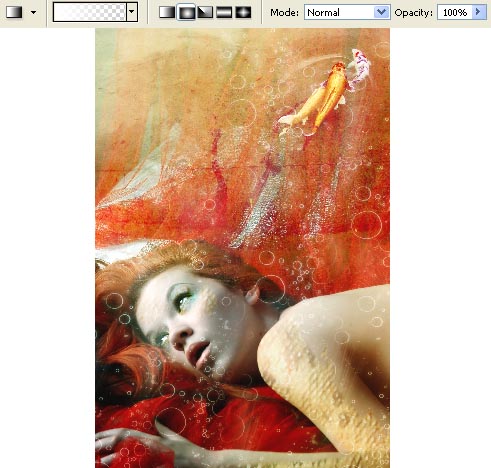
The little mermaid – Photo Effects
In this tutorial we’ll learn to improve the quality of the picture, create the effect of scales on the human skin, create the model’s make-up, change the color of her hair and we’ll see also how to change the colors and work with the layers and layers’ masks.
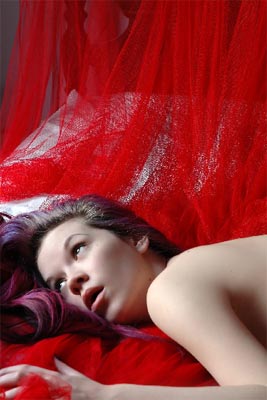
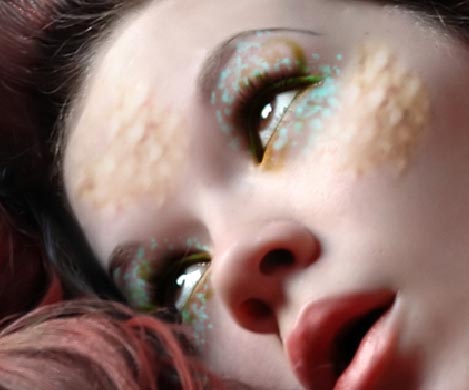
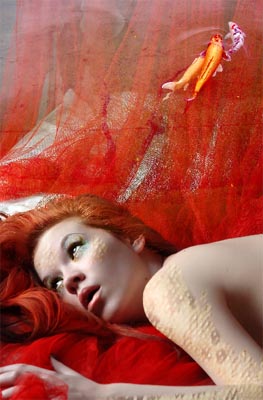
Open in a new window a girl’s picture: File ? Open (ctrl+o).
We will use image from http://www.deviantart.com/deviation/26504579/
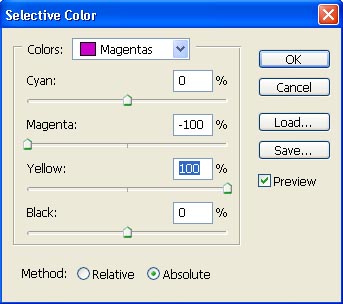
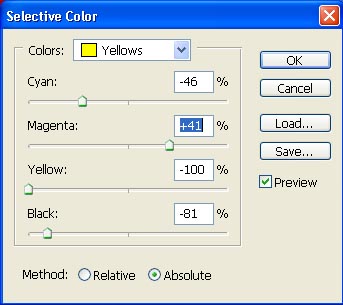
Move off immediately the crimson color out of her hair, applying Image ? Adjustments ? Selective Color.

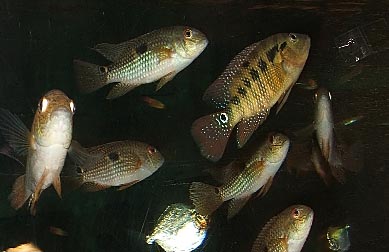
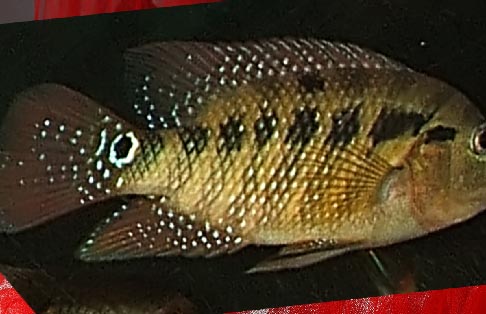
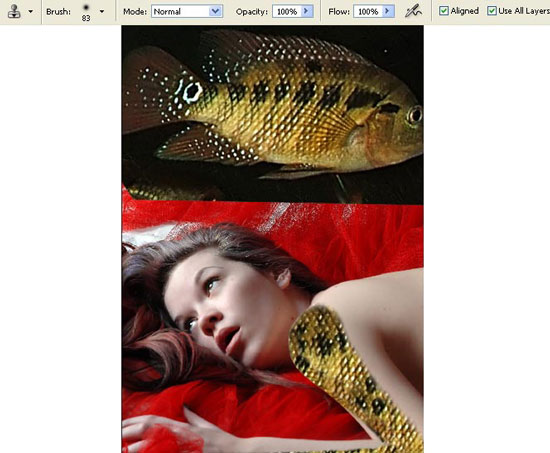
Open in a new window the picture of fishes (ctrl+o), selecting one where the scales may be seen very well.
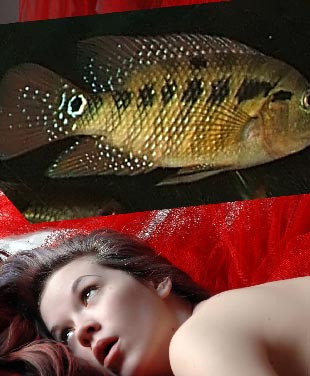
Select the Polygonal Lasso Tool to mark out the necessary part of the picture and make a copy of it: Edit ? Copy (ctrl+c). Get back to the previous window and insert it on a new layer: Edit ? Paste (ctrl+v). Enlarge its size on maximum and turn it around horizontally, using the next option: Edit ? Free Transform (ctrl+t).
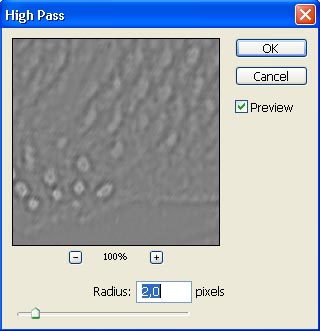
The picture of the fish is of a bad quality really, which is why we need to improve it a little. Firstly we have to copy its layer: Layer ? Duplicate Layer (ctrl+j), decolorize the copy: Image ? Adjustments ? Desaturate (shift+ctrl+u) and apply on this layer the filter next shown: Filter ? Other ? High Pass.
Change the layer’s Blending Mode on Overlay and combine the layers with the fish: Layer ? Merge Down (ctrl+e).
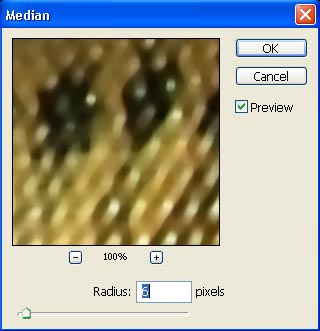
Make another copy of the layer and apply to this copy another filter’s option: Filter ? Noise ? Median.
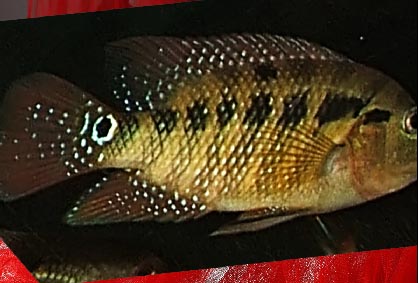
Change the layer’s Blending Mode on Soft Light and minimize the layer’s Opacity till 45% and then correct the layers again (ctrl+e).
Create a new layer: Layer ? New ? Layer and select the Clone Stamp Tool to copy the scales by parts and place them on the girl’s skin, sometimes applying also the Eraser Tool of big size and smooth edges.
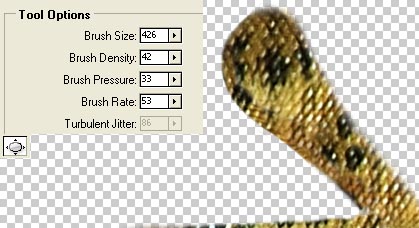
The fish’s layer may be deleted now: Layer ? Delete Layer. The scales must look more real on the shoulder’s zone and we need to make it more prominent, passing in a different window: Filter ? Liquefy (shift+ctrl+x) and selecting the Bloat Tool.
Change a little the color of the scales (Selective Color).
The same Clone Stamp Tool will be helpful in placing the scales in several places more.
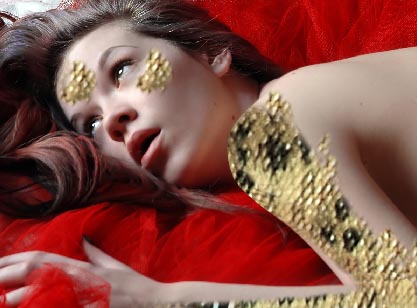
Change the layer’s Blending Mode on Soft Light:

Start inserting on a new layer the make-up of the eyes, using the Brush Tool.
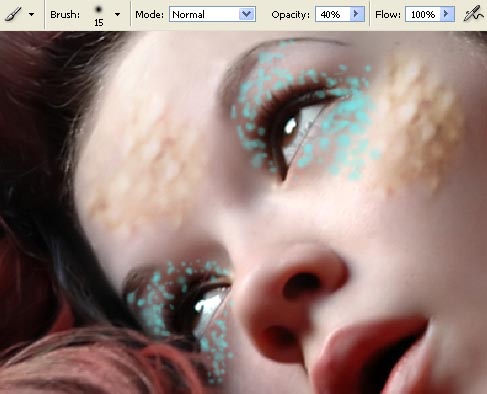
Change the layer’s Blending Mode on Overlay:
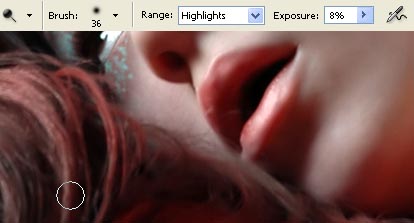
Get back to the basic layer and make the flares on the girl’s lips brighter, choosing for this operation the Dodge Tool.
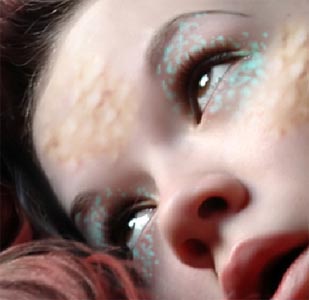
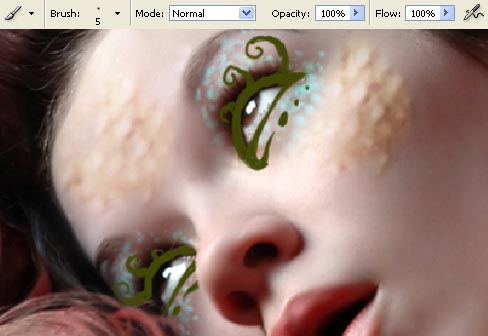
Create one more layer above all of them and continue by representing on it the make-up of the eyes, choosing a different color:
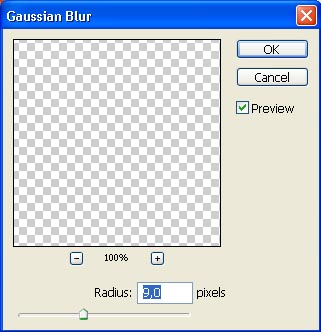
Blur a little the layer, applying Filter ? Blur ? Gaussian Blur.

Change also the layer’s Blending Mode on Overlay:
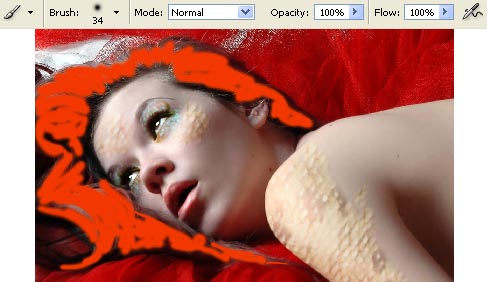
Change now the girl’s color of the hair. We need to color them partially with the necessary color (Brush Tool).
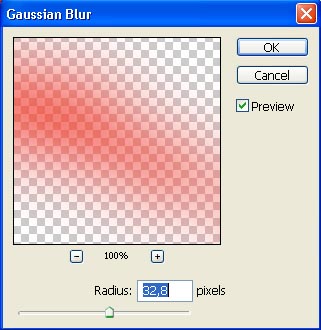
Blur it out (Gaussian Blur):
Change the layer’s Blending Mode on Soft Light:

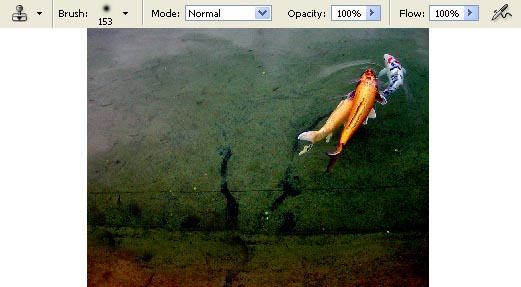
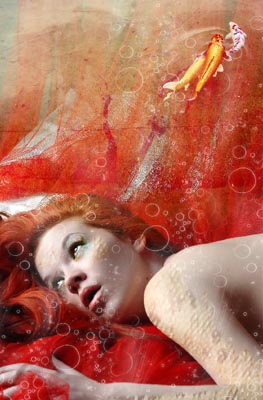
Insert on a new layer the picture of the fishes situated in the water:

The Clone Stamp Tool will be helpful in moving off the red fish:
Mark out the lowest part of the picture, applying the Rectangular Marquee Tool and now we have to stretch it out vertically, using next option: Edit ? Free Transform (ctrl+t).

Move off the marking: Select ? Deselect (ctrl+d) and create now the layer’s mask: Layer -Add Layer Mask ? Reveal All. Then apply the Gradient Tool of black color and make the visibility of the lowest part of the layer appearing smoothly:
Apply the next command: Layer ? Remove Layer Mask ? Apply and change the layer’s Blending Mode on Screen.
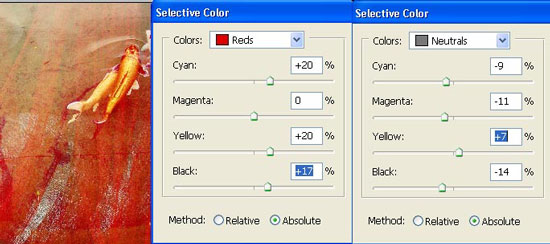
Then make the correction on the color of the fishes’ layer (Selective Color).
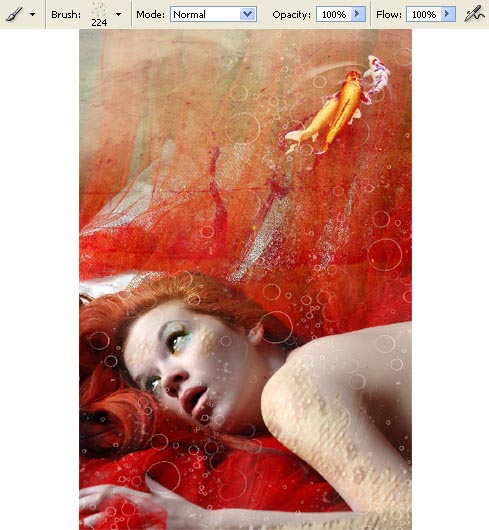
Next we have to download a set of ready to use brushes (http://www.deviantart.com/deviation/35491675/ ?qo=26&q=in%3Aresources%2Fapplications %2Fpsbrushes+sort%3Atime+bubbles) and apply the brushes on the whole picture:
Make a copy of this layer and blur out the copy (Gaussian Blur).
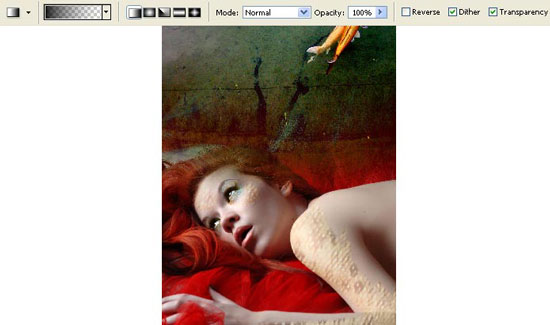
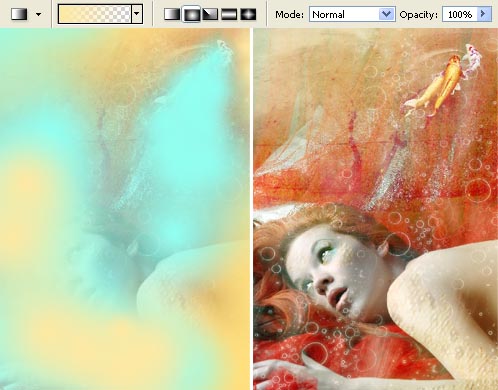
We have to tone the picture, using the Gradient Tool of two colors and change the layer’s Blending Mode on Soft Light. Minimize the layer’s Opacity till 80%.
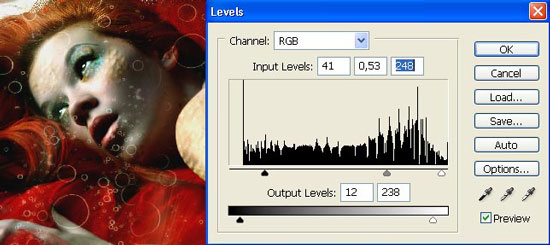
Merge down all the layers: Layer ? Merge Visible (shift+ctrl+e) and make a copy of the new layer (ctrl+j). Then make the copy darker and look in contrast, selecting next option: Image ? Adjustments ? Levels (ctrl+l).
Create a mask out of this layer: Layer ? Add Layer Mask ? Hide All and apply the Gradient Tool of white color to make the layer visible only on the bottom:
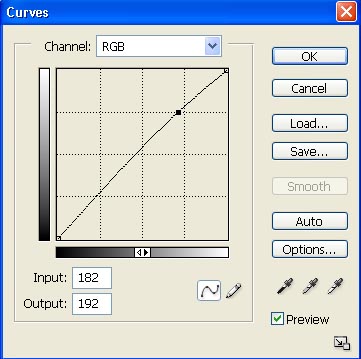
Merge down the layers (ctrl+e) and increase the brightness of the new layer, applying Image ? Adjustments ? Curves (ctrl+m).
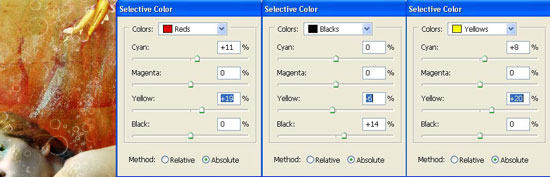
Finally we’ll make the necessary correction on the color (Selective Color):
Insert the frame now, choosing the Crop Tool and the Paint Bucket Tool:
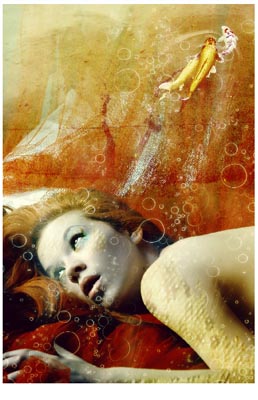
Finished!
Made by Sigma
Comments