
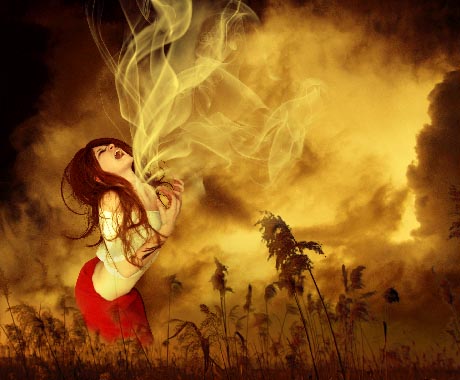
The Scream Photo Effects
Several possibilities of correcting the drawbacks of the model’s figure and skin, cut out the hair, correct the colors and work with the layers and layers’ masks. We’ll learn to apply some of the program’s filters too.
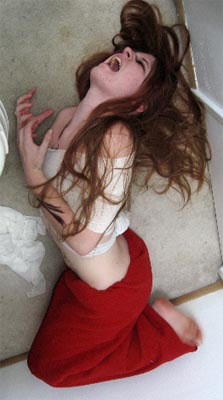
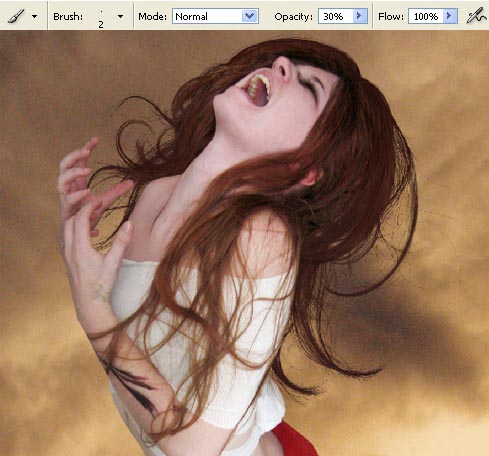
Open in a new window the appropriate girl’s picture: File ? Open (ctrl+o) Image: http://www.deviantart.com/deviation/33164073/ ?qo=1&q=by%3Asinned-angel-stock+scream&qh=sort%3Atime+-in%3Ascraps
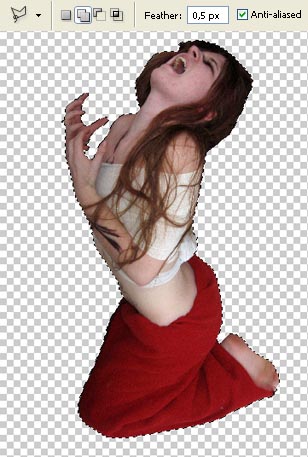
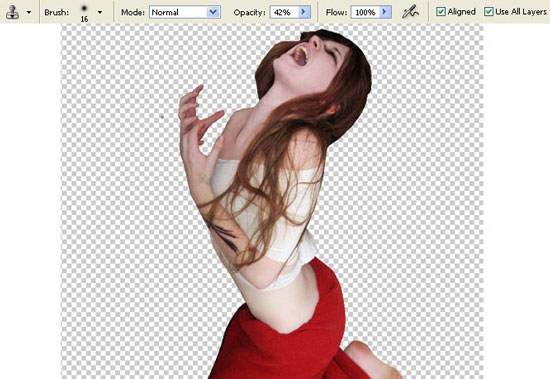
Make a copy of this layer to make possible working with it: Layer ? Duplicate Layer (ctrl+j). Erase the previous layer: Layer ? Delete ? Layer. Then mark out the whole background with the Polygonal Lasso Tool and delete it, but the hair should remain as a common element.
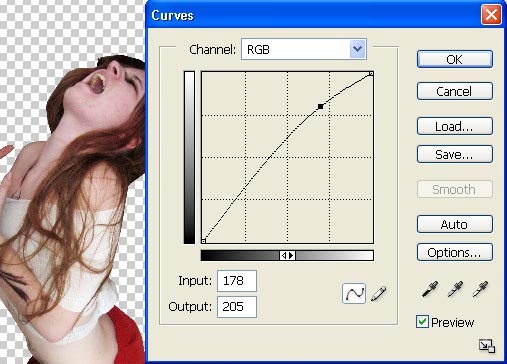
Move off the markings: Select ? Deselect (ctrl+d) and increase the layer’s brightness, applying the next command: Image ? Adjustments ? Curves (ctrl+m).

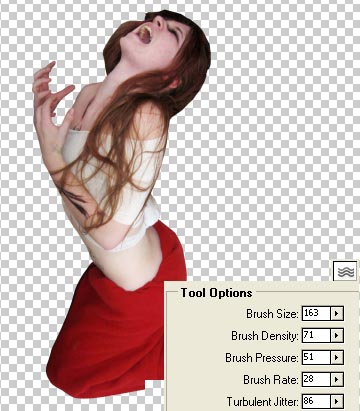
Pass to the next window Filter ? Liquefy (shift+ctrl+x) and choose the Turbulence Tool to make the corrections on the girl’s face and figure:
Applying the Clone Stamp Tool, it’s possible to paint all the drawbacks on the girl’s skin.
Open in a new window the sky’s picture, reserved for the background to be next (ctrl+o).
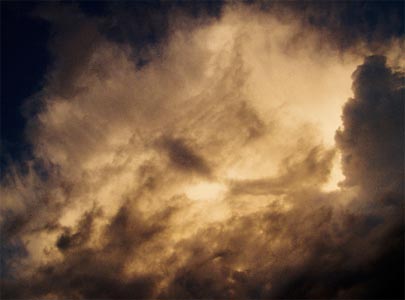
Mark it out with the Rectangular Marquee Tool and make a copy of it: Edit ? Copy (ctrl+c). Get back to the previous window and insert it on a new layer: Edit ? Paste (ctrl+v). If that is necessary we may change the size, applying the next selection: Edit ? Free Transform (ctrl+t) (enlarging the picture preliminary with the Crop Tool).
Download now a set of ready to use brushes (downloaded here: http://www.deviantart.com/deviation/25147133/ ?qo=23&q=boost%3Apopular+in%3Aresources%2Fapplications%2Fpsbrushes+hair). Create a new layer: Layer ? New ? Layer and place it under the girl’s layer. Now we have to copy the darkest colored zone on the girl’s hair with the Eyedropper Tool and represent a coiffure out of her hair by applying the Brush Tool and the Free Transform option.

Merge down all these layers, but merging down the whole hair supposes using firstly the Clone Stamp Tool as a brush (1-3 px).
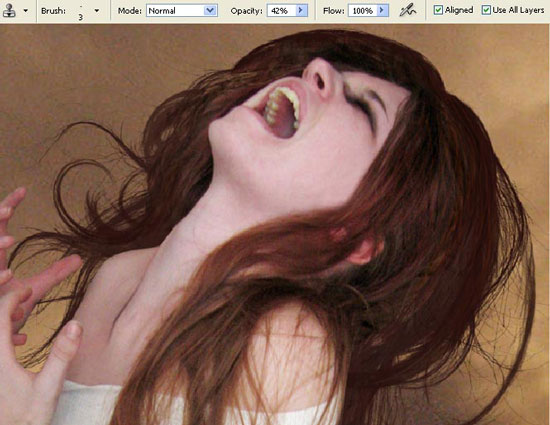
Then select the Brush Tool and several nuances to make the hair more voluminous:
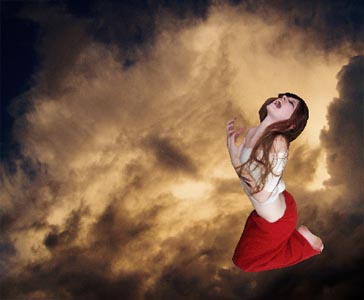
Make the corrections on the layer’s colors, applying Image ? Adjustments ? Color Balance (ctrl+b).
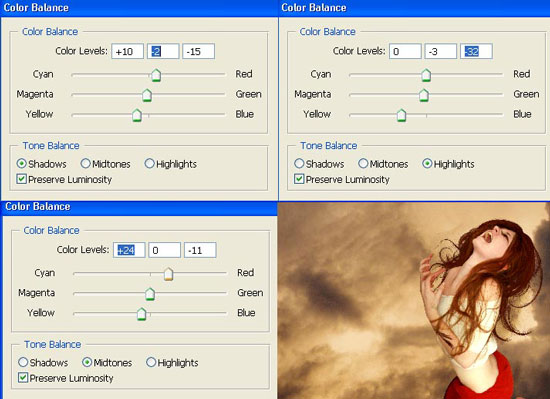
Process the same way the sky’s layer (ctrl+b).

Create now a new layer again and download a set of ready to apply brushes of smoke shape (http://www.deviantart.com/deviation/29341959/ ?qo=12&q=by%3Afalln-brushes &qh=sort%3Atime+-in%3Ascraps and here: http://www.deviantart.com/deviation/29341741/ ?qo=13&q=by%3Afalln-brushes &qh=sort%3Atime+-in%3Ascraps) and apply them on the picture:
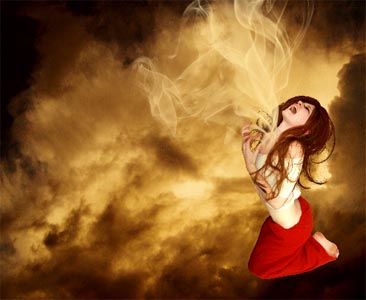
Change the layer’s Blending Mode on Screen.
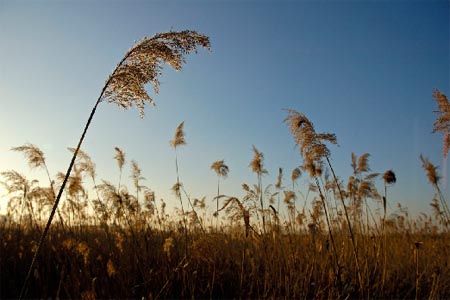
Insert on a new layer a photo having pictured on it the grass (ctrl+v):
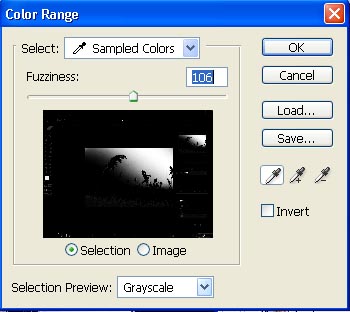
Apply the Color Range to mark out and move off the sky:
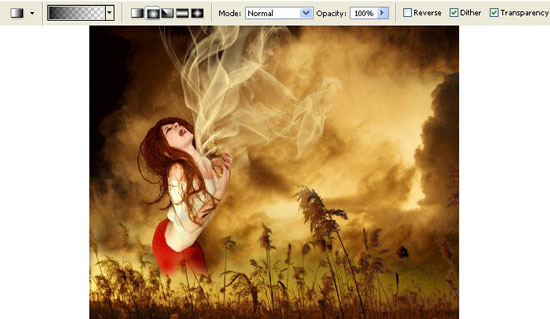
Create now a mask out of this layer: Layer ? Add Layer Mask ? Reveal All and choose the Gradient Tool of black color with a strong picture’s approaching, hide the rest of the sky’s zones and turn over the picture horizontally: Image ? Rotate Canvas ? Flip Horizontal:
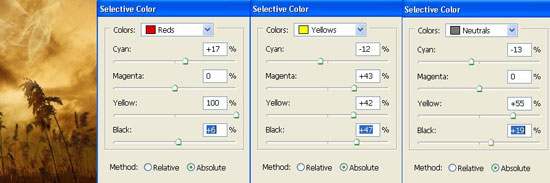
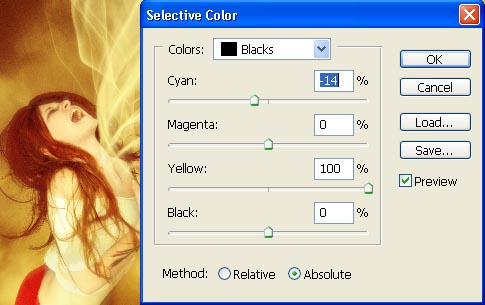
Apply the next combination Layer ? Remove Layer Mask ? Apply and make the corrections on the grass’ layer colors: Image ? Adjustments ? Selective Color.
Create a new layer above all the layers and paint it in that color, which nuance we want to see on the picture, using the Paint Bucket Tool.

Change the layer’s Blending Mode on Color Burn and minimize the layer’s Opacity of 40%.
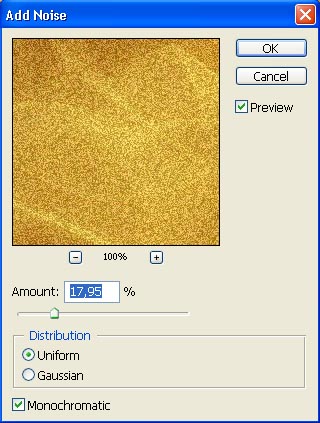
Merge down all the layers next: Layer ? Merge Visible (shift+ctrl+e) and make a copy of the new layer that we have got (ctrl+j). Apply the next shown filter on this layer: Filter ? Noise ? Add Noise.
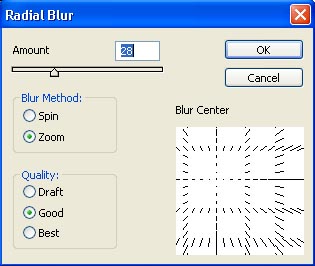
Then apply the next filter’s option: Filter ? Blur ? Radial Blur.
Change the layer’s Blending Mode on Screen and make the Opacity of 50%.
Merge down the layers: Layer ? Merge Down (ctrl+e) and move off the black color from the picture, applying the Selective Color:
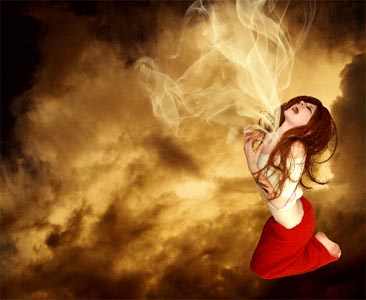
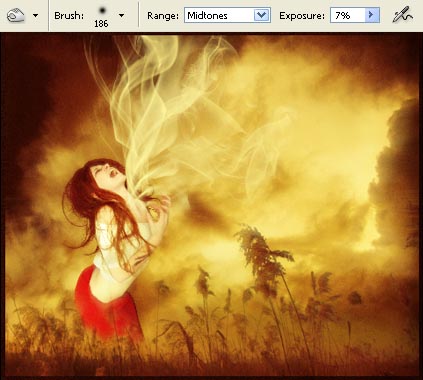
Apply now the Burn Tool to dark out the lighter edge of the picture and represent the frame for this picture, selecting the Crop Tool and Rectangular Tool.
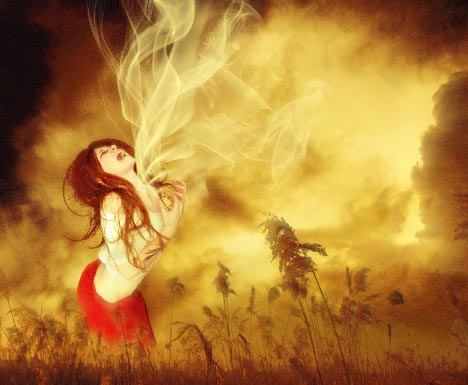
The last step includes placing the girl on the first plan. We need to copy this layer for the beginning (ctrl+j) and apply the next filter’s option on this layer: Filter ? Sharpen ? Sharpen. Introduce the layer’s mask: Layer ? Add Layer Mask ? Hide All and choose the Gradient Tool of white color to make the layer visible only above the girl and the smoke:
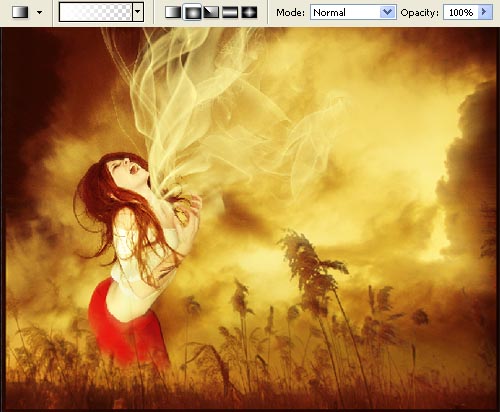
Finished!
Made by Sigma
Comments