A Real Fairy Photo Effects
Made by Poser
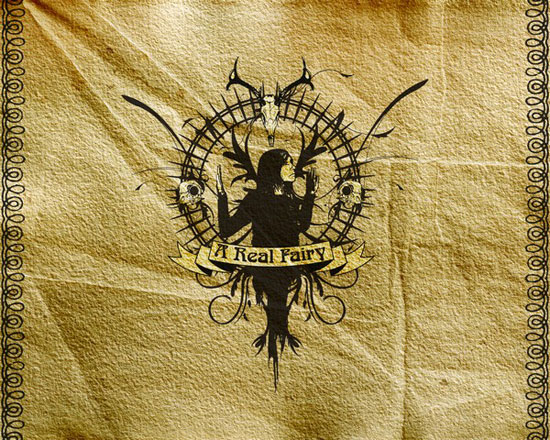
Learn in this tutorial how to make a special gift to a special person.
1. To start create a new file in Photoshop File > New with 1280х1024px and 300dpi. Save it with the name A Real Fairy.psd in File > Save as?
2. So, in this lesson you will learn how to make your girlfriend/boyfriend a personal wallpaper. Now you must find a picture of your beloved one witch you like the best, or think it’s proper for this. It better be in high resolution.
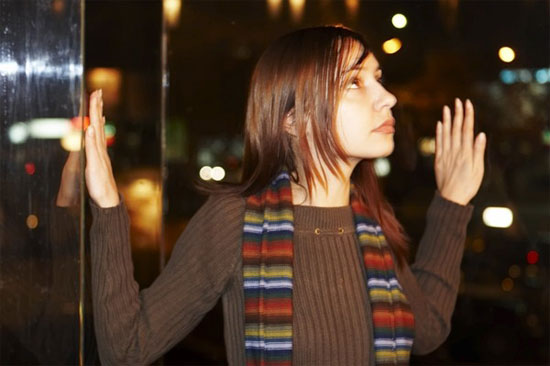
Open it in Photoshop. Save it right away with the name Main elemet.psd. Chose the Polygonal Lasso tool from the tools menu (or just press L key). Zoom in good (hold down ALT key and scroll up the mouse wheel) and start tracing the figure. The more zooming you will do the fewer corners you will have in the end.
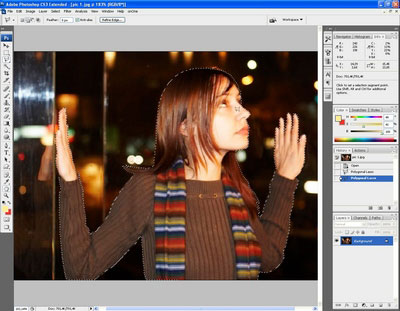
3. If you’re not satisfied with the resulting selection you can always go to Select > Modify > Smooth and round up some unwanted corners.
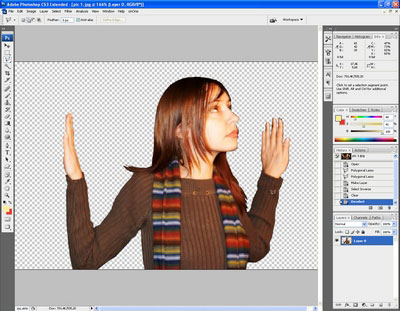
4. When you’re done with the selection, you have to get rid of the background. To do that just double click the Background layer to transform it into a simple layer. New layer dialog box will appear were you can even name your new layer, name it Main element and click OK.
To delete all besides your selection just inverse it Select > Inverse or press Ctrl + Shift + I to do the same thing on the fly. Now just press Delete key and voila? To deselect go Select > Deselect or press Ctrl + D.
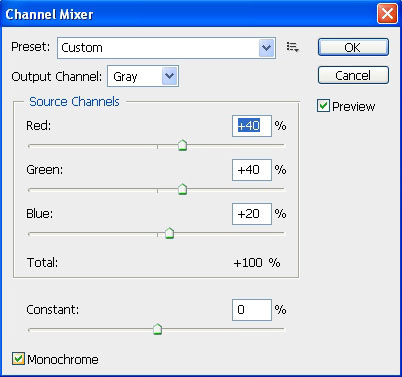
Now to get the main element ready for the trace you have to make it monochrome. Go Image > Adjustments > Channel Mixer don’t touch any settings just check the Monochrome box in the lower left corner of the dialog box and click OK.
To get rid of all this halftones a to make a nice a nice picture which will trace nice and easy in Illustrator go Image > Adjustments > Levels and drag the right and left handlers towards each other till you’re satisfied. The result must be a nice clean Black and White picture with no minor elements.
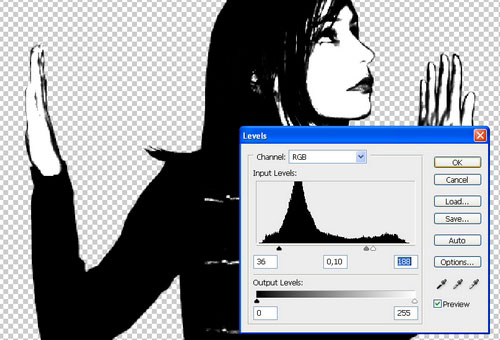
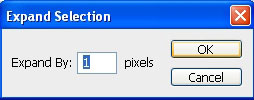
5. Now just to be sure that the trace will go even better go Layer > New > Layer or just click on the New Layer button in the Layer Palette to create a new layer. Select the new layer you created and Ctrl + click the Main element layers thumbnail to select it’s borders. Now go Select > Modify > Expand enter the value of 1 (or higher if your picture has a very high resolution) and click OK. Now press D key to select Black as the foreground color, and press Alt + Del to fill the selection with it. Press Ctrl +D to deselect.
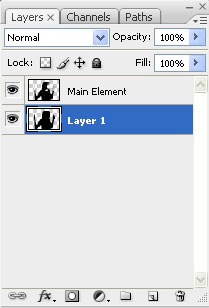
6. Now drag the filled with black layer under the Main Element layer in Layer’s Palette. Select both layers right – click on one of them and select Merge Layers in the appearing dialog box.
Choose Magic Wand tool in the tools menu or press W key. In Tool Option bar rise the Tollerance to 80% and make sure that Anti-alias and Contiguous checking boxes are unchecked. Now press in any white area to select all whites in the image and press Del key to delete it. Press Ctrl +D to deselect.
7. Now save Main Element file into a PNG format to keep the transparent parts. File > Save as? or press Ctrl + Shift + S.
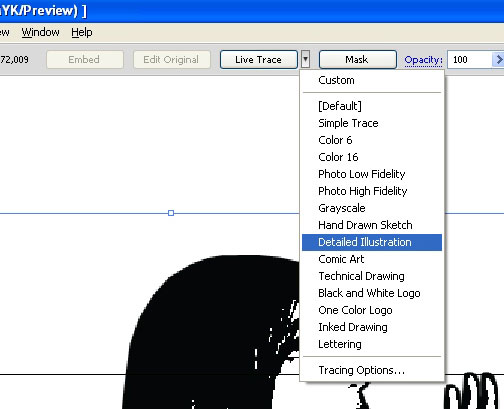
8. Open Adobe Illustrator and create a new file (File > New). Name it A Real Fairi.ai and save it. Place (File > Place) the A Real Fairy.png inside and press Embed button in the Control panel. In the same panel choose from Live Trace drop down box Detailed Illustration to trace the image (if you’re not satisfied with the results press Ctrl + Z to undo and select in the same drop down box Tracing Options, and after checking the preview check box you may play with the settings until you are happy with the resulting trace ).
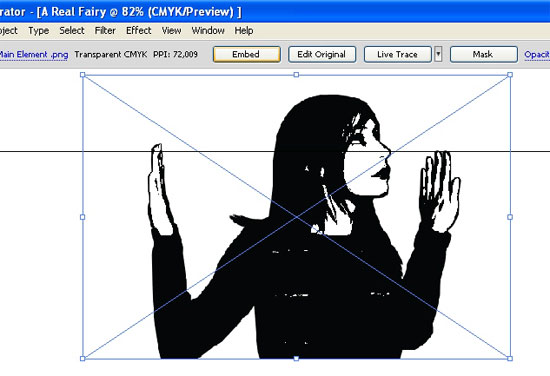
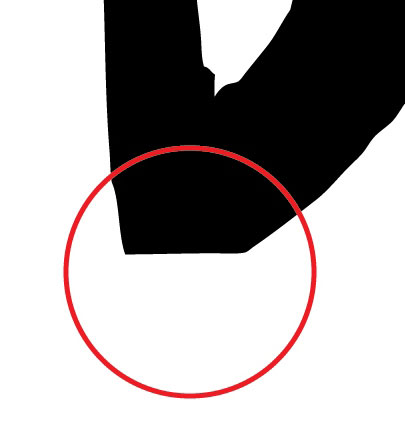
9. My picture was not so good. My main element has a hand defect which I’m going to cure with a simple vector shape. Select the Pen tool from tools menu, or press the P key and draw a simple shape that looks like the missing part with no stroke and black fill. Now select both the shape and the main element and go to Pathfinder palette ( Window > Pathfinder or press Ctrl + Shift + F9 ) and press Add to shape area button after press in the same palette Expand. Now it looks OK. )
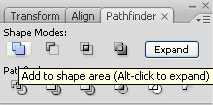
10. The resulting shape has some transparent parts that you would like to fill (like the face and hands), and it better be in one cause it’s easier to control. Press Ctrl + C to copy the shape. Right – click on the shape and select Release compound shape from the appearing menu. Go to Pathfinder palette ( Window > Pathfinder or press Ctrl + Shift + F9 ) and press Add to shape area button after press in the same palette Expand. Fill this with shape with white and by pressing Ctrl + { send it one level lower. Now select both shapes and group them by pressing Ctrl + G.
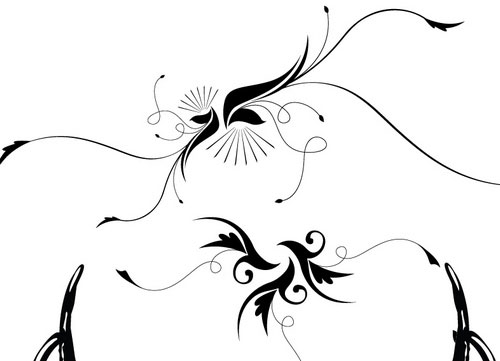
11. We try to make a Fairy here, magical creatures can look anyway you like, so use your imagination. Now you have to find some nice vectors. You can extract them from photos like you’ve already done with the Main shape, download them from internet, draw them yourself and scan them in or draw them directly into Photoshop or Illustrator.
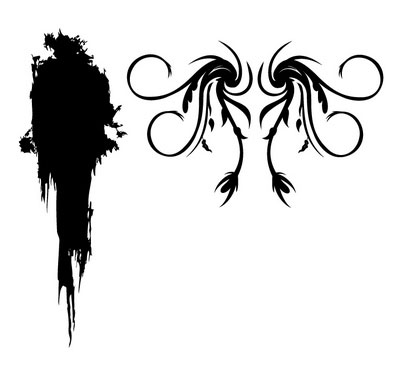
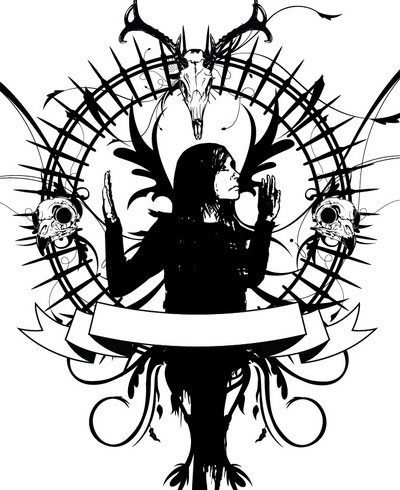
12. I used some vectors from my vast Vector Collection. For the body I used a paintbrush stroke and a vector flourish. Scale the shapes holding down Shift +Alt keys to keep the proportions and place them the way you like it. By pressing Ctrl + { send it one level lower till they are under the main shape.
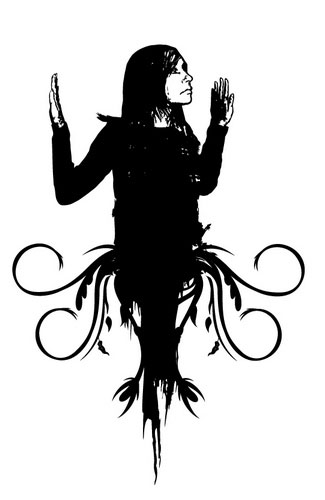
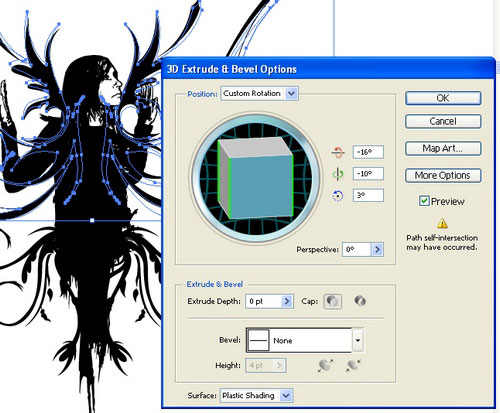
13. Add some wings. Place them under the Main Shape. The girl in my shape has her body turned a little so had to turn the wings to. To do that select the wings then go to Effect > 3D > Rotate. After checking the preview check box lower Extrude Depth to 0 and turn the wings the way you are happy with and press OK.
14. Now add a frame.
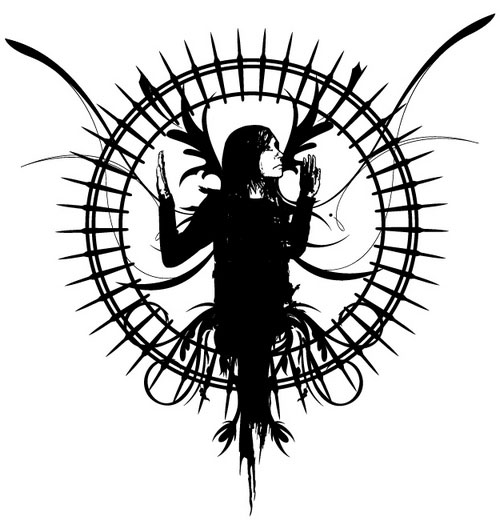
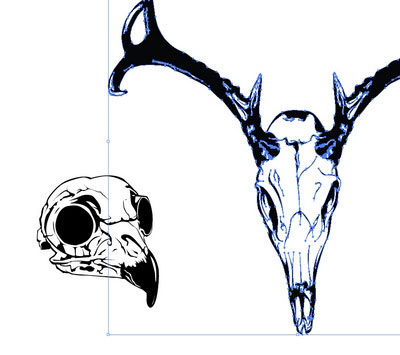
15. But it still looks kind of empty so let’s add some decorative elements. I think some animal skulls would be nice, don’t you think. Place them on the frame to make a nice composition. Add some vector Hollanders and place them under the skulls to make a nature effect. To ka it complete add a banner. Using the Type tool which you can select by pressing T key type A Real Fairy. Select a font which you think will be more appropriate. I used ?Arnold Boecklin? to give a little Art Nouveau look. Now press Ctrl + Shift + O to transform type to outlines.

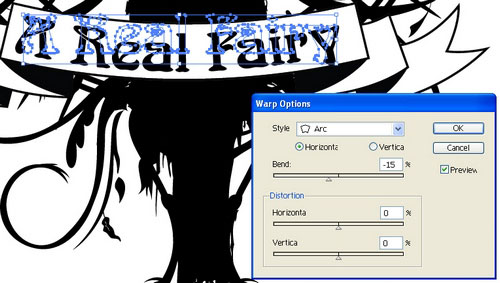
16. Now you have to bend your type to match the banner. Go Effect > Warp > Arc, and after checking the Preview checking box and finding the right settings press OK..
17. Congratulations! The work is almost done? ))) Remember the file we created in Photoshop? ?A real fairy.psd?? Now open it. Next you need to place your vector object. You can do it by simply drag and drop it into Photoshop or by going File > Place and choosing your vector file. You can adjust it’s dimensions by pressing Ctrl + T. Name yore Vector Smart Object layer Main Object by double clicking it’s name in the layer’s palette. After select both Background and Main object and go Layer > Align > Horizontal Centers to center the vector object.
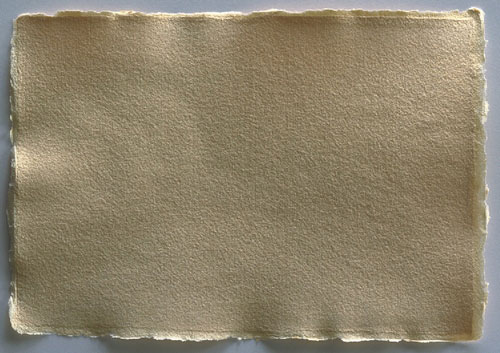
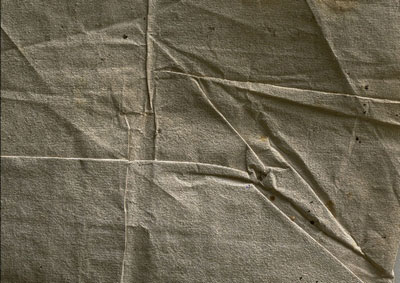
18. Now to add some texture find or make it yourself a nice Hi-resolution paper shot. Place it in and scale it down. Name the layer Paper and drag it under the Main Object layer. In my case the first paper shot was to clean. So to add some riffles I took another paper shat, this time a crumpled one. Place it the same way and scale it down. Drag it over the Paper layer and name it Paper Riffle. So to visually merge two paper layers select Paper Riffle layer and change the blending option to Soft Light in the blending option drop down box in the layer’s palette and lower down the opacity to about 80%. Now you can see the Paper layer thru it.
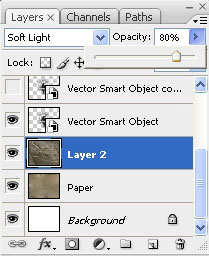
19. Now repeat the last step for the Main Object layer to get the feeling that it’s printed on this piece of paper. )) Nice don’t you think, but kind of empty. Now to fill a little the regions which in the original vector file are filled with white drag Main Object on the New Layer icon in the Layer’s palette, to create a duplicate of this layer right above it. Name it Main Object Whites. Change the blending mode to Overlay, and lower the opacity to about 50%, to make the whites less persistent, and to see a little of paper texture thru.
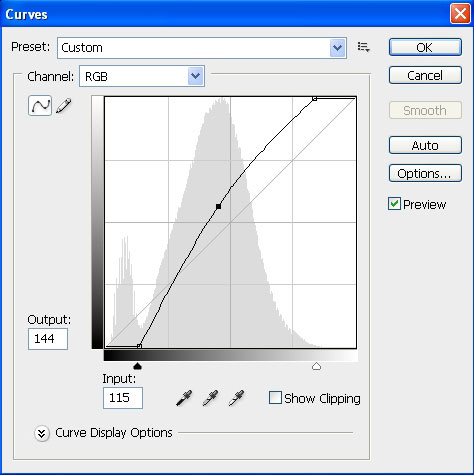
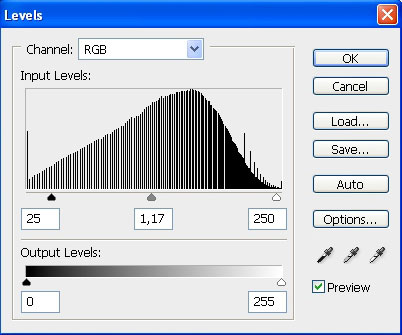
20. So it’s almost done, but I’m not happy with the colors yet. Select the Paper Riffle layer and then press the Create new fill or adjustment layer button from the layers palette and choose Curves from the appearing menu. Drag the right and left handlers towards each other in the options menu till you drop off most of the half-tones and the colors get a little ruff. After that click in the middle of the line an drag to the upper left corner a little to bring in more light. The result is a nice aged paper effect. But if you still don’t like it, press the Create new fill or adjustment layer button again, this time chose Levels, and play with the sliders till you’re happy with the Old paper look.
21. So it’s about all. In my case I added a couple of vector based borders the way you already know, to add a more Art Nouveau look, just be sure you don’t forget to put them in the right blending mode and lower the opacity.
Good Luck!


Comments