
Summer Party Wallpaper
The next task we’ll represent the wallpapers by imitating the vector style and create the illuminating effect by using different layers.
Create a new file of standard size wallpapers: File ? New (ctrl+n).
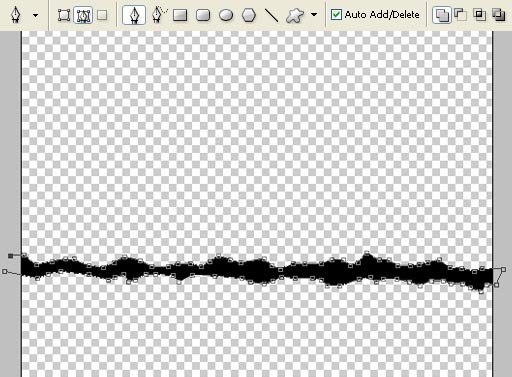
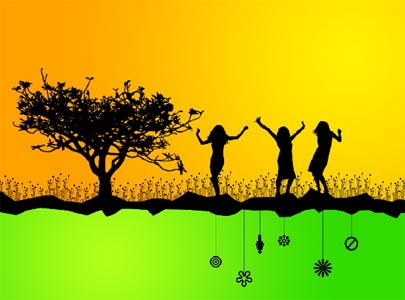
Applying the Pen Tool and Fill Path command, try to represent a curve that would imitate the land on the picture to be next.
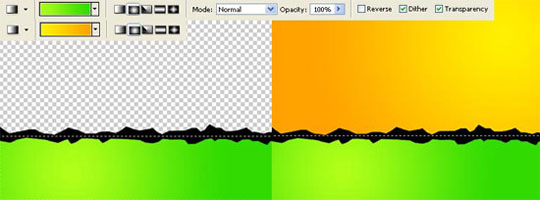
Now we have to create a new layer: Layer ? New ? Layer, placed under the land’s layer. Then select the Rectangular Marquee Tool to mark out by turn the upper layer’s part and the lowest one. The markings should be painted with the Gradient Tool.

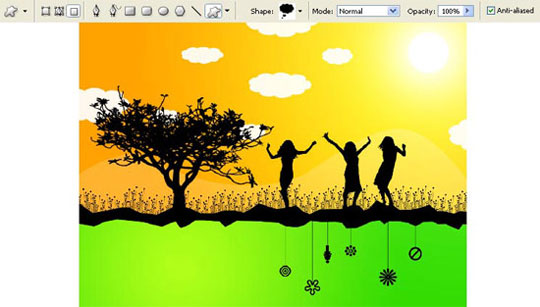
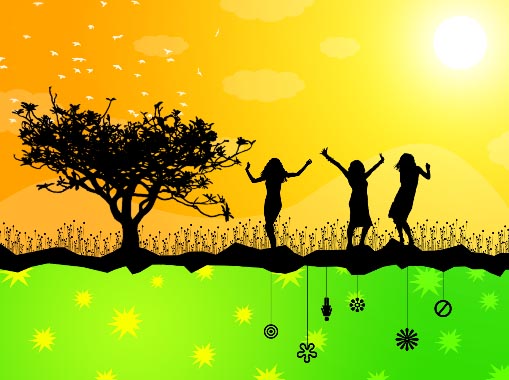
Using the Brush Tool and downloading a set of ready to use brushes, we’ll introduce on the land’s layer several dancing girls and a tree. The brushes that would help us to picture out the girls may be downloaded here: http://www.deviantart.com/deviation/47483316/ ?qo=4&q=in%3Aresources%2Fapplications%2Fpsbrushes+sort%3Atime+woman.
The tree’s ones, from here: http://www.deviantart.com/deviation/29661536/ ?qo=8&q=boost%3Apopular+in%3Aresources%2Fapplications%2Fpsbrushes+tree.
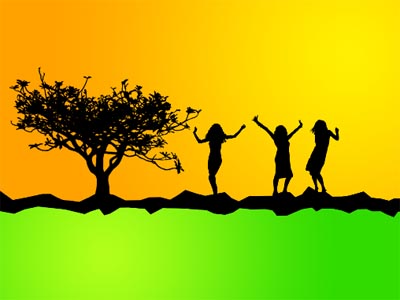
Using a set of ready to use brushes, we’ll insert also on the picture the grass on the land and several ornaments situated on the bottom. Downloading the brushes from the next address: http://www.deviantart.com/deviation/32304216/ ?qo=51&q=by%3Amelemel&qh=sort%3Atime+-in%3Ascraps.
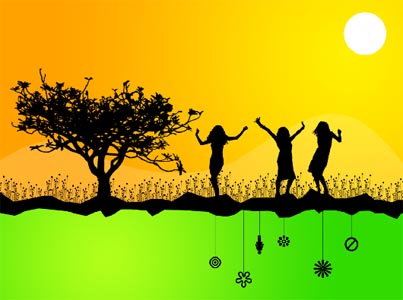
Create a new layer, about the background’s one and select the Pen Tool to represent the mountains’ silhouette.

The layer’s Opacity should be on 20%.

Select the Ellipse Tool on a new layer and press the shift button to represent the sun’s silhouette.
Then we have to represent the luminescence around the sun, that is why we need to copy the sun’s layer and blur the copy out, applying the next option: Filter ? Blur ? Gaussian Blur.
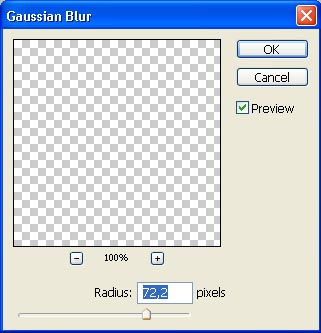
To make the luminescence more intensive, we’ll copy several times the layer in case: Layer ? Duplicate Layer (ctrl+j).
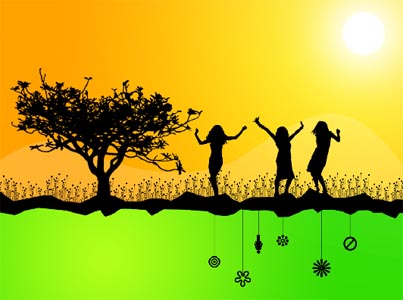
Apply after that the Shape Tool to insert the clouds on the picture (on a new layer), which distorting level should be changed with Edit ? Free Transform (ctrl+t).
Make the layer’s Opacity smaller, till 20%.
Using the same Shape Tool on a new layer, insert under the land any ornament, changing its size also.
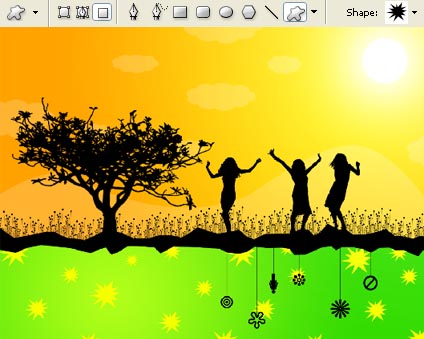
Change the layer’s Blending Mode on Overlay.
Applying a set of ready to use brushes, insert the birds after that, which brushes may be downloaded from this address: http://www.deviantart.com/deviation/15235143/ ?qo=92&q=by%3Aspiritsighs-stock&qh=sort%3Atime+-in%3Ascraps.
Change their layer’s Blending Mode on Overlay too.

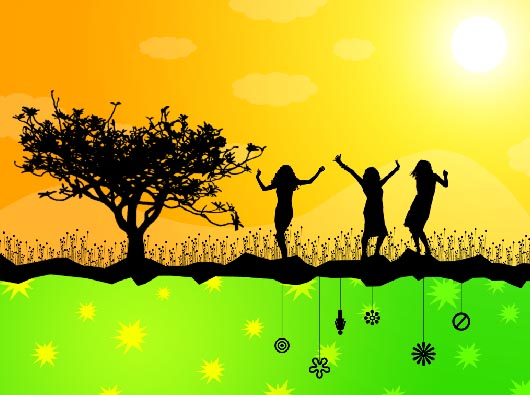
The picture is finished!
Made by Sigma
Comments