
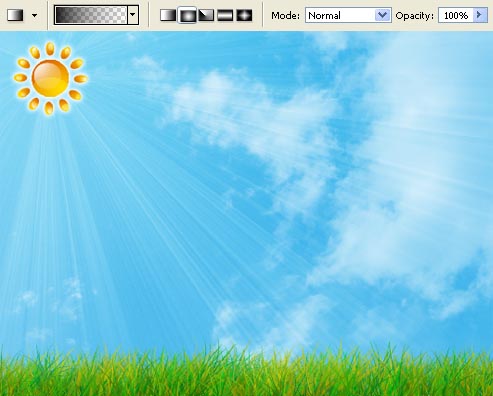
Sunny Day Effects
In this tutorial I’ll show you how to represent the wallpapers by imitating the vector style, create the effect of luminescence, create several types of rays, learn how to use the layers and decolorize the picture. I’ll show you also how to work with layer’s masks.
Create a new file of standard size wallpapers: File ? New (ctrl+n).

Paint the background’s layer with the color you want to be there, choosing the Paint Bucket Tool.

Open in a new window the picture of the sky: File ? Open (ctrl+o).

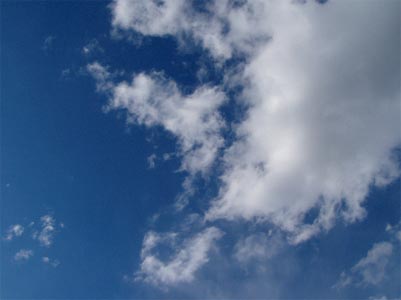
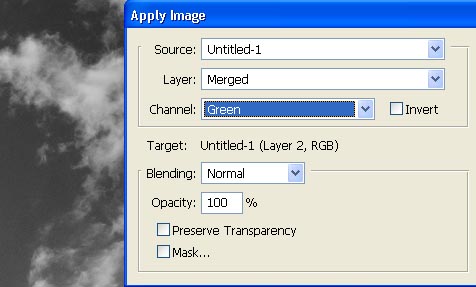
Mark the picture out with Rectangular Marquee Tool and make a copy of it: Edit ? Copy (ctrl+c). Get back to the wallpapers window to insert the copy on a new layer: Edit ? Paste (ctrl+v). Make a correction of the new layer’s size, applying the command: Edit ? Free Transform (ctrl+t) and decolorize it, selecting the best version of Channel option in the next window: Image ? Apply Image.
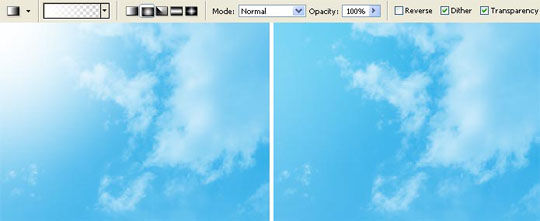
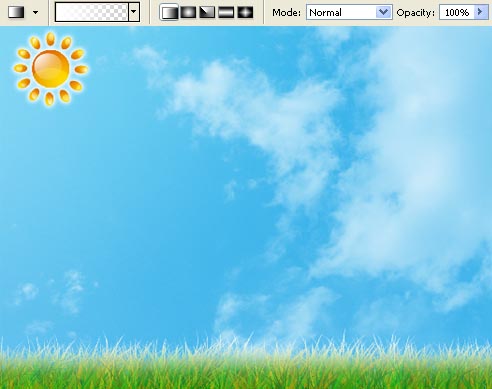
Change now the layer’s Blending Mode on Screen and minimize the Opacity till 90%.

Create a new layer again (Layer ? New – Layer) to decolorize the angle the sun is situated on, choosing the Gradient Tool and changing the layer’s Blending Mode on Soft Light.
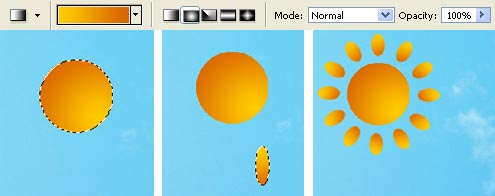
Start representing the sun. Create firstly a round marking with Elliptical Marquee Tool, pressing the shift button and paint it out with the Gradient Tool, changing the gradient’s type. Create after that a new layer again and represent on it an oval which must be painted too. Make many copies of the layer in case: Layer ? Duplicate Layer (ctrl+j). Use then the next option Edit ? Free Transform (ctrl+t) to place the rays around the sun.
Insert the flares, applying the same instruments.
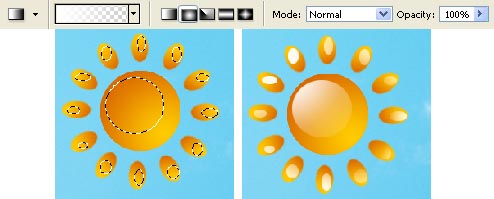
Create a new layer again and group it out with the layer the sun is situated on: Layer ? Create Clipping Mask (ctrl+g). Create one more marking on the sun’s surface and paint it out in white color. Change the layer’s Blending Mode on Soft Light.
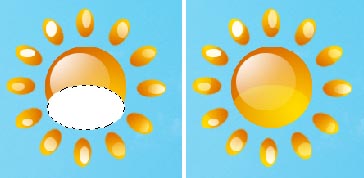
Combine all the layers composing the sun: Layer ? Merge Down (ctrl+e), and make a copy of the new layer (ctrj+j) and then make the lowest copy look totally white, using the next option: Image ? Channel Mixer:

Blur it out with Filter ? Blur ? Gaussian Blur.
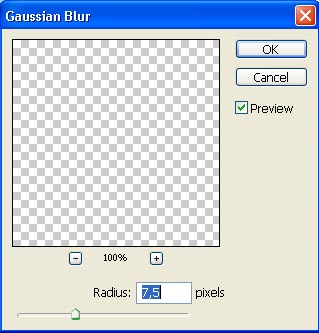
Then make two copies of the layer just to make the luminescence more intensive:

Select a brush of grass shape from the standard set of brushes and two different green nuances to insert the grass along the lowest edge of the wallpapers.
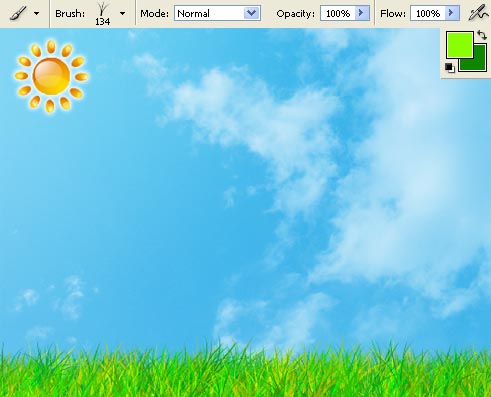
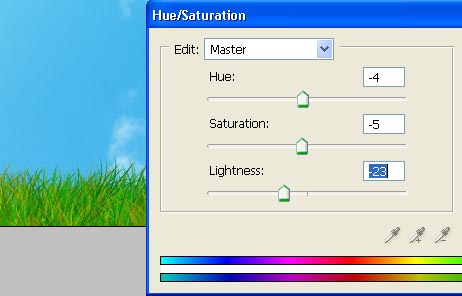
Make it darker a little with Image ? Adjustments ? Hue/Saturation (ctrl+u).
Decolorize the grass’ upper part on a new layer, using the usual Gradient Tool.
Change the layer’s Blending Mode on Soft Light.

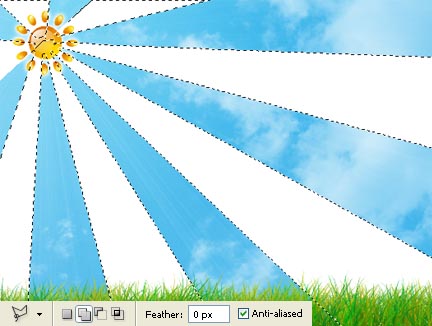
Then we have to create a new layer under the sun’s layer and set the next shown Gradient Tool‘s adjustments, selecting the colors of the stripes by pressing Randomize button.

Create a kind of stretching, coming from the sun’s central part and then make the layer look totally white with the Channel Mixer option.
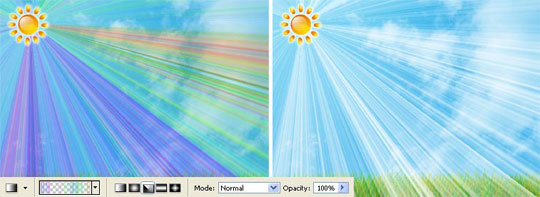
Minimize after that the quantity of the stripes and represent one more new layer to paint it out under a different angle this time.
Now we have to mark out the rays placed on the layer in case by clicking on the layer and holding the ctrl button. This way we’ll move off the markings, passing on the previous layer and after that on the auxiliary one: Layer ? Delete ? Layer.

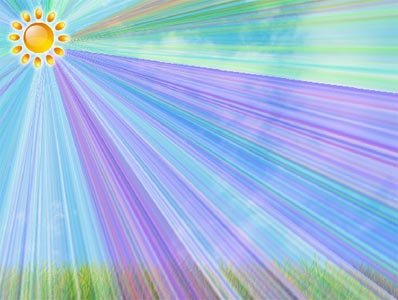
Move off the rays situated above the grass by creating firstly the layer’s mask: Layer ? Add Layer Mask ? Reveal All. We may apply also the Gradient Tool of black color to hide them if that is necessary.
We may select the next command also Layer ? Remove Layer Mask ? Apply. Create a new layer above the background’s one to represent there one more type of rays, choosing the Polygonal Lasso Tool and Paint Bucket Tool.
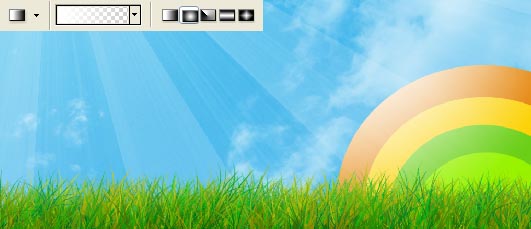
We must also make the layer’s Opacity smaller till 15%.

The Ellipse Tool will be helpful in adding several circles on a new layer:

On the grouped layer with the previous one (ctrl+g) we’ll decolorize the rays a little:
Insert several flares by creating a marking with the Elliptical Marquee Tool.
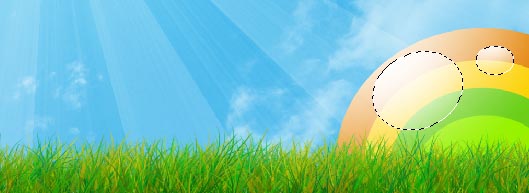
Dark out the lowest part of the circles on a new layer, creating a figure’s marking with the Pen Tool and the Make Selection command, painting the marked zone in black color and changing the layer’s Blending Mode on Soft Light.

Next step includes downloading a set of ready to use brushes containing people figures (download them from here: http://www.deviantart.com/deviation/30251378/ ?qo=239&q=in%3Aresources%2Fapplications%2Fpsbrushes+sort%3Atime+people). Place them on the circles (ctrl+t).
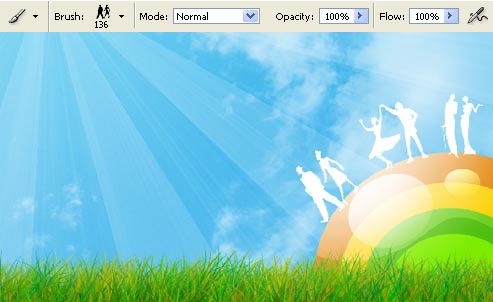
When downloading a set of ready to use brushes containing the stars (http://www.deviantart.com/deviation/24842912/ ?qo=200&q=in%3Aresources%2Fapplications%2Fpsbrushes+sort%3Atime+stars) we may add on the illustration a little more brilliance.

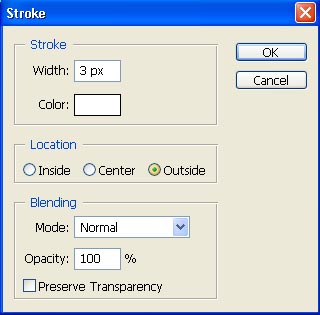
Apply the here shown command Edit ? Stroke for the layer containing the circles.
Insert on the picture several ornaments, downloading a set of ready to use brushes also (http://www.deviantart.com/deviation/48541544/ ?qo=83&q=in%3Aresources%2Fapplications%2Fpsbrushes+sort%3Atime+flowers).

Finally the illustration is finished!
Made by Sigma
Comments