
Cant Sleep wallpaper
April 30, 2007 | 0 comments
Tips about how I made the Cant Sleep wallpaper ( see wallpaper ).
Start with new image, and fill it with very dark blue color. Then, with very large (800-1000 px) Soft Round Brush, add a bit of black here and there. Then, apply blur (filters > blur > gaussian > 30-40 px) to smooth the background.
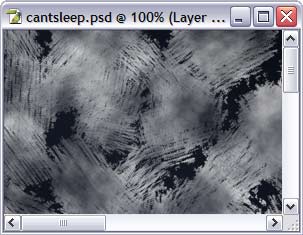
The following steps will help us to create insteresting non-homogeneous texture. Create New Layer, switch to Rough Round Bristle brush, set color to white, and fill entire layer with the chaotic brush strokes.
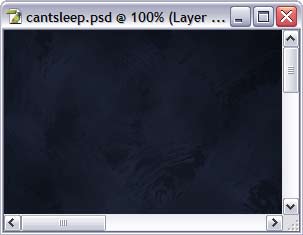
Then, set this layer blend mode to Overlay. It will look almost invisible, but after all this is only a background 🙂
In another new layer, repeat the same but with black brush.

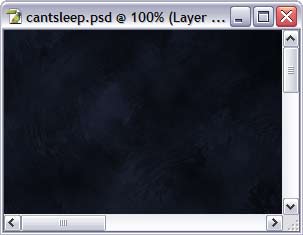
Then merge all layers (Ctrl-Shift-C), and adjust the brightness-contrast (images – adjustments) to make it just a bit brighter. I also added black Inner Glow to this layer effects.


Now that we have the background, we need the objects. I have some photos of old buildings from my recent travel to Koeln (Cologne), Germany. One of them is on the right; there were 5 photos total, and how I merged them is the subject for another tutorial 🙂
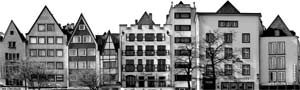
…and here is the resulting image. I joined several photos together, corrected perspective distortions and convertted to greyscale (Ctrl-Shift-U).

Here is how the houses look on our background. Not quite right, but…

…is it very easy to fix – just change this layer blending mode to Overlay!. To make it look a bit brighter, I duplicated this layer.
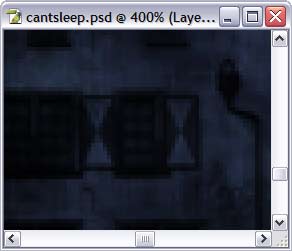
I thought that the wallpaper needed something else, small but eye-catching, and decided that one of the windows should have light inside. This was very easy to do. First, zoom to the dizired window. As you can see, there is nobody inside yet 😉

Create a new layer, and carefully fill entire window with light yellow color. Of course it looks bad now, but…
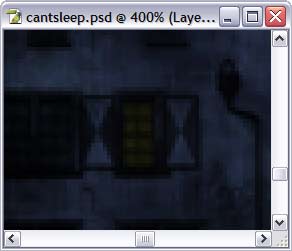
…all you need to do to make it look better is to change the layer blending mode to Overlay!

the light is too dark now, of course, so duplicate this layer until it is good enough (I duplicated it 5 times).
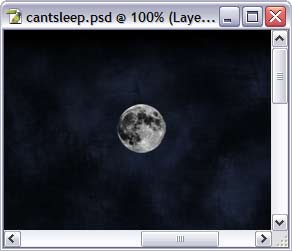
The final touch would be the moon. I found the photo of the moon in Internet, pasted it and resized.

Then I, again, changed its blending mode to Overlay, and also added light-blue Outer glow (about 20-30 pixels).
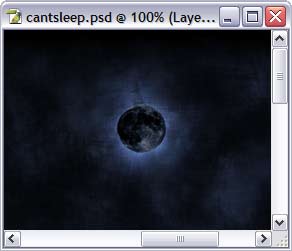
Then I, again, duplicated the layer with moon, to make it darker and the glow lighter.
That’s all (see wallpaper)!
Author: Vlad Gerasimov
URL: http://www.vladstudio.com
Comments