
Condensed wallpaper
May 3, 2007 | 0 comments
Easy steps to make Condensed wallpaper.
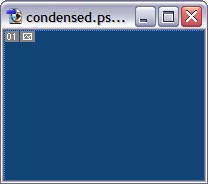
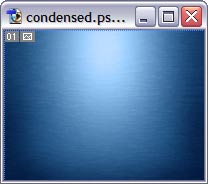
My warmest greetings! On this page, I will show you how easy it is to create photo-realistic image of waterdrops with only Adobe Photoshop and a mouse. Let’s start with new document (I usually set size to 3200×2400 pixels) and fill iw with dark-blue.
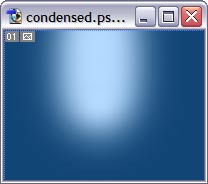
Next, add some 3D effect. For this, draw a light-blue line in new layer, using very wide brush (here around 1000 pixels width).
Then, use Gaussian Blur filter (with large setting such as 200px) in order to, well, blur 🙂
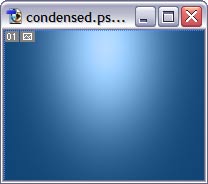
Then merge these 2 layers (Ctrl-E), and apply a couple more effects – first Noise (not much) and then Paint Daubts (again, only a bit).
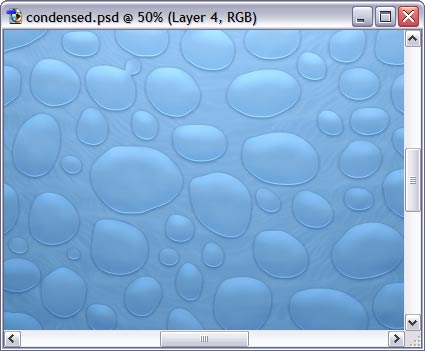
Now we have pretty good background for our future waterdrops.

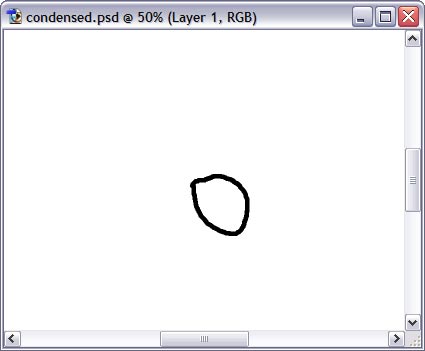
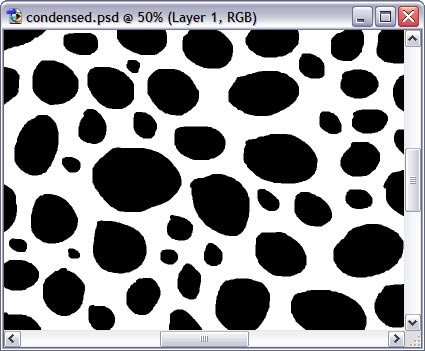
Now the fun begins – waterdrops. Create new layer, fill with white, and then in another new layer (!) draw a slighly chaotic oval using sharp pencil tool. Remember, nature never has ideal shapes, so dont use vector tools.
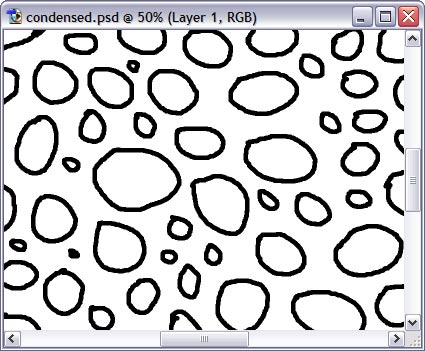
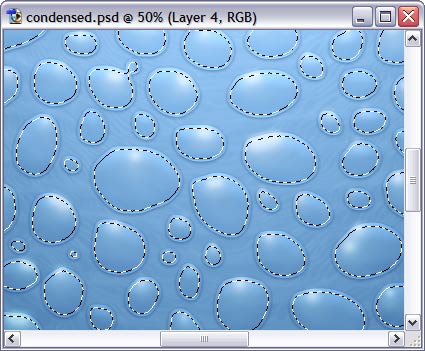
Now spent about an hour or two and fill entire document with drops outlines.
Good, now we have waterdrops outlined, we need to fill them with black color. It is very easy – with magic wand, click anywhere outside waterdrops (make sure Contiguous is checked)…
then invert your selection (Ctrl-Shift-I) and fill with black color using Bucket (G) – make sure Contiguous is NOT checked, or you’ll have to fill each waterdrop manually.
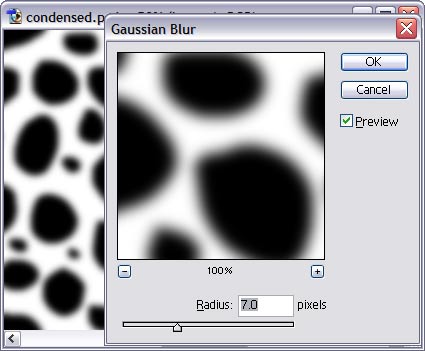
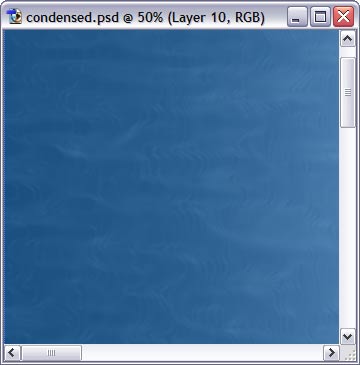
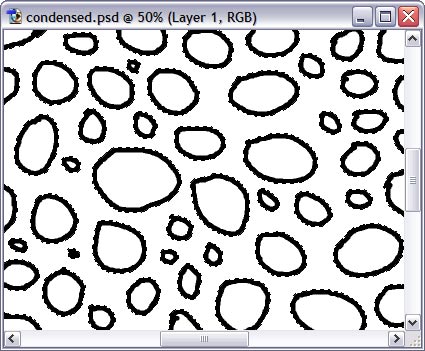
Attention! I’m releaving my biggest commercial secret now! Merge black waterdrops with white background and apply Blur to it. Radius is important, feel free to experiment. I chose 7 px.
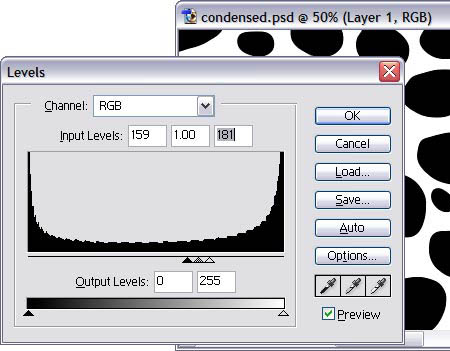
And now, hit Ctrl-L to open Levels dialog, and move black and white arrow pointers closer to the middle. You’ll see how our blurred waterdrop become sharp and smooth.
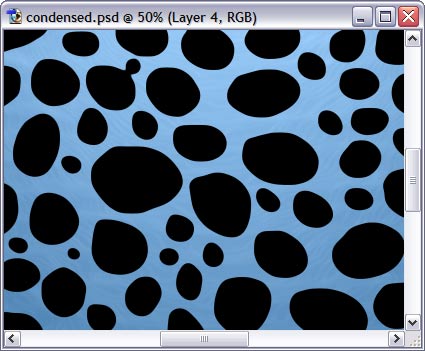
Remove white from this layer. You can use the following shortcuts for that:
* Ctrl-A
* Ctrl-C
* Q
* Ctrl-V
* Q
* Del
* Ctrl-A
* Ctrl-C
* Q
* Ctrl-V
* Q
* Del
(this was another professional secret! :-))
Now it is time for nice layer effects. Set layer blend mode to Screen, and use Shadow, Bevel and Inner Glow to make waterdrops look better.
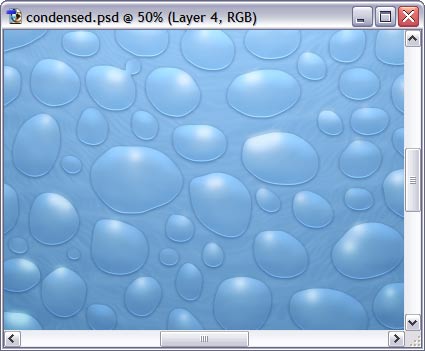
Some more lights and reflections would make our artwork much nicer. Create new layer (with blend more = overlay and opacity = around 50%), select brush tool and white color, and spend another hour putting white dots where light is reflecting in the top of waterdrops (in my case, light is falling from top).
Better, but not yet good enough. We’ll need another effect – light reflecting from bottom of each waterdrop. Ctrl-click layer to make waterdrops selected (or right-click layer thumb and choose Select Layer Transparency). Then go to Select > Modify > Contract and contract it by about 5 pixels.
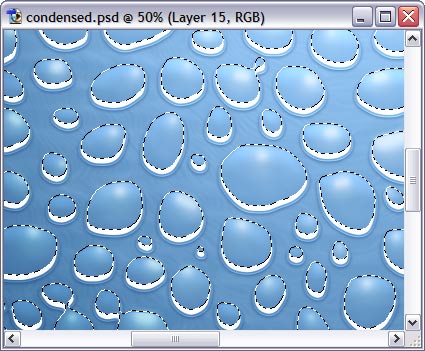
Create new layer, fill the selection with white, then move selection about 10px to top, and hit Del to remove selected area.

Now apply a bit of blur, and set blend mode to soft light or overlay – and you are done!
Author: Vlad Gerasimov
URL: http://www.vladstudio.com
Comments