
Orange – Design your life
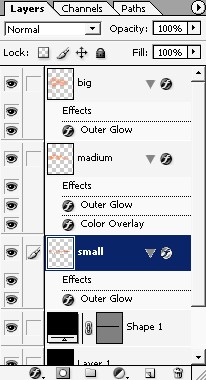
Then the SMALL:
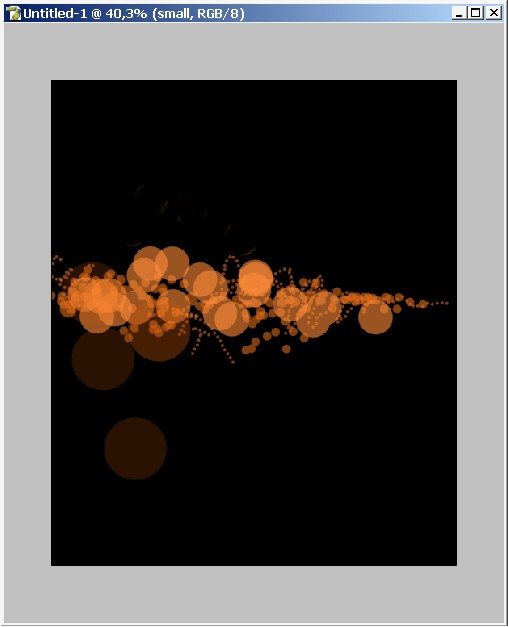
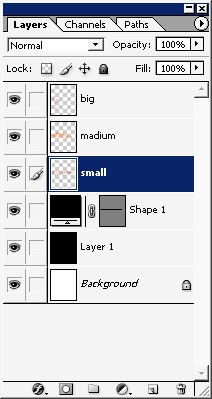
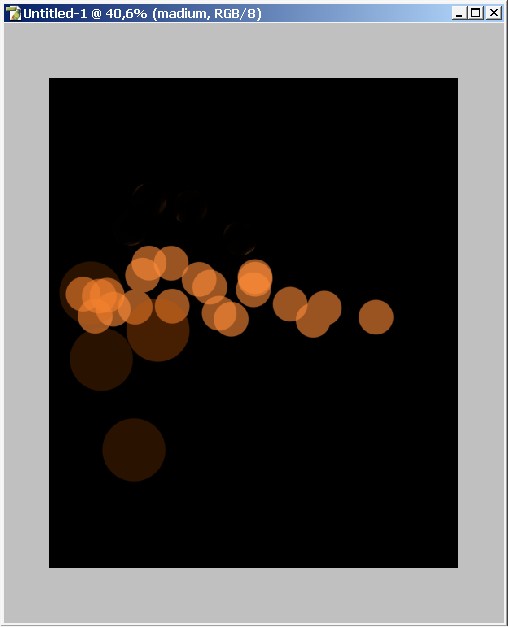
And the big ones:
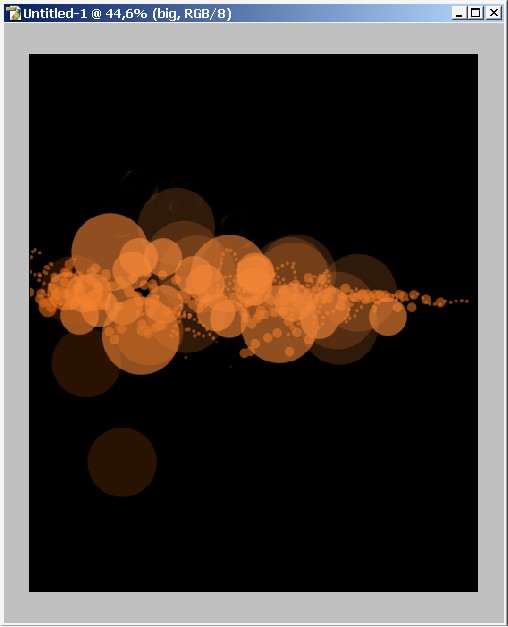

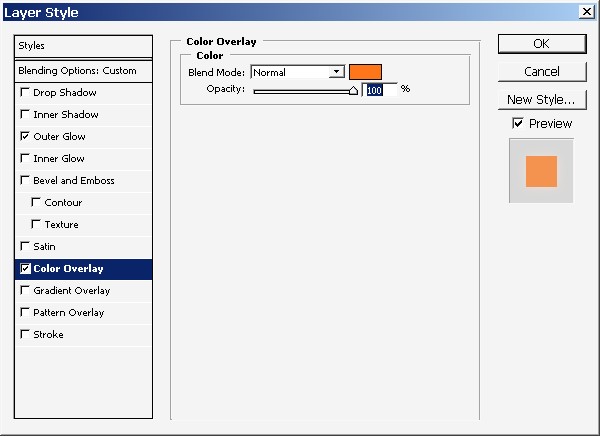
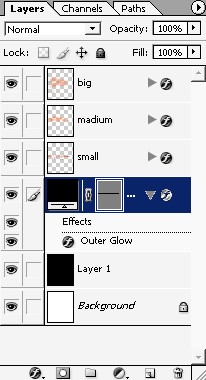
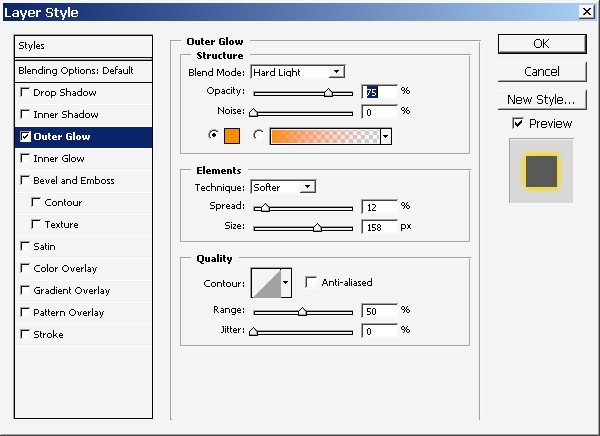
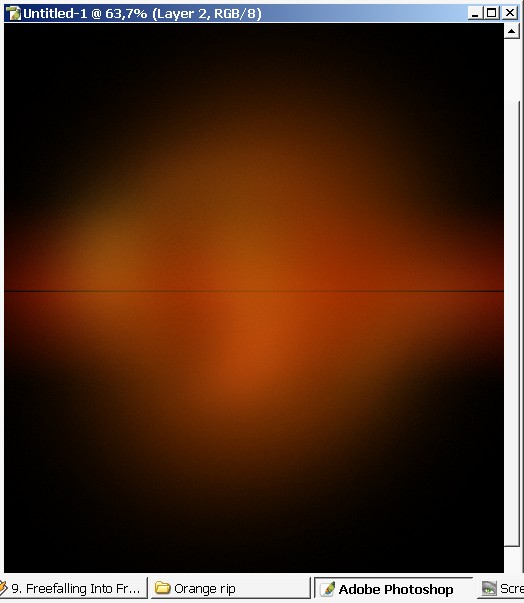
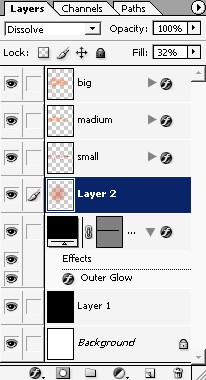
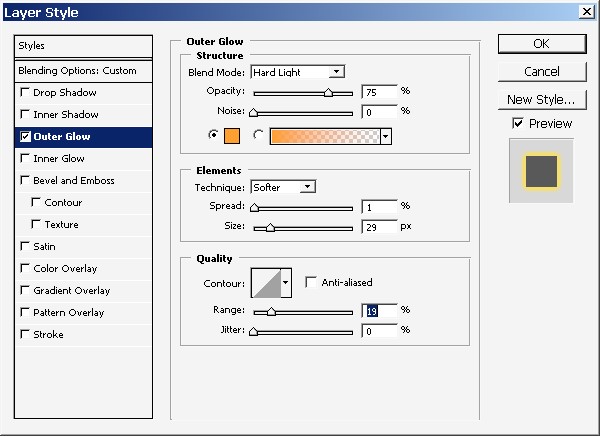
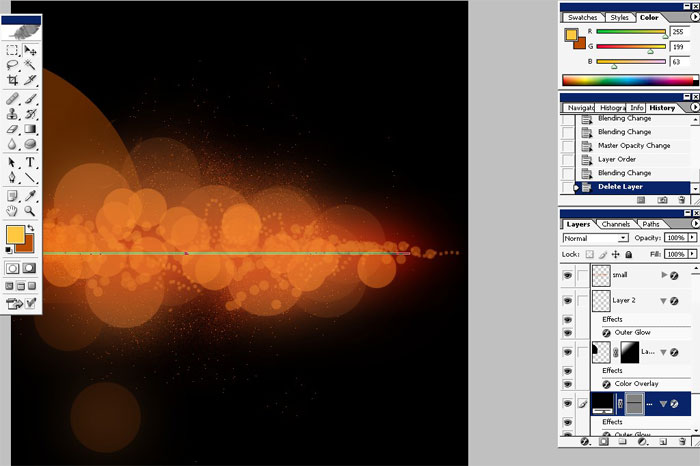
Now I will add some glow using layer styles. Use this order: medium, big and finally small.
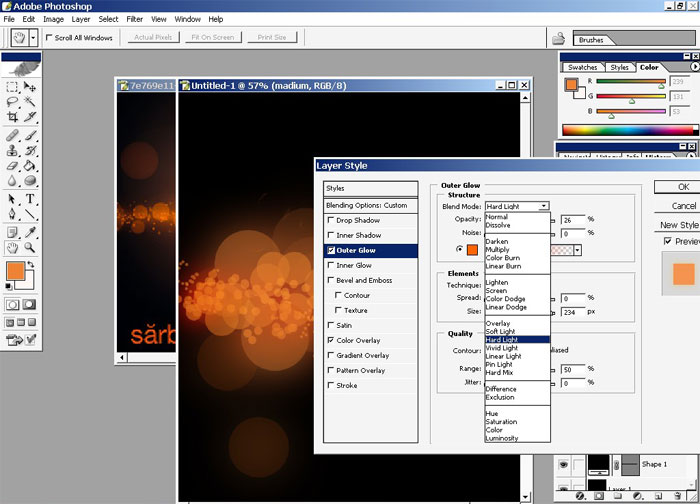
Working with Mediums:
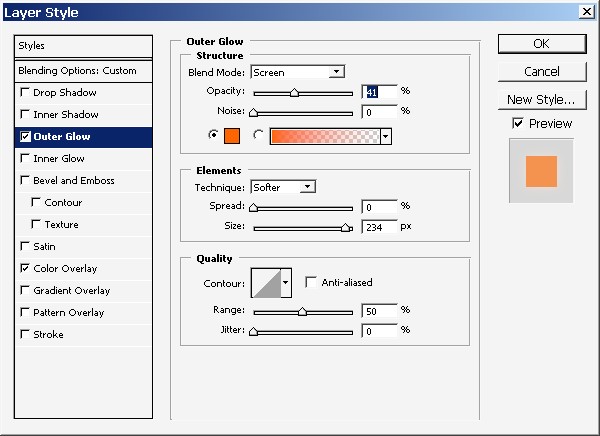
Big:
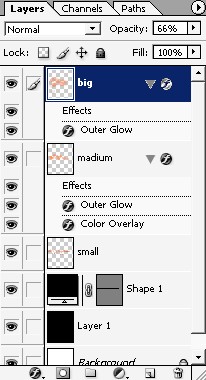
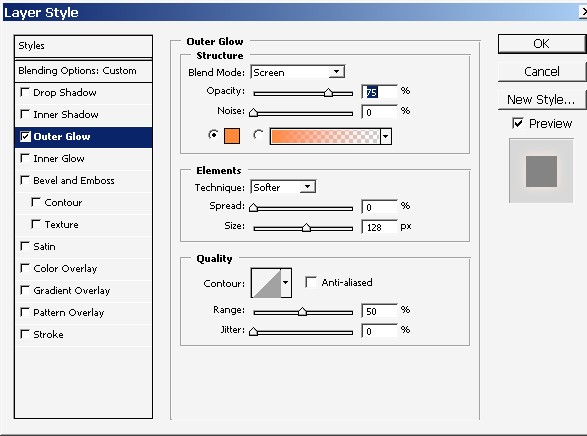
Small:
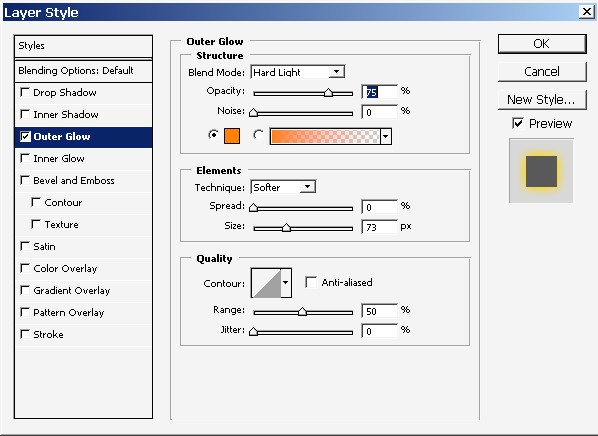
Note this.
And I will add layer style to our line.
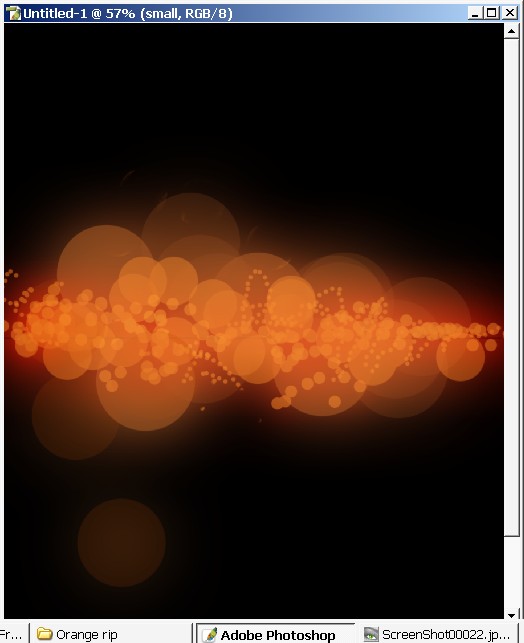
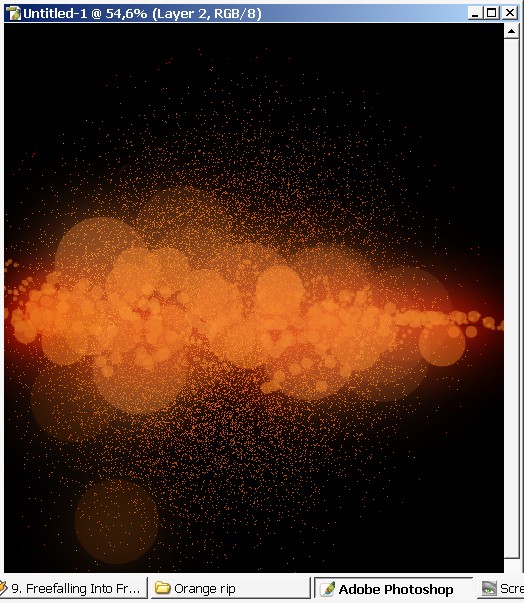
Here we go. Look very good.
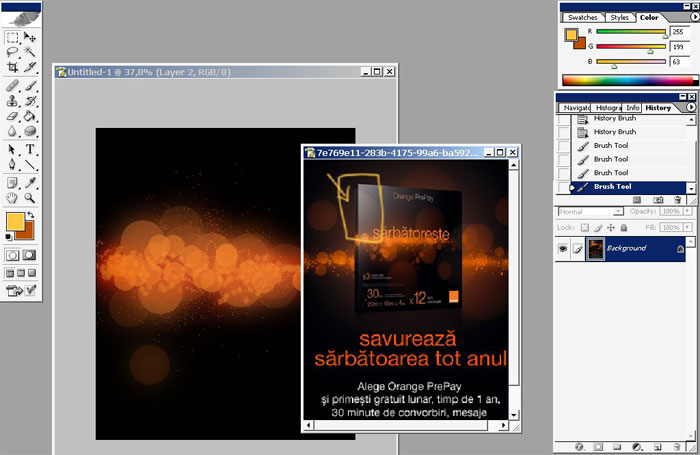
Now add a new layer and paint a little bit.
Use Soft brush.

You will probably not see the paint over on the final image. Here what I’ve painted.
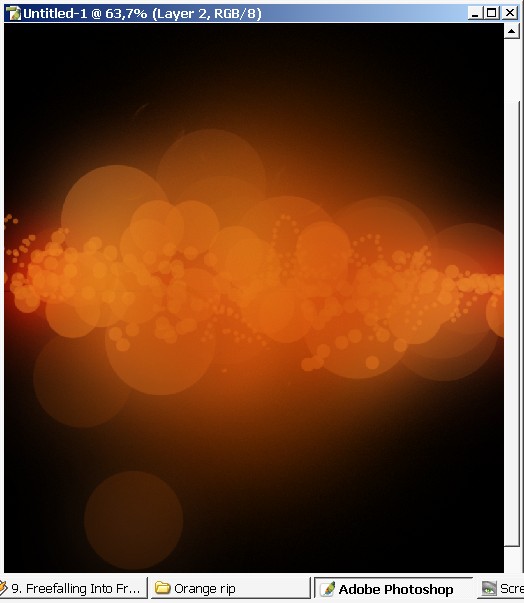
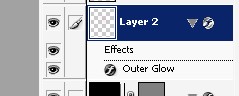
Drag this layer (layer 2) down.
And set the mode to Diffusion. I never use this mode in my works, but this time I think it looks very beautiful, like flow of particles.
Use some styling on our Diffused layer.
Thaw it already looks good, I’ve changes the opacity.
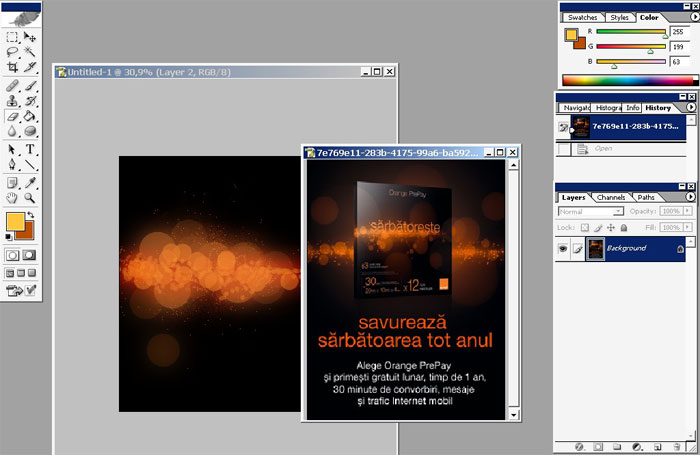
Doing this tutorial I’ve peaked on the sample only once, only to match the colors and to define the position.
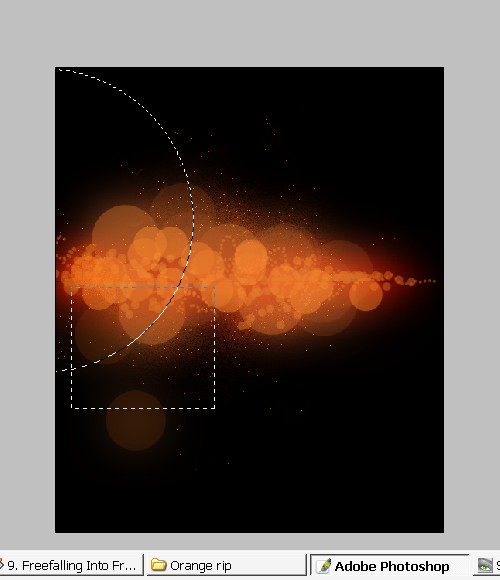
Now this part of the image: a Big transparent circle.
Make a rounded selection.
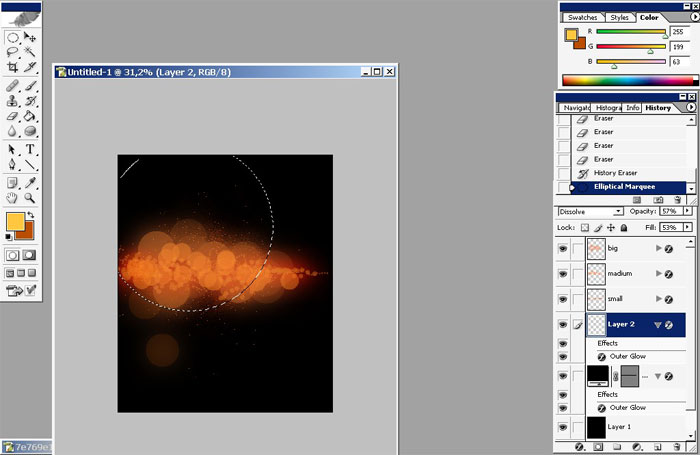
Use Rectangular Marquee tool (M) and hold the SHIFT key to cut the part of the selection.
Copy the selection to the separate layer (from Background).
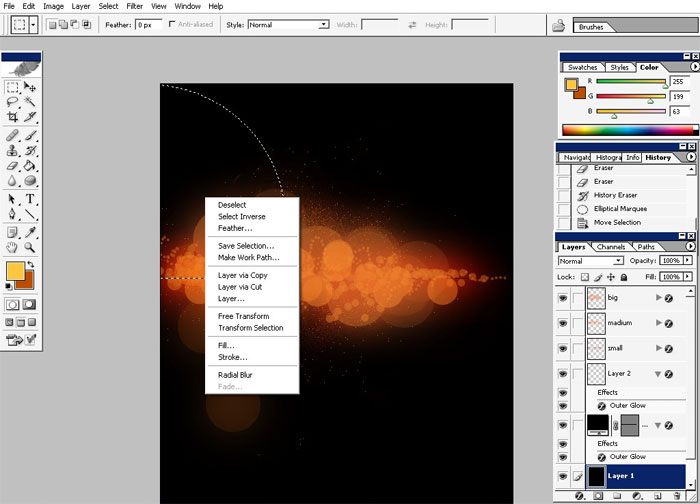
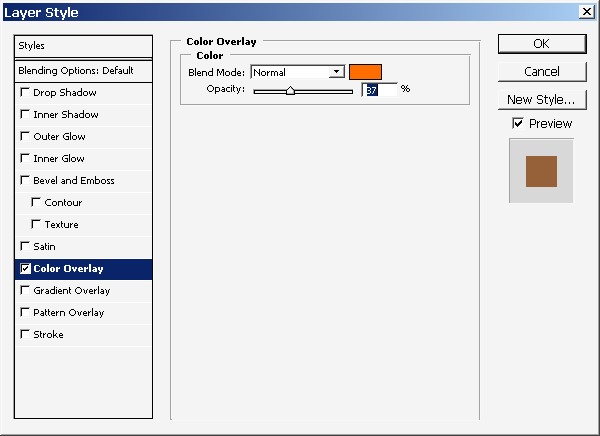
And use only 1 layer style, Color overlay.
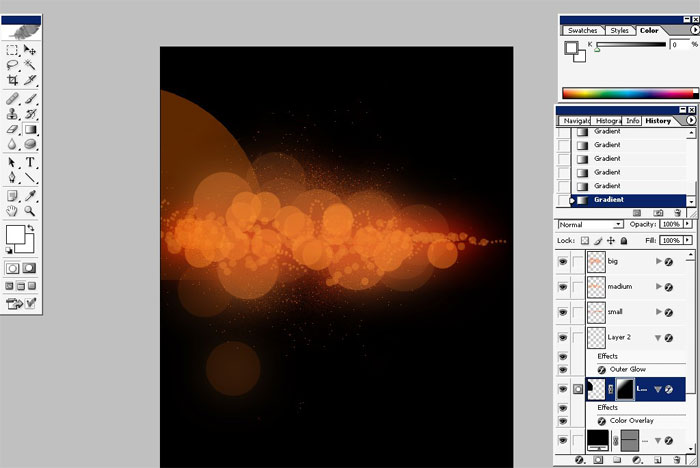
To blend the edges use Add Layer Mask.

And there we go.
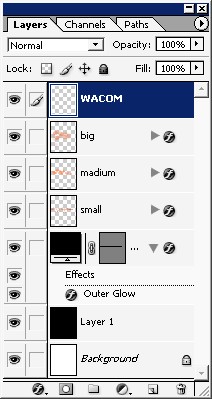
Now for what did we need the line layer. Ii is like the horizon line and also it will help me to set the text right.
Type the text, we use ???design your life???.
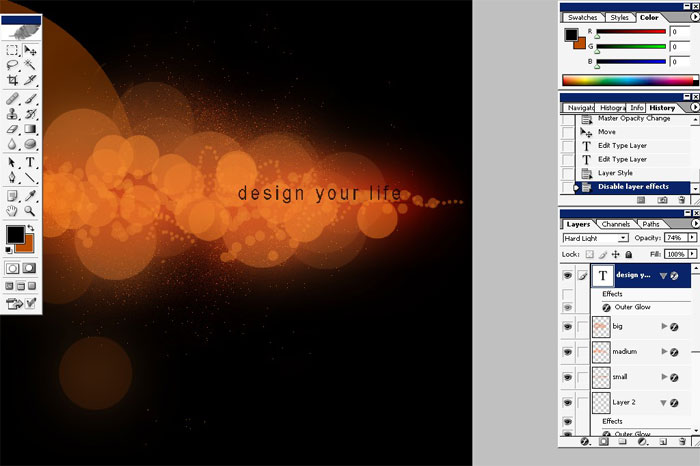
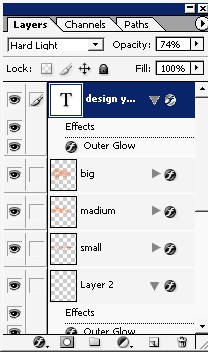
Our text layer position, opacity and mode settings:
There it goes.
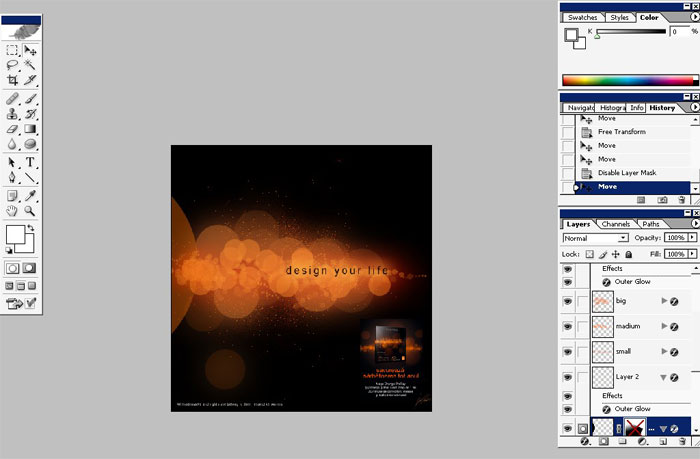
A little bit of tone correction. Create a color balance layer on the top of all.
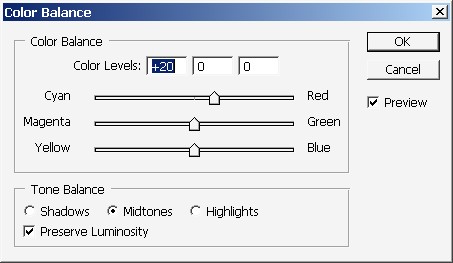
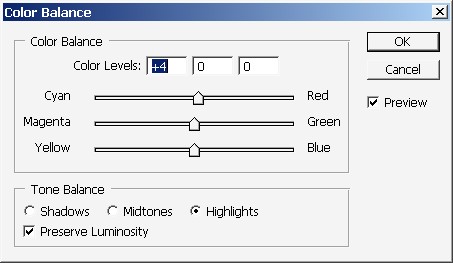
And there we go. How the Professional design is made.
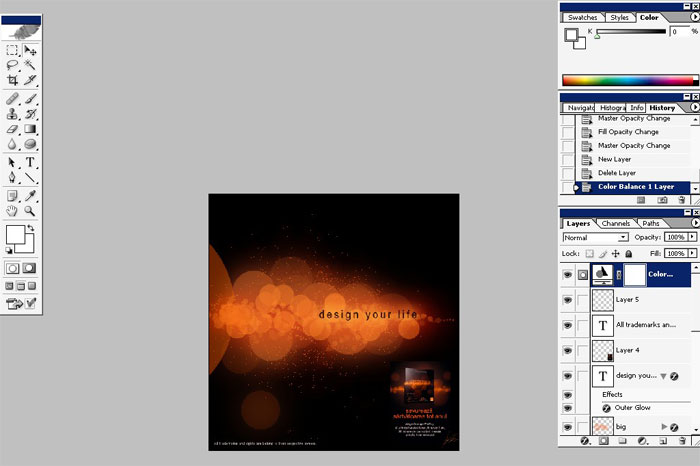
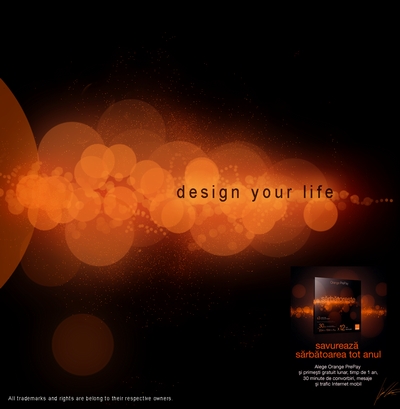
Enjoy your duty ).
It
took me only an Hour to make this even without any major detailing (of
course without the vital – the idea). Spend 3h ??? and you will be ahead
of all.
Today we are going to make a Pro illustration using Photoshop CS. Well actually we will redesign a Pro design of the Orange© company. This is a one Pro design I think: it’s easy, and very good looking.
So let’s begin to make this fantastic illustration.

I really don’t know how it was made; using what software it was built.
Well let’s see what we can do.
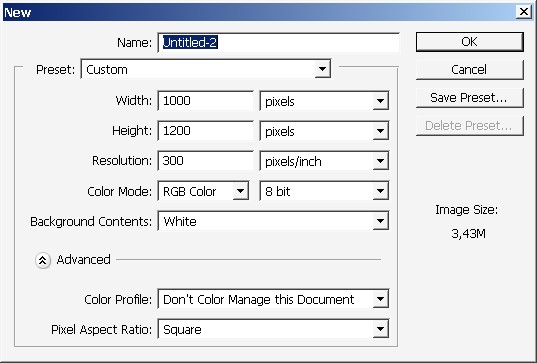
Begin by creating new document.
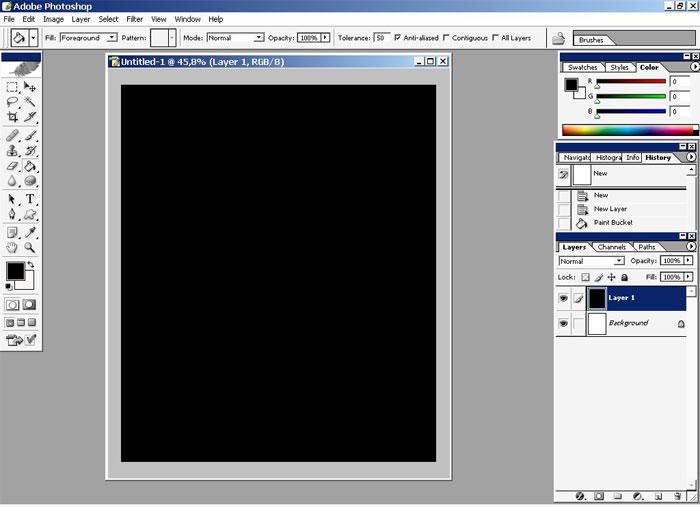
Make new layer. Fill the layer with black.
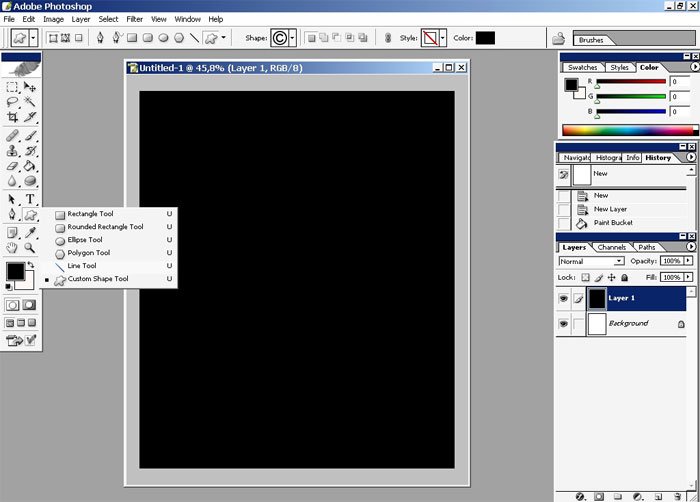
Now make a line using shapes. We will need it further on.
Here we have. Strait lined shape.
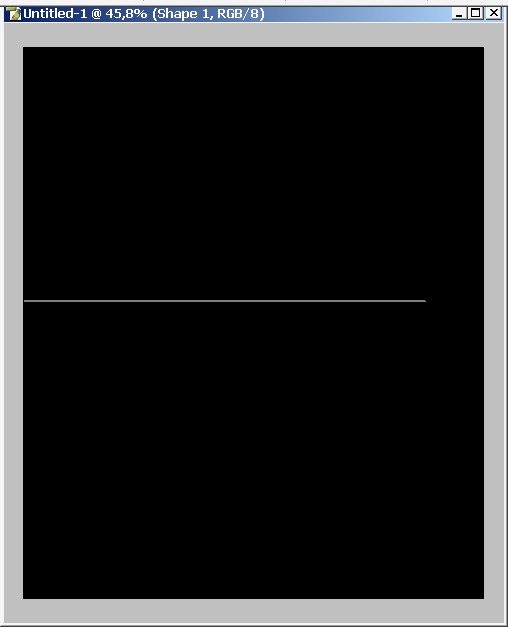
You can just forget about the line for now.
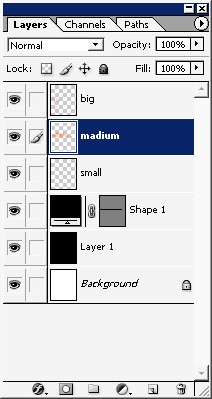
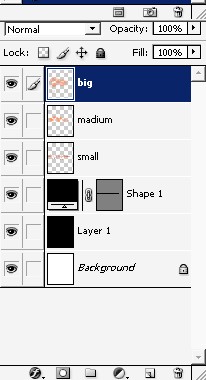
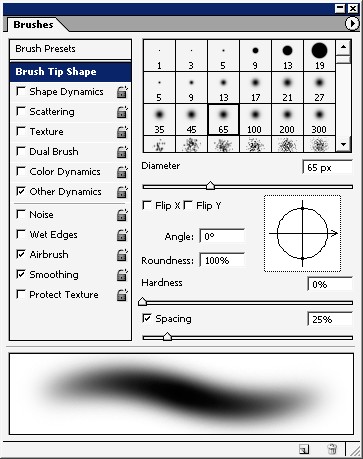
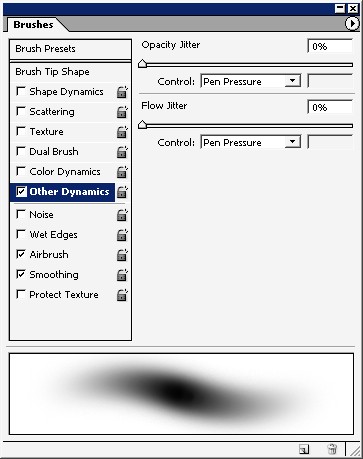
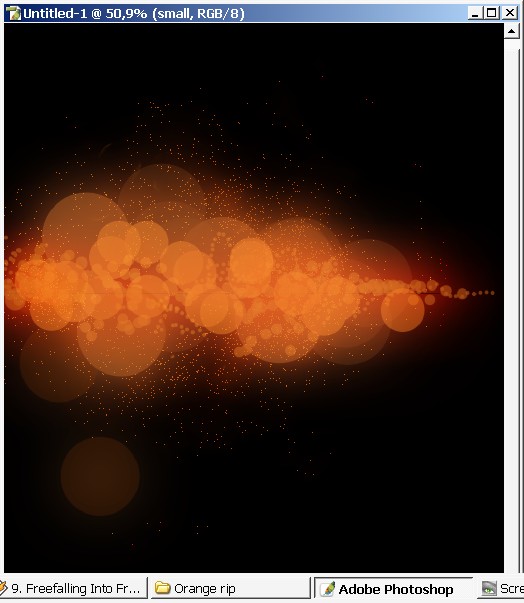
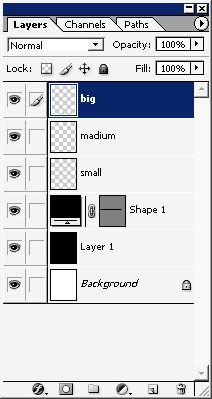
Create !! 3 !! new layers sign them: big, small, and medium. As you can see the whole illustration is made out of circles; small ones mediums and big ones.
Now choose a brush. I will use basic hard edged brush.
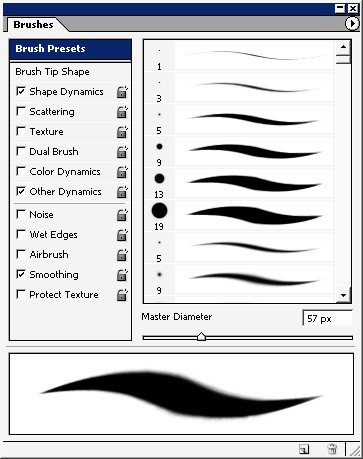
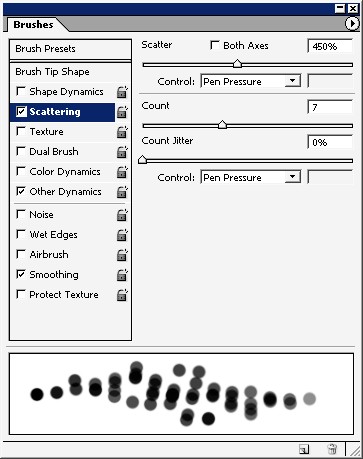
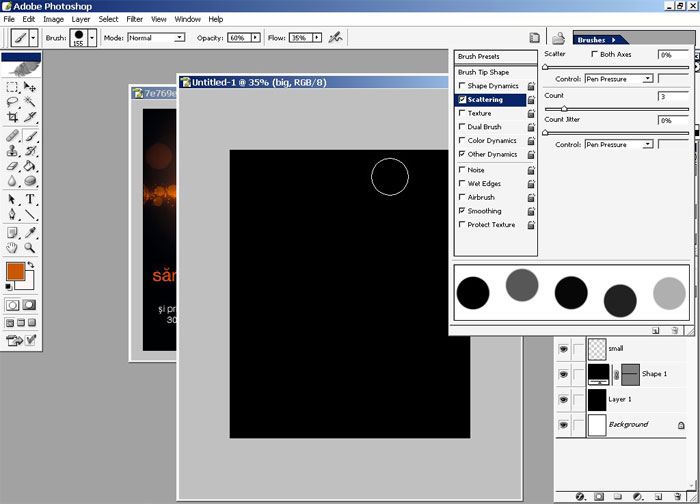
And begin to paint. First we create the MEDIUM balls.
Comments