
Interior illustration
Ok, today we are going to create some kind of interior illustration.
So let’s get started.
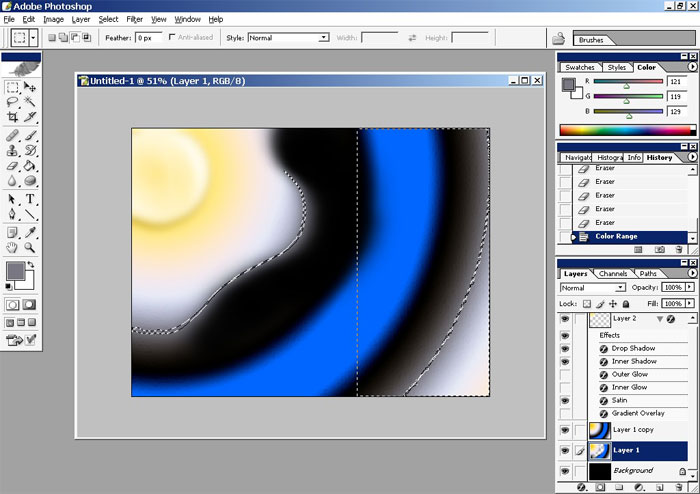
As usual you will have to create a document and a new layer.
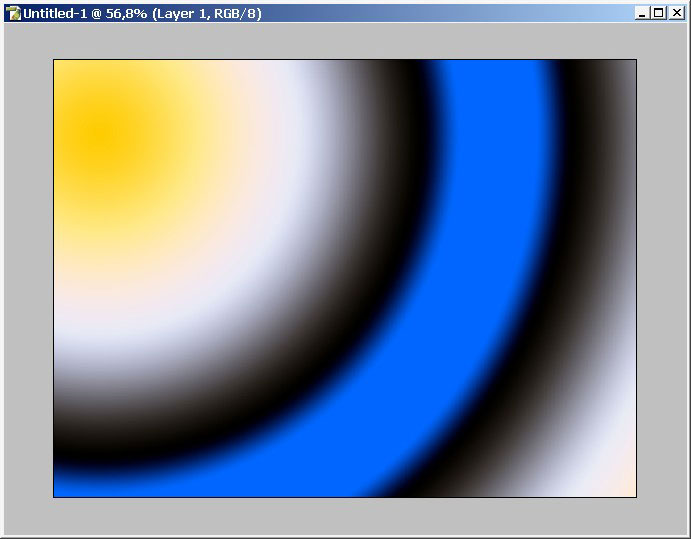
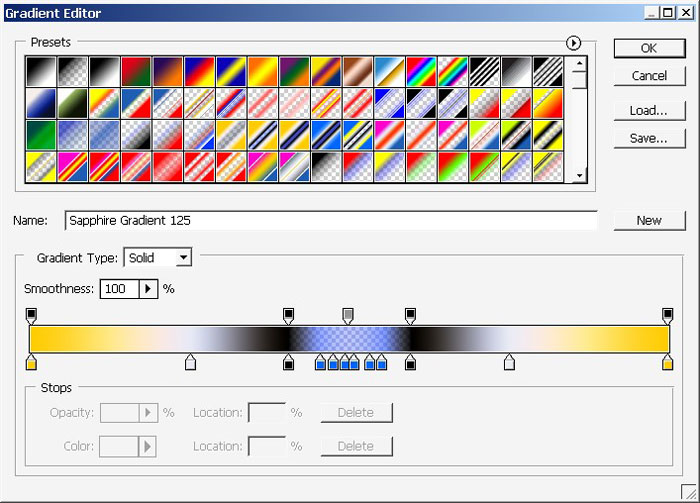
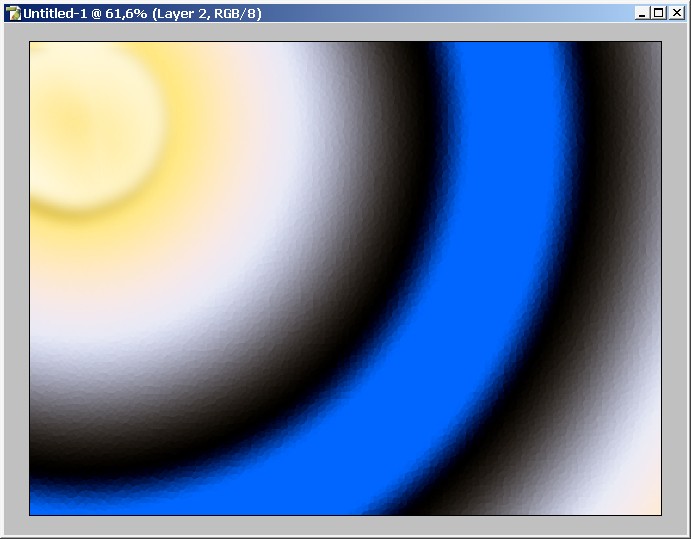
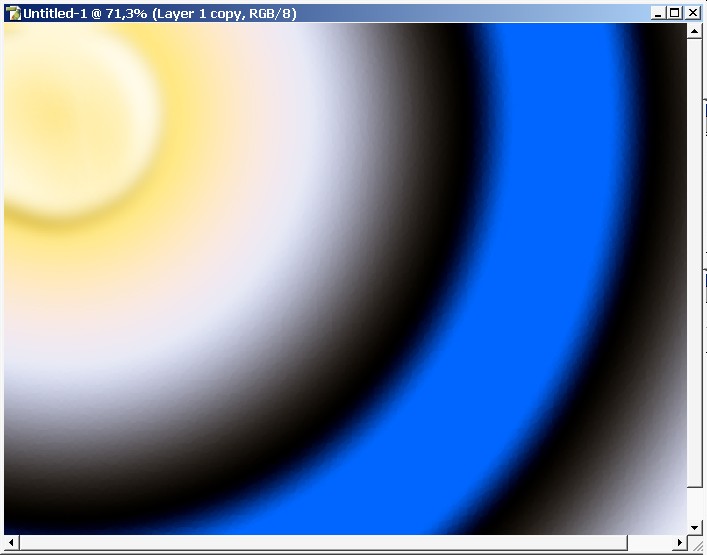
Then apply a rounded gradient on it.

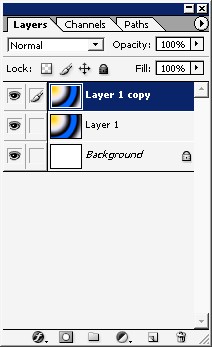
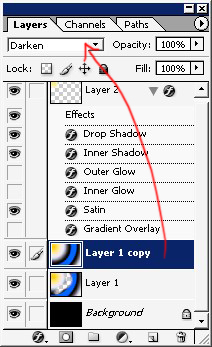
It will be better if you create a copy of our key layer.
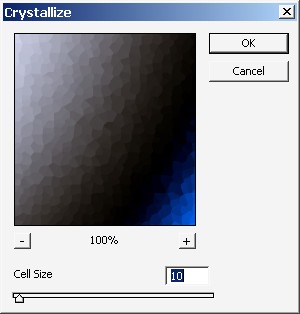
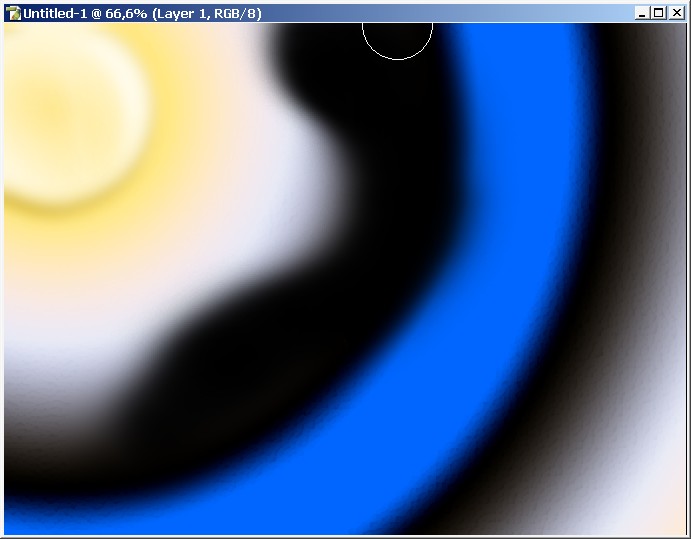
Maybe to use some filter now. Let’s say the Crystallize filter. To ascend the edges.
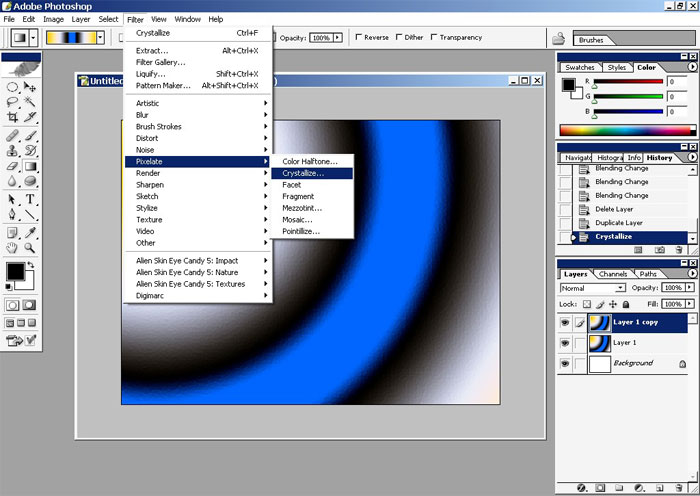
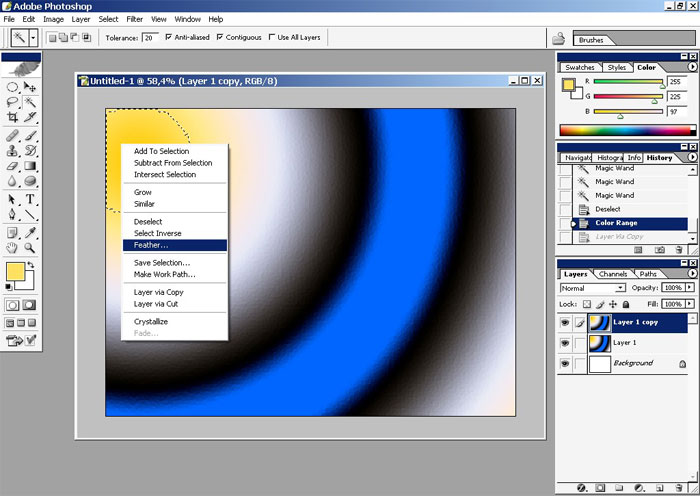
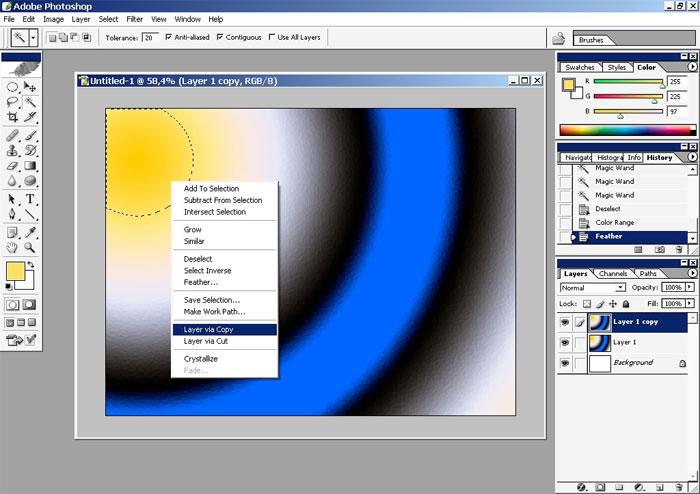
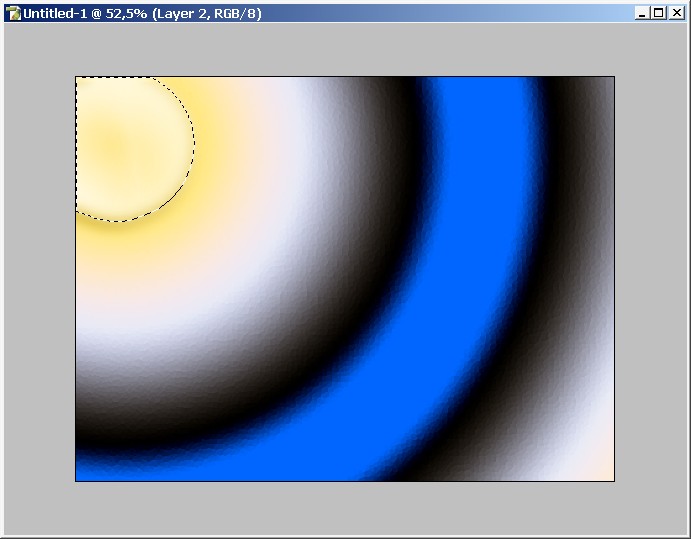
Switch to magic wind tool if I’m not mistaken with the name here.
The goal here is to select the whole Yellow.
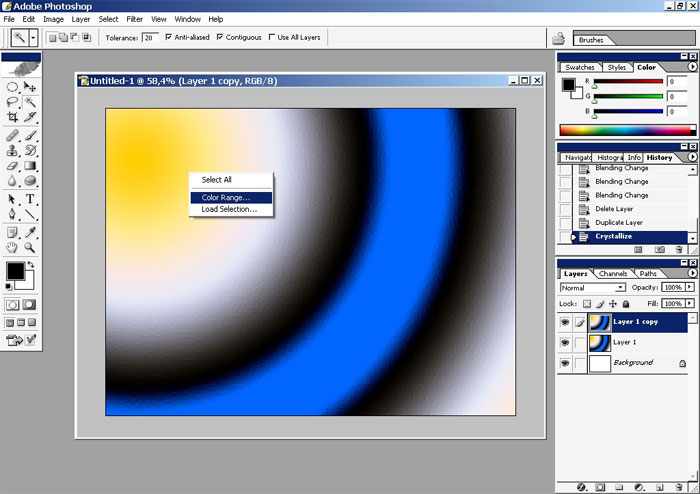
PS: In Ps you can do it in many ways.
Tap to add the color – the one with the +.
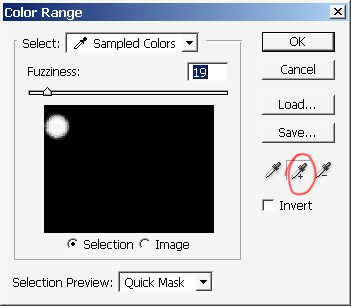
It is selected now.
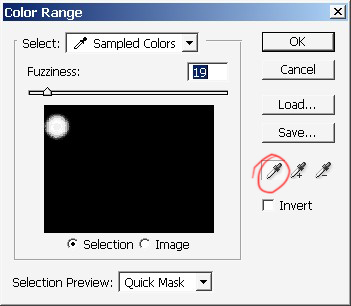
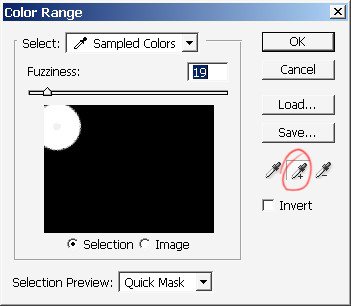
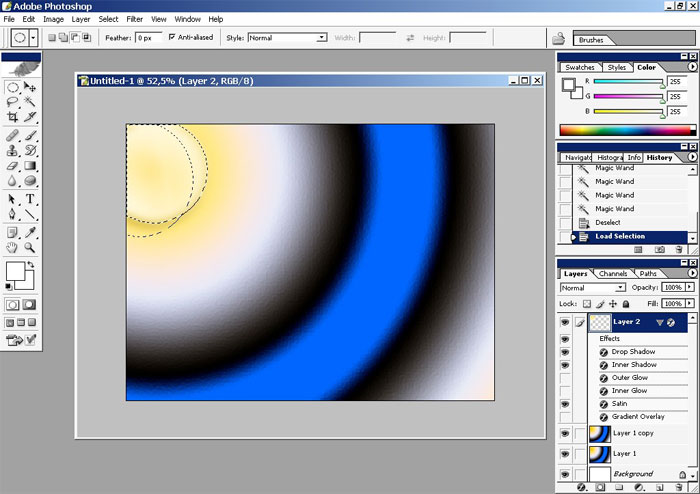
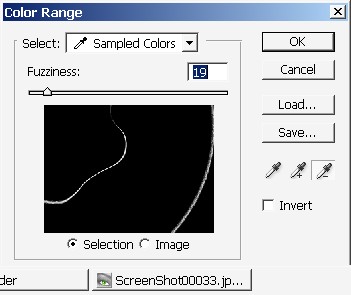
Use the color Rage tool and select further areas.
Leave only the one that is on the top left.
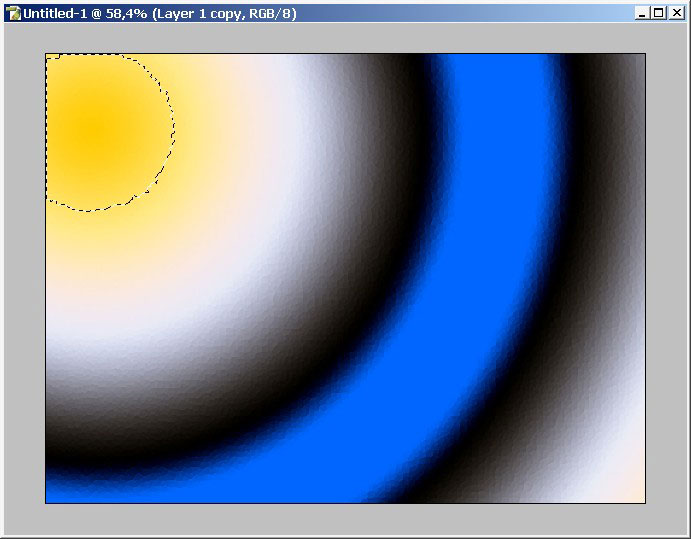
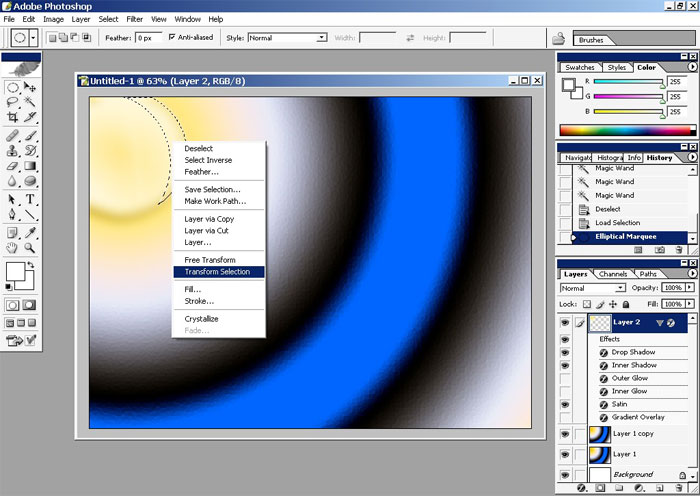
Hold the Shift key and use any Marquee tool: lasso, round???.
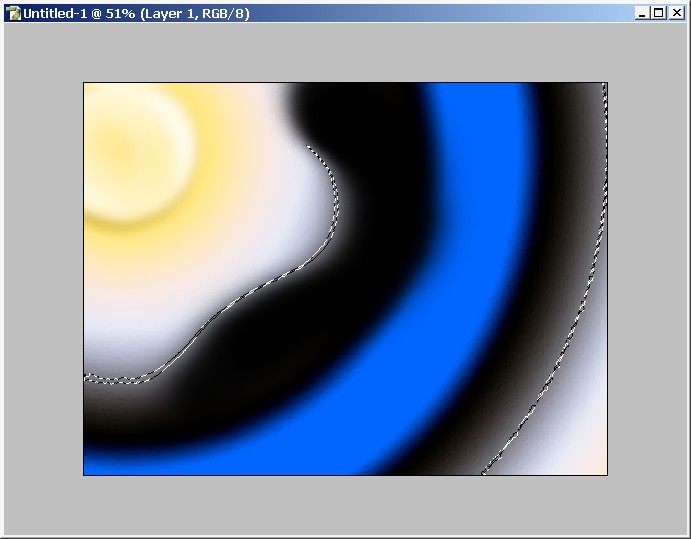
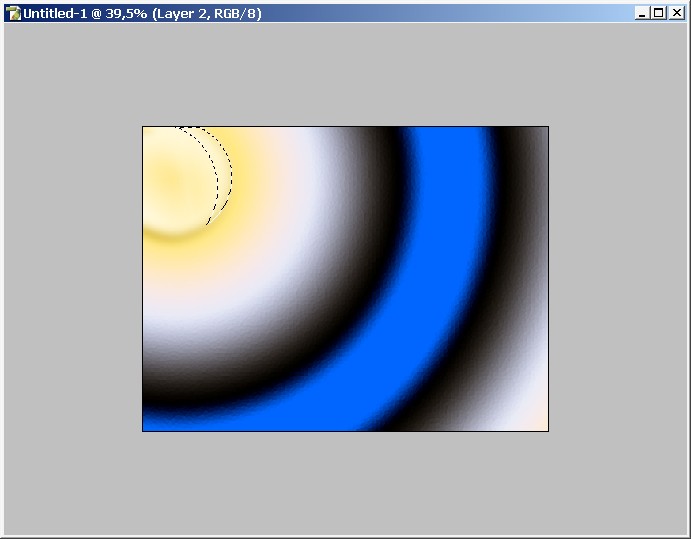
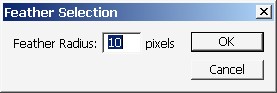
Further the selection by
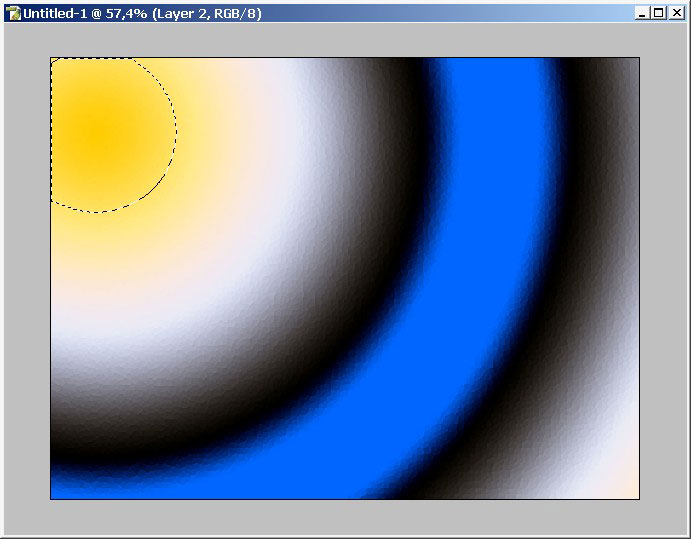
Copy the selected are into separate layer.
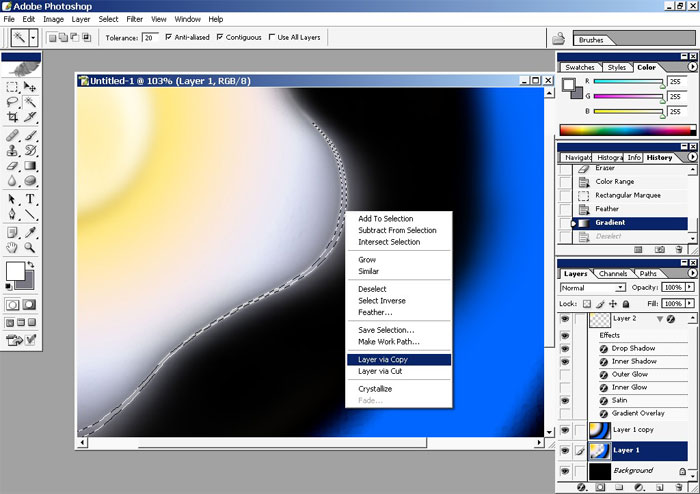
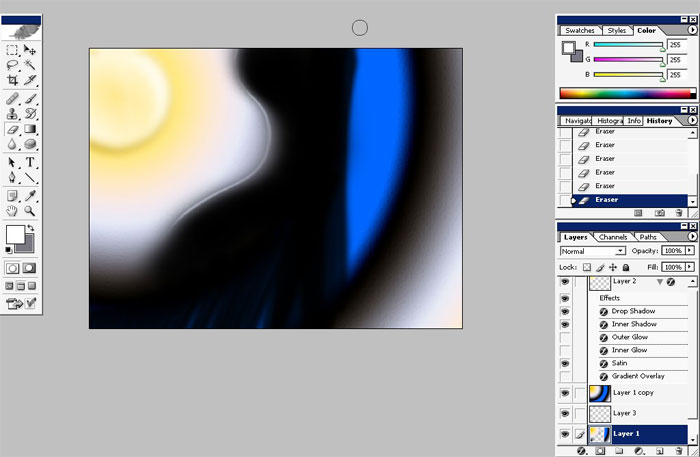
And here we have our contours.
Erase the areas to crop the image. Leave no blue color.
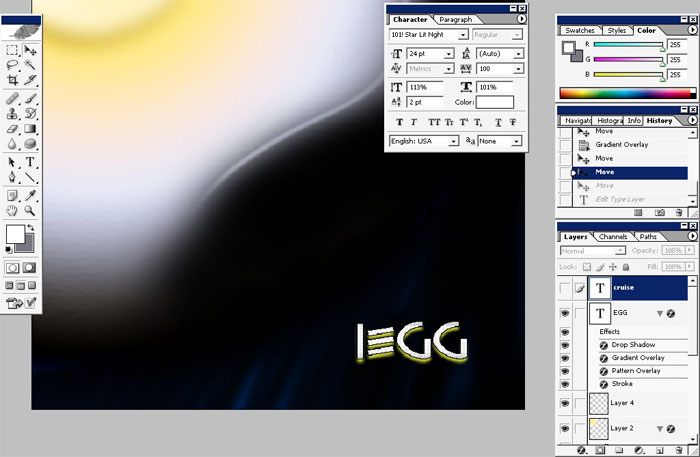
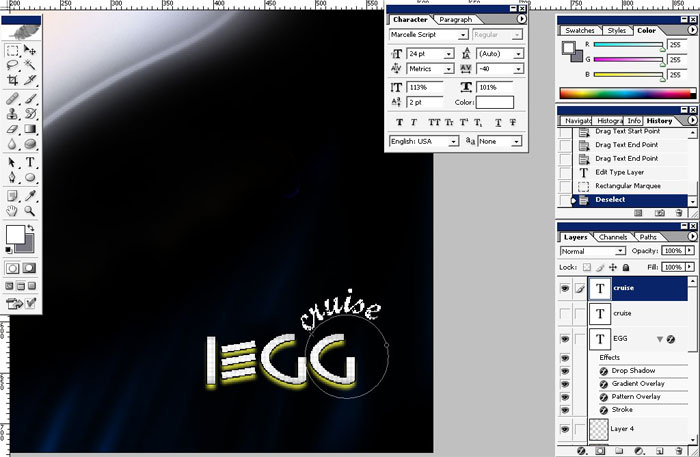
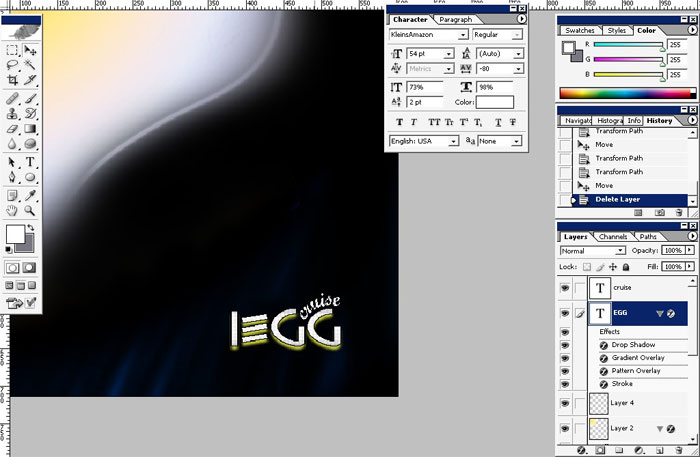
Now the text. Any text.
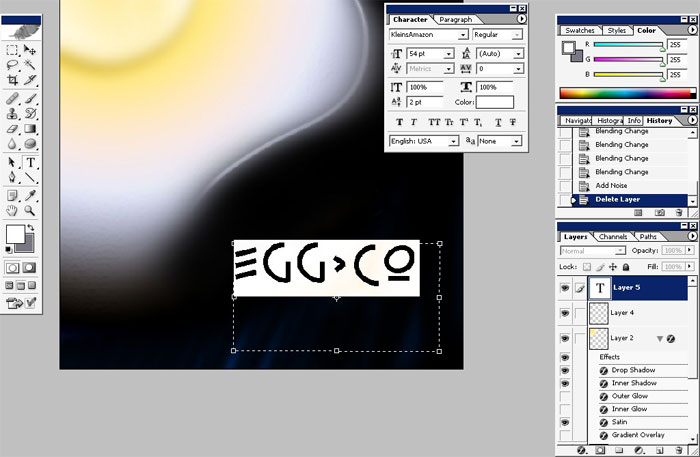
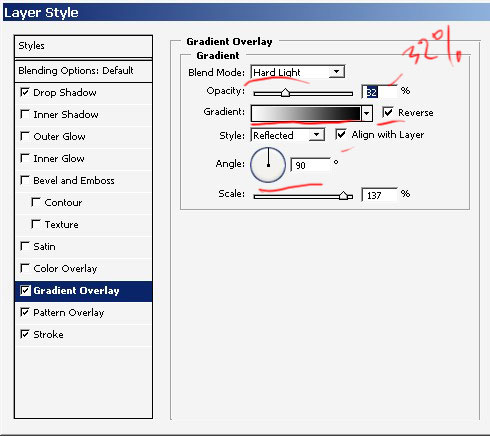
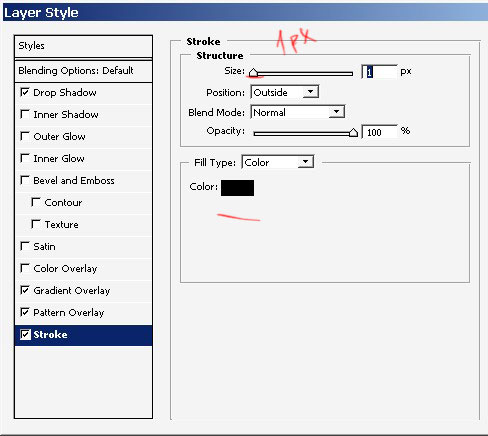
Apply some layer stiles and change the text.

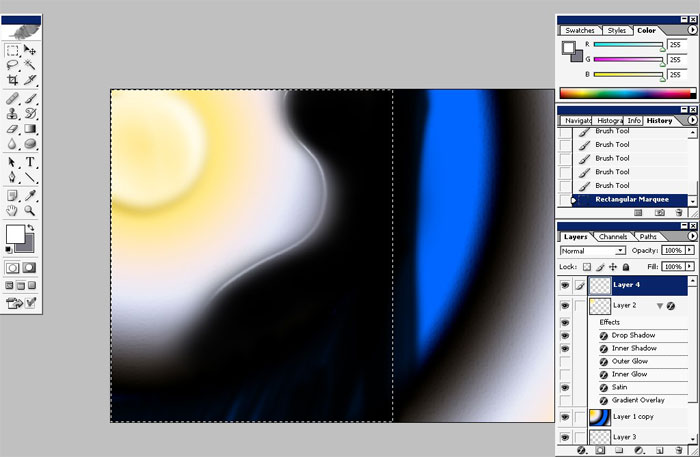
Further the selection a little bit.

And copy the layer.
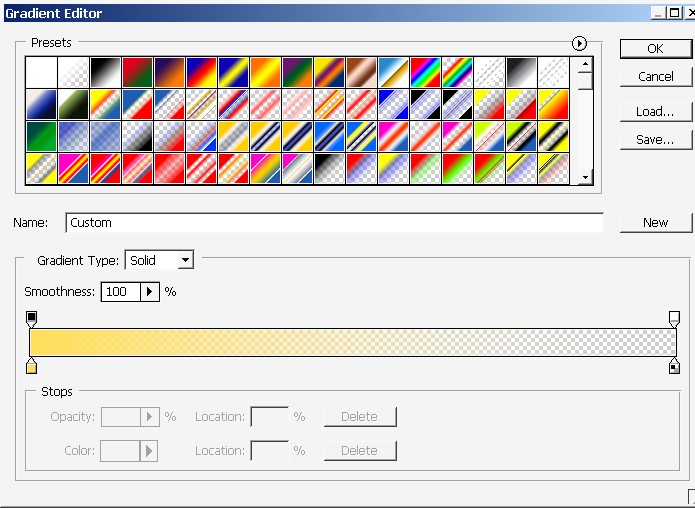
Keep it selected. Overlay the selection with White to Transparency gradient.
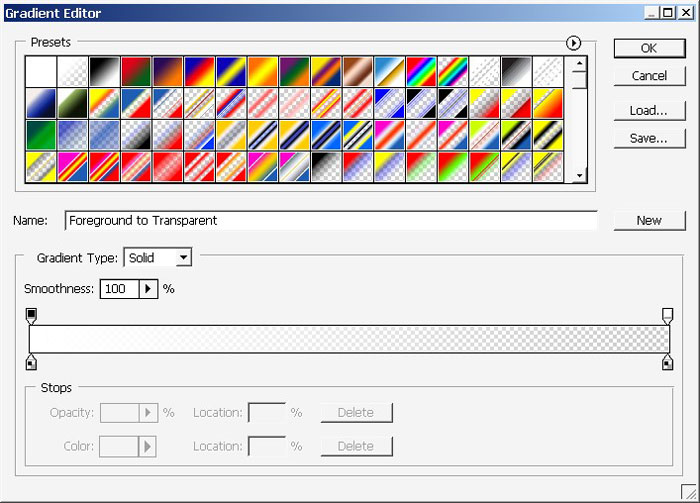

Note the settings here. The transparency should be on.
And once again, only this time with other color and from the opposite side on the white.

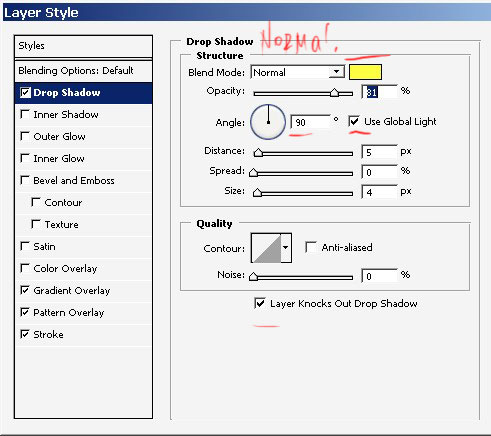
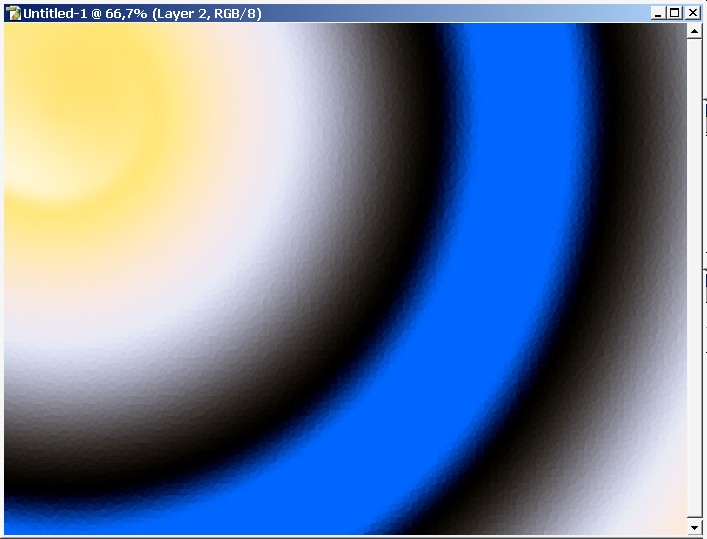
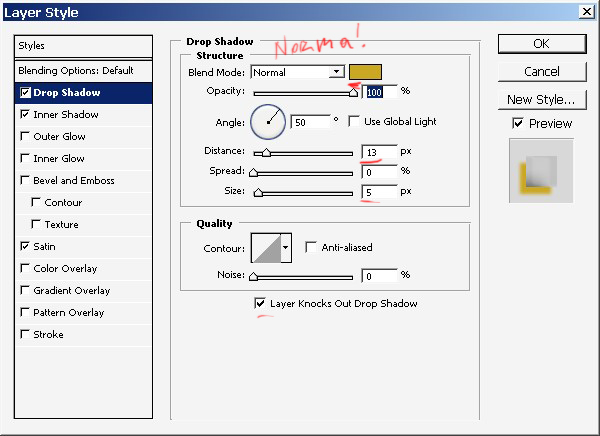
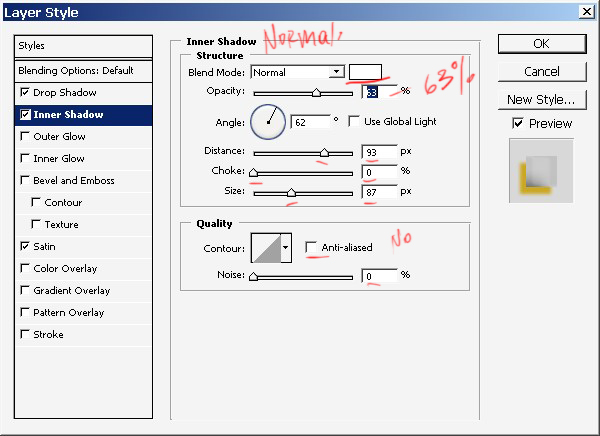
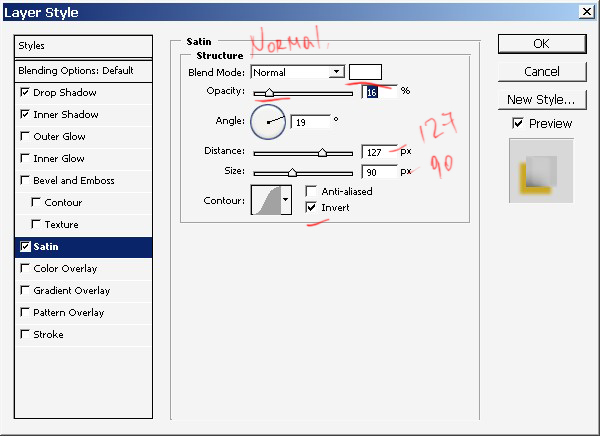
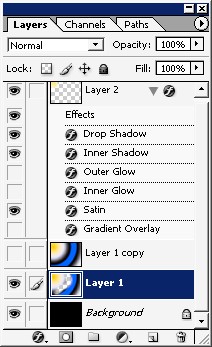
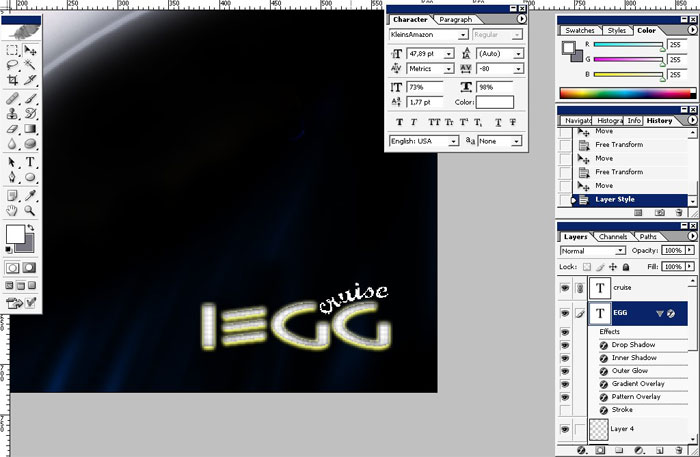
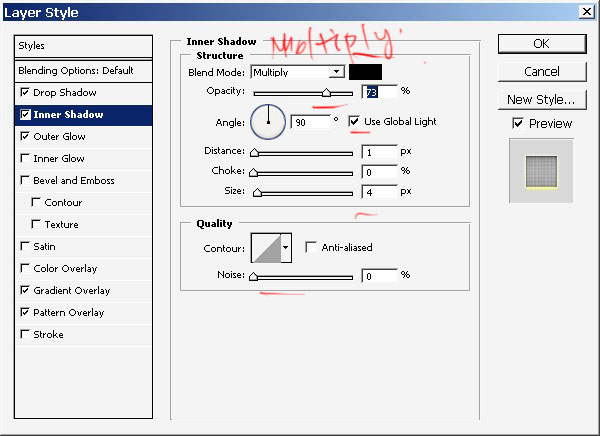
Now the basic highlight/shadows are done here, let’s apply some layer styles.
Here what I’ve chosen.
Looks better.
Select the layer again. Select All command.
Now choose the round marquee tool and holding the shift key select here.
It will leave only what you haven’s selected.
A little transform and further this one too.
And use the same white to transparency gradient.
Be patient! Any illustration is built form small pieces.
Now you remember that we had 2 copies of the layer. Forget it :)!
1 – Fill the Background with pure black.
2 – Turn one of the copies off visible.
3 – Erase the layer.
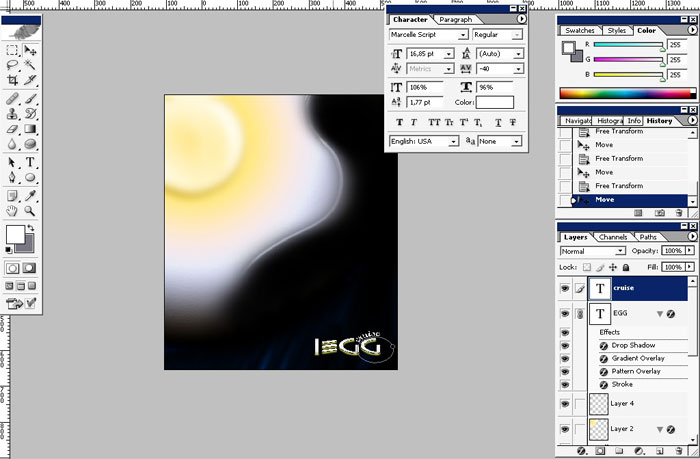
Then the second line.
You can actually type on the path. So create around shape. Note the options here too.
First create the path and then select type tool.
Transform.
I’ve also changes the style of the type.

And I can say we are done here. A ready to be printed illustration for the kitchen or some kind of interior is done here.
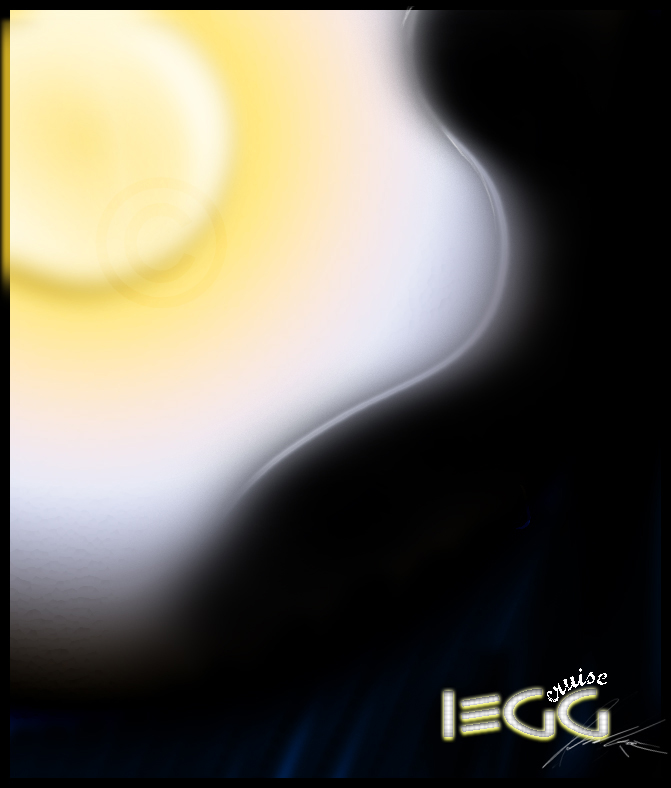
Finished.
Comments