
How to create Background or Logo
This tutorial is about making a logo or something like this. Actually you can use it for loading screen in the video game or as a part of background; doesn’t matter. The thing is that you are going to find out how to make it.
So let’s start.
Create a new document.
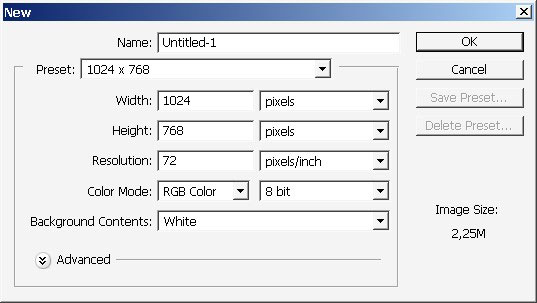
Make a layer and fill it with simple black. Then create another layer and use gradient on it (with opacity set to about 20%-30%).
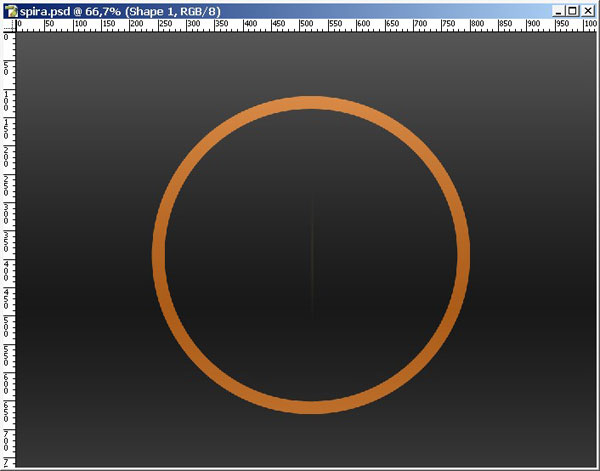
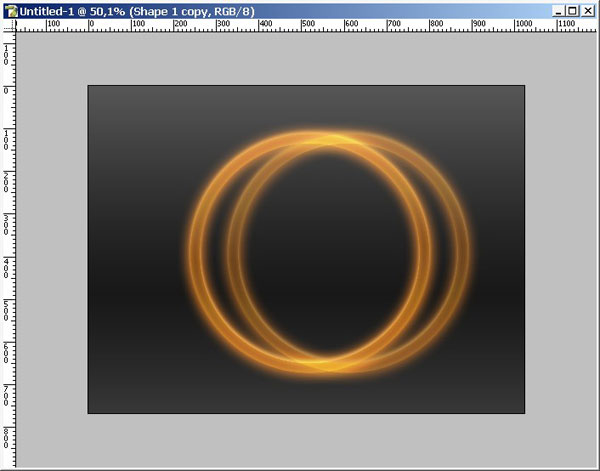
Use custom shape tool and create an object. I’ve chosen this one.


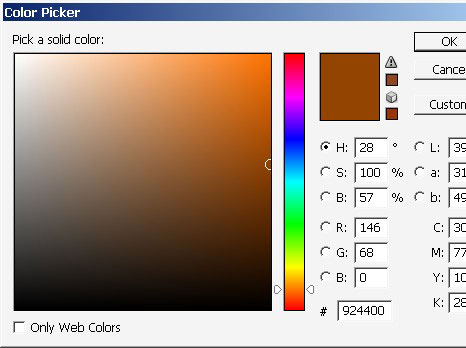
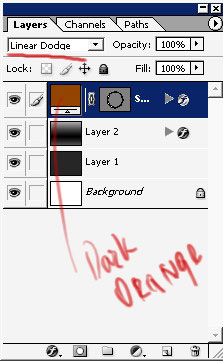
The color of the object is?
Now let’s make some effects with PS styles.
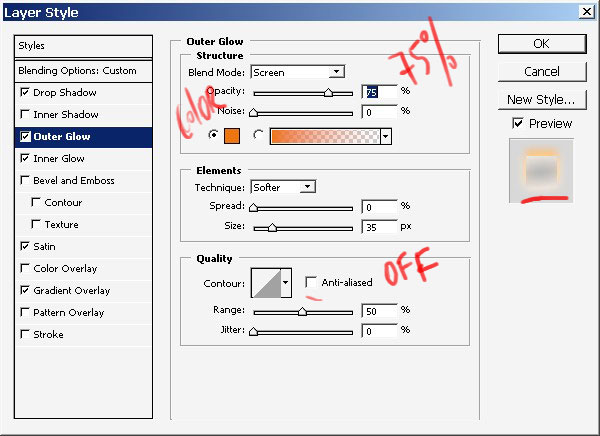
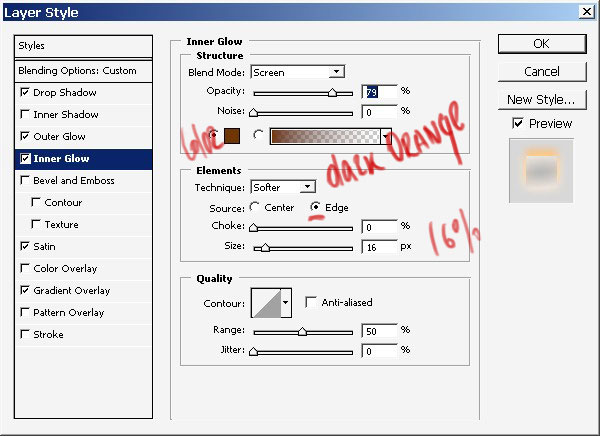
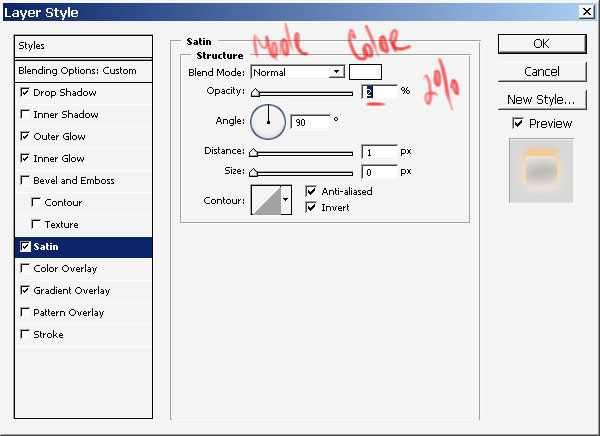

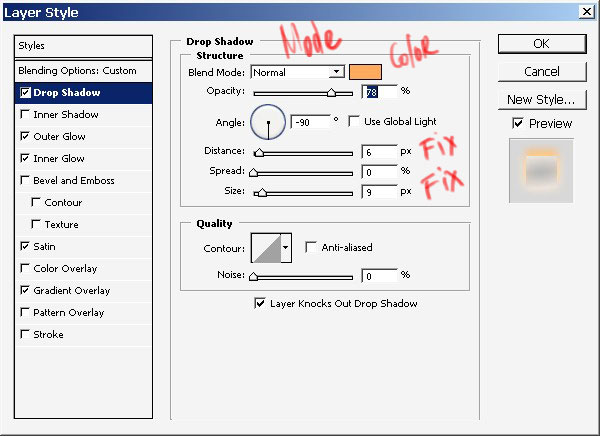
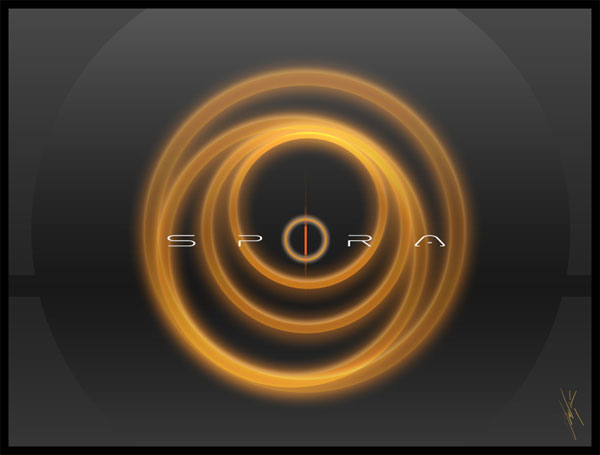
And here is our result.

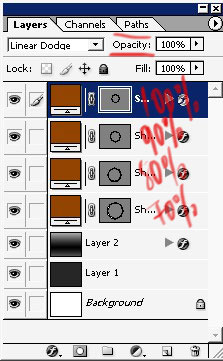
Use Linear Dodge for this layer:
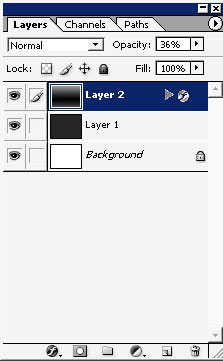
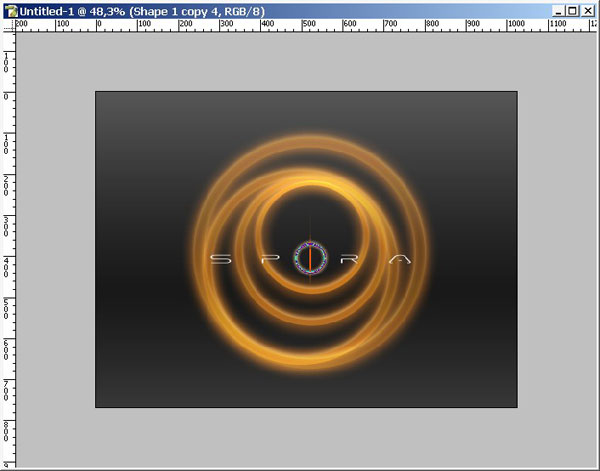
Now I want you to copy this layer several times and transform each of them.
?. and one more.
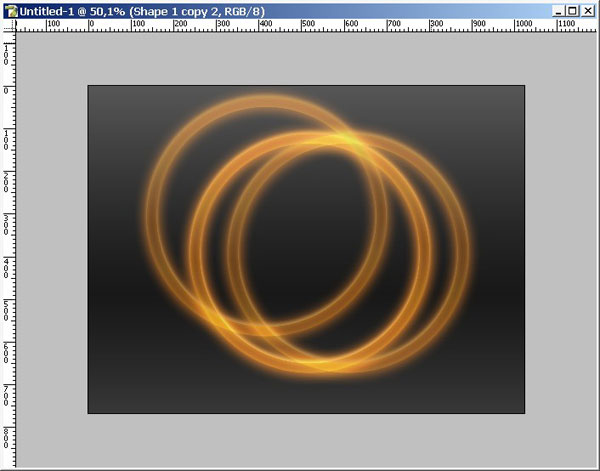
Then let’s transform each of the objects and sat it like we want.
And here is my Ubisoft? logo like result.
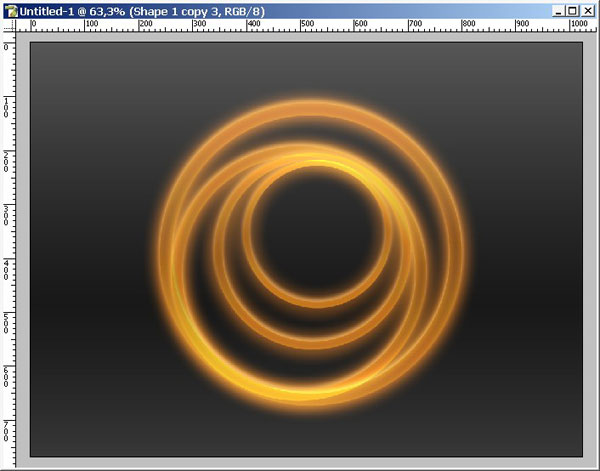
To set some sense of depth change the opacity levels for every object except the smallest one.
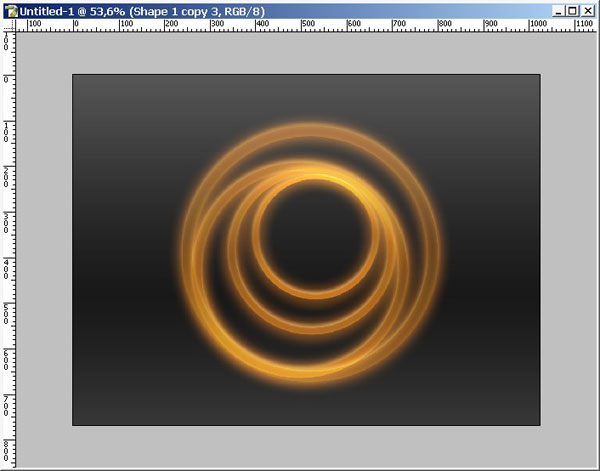
Now it is time for the text.
Maybe???.

Center it.
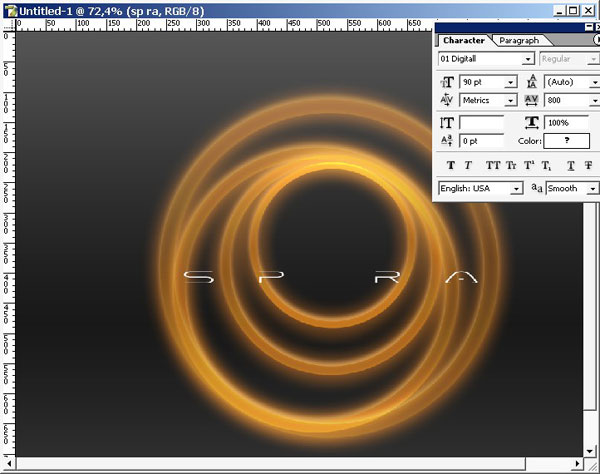
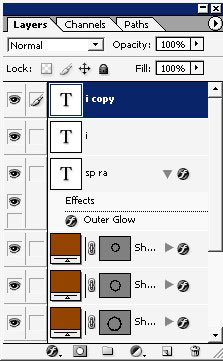
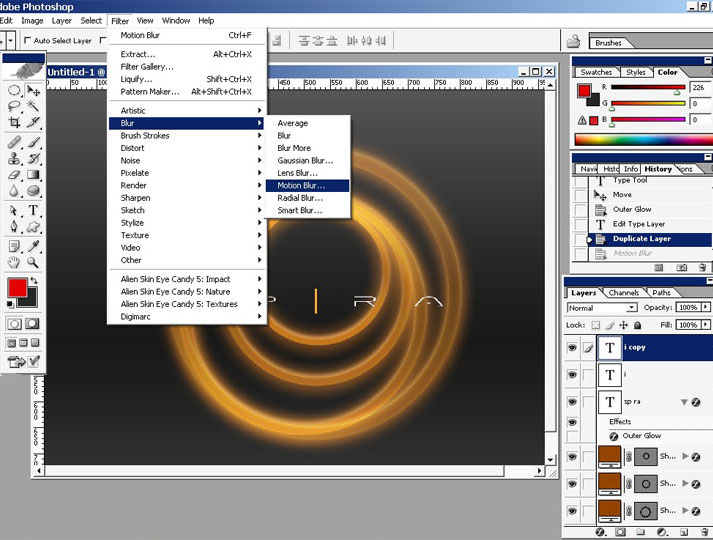
And change the layer order. And make a copy of – I – (SPIRA).
Blur the ? I ? with motion blur as you want.
Result.
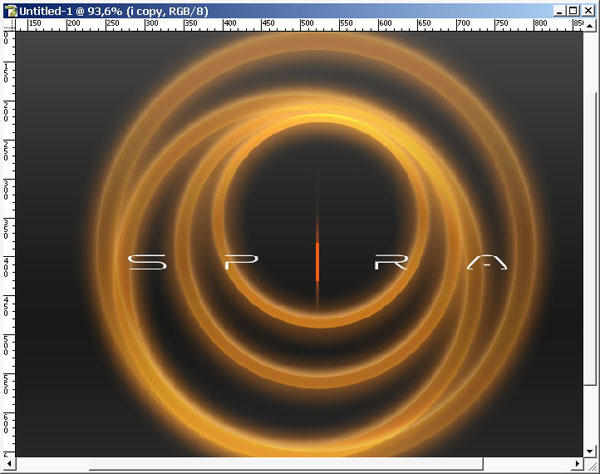
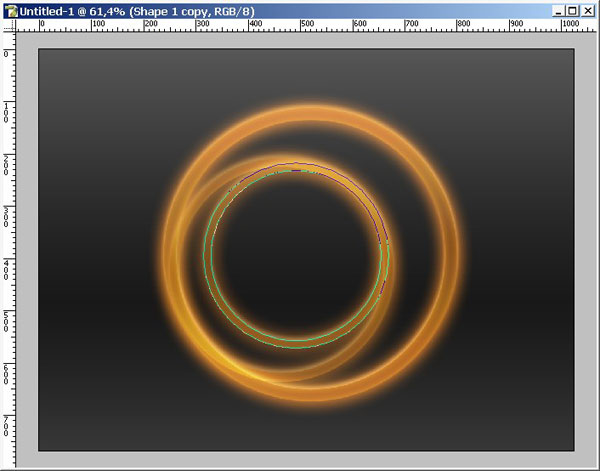
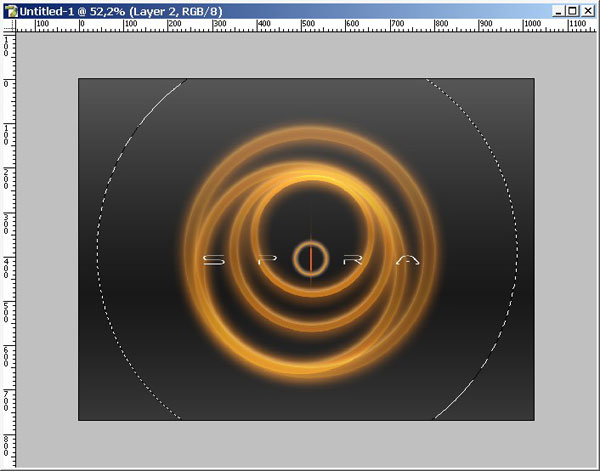
I really want to make one more circle for ? I ? .
And final steps:
Make a Round selection and select it inverse.
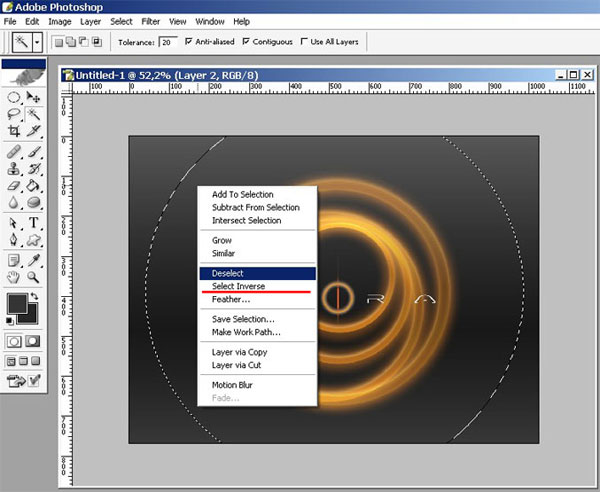
?..and fill the areas with simple black but with opacity set to 30 %? 40%. Done!
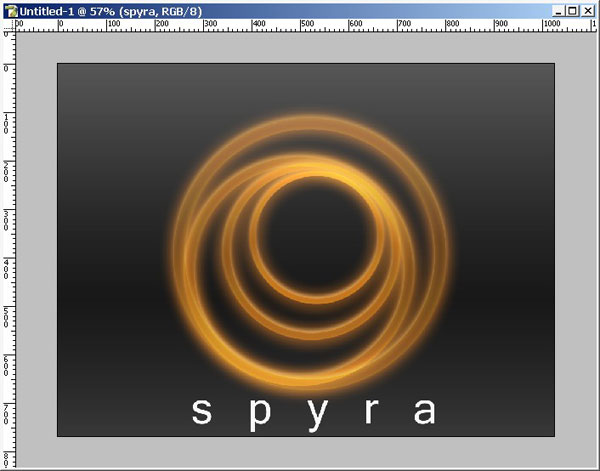
+ View full size image
Enjoy it!!!
Comments