
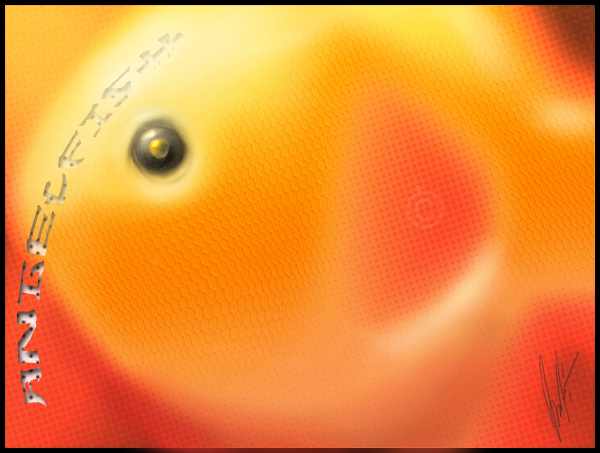
Angelfish Illustration
In this illustration I’m going to show you how to create objects using multiply layers and gradients.
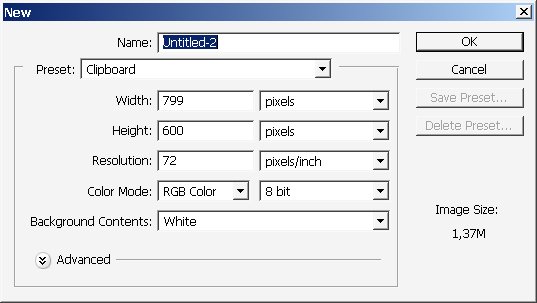
Start as usual ? by creating a new document (1024×768) and a new separate layer (ctrl+alt+n).
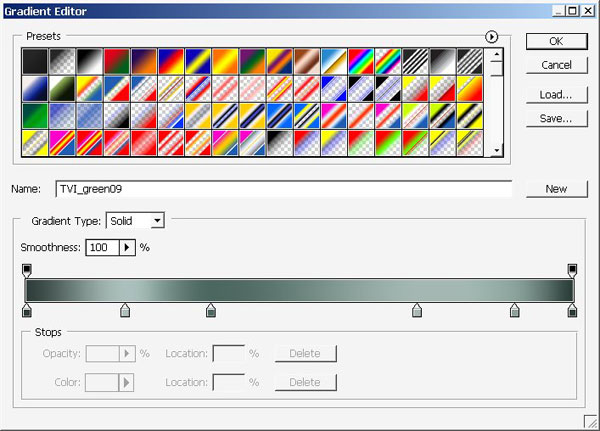
Now use a gradient 2x times with further options:


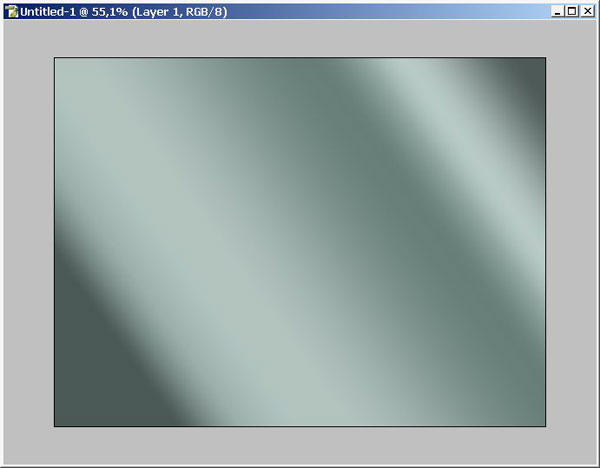
X1 result:
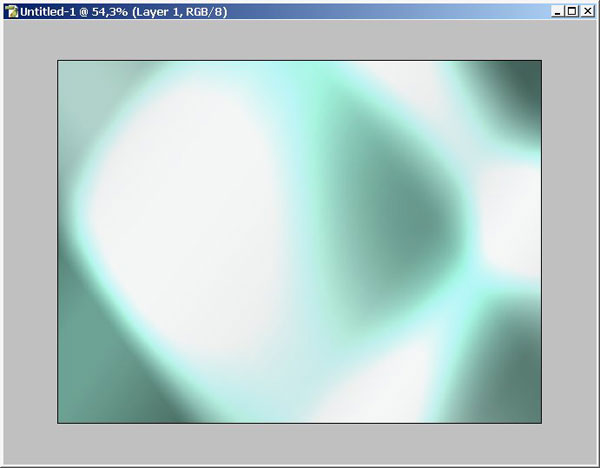
X2 result:
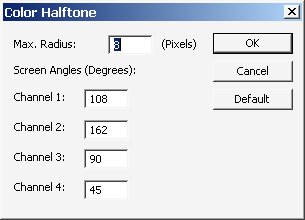
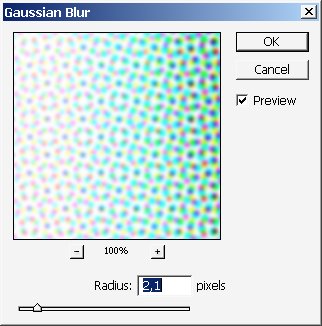
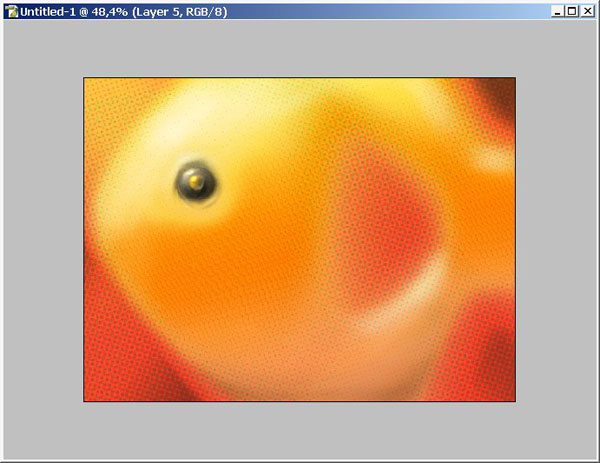
Make a copy of the gradient layer and use some filters on it.
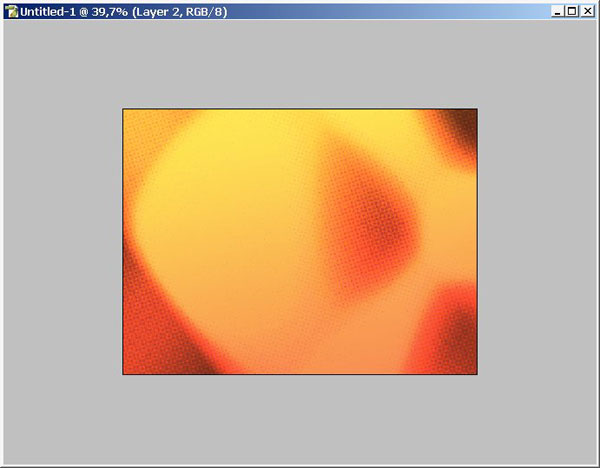
I?ve used Color Halftone filter with a little bit of Gaussian blur filter.
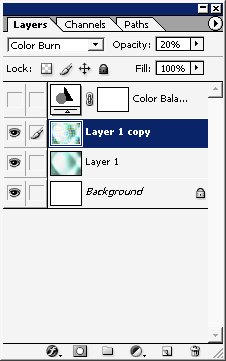
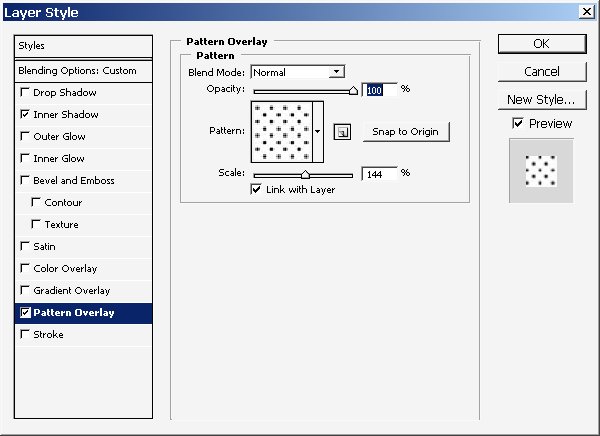
On layer set Fill/Opacity and mode:
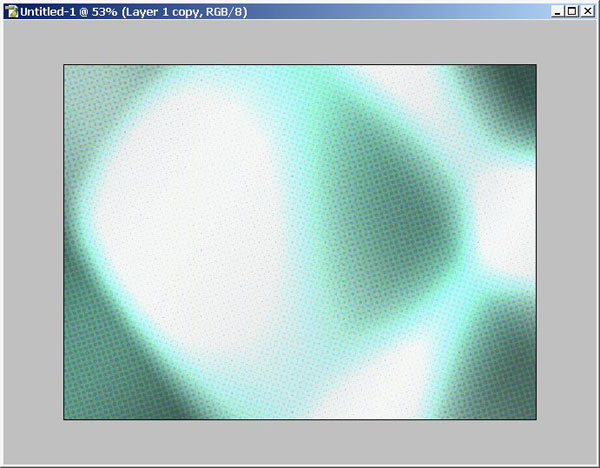
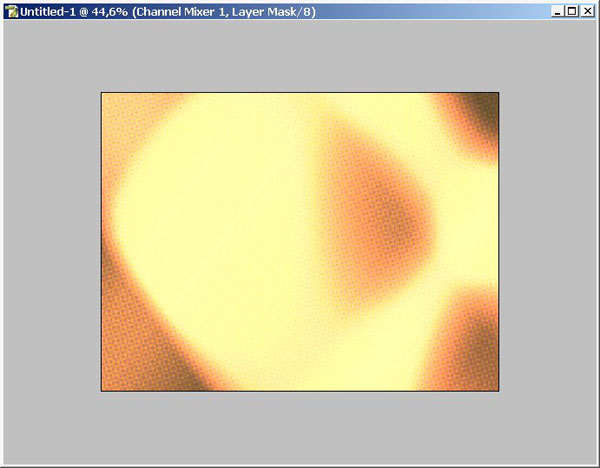
We got this:
I’ve used a little color correction changing the color gamma of my image. I like it red.
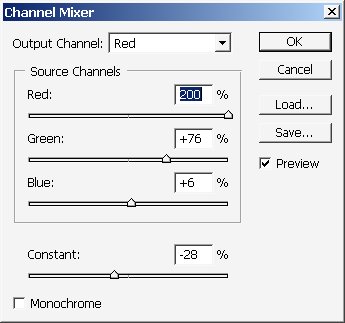
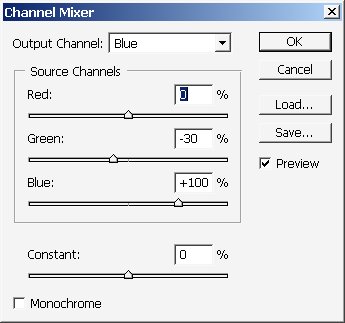
So just create a new adjustment layer ? CHANNEL MIXER.
And here are my channel mixer options:

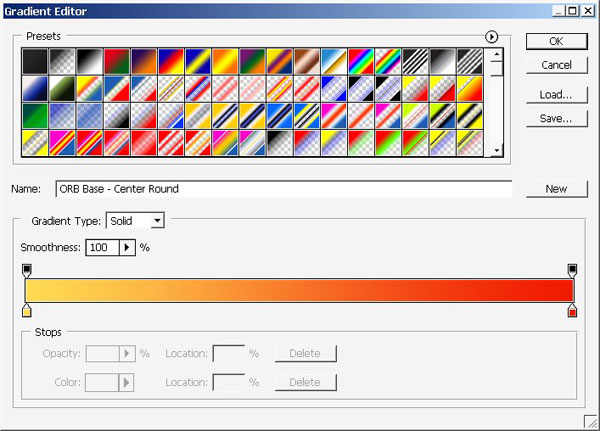
Now I want to use another gradient on the image ? use this one 2 times as well.

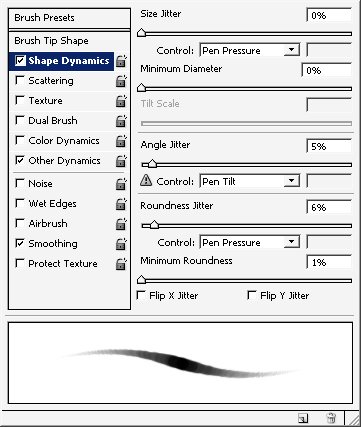
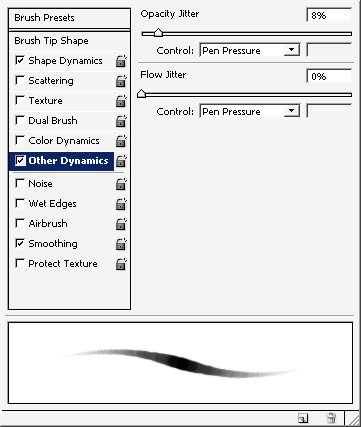
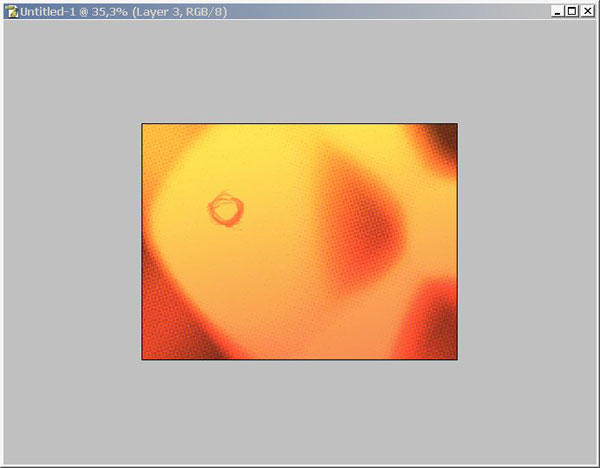
Now let’s paint a little (so create a new layer and begin) with basic brush.
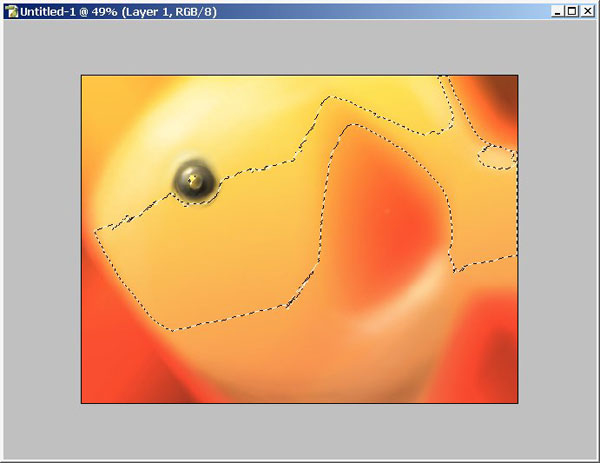
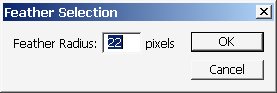
Make a selection using color range + use further command and copy the selection to separate layer.
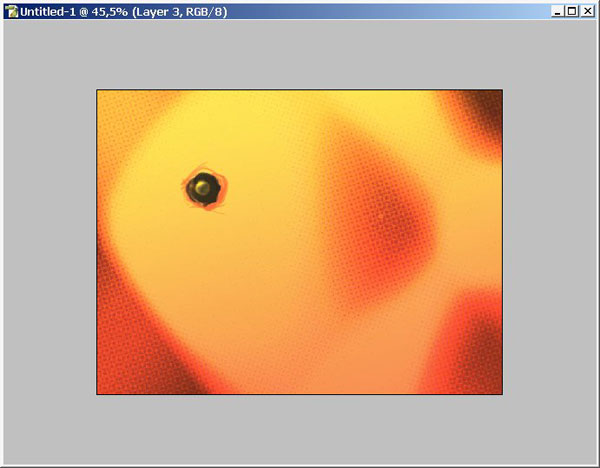
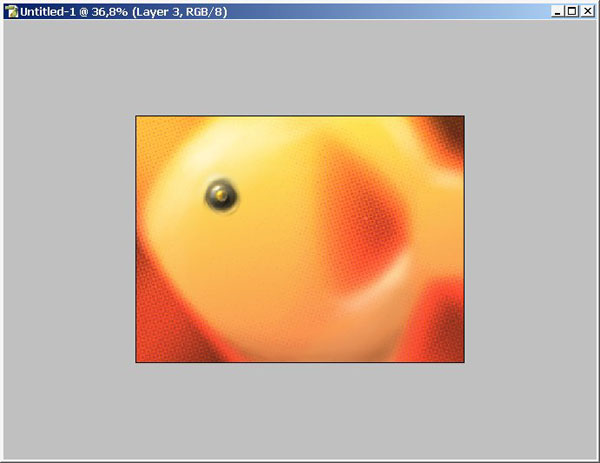
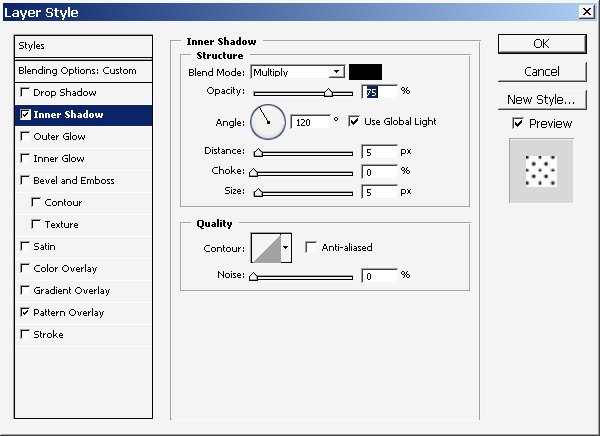
I will use my alien skin software plug in.
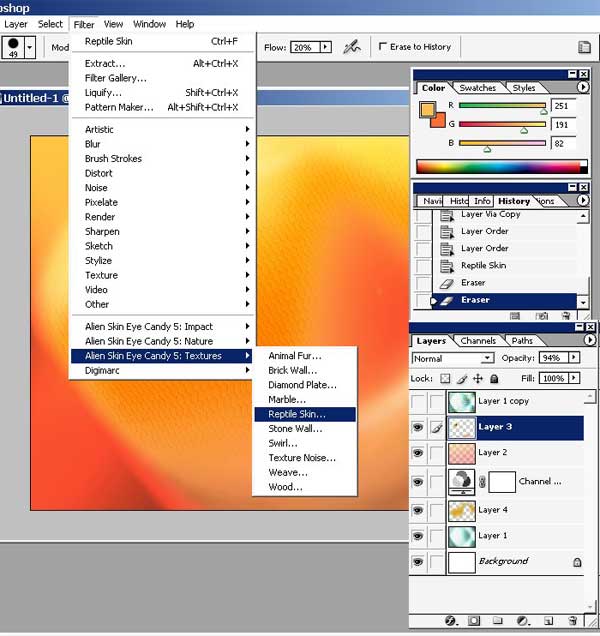
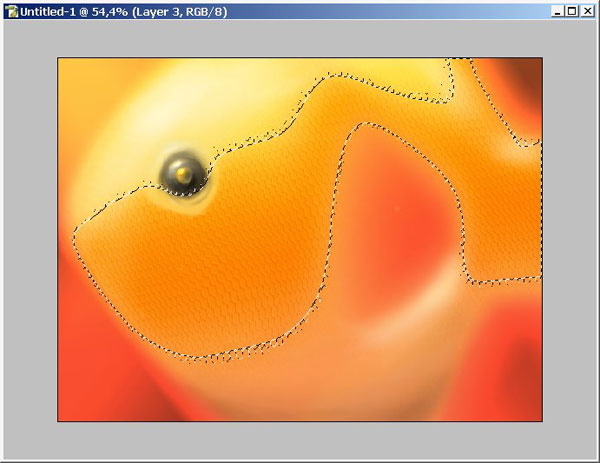
Erase a little bit near the eye using LOW FLOW (2-5%) Eraser.
Text settings:
Now write some text line and we are done here ? ENJOY.
Comments