
Matia Cafe Illustration
Today I want to create an illustration using PS layer styles (maybe) and custom brushes techniques.
Our subject for today is a Creepy picture ? the tonal gamma will be definitely COLD. So let’s begin.
Create a new document ? let’s say 1024×768 (for better details) ? ctrl+n and a layer ? ctrl+alt +n.
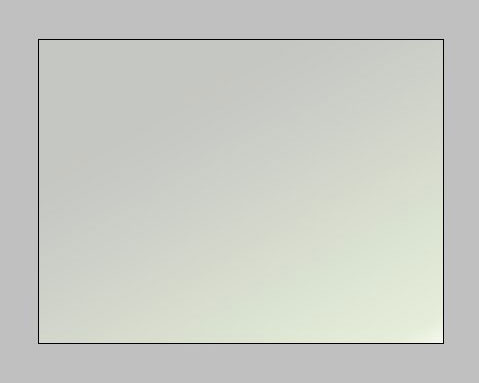
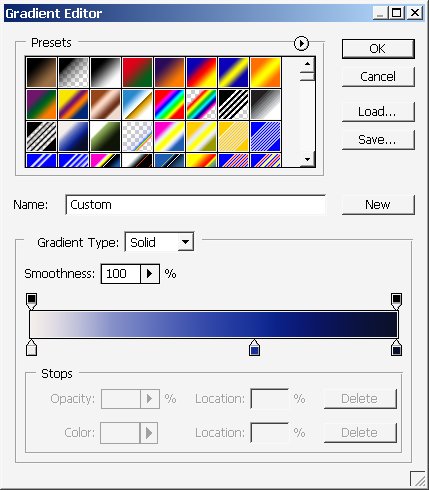
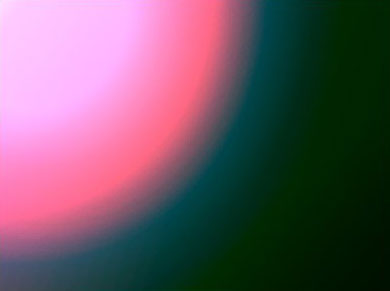
Now I will experiment with some gradients.
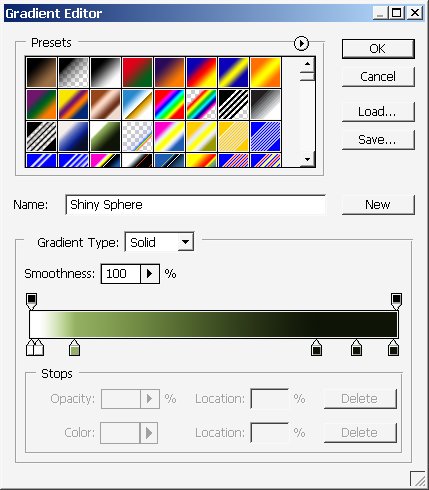

And here are my results and settings.

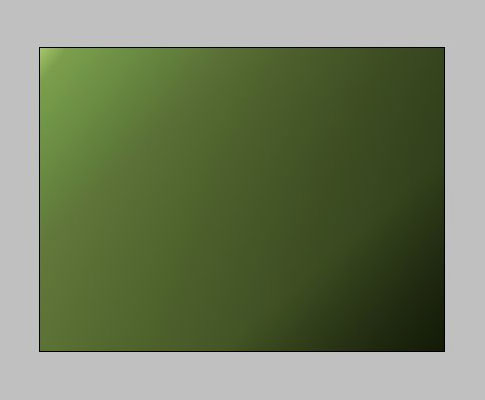

I’ve used the same gradient 2x times ? but with different settings and I’ve created a new layer and fill it with another gradient. (LAYER master mode ? Linear Light).
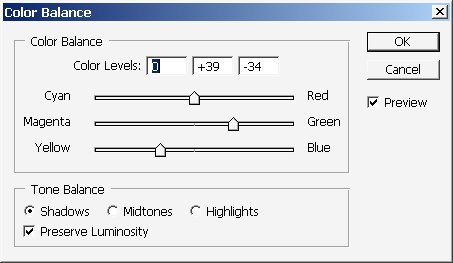
Result ? I really wanted to change that color ? Position ? on the top!

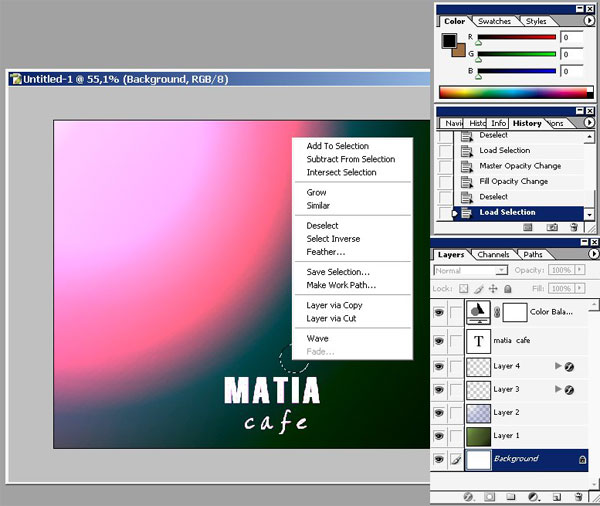
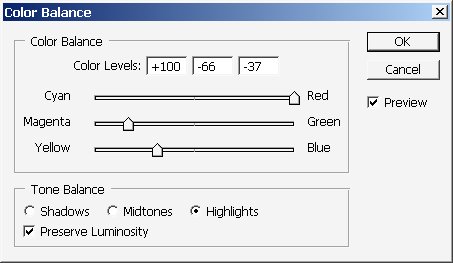
Then I?ve used some adjustments by creating an Adjustment layer.
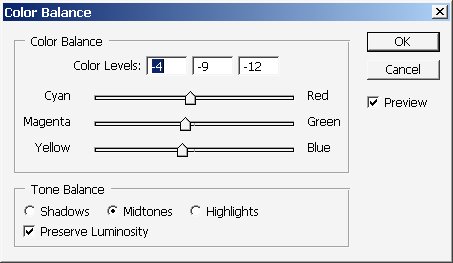
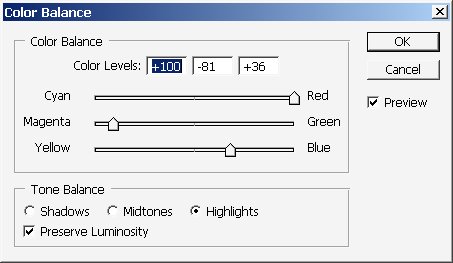
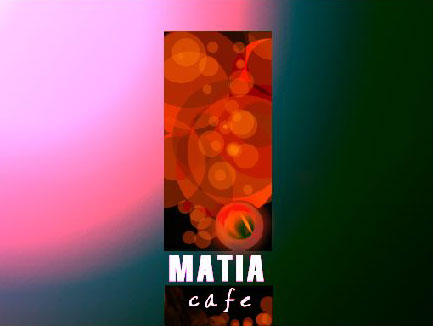
Result is amazing:
I really want to create something beautiful ? so I just add a text here. I will use 2 different fonts ? this is a very important note. Using 2 different fonts you can create even a logo, without drawing and illustrating. And here is my text ?MATIA cafe? ? don’t even know why ? the first thing that came into my mind.
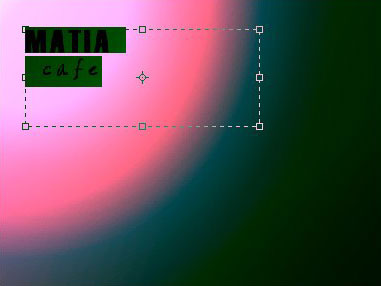
Now think about the design ? and about text position. I think the best position will be here in the bottom center.

Looks ok but the text certainly need a logo or some king . I want to make something on the top of “I”, maybe a dot.
Use Layer via Copy command (from background):
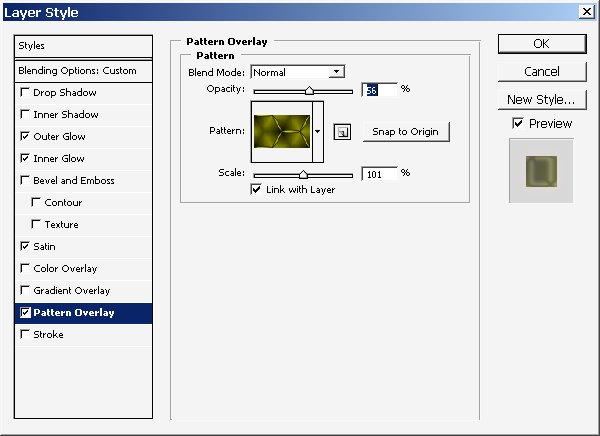
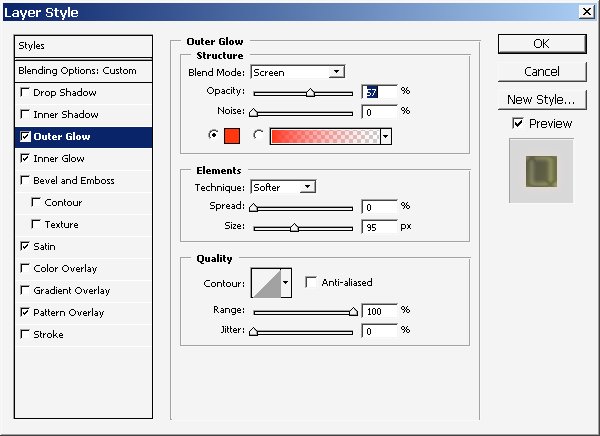
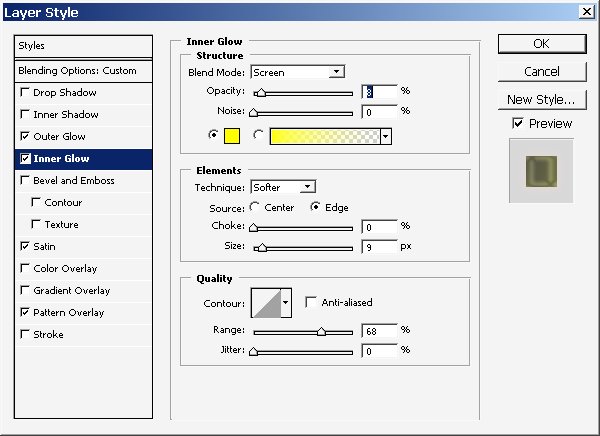
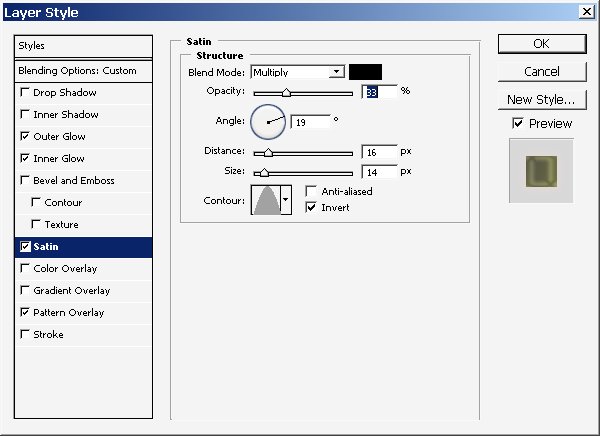
Put the layer on the top ? but under the Adjustment layer. Turn layer Opacity FillOpacity =19/92 and use these layer styles.
Result:
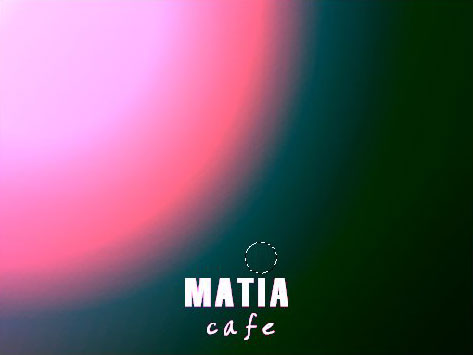
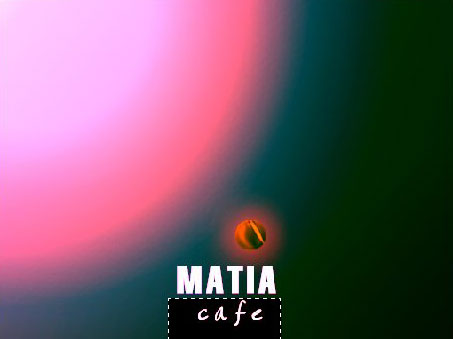
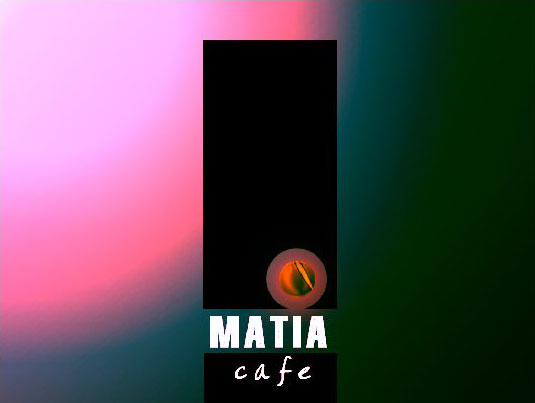
And now it’s the final step ? just select the area and use the same step ? Layer via copy from background.
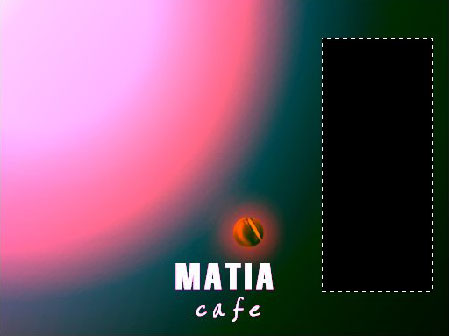
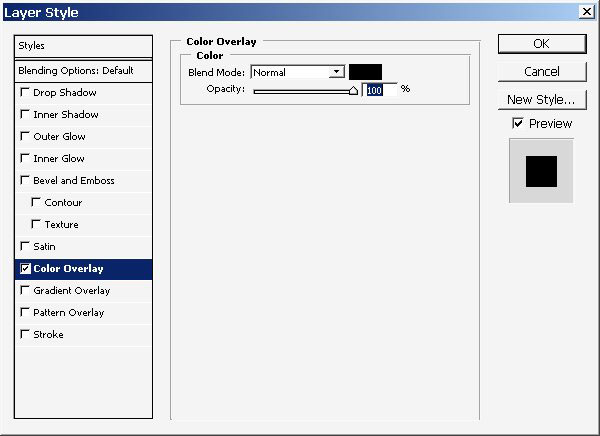
Fill it with black Using Layer styles and position it here in the bottom.
Now make a copy of this layer ? first select the Move Tool (v) and then just drag holding Ctrl key (note when Not selected!!!)
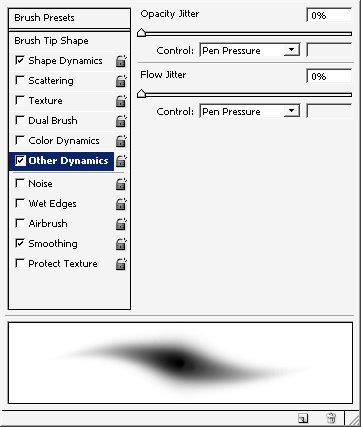
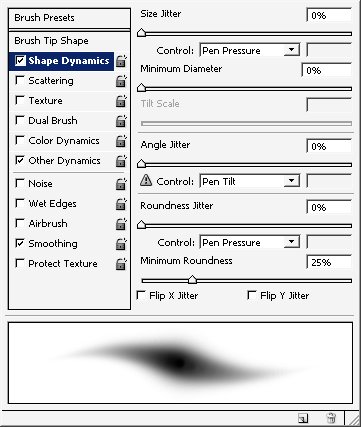
And erase the lower right part of It Use maximum Rough Brush Position:
Now I want to paint a little (on a new Layer).
Mode Vivid Light ? color Orange.
And here it is:
You can paint all this even with mouse ? just play with the opacity and brush size. Now when we have such a beautiful orange color in front w have to do something with that background.
I will change my highlight definition.
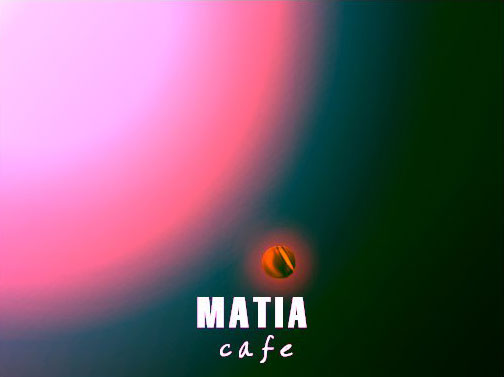
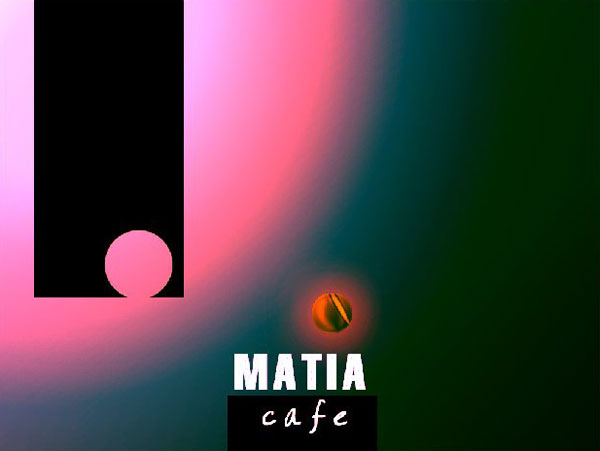
Ok it’s finished.
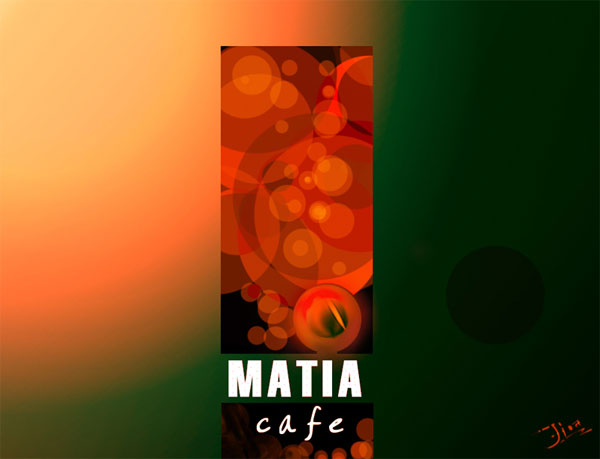
Enjoy!
Comments