
Adobe Photoshop Glow Effects Training
Today we are going to practice some amazing glow effects, in combination with some PS standard filters. So let’s begin.
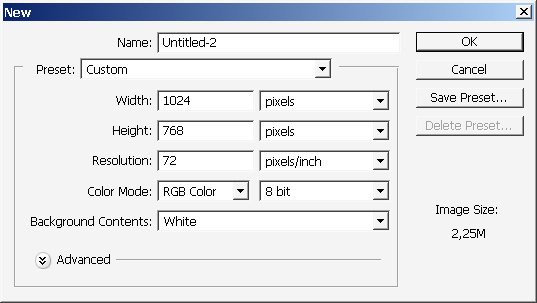
As usual create a new document and a new layer.
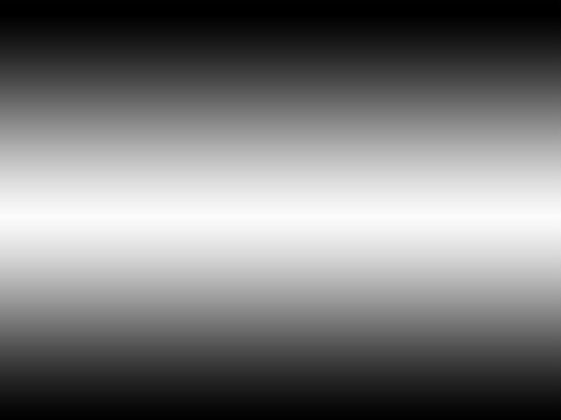
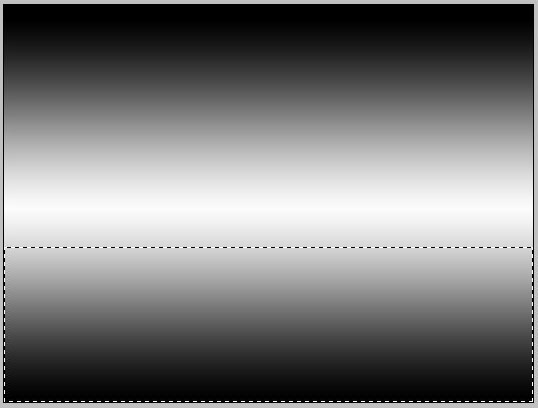
Fill the gradient with Reflected gradient (Black and White).
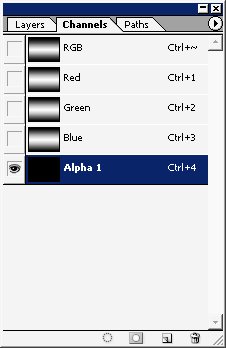
Now do this thing ? it will be explained later on.

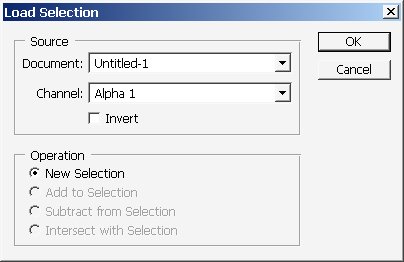
Create a new Alpha channel use black-white gradient on it. Load the selection and use Ocean Ripple (only selected Area!).
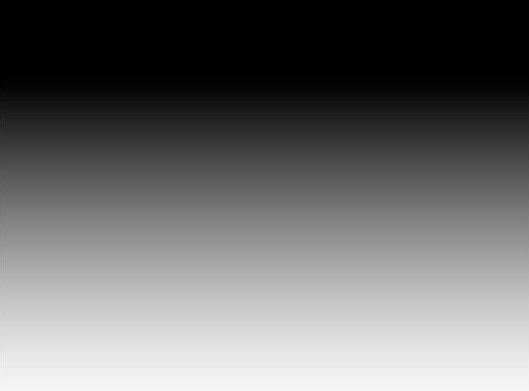
Play with settings ? I chose this. And the result is:
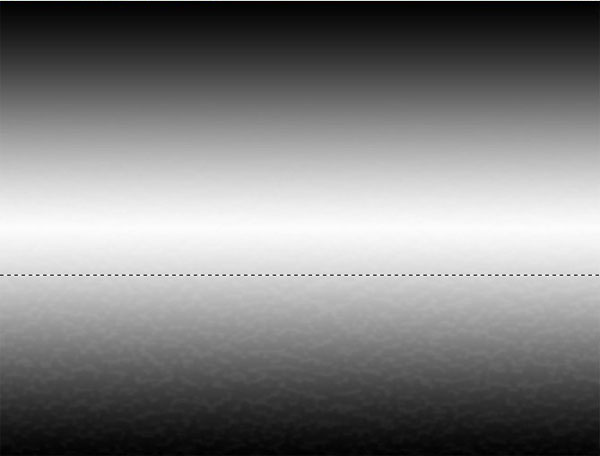
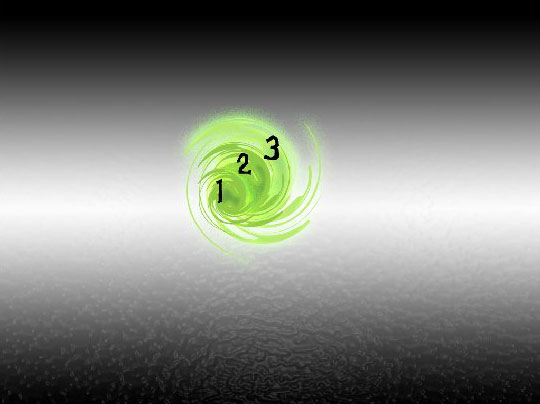
Well let’s ripple it a little bit more.
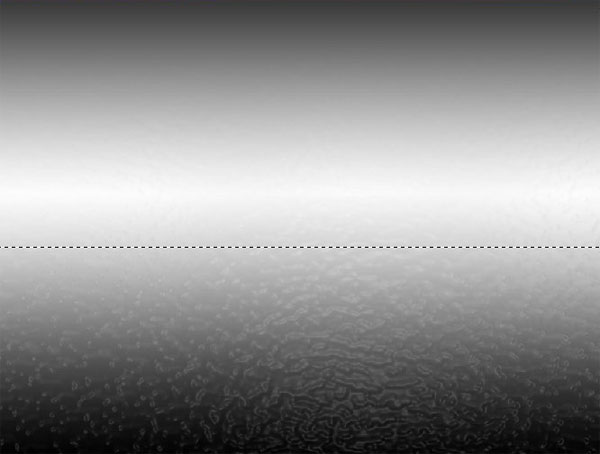
So I used Plastic Wrap filter to create more realistic water surface. Result:
Now let’s make some objects, on a new layer of course.
I’ve used my custom Objects like there ones:
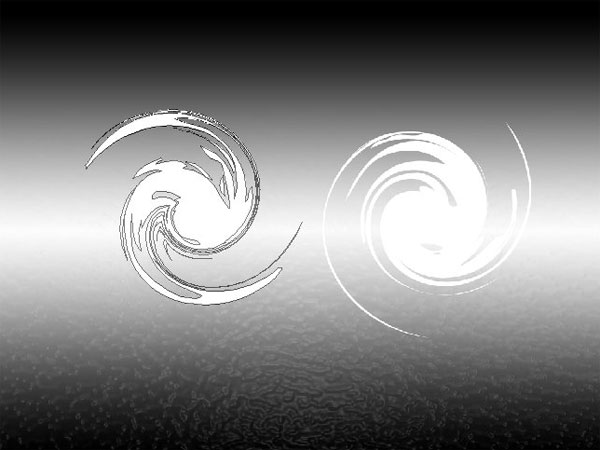
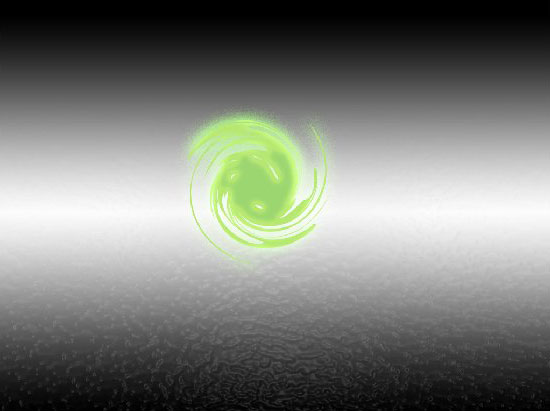
The idea is to create something like magic trails.
More over I’ve played with object positions and have merged it creating one Non Vector layer.
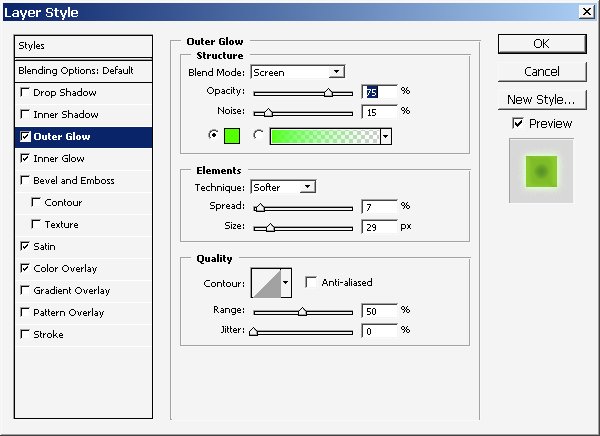
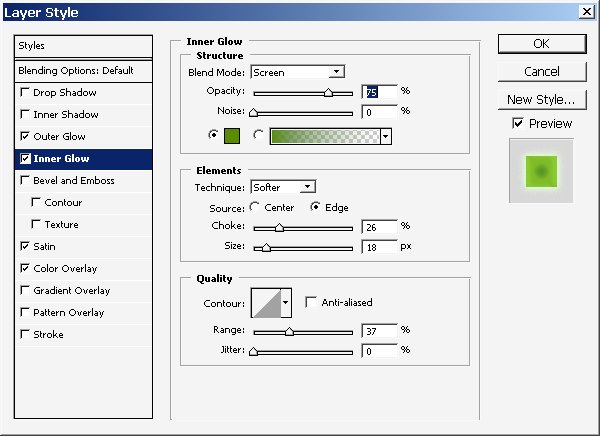
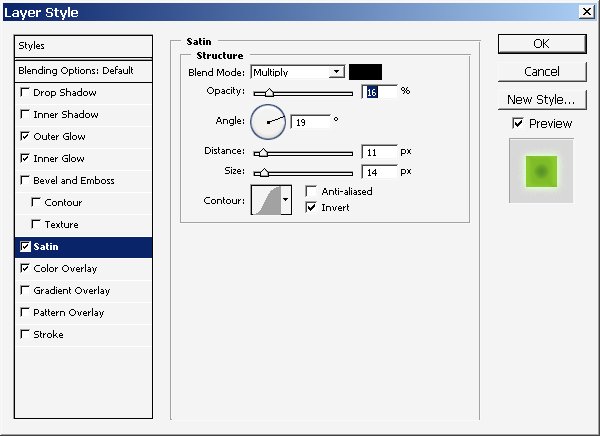
I’ve also used some layer styles for this as well.
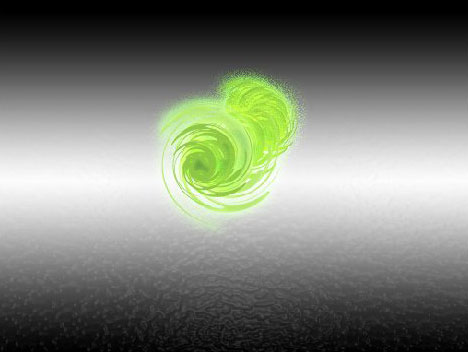
Color Mode ? Lighten:

Result:
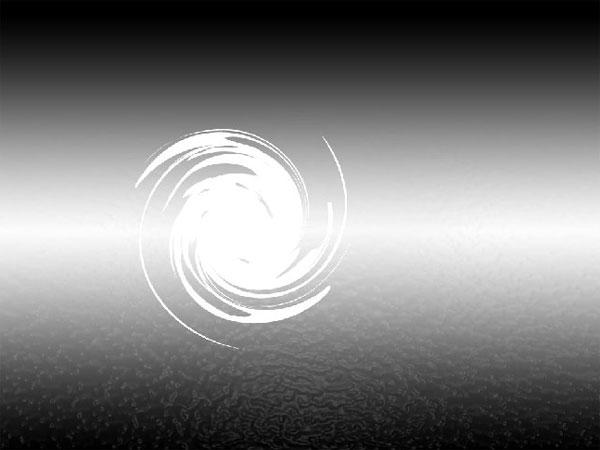
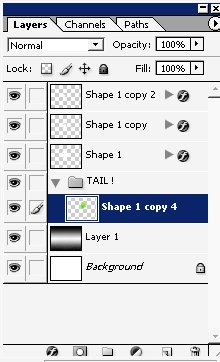
Now make 2 copies of Magic trail layer and Resize them like this ? and set the position like this:
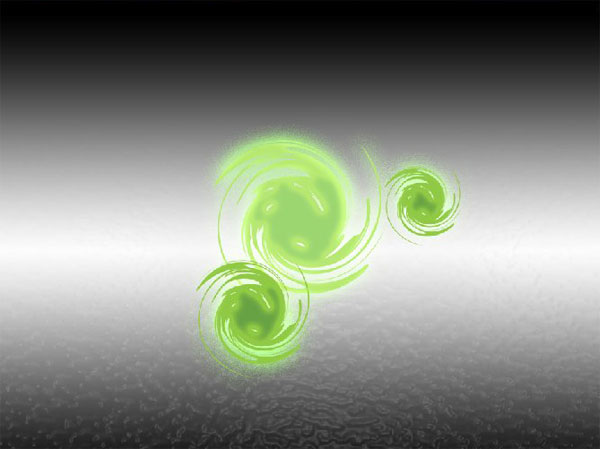
Now copy the smallest layer several times ? (on upper picture it is ? Layer that has #1).
So here is what I did. It is very important the position of the layer. + I suggest you to create a layer Group (if you are using PhotoShop CS of higher) ? our group will be called ? TAIL!
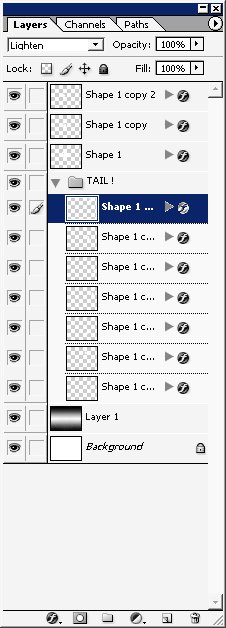

Now it’s time to position all this crap. I will choose to set them in this way.
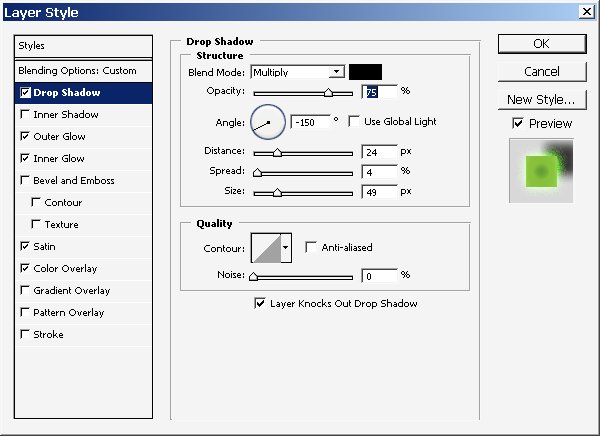
I’ve used Drop Shadow on layer 1 and 2 (on the Picture).
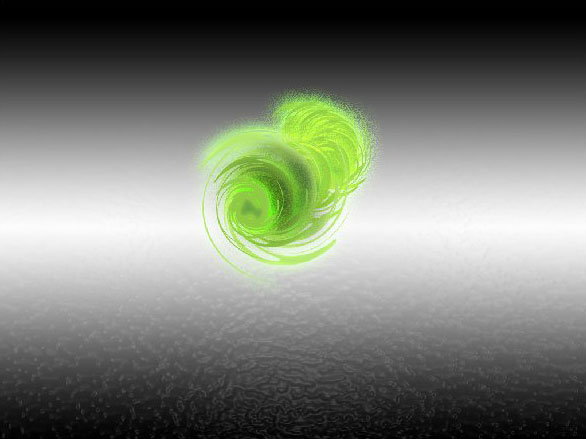
And one more thing ? if you are satisfied with re result ? just Merge all the layers together ? (as you want actually) I’ve merged only TAIL.
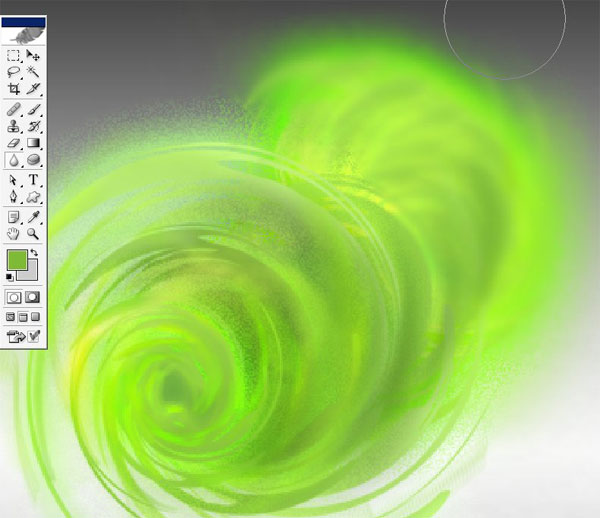
Man tire of this mouse business ? let’s paint create a top Payer a go!
Use soft brush with minimum Flow settings (let’s say ? 10% -15 %).
I’ve used Blur on the background of the picture (it’s a law of painting).
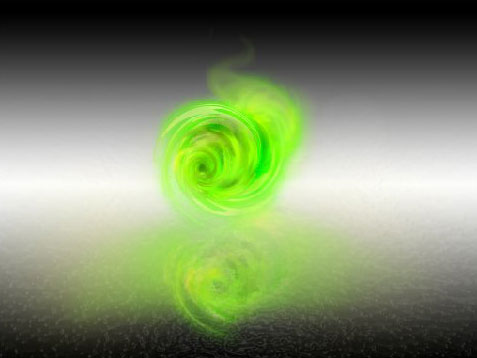
I’ve copied the Key layer. + I’ve set the opacity at about 80 -90 % – and erased some parts of it.
An there we have it ? Magic some kind of trail is finished) = Crop the file for better composition.
I’ve used and Adjustment layer ? CURVES.
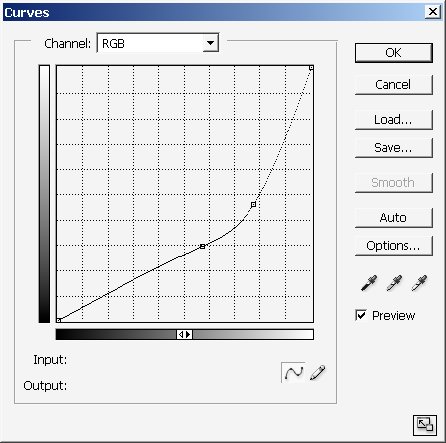
So here it is:
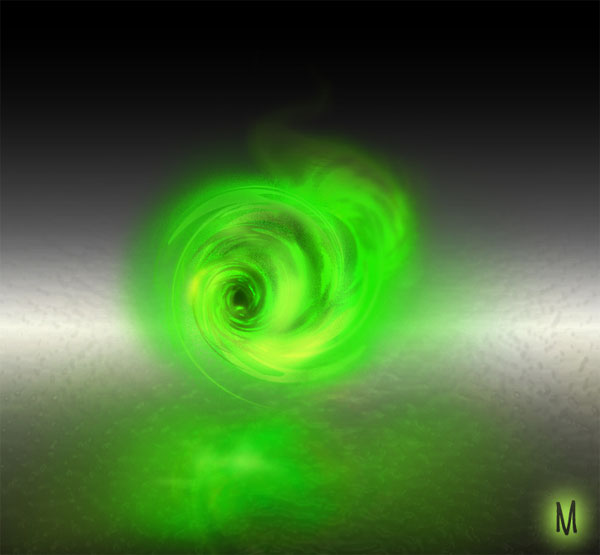
Enjoy!
Comments