
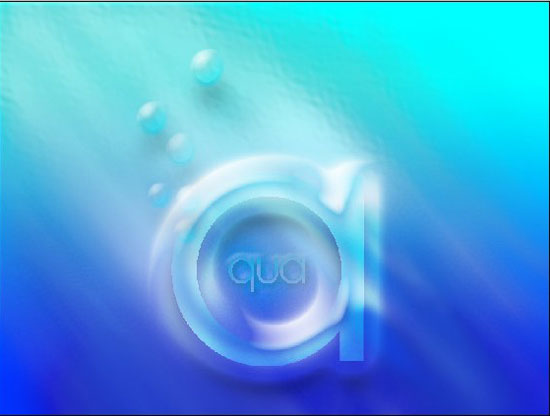
Aqua pure illustration
Hallo ? our idea for today is to create an Aqua theme wallpaper or illustration, so let’s get started.
The techniques I’m going to use here are ? basic PS techniques using layers and layer styles.
Moreover in this work I’m going to use my Wacom tablet and basic drawing techniques.
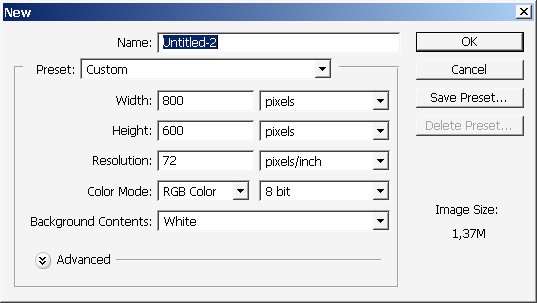
So start by creating a file (ctrl+n).
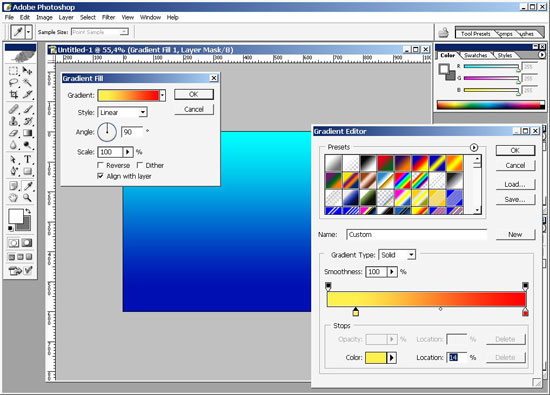
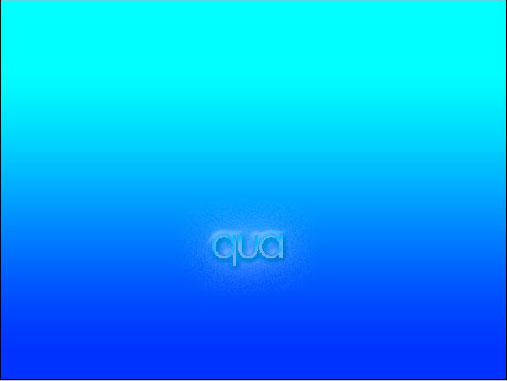
And a new layer (ctrl+alt+n). ? Fill our First layer (Layer1) with gradient or just create a gradient layer, as you wish. For my gradient I have chosen yellow ? orange color scheme. We are doing sea theme so set the BLENDING mode of our Gradient layer to ? Exclusion. Now we have a cool blue ? cyan gradient color.

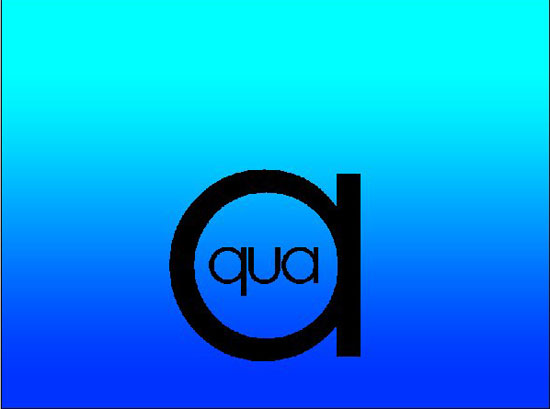
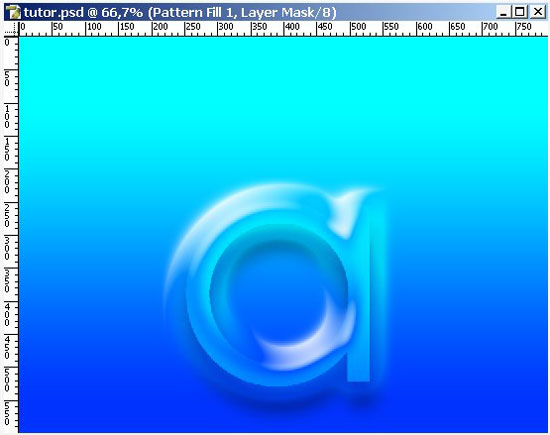
The second step will be putting a logo or some kind ?? I have written a big A ? with QUA in the center ? the word is aqua. If the theme of our tutorial is water I want make this logo water styled. Create 2 separate layers: one for the letter a and second for ?qua (aqua).
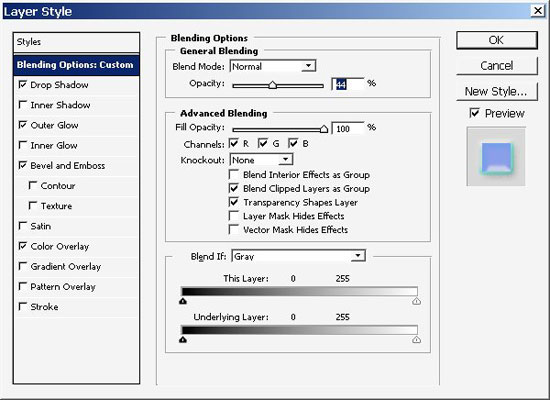
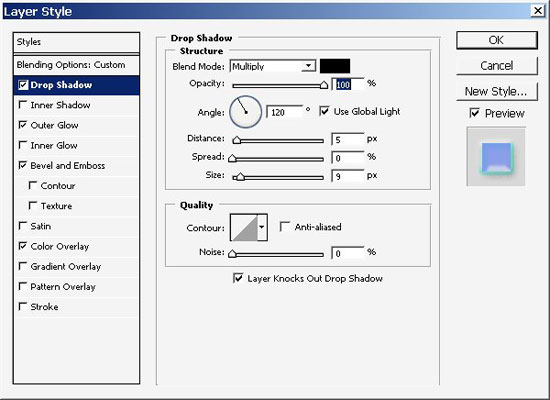
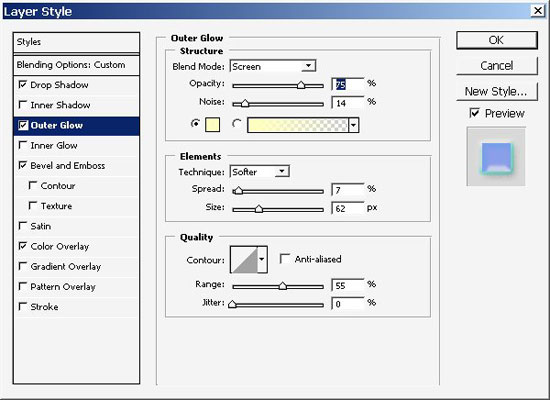
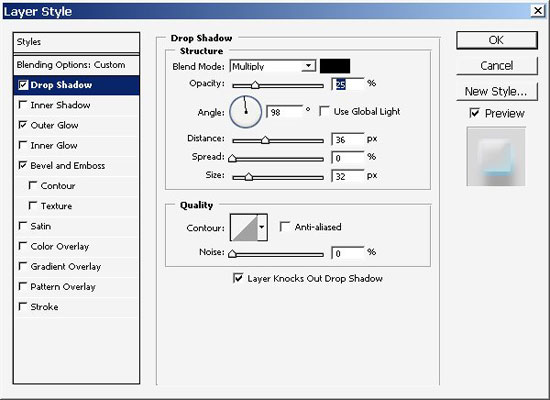
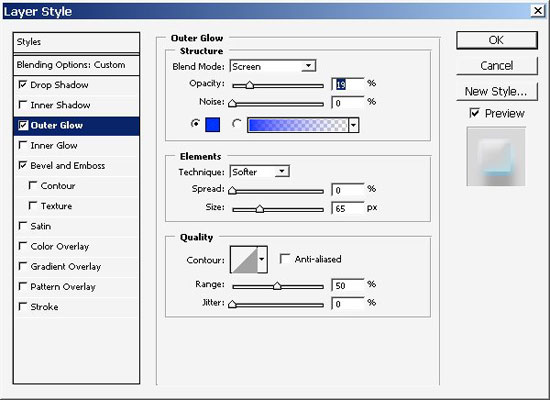
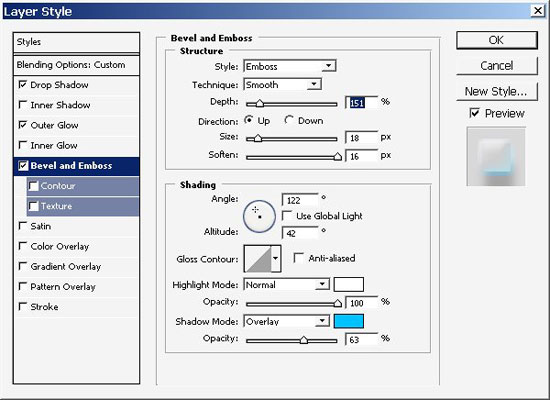
So here we go: enter layer blending options of our letter ?A? layer Instead of telling you how to set blending options I will just let show you. But remember that layer FILL OPACITY ? must be set to 0%.
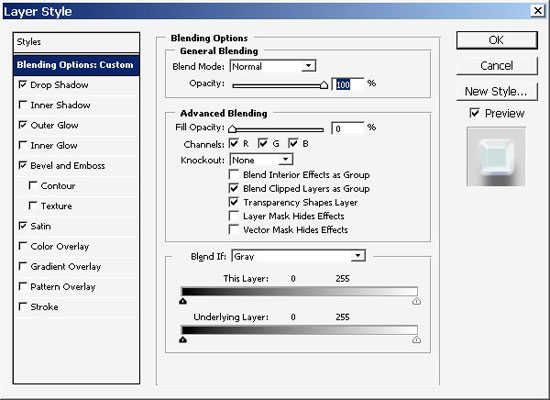
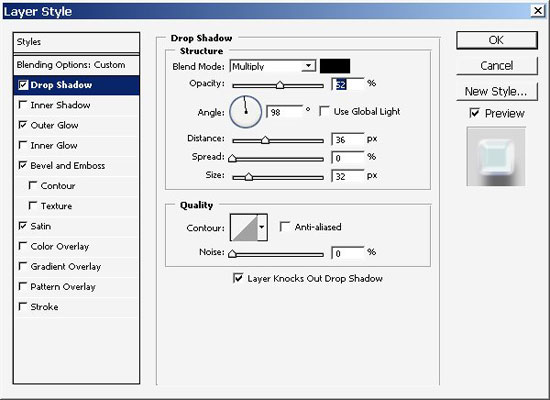
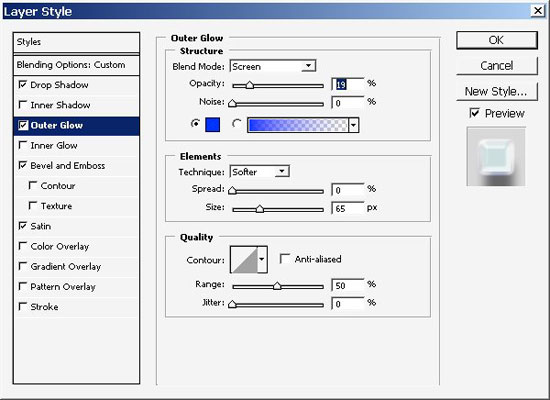
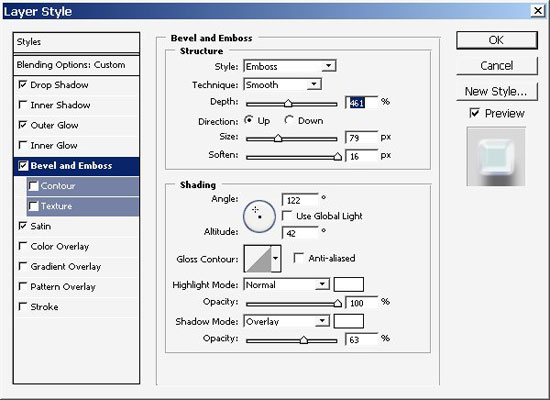
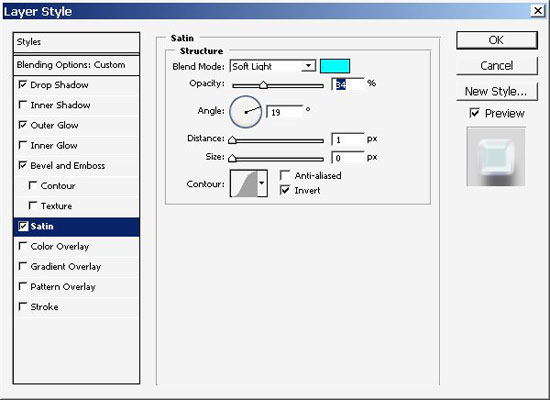
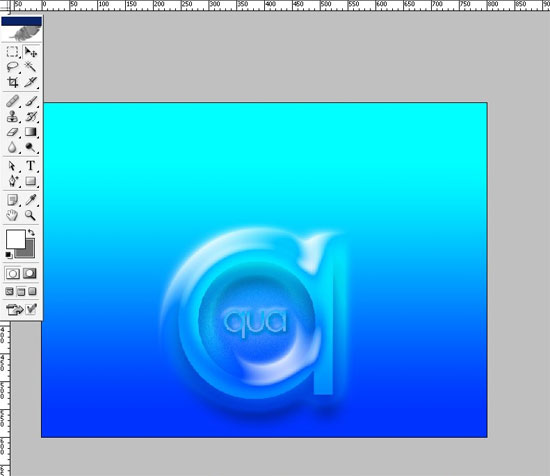
Here is our result ? I’m quite satisfied with it.
Now lets take care of our QUA layer. It is all about blending options here too.

Result:
So that it about it about our logo. So basically my concept and idea is realized here. BUT this illustration seems to be dull and lonely. So let’s do something about it.
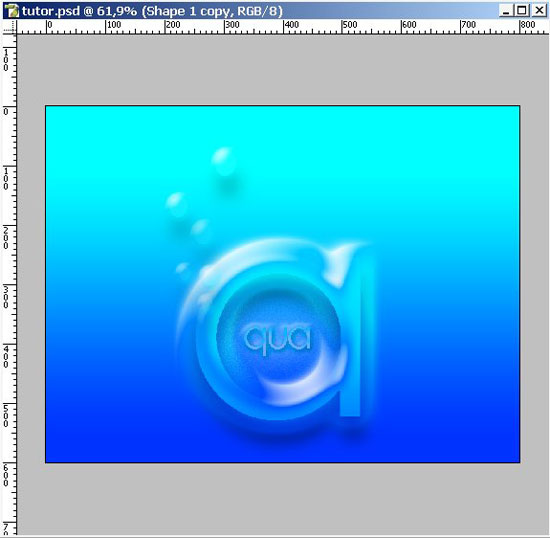
So create a new layer. It will be our BUBBLES layer. On this layer create a rounded shape using Ellipse tool (U) and set the blending options like this.
Copy this layer several times let’s say about 6 ? 7 times. Bring the fill opacity to about 8% or even 5% (no matter what the color of your ellipse is).
So here we have 6-7 exact the same layers. Resize (ctrl+t) each of the layer as you wish ? remember that the size and the quantity of the bubbles increases from down to up. Play with each layer opacity to bring the object to front or visa-versa. So here it is.
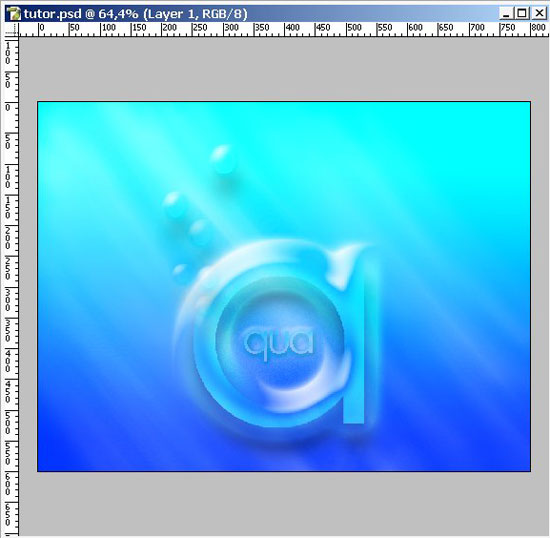
If you ask me this illustration is still dull and lonely let’s bring a little bit of realism. For this operation I will use my Wacom tablet ? finally) so create a new layer and begin to draw. The idea is to draw a light rays coming down in the water. It is very easy just set brush opacity jitter, flow jitter in the other color dynamics section is turned to PEN PRESSURE + in the Shape Dynamics Section ? the Angle Jitter is set to pen Tilt and the Roundness jitter also set to Pen Pressure. Draw with white color from up ? to down. (The overall brush flow is turned to 5 % for better smoothness). Remember to use eraser instead of white color to fix some lines. Use drop shadow on this layer.
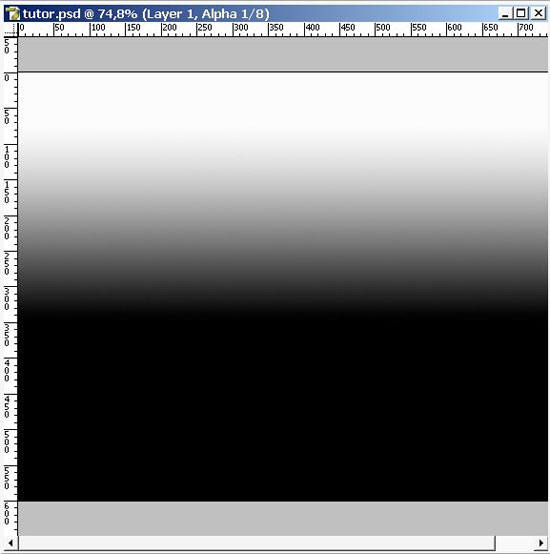
So there we have it. Quite ok! But still something is missing. Maybe some life? Yes, Why not? But before that i want to create water surface effect or some kind ? for that I will use Photoshop’s Alpha Channels.
So create a new alpha channel ? fill it with black ?to- white gradient.
NOTE: that Alpha channels are basically masks ? so what you see white will be affected by any Effect, filter. Or adjustments, the black area hides all effects etc.
Then click on the layer you want effects to be applied to (in our case it will be our last ? painting- layer). Then load the selection Select>Load selection ? and choose Alpha1.
Ripple the selected area Filters>Distort>Ocean Ripple. So this is it out some kind of ocean effect is done now. Of course the best way to achieve realistic water surface effect is to pain it by hand.
And where were we?. I want to make his illustrations a little bit filled ? so I will add some life to all this emptiness.
So create a new layer and begin to paint. I decided to paint Yellow fish.

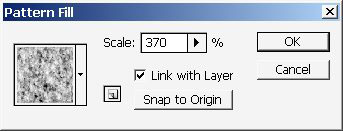
Man, it’s just isn’t enough for me) ?I really don’t like the how the substance of the water looks. Create e new pattern layer clicking an icon in the lower LAYER box.
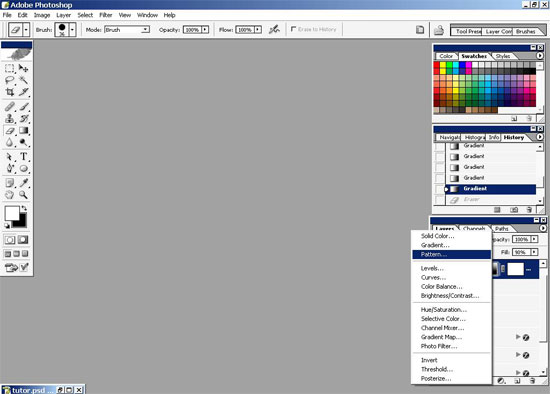
Fill it with any pattern that looks like clouds or has Rounded shapes. Actually there are many patterns that fit our example in standard PS pattern set. I have chosen this one .set layer Blending options to Soft Light.
and here it is
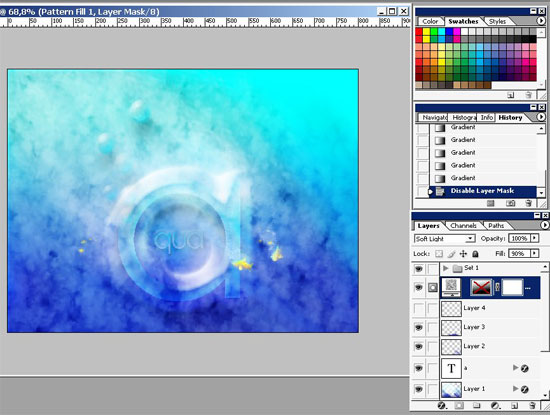
Now go to the Layer>Add Layer Mask and choose REVEAL all and use the black?to?white Gradient from down to up to hide the effects in the lower corner .
You can see where there effects will be hidden in the Channels menu.

Switch to Layers menu box and view the results.
So we are basically done here. We have funny yellow fish, bubbles and sun rays.
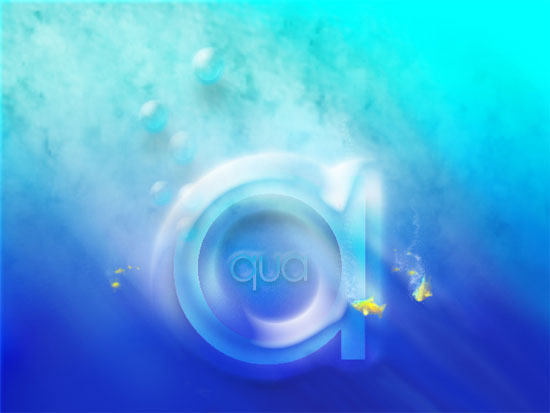
Our Aqua theme is finished now. Enjoy!
Comments