
How to create your own Planet
September 11, 2007 | 0 comments
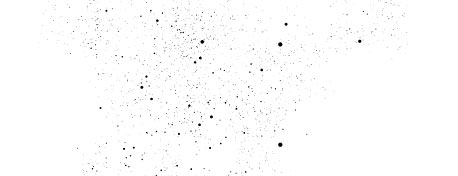
In this cool tutorial 🙂 I will show you how easy it is to create planet from the map of your favorite city. To start, we need space with stars. For that, I used my favorite ContextFree program. I wrote about it detaily in one of my earlier tutorials, so I will keep it short. Download this file –  stars.cfdg – renders it several times at large size, and save as PNG images. One example is this image – lots of black dots on white background.
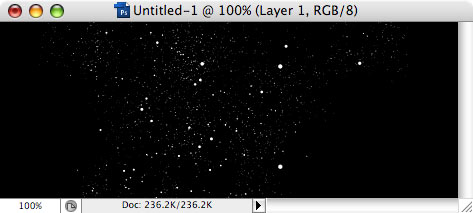
Load image created by ContextFree in Photoshop, invert it (Ctrl-I).
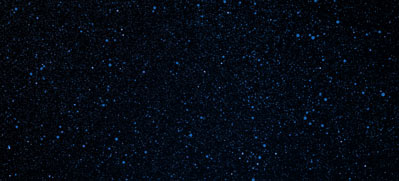
Then create new layer, fill it with blue color, and set this layer blend mode to Multiply. it will make stars blue, not white.
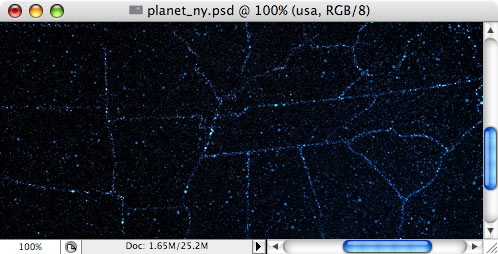
I also wanted map of USA to shine on space as constellations. For that, I found outline map of USA states, and made all lines white.

Copy and paste white lines into our artwork in new layer…
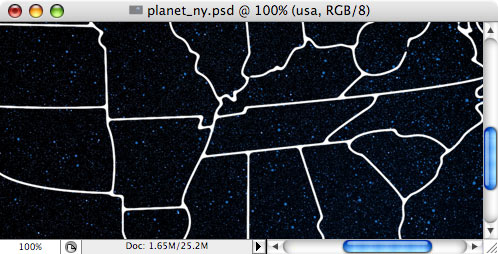
…then set this layer blend mode to Overlay. It is very hard to see now, so…


…duplicate this layer 3-4 times until the lines start to shine.
Now it is time to make shape for the planet. Using Shape tool, create blue circle.
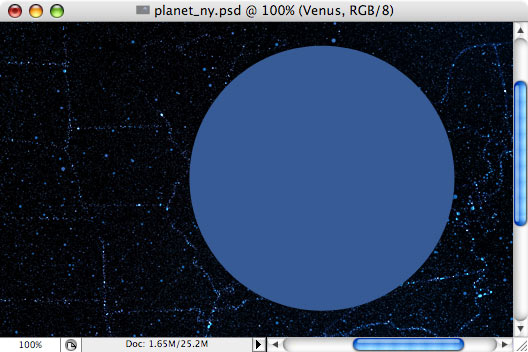
Apply the following layer effects:
– Outer glow: black, overlay, 20-30px
– Inner glow: white, overlay, 1-2px
– Gradient: white-to-black, overlay, 20-30%
– Outer glow: black, overlay, 20-30px
– Inner glow: white, overlay, 1-2px
– Gradient: white-to-black, overlay, 20-30%

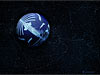
Then, in new layer, make the following shapes from 2 ovals (second in Intersect mode).
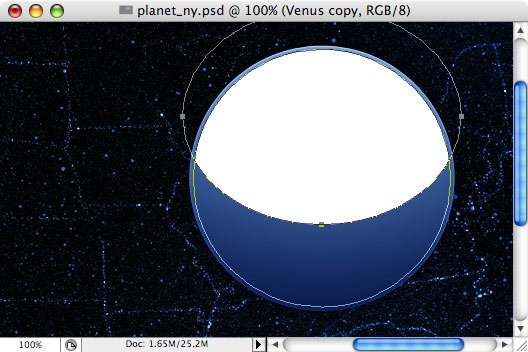
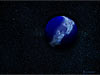
Set its blend mode to Soft Light and opacity to 20-30%

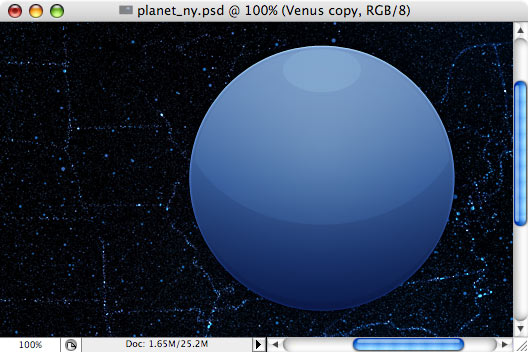
Final touch is another small white ellipse with blend mode = soft light and opacity = 20-30%
Now we need a satellite map in really large size. I decided to use Google maps, but if I simply make screenshot, I will not get large enough image (we really need 3000-4000 pixels size).
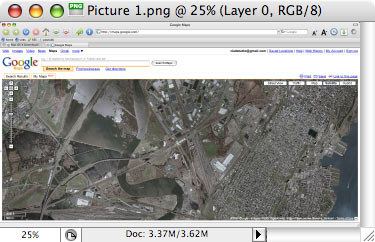
…so I made about 20 screenshots, scrolling map up and down…
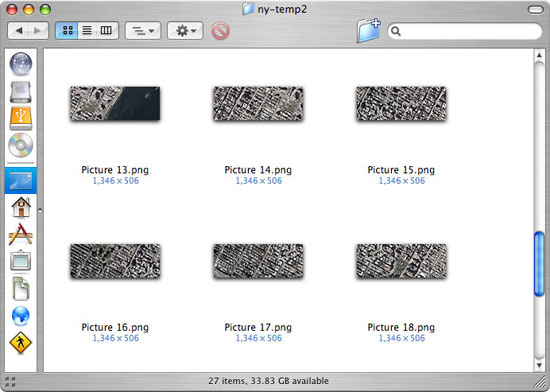
and then pasted them all into one large Photoshop file and carefully aligned them, then merged all layers into one layer.
Here goes the main trick:
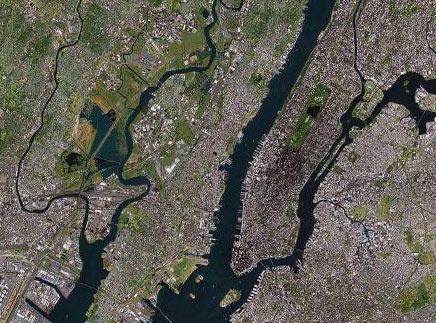
– make image square (Image – Canvas size – set width equal height)
– Desaturate (Ctrl-Shift-U)
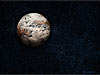
– Go to Filters – Distort – Spherize. Set amount to 80%, apply. Then, repeat this filter again. You will get map similar to this.
– make image square (Image – Canvas size – set width equal height)
– Desaturate (Ctrl-Shift-U)
– Go to Filters – Distort – Spherize. Set amount to 80%, apply. Then, repeat this filter again. You will get map similar to this.
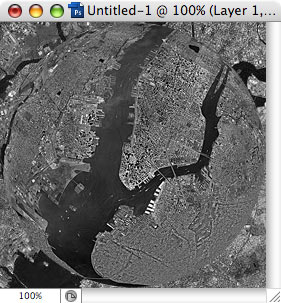
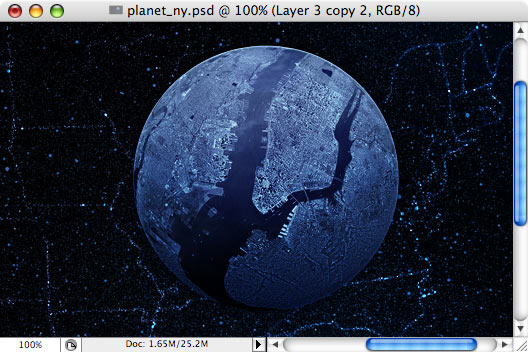
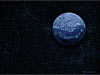
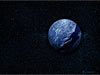
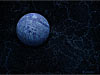
Then, copy this map and paste it to your file with planet. Resize layer and align it to planet. Then set layer blend mode to Overlay, and finally, go to Layer menu – Create Clipping Mask (so that map is only visible within planet shape).
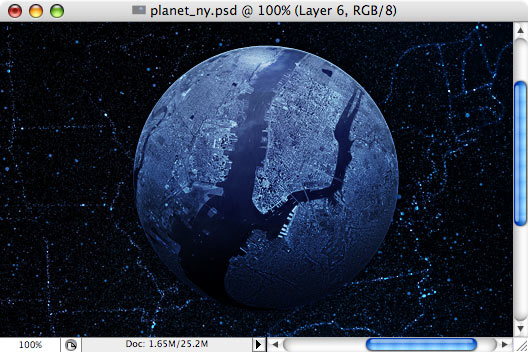
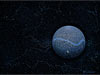
That’s all! One last touch is shadow (everything looks better with a bit of shadow). In new layer, use large black brush and draw shadow like this.
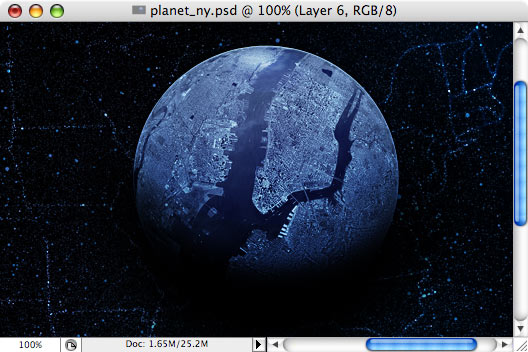
Then, go to Layer menu again – Create Clipping mask, and also set this layer blend mode to Soft Light.
View more wallpapers:

Comments